13 min read
How to Wire Multiple Off-Road Lights to One Switch
Off-road driving can be an exciting thing. However, if you plan to ride at night, you’ll need an extra set of off-road light for your vehicle. Two or three off-road lights in the front are more than enough for most vehicles. Or mount them up on the roof. Either way, mounting the lights is not that difficult. The wiring process is tricky, especially when you plan to run multiple lights with one switch. With that in mind, here’s how to wire multiple off-road lights to one switch.
In general, to install and wire multiple off-road lights to one switch, follow these steps.
- First, choose a good location to mount the lights on your vehicle.
- Then, install the off-road lights.
- Disconnect the battery terminals.
- Run the wires from the lights to the relay.
- Connect the battery and the switch to the relay.
- Ground the relay, switch, and lights.
- Finally, connect the battery terminals and test the lights.
That’s it. Now your off-road lights are ready for use.
Things You Need
For this process, you’ll need quite a few tools. (We’re going to give you a general rundown of the things you’ll need, don’t worry we’ll go through greater detail in the guide below them).
Off Road Lights
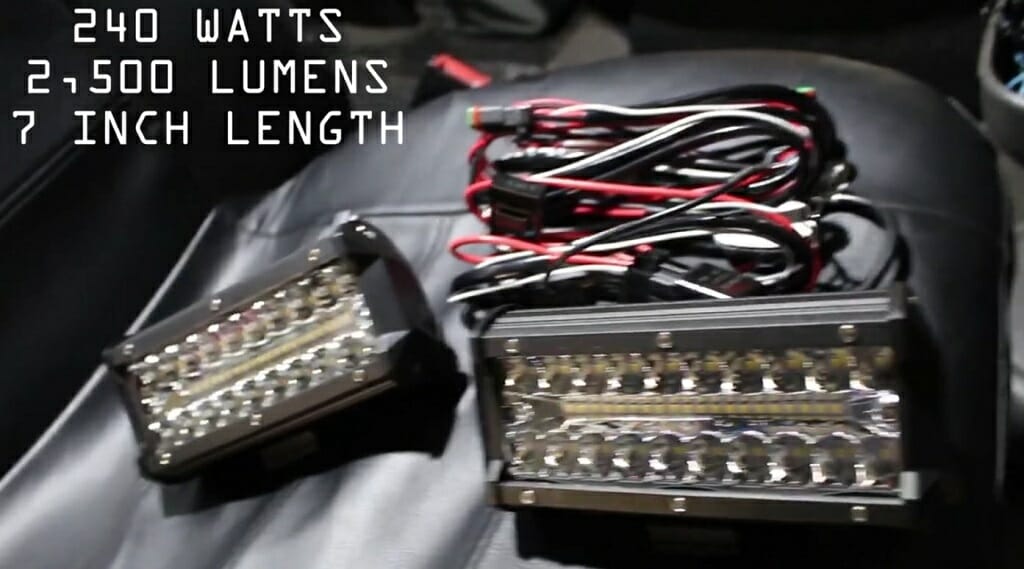
First, you need to buy suitable off-road lights for your vehicles. There are plenty of brands and designs available in the market. So, pick some lights that are most suited for your needs. With some models, you’ll get a wiring kit. For different brands of cars, you might have specifically made offroad lights. For example, for Jeeps, there are specific kits and installation instructions that pertain directly to your jeep model.
Wiring
For off-road lights, you’ll need 10 to 14 gauge wires. Depending on the number of lights, the wire gauge might vary. When it comes to length, you’ll need at least 20 feet. Also, choose red for positive and green for ground wires. If needed, pick a few more colors, such as black, white, and yellow.
Tip: When you buy AWG wires, you’ll get a bigger diameter with smaller numbered wires. For instance, 12 gauge wire has a higher diameter than 14 gauge wire.
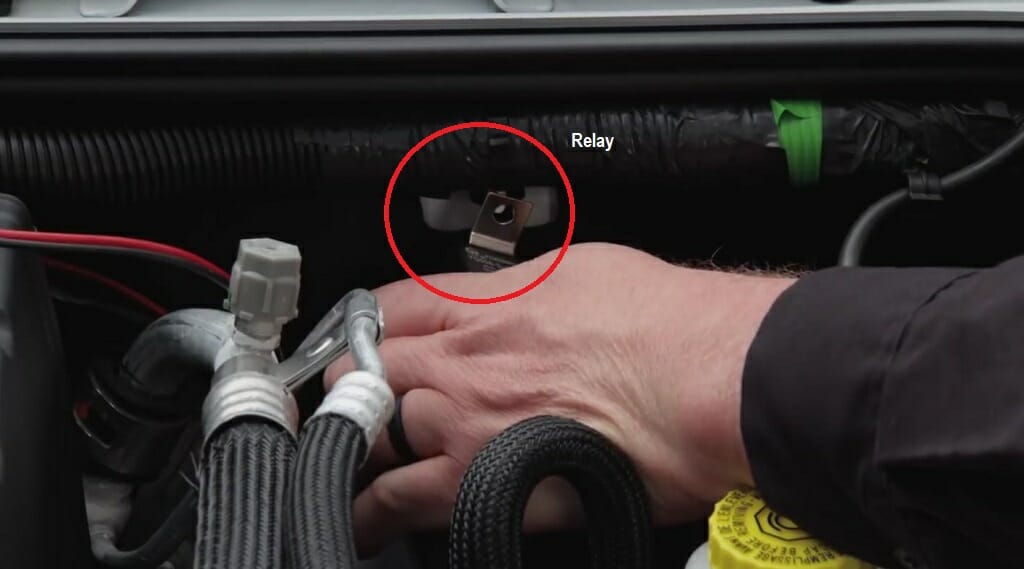
Relay
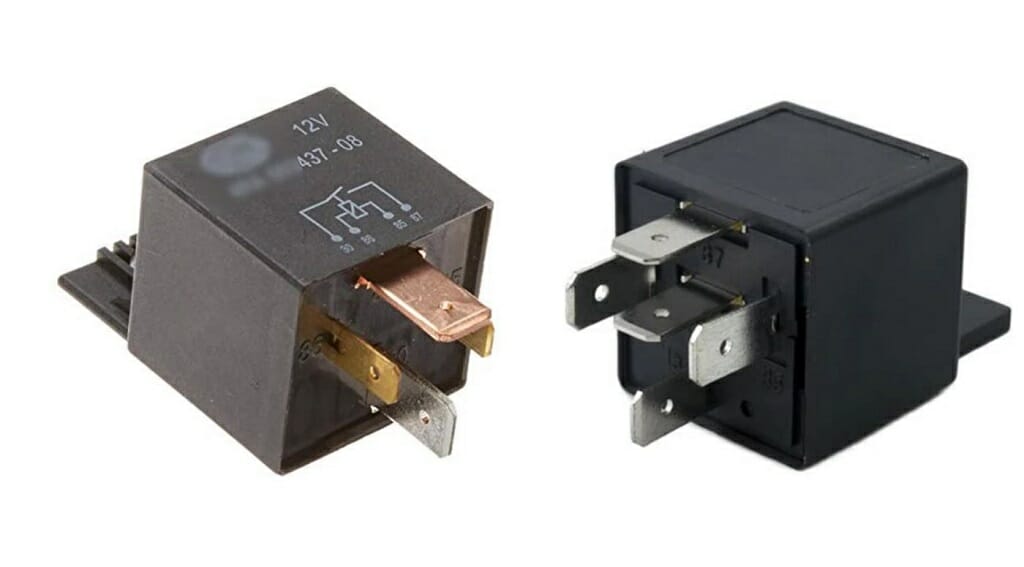
A Relay is one of the most useful items in this wiring process. Usually, a relay comes with four or five pins. Here are some details about those pins.
The number 30 pin connects to the battery. The 85 pin is the ground connection. Connect the 86 to switchable power. 87A and 87 go to the electrical components.
Keep in mind: The above method is the accurate way to connect a relay. However, in this demonstration, we don’t use the 87A pin. Also, buy a 30/40 amp relay for this wiring process.
(Install with photos will be covered in more detail later)
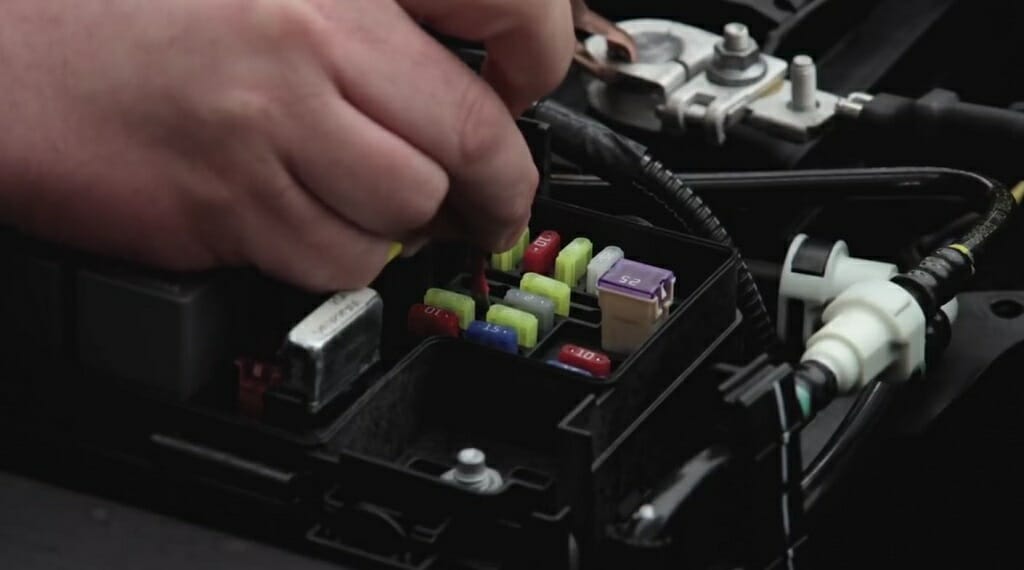
Fuses
To protect electrical devices on your vehicle, you can use these fuses. In this process, we have to connect two points to the 12VDC battery. For both points, connecting a fuse is the safest option. Remember, we only connect fuses to devices that directly connect to the battery. Hence, you need to get one fuse for the relay and one for the switch. Get a 30 amp fuse for the relay. Depending on the amperage of the automotive relay switch, buy the second fuse (a 3 amp fuse is more than enough).
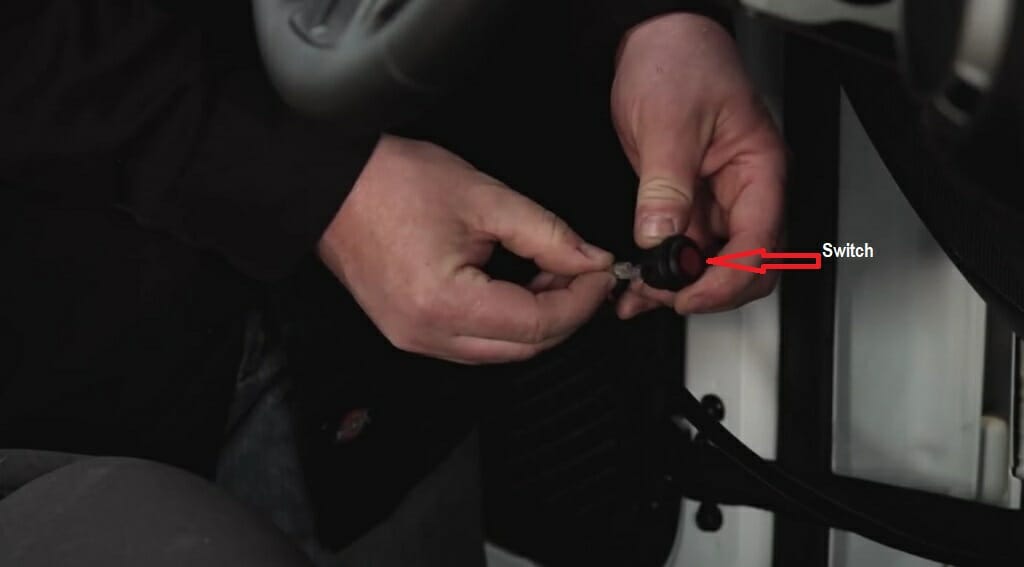
Switch
This should be an on/off switch. We use this switch for all the off-road lights. So, remember to pick a high-quality switch.
Crimp Connectors, Wire Stripper, Screwdriver, and Drill
Use a crimp connector to connect wires and the wire stripper for stripping wires. Also, you’ll need a screwdriver and a drill.
8-Step Guide on How to Wire Multiple Off-Road Lights to One Switch
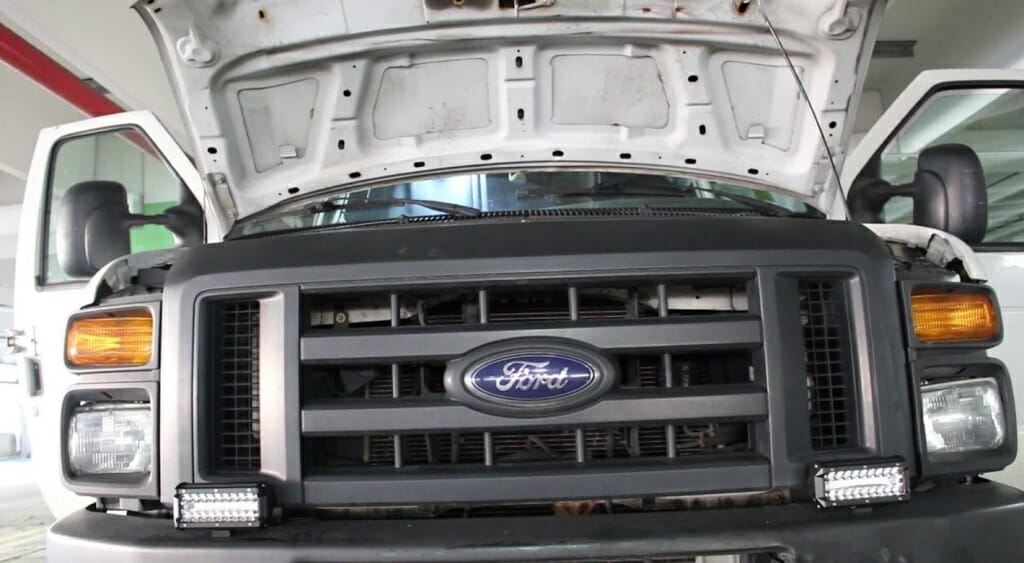
For our guide below we’ll be using off-road lights connected to the bumper of a Ford as an example. You can adjust and accommodate this guide to your specific car or model, a lot of the steps will be very similar making it easy to use them with some changes for your car.
Step 1 – Determine a Good Location for Off-Road Lights
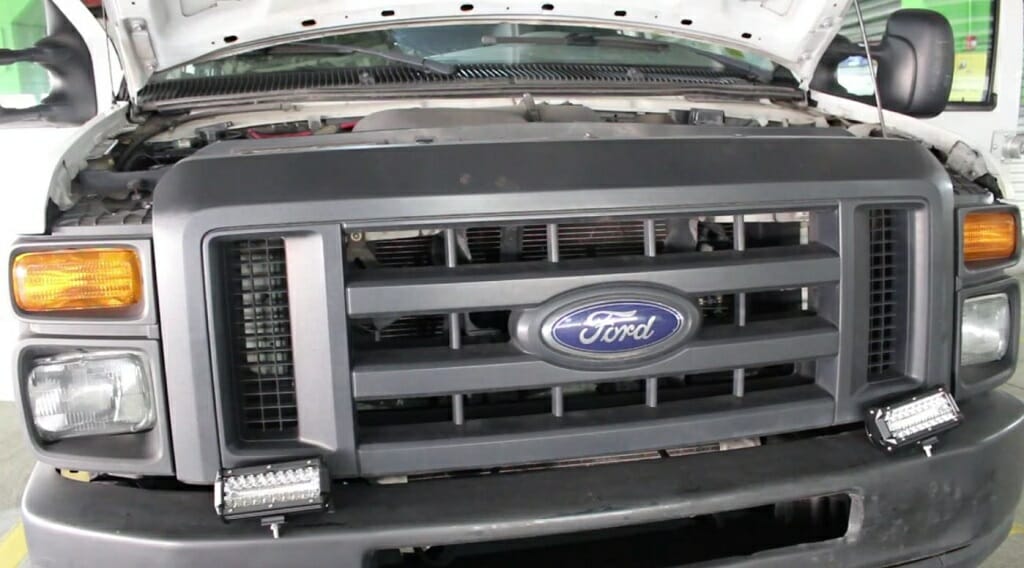
First and foremost, you’ll have to pick a good spot for the lights. In this demonstration, I’m installing two lights. For those two lights, the front bumper (just above the bumper) is the best position. However, depending on your requirement, you can choose any other location.
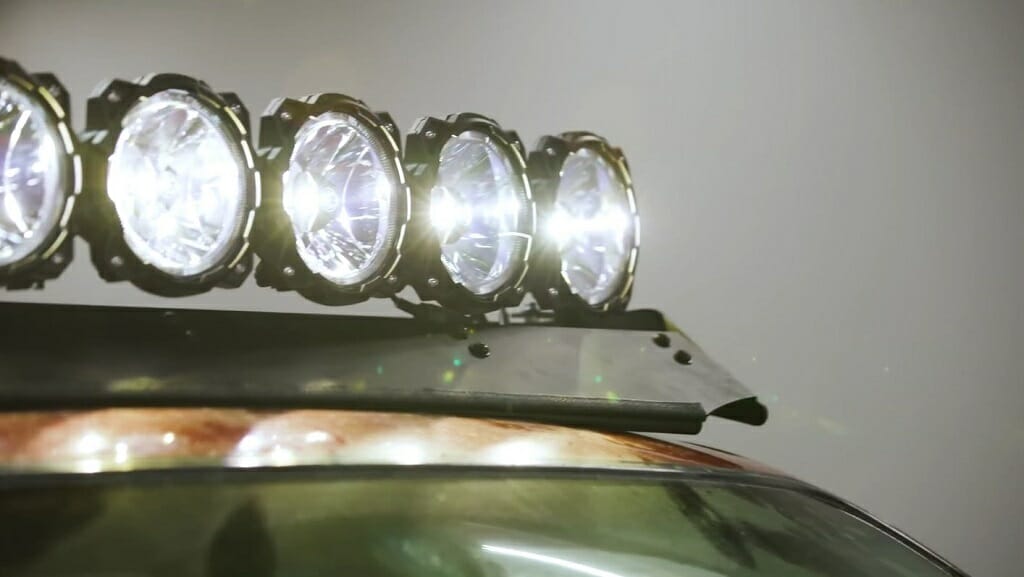
For instance, the roof is an excellent place to install off-road lights.
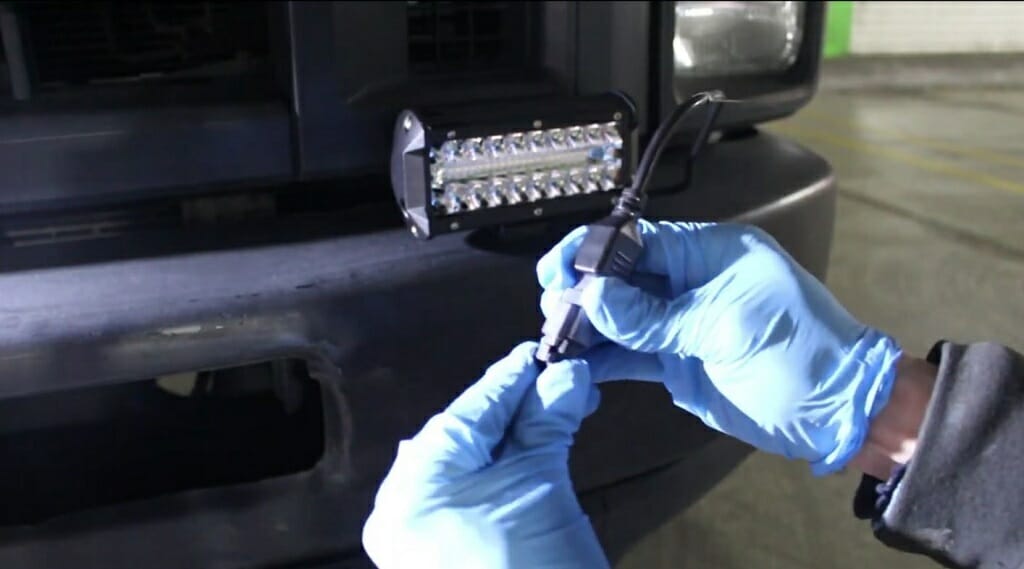
Step 2 – Install the Lights
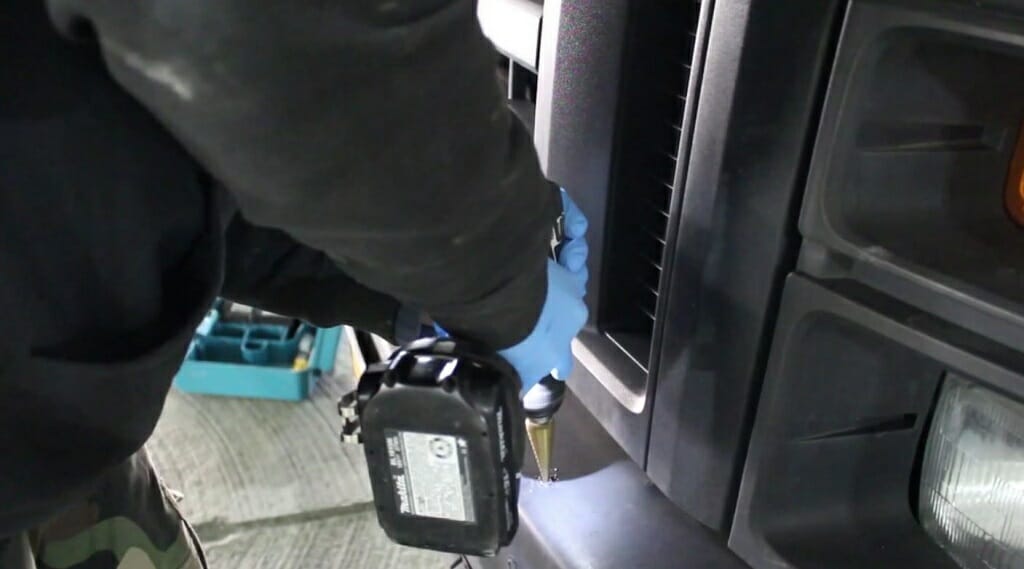
Place the lights and mark the location of the screws.
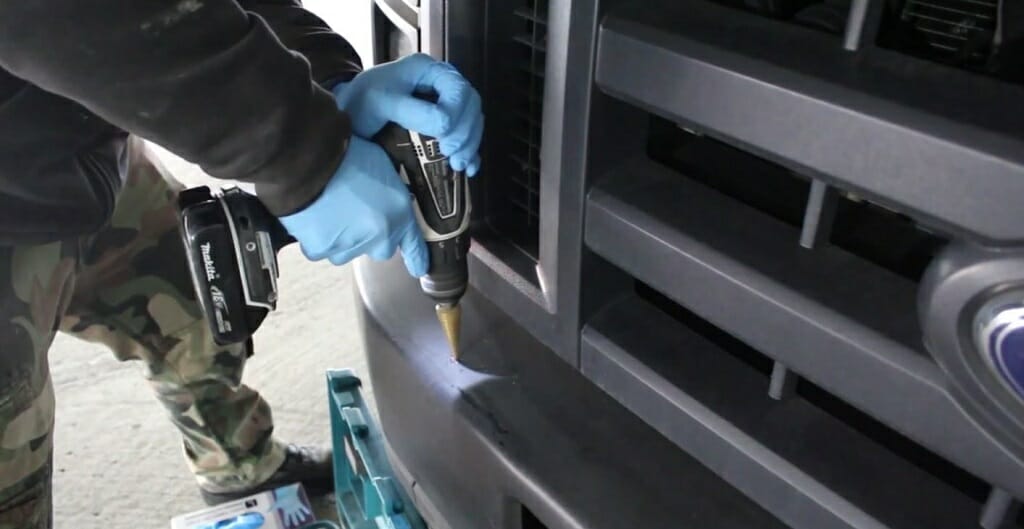
Then, drill holes for the first light.
Install the first lights.
Now, repeat the same process for other light.
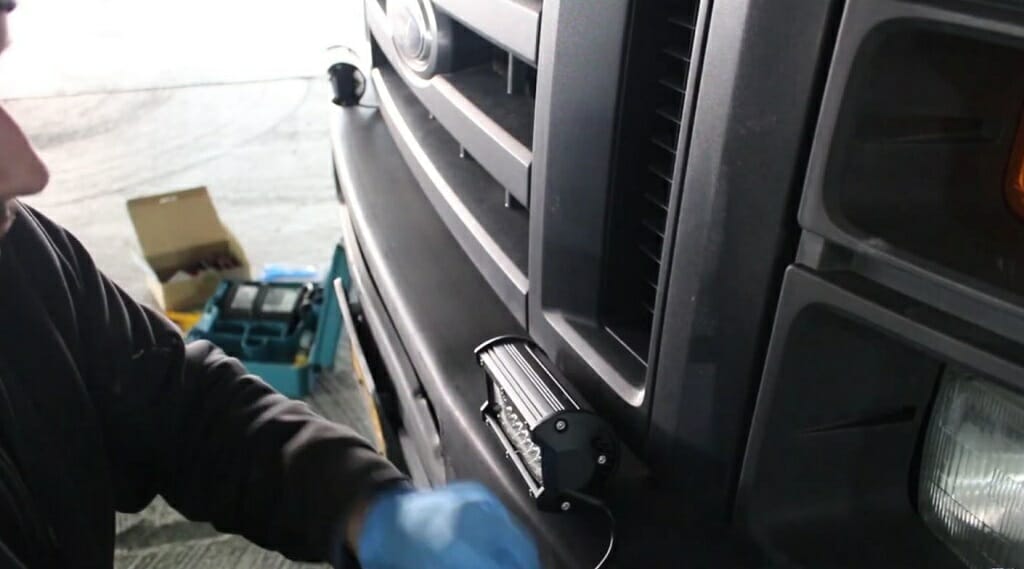
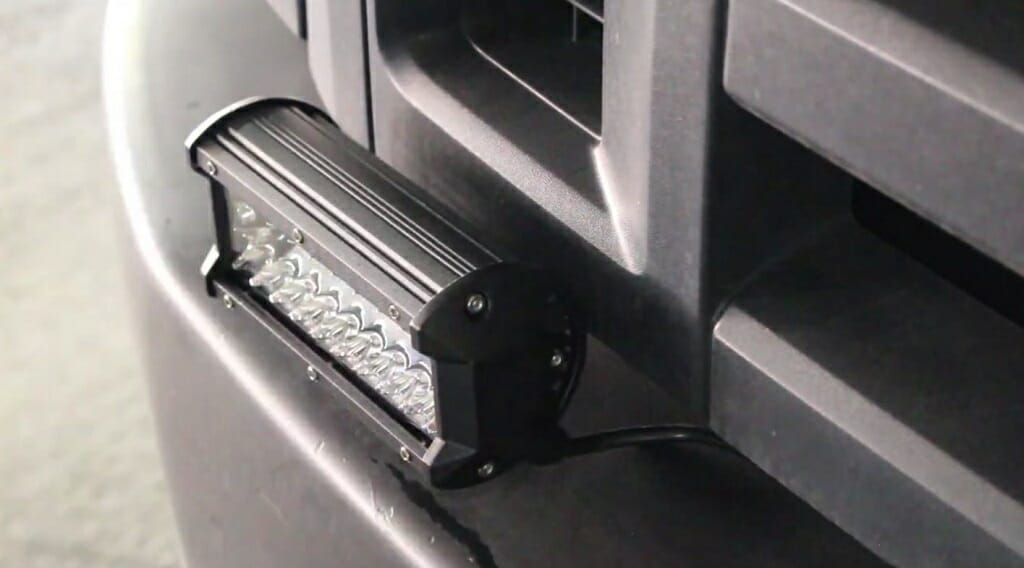
After that, mount both lights on the bumper.
Most off-road lights come with an adjustable mounting plate. So, you will be able to adjust the angle of the lights according to your needs.
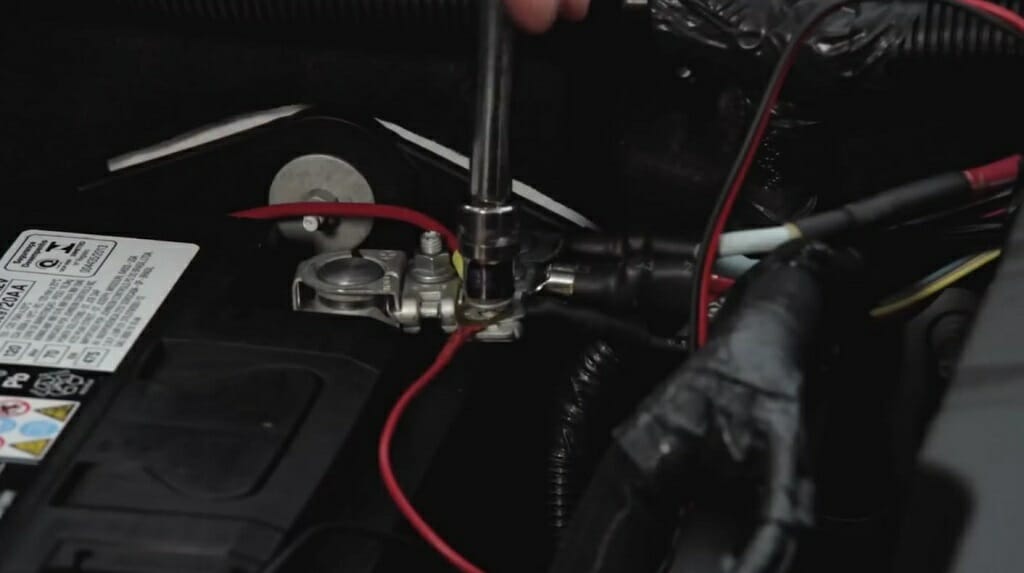
Step 3 – Disconnect the Battery Terminals
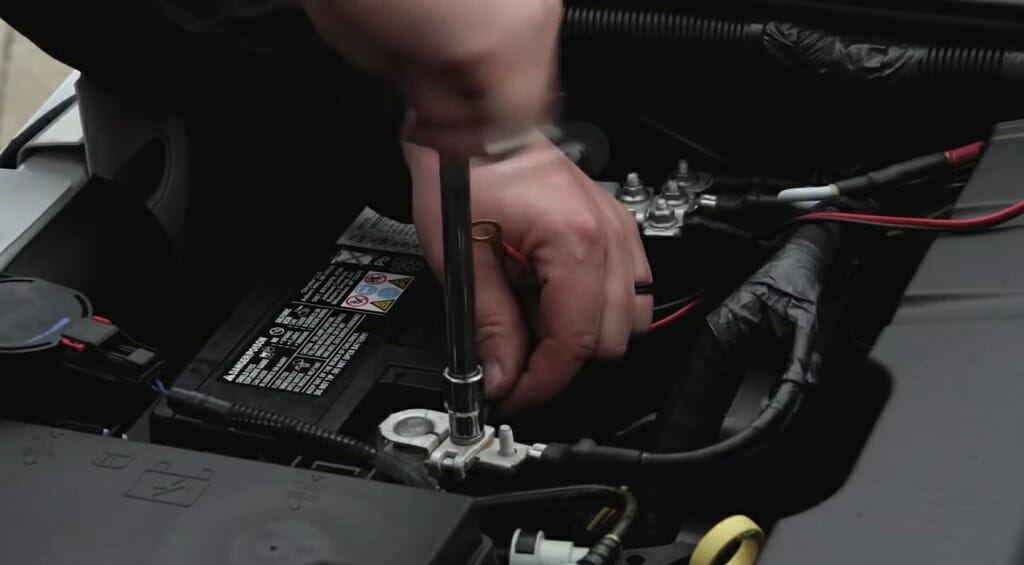
Before starting the wiring process, disconnect the battery terminals. This is a must-follow safety precaution. So, don’t skip this step.
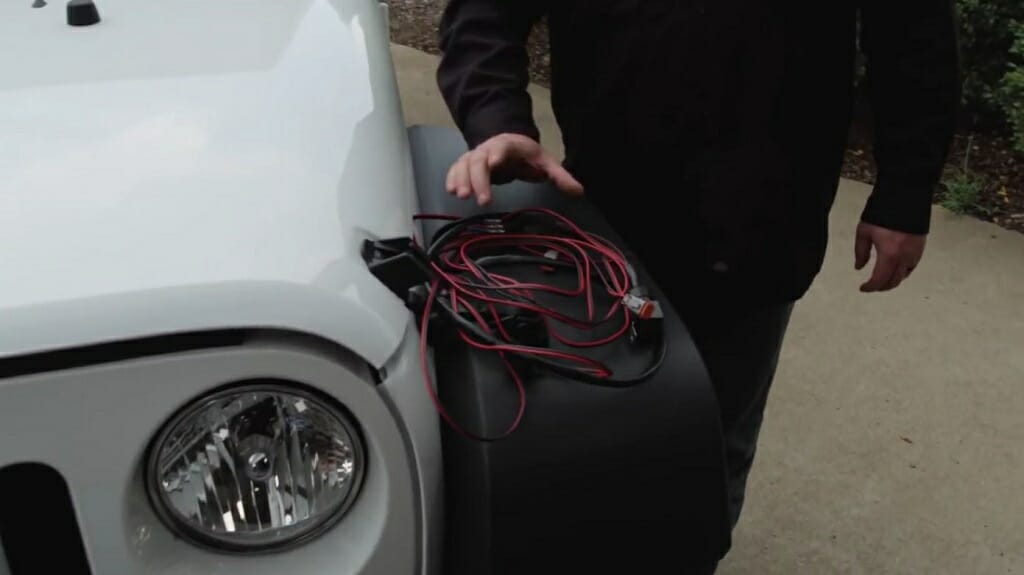
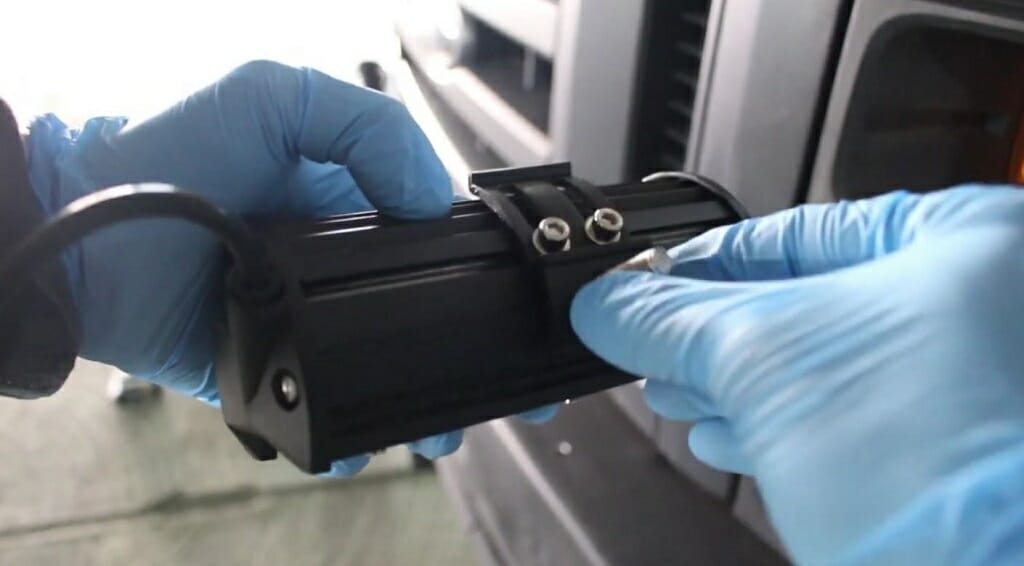
Step 4 – Connect the Wire Harness to the Lights
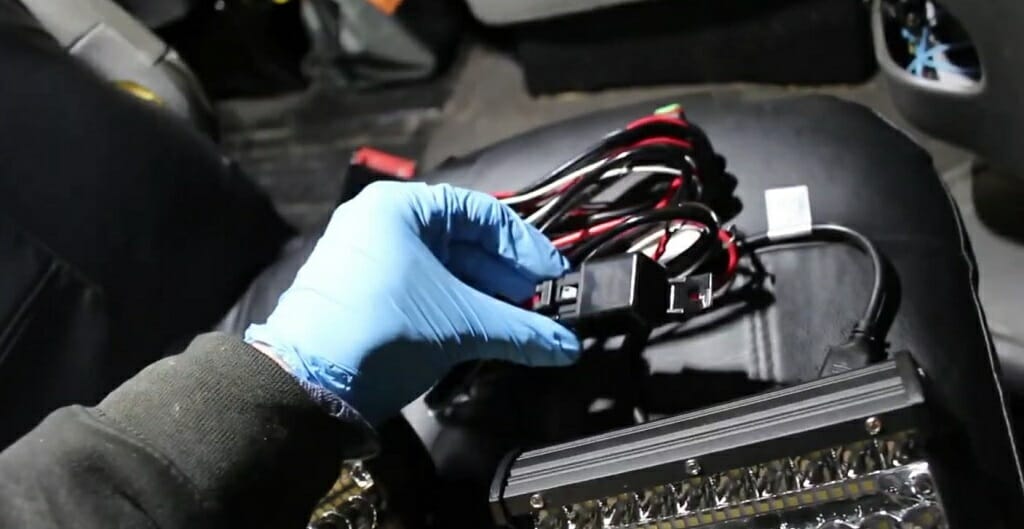
Next, connect the wire harness to the lights. Sometimes you’ll get a wiring kit with the lights. Sometimes you won’t. You’ll get a relay, switch, and wire harness with the wiring kit.
If you only brought the lights, connect the wires that are coming from the lights to a new wire and run that connection to the relay. Use crimp connectors for this.
Step 5 – Run the Wires through the Firewall
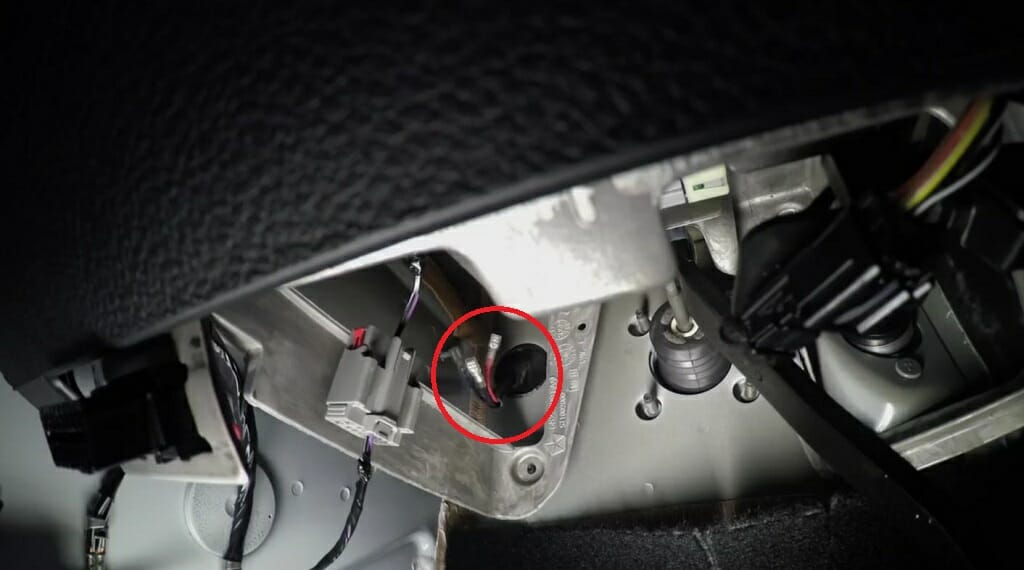
The automotive relay switch should be inside the vehicle. And the relay and fuses should be under the hood. So, to connect the switch to the relay, you’ll have to go through the firewall. In some vehicle models, you can easily find a hole that goes to the dashboard from the firewall. So, find that location and get the switch wires inside the hood (except for the ground wire).
Keep in mind: If you cannot find such a hole, drill a new hole.
Step 6 – Start the Wiring
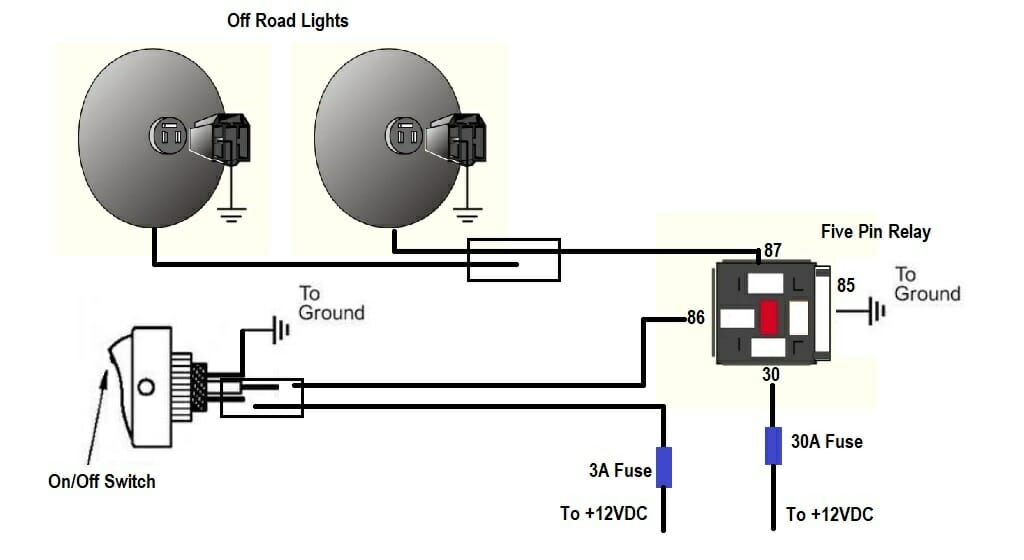
Now, you can start the wiring process. Follow the above-given wiring diagram and complete the wiring.
First, connect the wire that comes from the two led lights to pin 87 of the relay. Ground the other two remaining wires of the lights. To ground them, connect them to the chassis.
Next, connect the wire that comes from the positive battery terminal to the 30 amp fuse. Then, connect the fuse to pin 30.
Now move on to the switch wiring. As you can see, the switch needs to be connected to the 12VDC battery and the relay. So, connect a wire from the positive battery terminal to the switch. Remember to use the 3 amp fuse. Then, connect pin 86 to the switch. Finally, ground the pin 85 and the switch.
Next, install the relay and fuse inside of the hood. Find an easily accessible location for this.
When running wires to the switch, you’ll have to run them through the firewall. That means two wires should come out from the switch; one for the battery and one for the relay. You can keep the ground wire of the switch inside the vehicle. Find a good spot for a ground connection and ground the wire.
Tip: If you are having trouble finding a proper grounding spot, you can always use the negative battery terminal.
Step 7 – Recheck the Connections
Now, go back to the location where you mounted the led lights. Then, recheck all the connections one more time. For instance, check the crimp connectors, screw connections, and mounted items.
If needed, use the heat shrink technique on all the crimp connectors. It will protect wires from moisture and abrasion. (1, 2)
Step 8 – Test the Off-Road Lights
Finally, connect the battery terminals to the battery and check the lights.
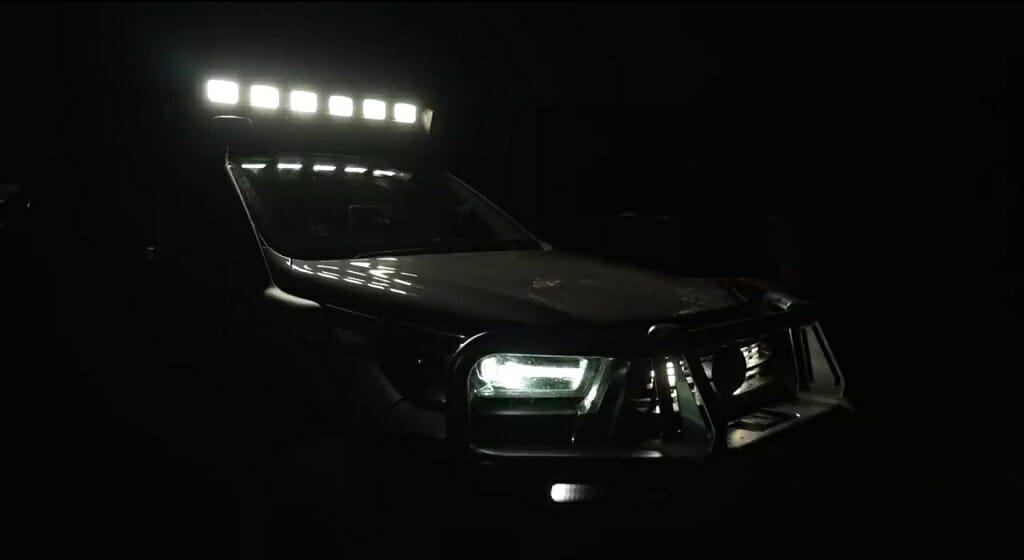
The best time to test your newly installed light is nighttime. So, take your ride for a spin and check the strength and power of the off-road lights.
Some Valuable Tips
Off-road lights can be used as backup lights. If your headlights are not working, these backup lights can come in handy. So, when buying, remember to choose a powerful set of lights.
Keep the wiring away from any heat source. It might damage the wires. Or choose wires that have high-quality insulation.
If your lights come with a wiring kit, there won’t be much trouble for you. However, if you are buying each part separately, remember to buy quality parts. Also, always use red wires for positive connections and green wires for ground connections. Use white or black for other connections. This kind of thing might be useful while repairing.
Always follow the wiring diagram. For some, understanding the wiring diagram might be a little difficult. You may need to read some guides on this but with more experience, you’ll become better at it.
Wrapping Up
Having an off-road lighting system can benefit you in many ways. These lights will give you much-needed illumination and style for your vehicle. However, installing these lights is not the easiest task in the world. Don’t get discouraged since it’s a bit hard on the first try, it’s not easy, and persistence and patience are key to doing a good job here.
Take a look at some of our related articles below.
- How to wire multiple lights to one cord
- How to wire a chandelier with multiple lights
- What gauge wire from battery to starter
References
(1) shrink technique – https://www.sciencedirect.com/science/article/
pii/0167865585900078
(2) moisture – https://www.infoplease.com/math-science/weather/weather-moisture-and-humidity
Video References
Ronny Dahl
Jumper man Tech
POWERNATION
RodsShop