5 min read
How to Wire a Chandelier with Multiple Lights (Guide)

Installing a beautiful light fixture like a chandelier can be tricky. I have 7 years of experience in light fixtures and other electric installations so I know this isn’t always a cakewalk. Multiple-light chandelier installation can be a headache for many. And I trust this comprehensive guide will help you set up your multiple-light chandelier on your own.
What is the trickiest part of a multiple-light chandelier installation? In general, the whole installation process requires an understanding of the basics of electric principles. Disassembling the socket and attaching the chandelier to the power socket can be tricky for most people.
This guide will provide you with clear-cut instructions.
Things You Will Need
To successfully install a chandelier, you need the following tools:
- Light fixture
- Drill
- Measuring tape
- Screwdrivers
- Wire strippers
- Needle nose pliers
- Light bulbs for fixtures
- Braced ceiling
- Junction box –optional
- Circuit tester
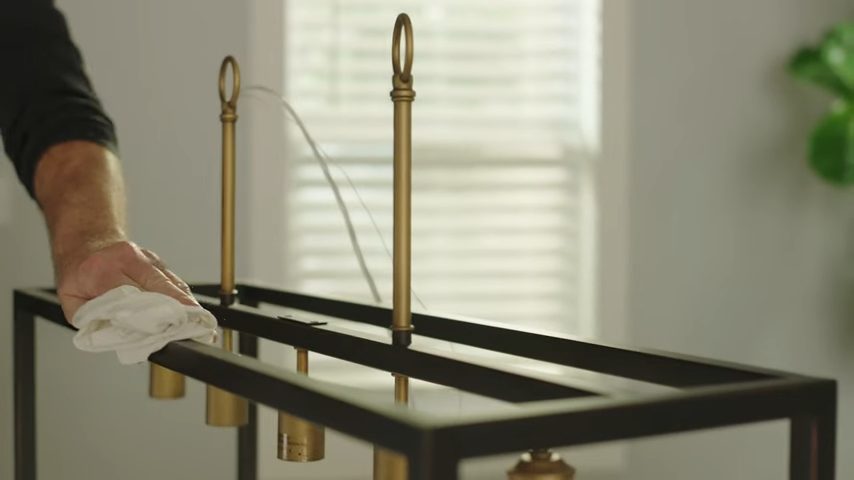
1. Setting up the Chandelier
After assembling the necessary tools, you can start the installation process. Position your chandelier properly and use a clean rag to wipe the chandelier and the metallic frame. Check all the connection points or junctions to verify the stability of your chandelier. The chandelier glass should be fingerprint-free.
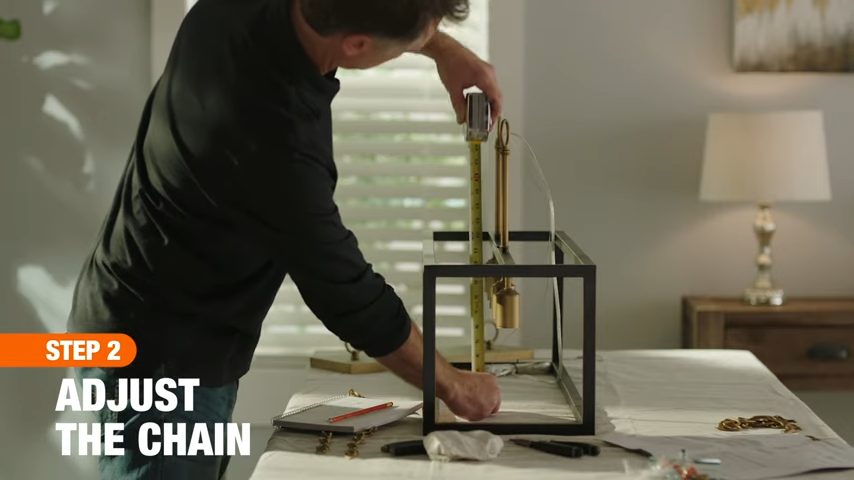
Calculate how much chain you will need to comfortably hang your chandelier. Use a measuring tape to measure about 36 inches from the working table to the ceiling point where you want to install your chandelier.
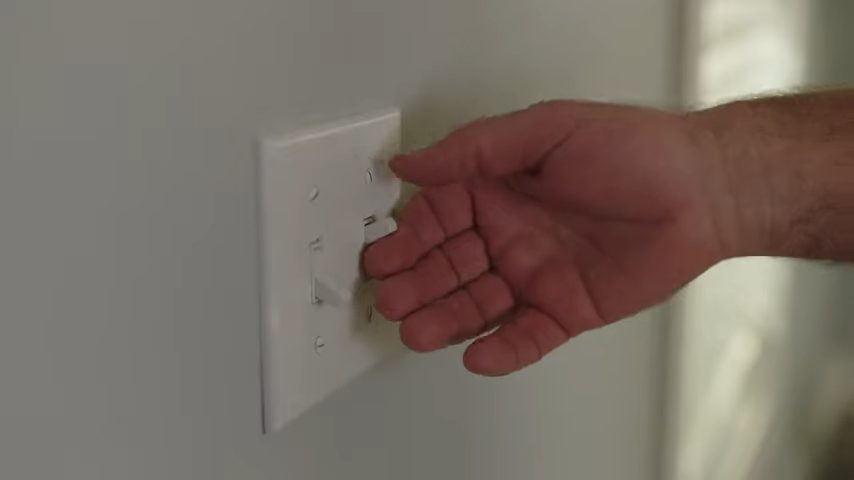
2. Checking the Wires
Begin by ensuring a safe installation, turn off the power supply to the lighting system you are working on – you can do this on the breaker unit. Next, confirm that there is no power flowing in the light fixture by turning the light switch off and on.
You can use a multimeter or a tester to check the continuity of your wires. Identify the ground, hot, and neutral wires by checking their colors. The black wire is the hot wire carrying the electrical power. The white wire is neutral, and finally, the green wire is the ground connection.
3. Removing Wires and Sockets
Remove the old light fixture and examine the wiring. If the connection wires are not properly exposed, strip the insulation coating to expose about ½ inch of the bare wire. (1)
Next, inspect the electrical box to make sure it is secured firmly to the ceiling. You may tighten the screws if you spot any loose connections.
Now attach the fixture to the ceiling joist. You can alternatively install the fixture in an electrical box with enough bracing if it weighs more than 50 pounds.
4. Adding New Wires
If the old wires are worn out, replace them with new ones. Trace the wires to their connection junctions, cut them off, and connect new ones.
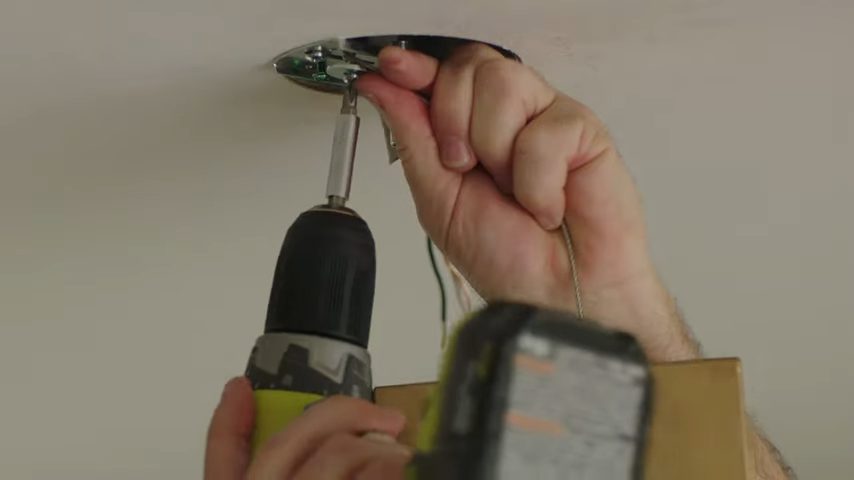
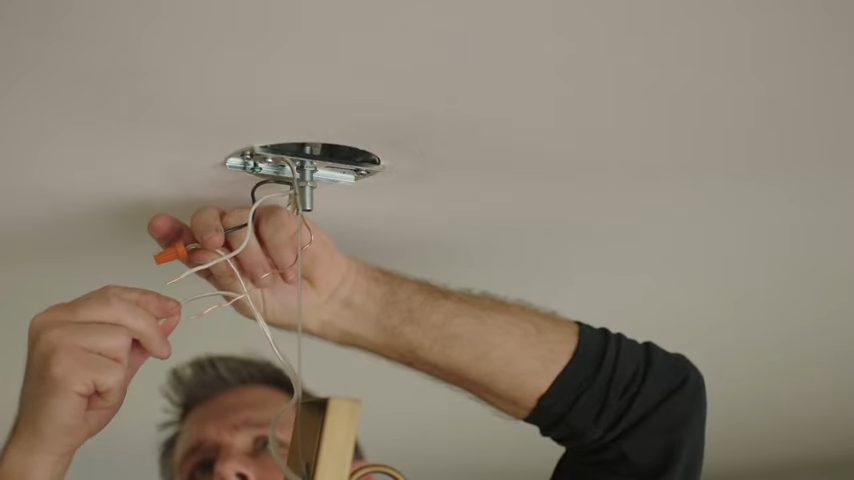
5. Installing the Chandelier (Connecting the Wires)
You can now attach your chandelier to the electrical box. That will depend on your light. You can either install the fixture mounting bracket to the electrical box, or you can thread the mounting stem of the fixture to a metal strap connected to the electrical box. (2)
Once you have done all that, start connecting the wiring. Connect the black wire on the chandelier to the hot wire on the electrical box. Go on and connect the neutral wire (white) to the neutral wire on the electrical box, and then link the ground wires (if there is a ground connection). Use the wire caps to twist the wire connections together.
Gently insert all the wire connections into the electrical box. Install the chandelier canopy using the screws provided. The canopy installation completes the process.
Finally, add the appropriate bulbs to the chandelier.
Testing the Connection
Go back to the breaker and turn on the power supply, move on and turn on the chandelier. If the bulbs do not light, you can double-check the wire connections, or test the continuity of your light bulbs.
Take a look at some of our related articles below.
- How to test a fluorescent light bulb with a multimeter
- How to identify neutral wire with multimeter
- How to connect ground wires together
References
(1) insulation coating – https://www.sciencedirect.com/topics/engineering/
insulation-coating
(2) metal – https://www.osha.gov/toxic-metals
Video Reference