7 min read
How to Test a Fluorescent Light Bulb with a Multimeter

This is a complete guide for testing a fluorescent light bulb with a multimeter.
You don’t have to be an expert in electrical work. You can do the test with a multimeter and flying leads. I will show you how to conduct a continuity (or resistance) test.
To test a fluorescent tube light, set the multimeter to resistance mode. Then, place the black lead on one pin of the fluorescent bulb and the red one on the other, and check the ohm value. It should be above 0.5Ω, around 2Ω.
We will go into more detail on the test procedure below.
The Need for Testing
You will know that you need to test a fluorescent light bulb if you notice any of the following:
- Flickering light
- Low brightness
- Buzzing sound
- Delayed start
- Fading color and light variation or dark edges
The above is usually due to a defective ballast. More details are at the end.
A ballast is a vital component of a fluorescent bulb. It assists in regulating the electricity inside the bulb. Without a ballast, the fluorescent bulb will overheat rapidly due to uncontrolled electricity. Here are some common signs of defective ballasts.
If you do a closer inspection, you may also notice one or more of the following:
- Dust might be accumulated in and around the holder.
- A tripped circuit breaker
- Bent or broken connecting pins
You might not need to test the fluorescent light bulb in these cases. Instead, disconnect the power, clean the holder and bulb, straighten the pins, or switch the circuit breaker on as necessary. You can also replace the bulb with a different one if possible to rule out everything else other than the bulb.
Continue reading to perform the test if the problem persists. You will need to use a multimeter.
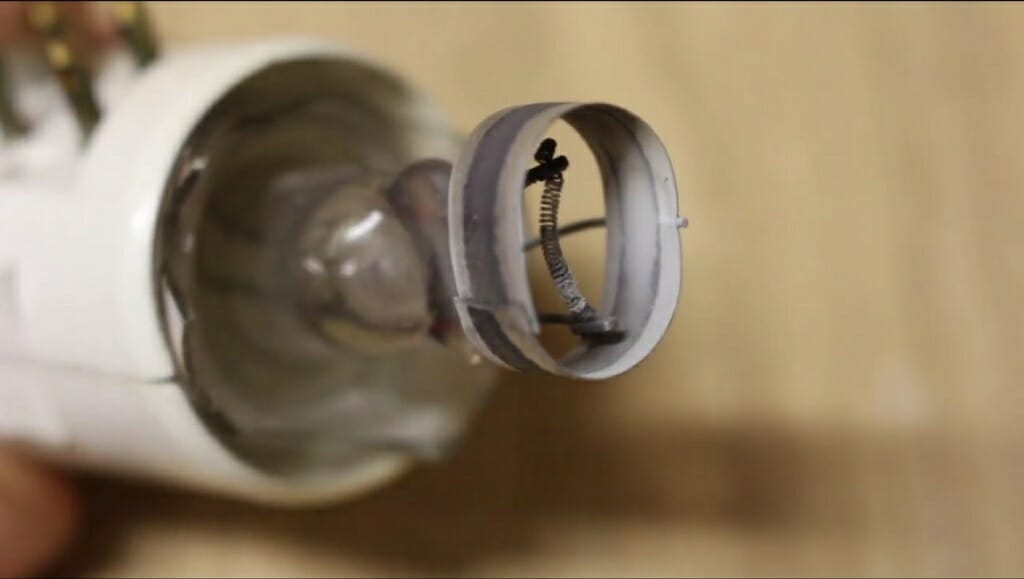
Identifying a Burnt-Out Fluorescent Bulb
A fluorescent bulb will display a darker end when burnt. It cannot generate any light. You don’t need to test it further, but if you do (a continuity or resistance test), you will get an OL reading. You must replace it with a new one.
4-Step Guide to Testing a Fluorescent Tube Light
Step 1: Set the Digital Multimeter to Resistance Mode
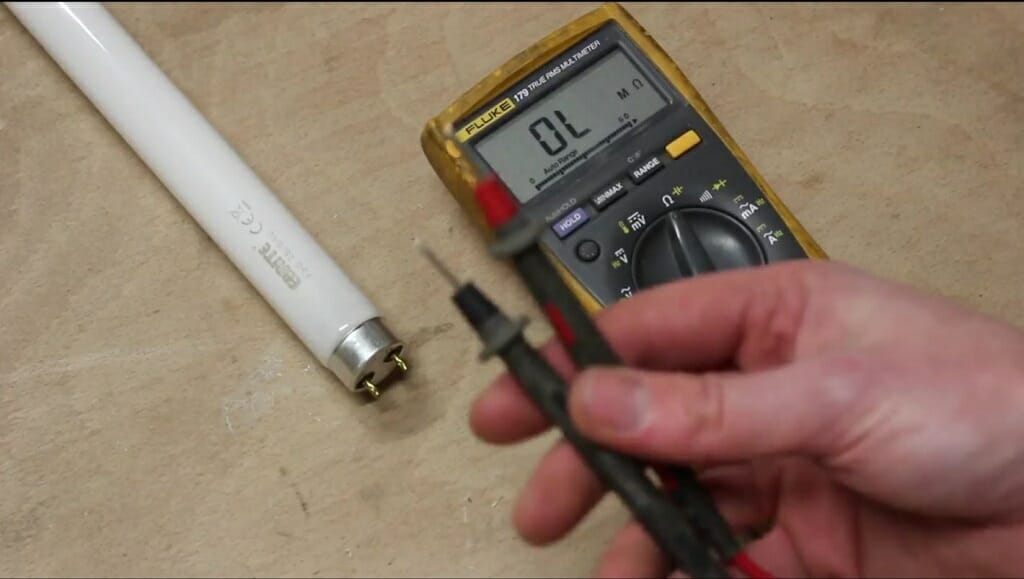
Set the digital multimeter to resistance mode by turning the multimeter’s dial to the Ω (ohms) symbol.
Set the resistance range to its highest level. Some multimeters will do this automatically. Then, connect the black probe to its COM port and the red probe to the V or Ω port.
Now, check the multimeter to ensure it’s usable for the test by bringing the other two ends of its probes into contact. The reading should be no more than 0.5Ω or more. If you don’t get a reading in that range, the multimeter or its probes are faulty.
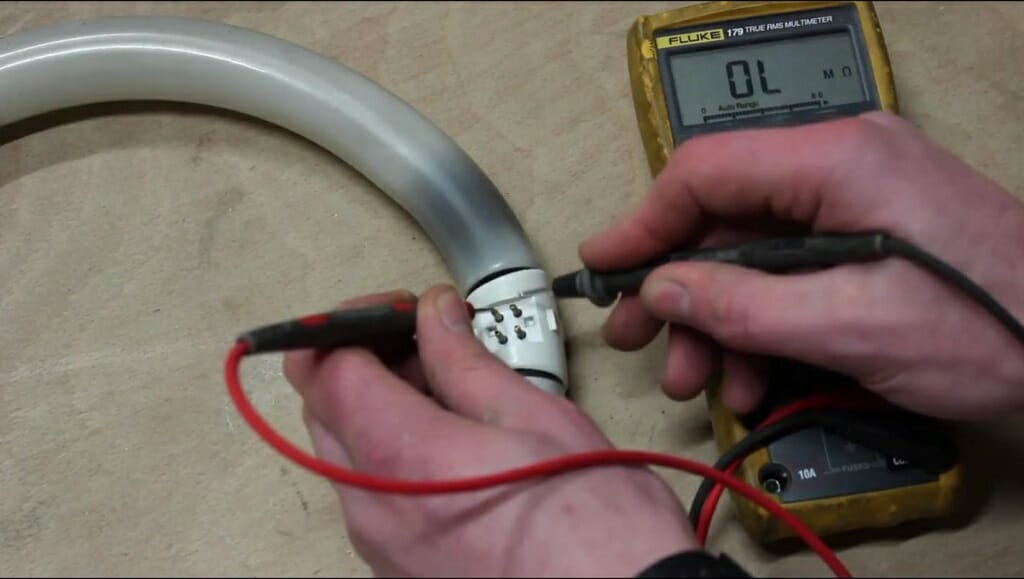
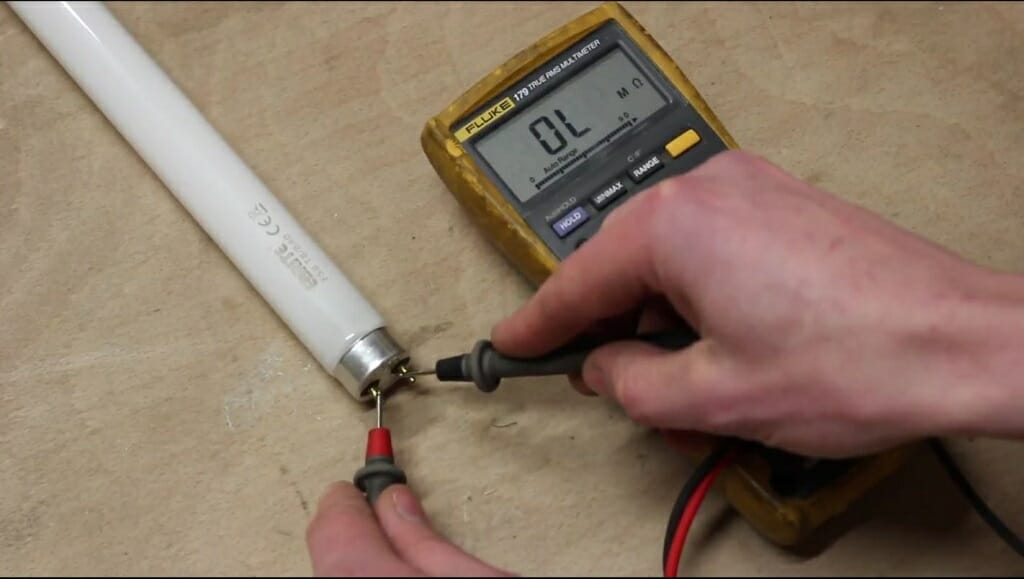
Step 2: Attach the Probes to the Fluorescent Light Bulb
After properly setting up the multimeter and ensuring it works properly, place the black probe on one pin of the tube light and the red probe on the other.
Step 3: Note the Ohms Reading on the Multimeter

Note down the reading on the multimeter’s display. It should be above 0.5Ω. Around 2Ω would be a good value.
If you get an “OL” reading on the multimeter instead, the tube light functions like an open circuit with a blown filament.
Step 4: Confirm the Results with a Voltage Test
Note: The main power should be ON during this step.
You can confirm the above condition of the fluorescent light bulb by doing a simple voltage test.
First, set the multimeter to the voltage mode (AC Volts) by turning the dial to measure alternating current voltage (symbol: V~).
Connect the fluorescent bulb’s pins to the fluorescent lamp with the help of flying leads. Then, connect the two multimeter leads to the flying leads as well. After that, note down the voltage reading.
If the fluorescent bulb works properly, the multimeter will give you a voltage similar to that of the lamp’s transformer. See the voltage information on its label. If the multimeter fails to give a reading, it means the bulb is not working at all.
Things to Do Before Testing
I mentioned some things to look out for before testing, but I will now give more details about them.
Proper inspection of them can save time and the need for testing. In some cases, you won’t have to do a multimeter test.
So, follow these steps before testing.
Step 1: Check the Circuit Breaker’s Condition
The reason for a fluorescent bulb not working could be a tripped circuit breaker. Checking the circuit breaker should be the first thing to do in this case.
Step 2: Check for Dark Edges
Remove the fluorescent bulb and check its two edges.
If you notice dark edges, it could be a sign of the fluorescent light bulb ending its life span. Unlike other bulbs, fluorescent bulbs have filaments on one side of the tube light fixture.
The side with the filament usually wears out quicker than the other side. Consequently, some dark spots may appear on the side with a filament.
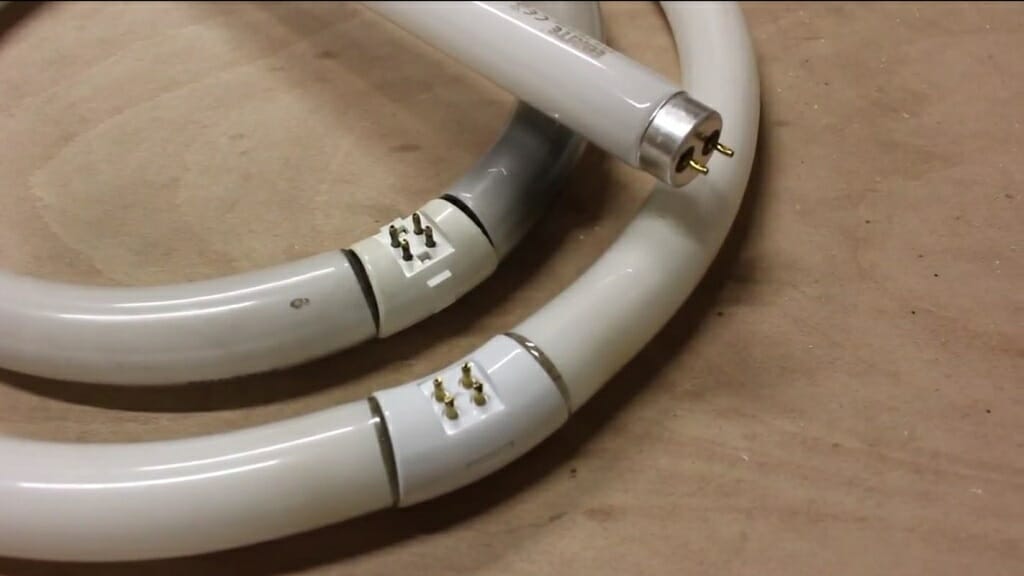
Step 3: Inspect the Connecting Pins
Usually, a fluorescent tube light fixture has two connecting pins on either side.
That means 4 connecting pins altogether. If bent or broken, the current might not pass through the fluorescent tube properly. So it’s a good idea to inspect them closely to look for signs of damage.
Besides, with bent connecting pins, you’ll have difficulty fixing the tube light back on. Use a nose plier to straighten bent connecting pins.
Step 4: Check the Bulb with a Different Lamp
The problem might not be the bulb but the fluorescent lamp.
Checking a faulty fluorescent bulb with a different lamp is always a good idea. If the bulb works, the issue lies with the lamp, so replace the fluorescent lamp.
Step 5: Properly Clean the Holder
Rust can build up quickly due to moisture.
It could be the connecting pins or the holder. Rust can disturb the flow of electricity significantly. Therefore, make sure to clean the holder and the connecting pins. Use a scrubbing wire to remove the rust, or turn the bulb while it is still inside the holder. This way, you can easily break the rust deposits in the holder.
References
Website Resources:
- regulate the electricity. https://uk.practicallaw.thomsonreuters.com/8-525-5799?transitionType=Default&contextData=(sc.Default)
- lifes span. https://www.britannica.com/science/life-span
Video References:
FixitSam