How to Make a Capacitive Discharge Ignition Box
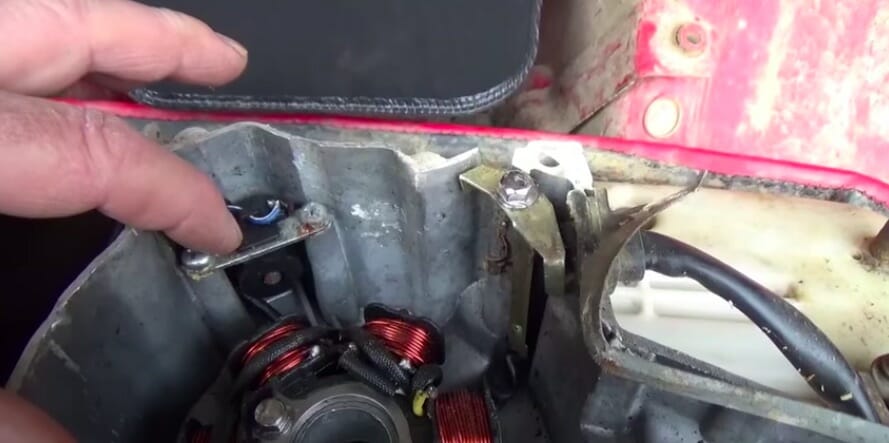
The capacitor discharge ignition is an important component of any vehicle engine, and by the end of this article, you will know how to build one.
A CDI box stores an electrical charge and then discharges it through the ignition coil, prompting the plugs to release a powerful spark. This kind of ignition system is commonly used for motorbikes and scooters. It is possible to build an inexpensive CDI box at home that’s compatible with most 4-stroke engines.
If I sparked your curiosity, stick around as I explain how to make a CDI box.
Uses of a Simple CDI Box
A simple CDI box is used as a replacement for the ignition systems of small engines.
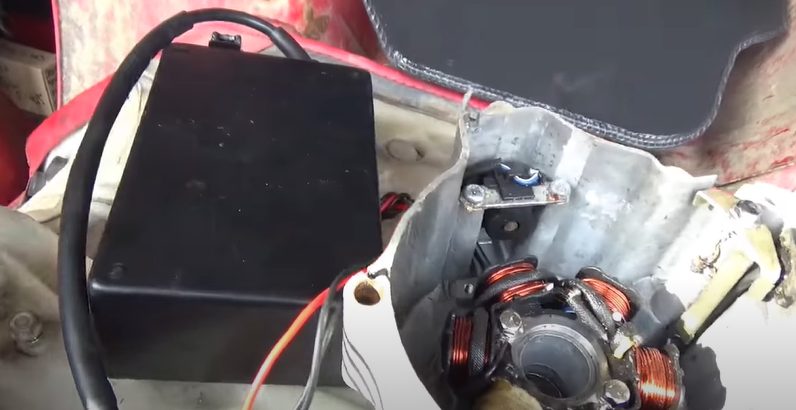
Ignition systems can naturally deteriorate over time. They can age over the years and not supply enough power to deliver the spark needed. Other reasons to replace the ignition system are damaged key switches and loose wiring connections.
Our privately built CDI box is compatible with most ATVs and pit bikes.
The one we’re about to create is known to work for most 4-stroke engines. It is compatible with pit bikes, 3-wheeler Honda and Yamaha vehicles, and certain ATVs. You can bring these old vehicles back to life without the need to spend a large sum on repairs.
Kits and Materials to Use
Building a simple capacitor discharge ignition is an inexpensive project that requires few components.
- Wire Loom On Off Switch Coil CDI Spark Plug Kit for 110 cc, 125cc, 140cc
- DC CDI Box 4 Pin for 50cc, 70cc, 90cc
- Pulse Generator with Magnet (Can be salvaged from other broken bikes)
- 12-Volt Battery Box
- Box or container
We recommend buying the specified CDI kit instead of buying each component on its own. This is because the sizes of the mentioned kit and materials are guaranteed to be compatible. The kit and components can be found in hardware and online stores.
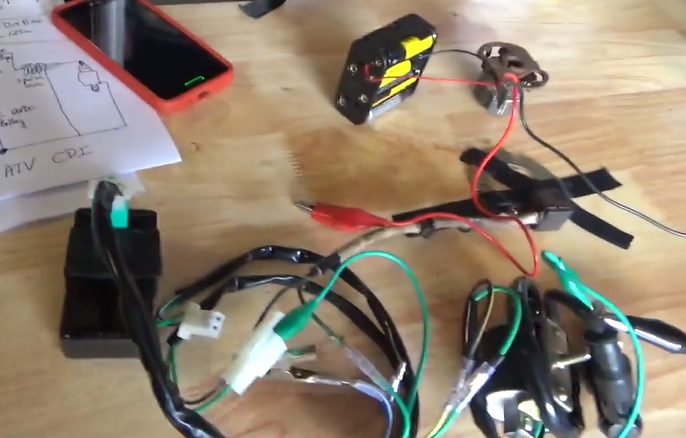
If you’re unable to buy the kit, then the contents are as follows:
- On and Off Switch
- Spark Plug
- AC DCI
- Wire Harness
- Ignition coil
Steps to Building a CDI Box
Building a CDI box is a surprisingly easy project to do.
It does not require the usage of tools or other fancy equipment. It is simply a process of connecting the wires to the appropriate component.
Follow the guide below to effortlessly and quickly build a CDI box.
Step 1 – Plug the DC DCI Into the Wire Harness
The advantage of using the kit is that it eliminates the need to alter the wire connection.
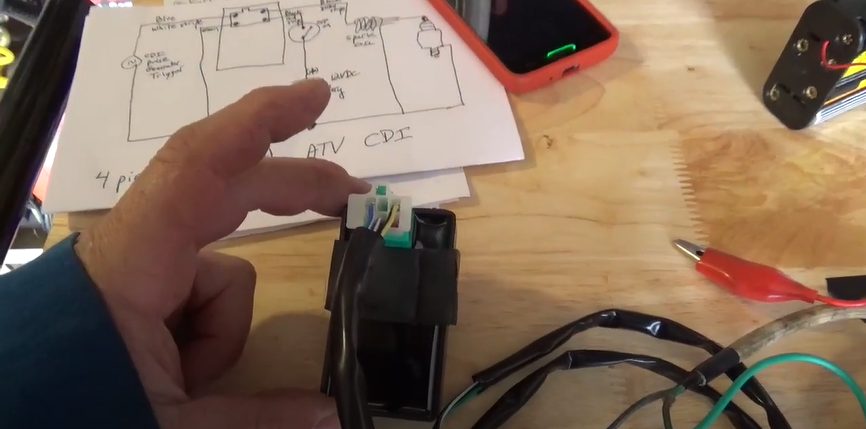
There is a port on the back of the DC DCI. Take the connection of the wire harness and plug it straight into the port. It should easily slot right in and stay firmly in place.
Step 2 – Establish the Wire Connections
The wire connection is the most complicated part of building a capacitive discharge ignition.
The image below is a simplified handwritten diagram of the wire connection. Use the image as a reference to check whether the connection of each wire is correct.
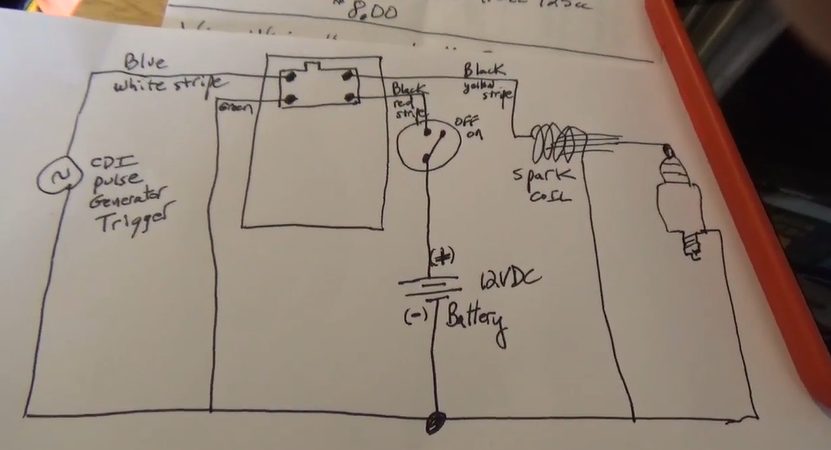
Start with the blue and white striped wire at the top left of the DCI. Connect the other end of this wire to the pulse generator.
Next, connect the appropriate wires to the ground.
There should be a total of three wires attached to the ground. First is the green wire at the bottom left of the DCI. The second is the wire of the battery box connected to the negative terminal. And lastly, take one of the wires of the ignition coil and connect it to the ground.
There should only be two unconnected wires left after establishing the connection to the ground.
Both of the remaining wires can be found on the DCI. Connect the black and yellow striped wire at the top right to the spark coil. Then connect the black and red striped wire at the bottom right to the positive terminal of the battery box.
Step 3 – Test the CDI Wire Connection Using the Spark Plug
Check the wire connection made by performing a simple test using the magnet.
Take the magnet and hover it above the pulse generator. Move it back and forth until a spark is produced on the spark coil. Expect to hear a clicking sound that’s produced when the magnet and pulse generator come into contact with each other. (1)
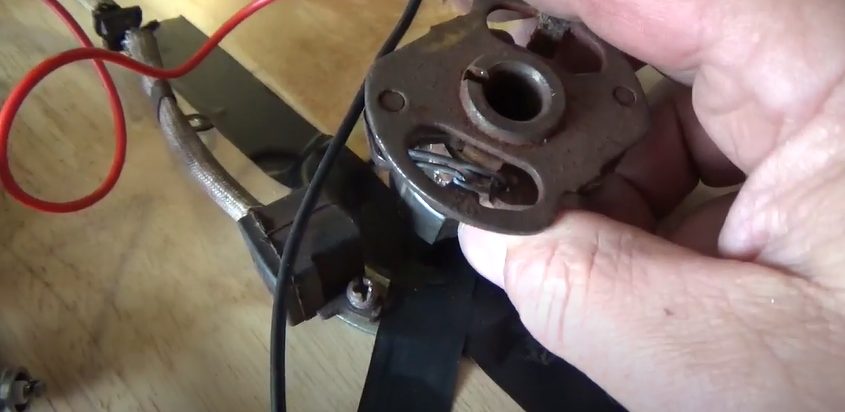
The spark may not be produced right away. Continue to patiently move the magnet above the pulse generator until a spark is seen. If there is still no spark produced after a certain amount of time, then recheck the wire connection.
The CDI is completed once the spark plug can consistently produce a powerful spark each time the magnet hovers above it.
Step 4 – Place the Components Into the Box
Once all the components are firmly attached and functional, it is time to pack everything away.
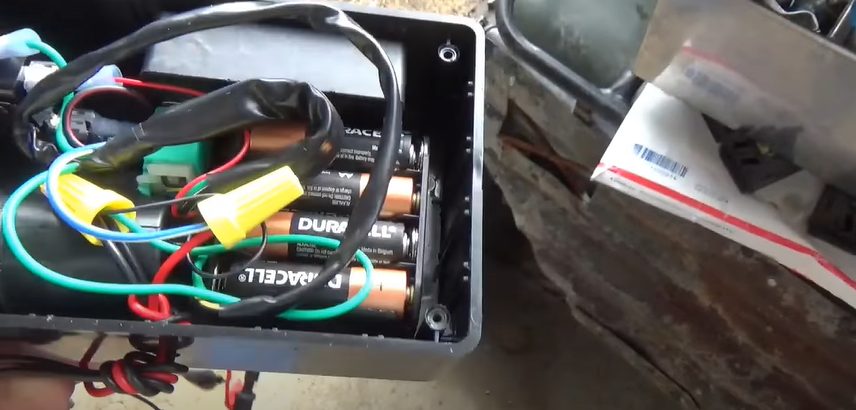
Carefully place the completed CDI into the container. Make sure that all the components are firmly inside, with little to no room for movement, then thread the other end of the wire harness through the small opening on the side of the container.
Finally, seal off the container to complete the CDI box.
Things to Note
It is important to note that the capacitive discharge ignition will only provide a spark to the motor.
The built CDI will not charge any sort of battery. It will also not power any lights or other electrical systems. Its main purpose is to create a spark igniting the fuel system.
Finally, keeping spare materials and kits around is always a good idea.
Learning how to make a CDI box is difficult for beginners. Keep spare parts nearby to minimize any delays if mistakes are made. Doing this also ensures that other parts are available if one or more defective components.
Wrapping Up
Repairing the ignition system of motorbikes and ATVs can easily be done within your home. (2)
Building a capacitor discharge ignition box is an inexpensive and straightforward project. It requires minimal materials and components, some of which can be salvaged from broken bikes.
Quickly create a simple and ready-to-use CDI box by following our guide above closely.
Take a look at some of our related articles below.
- What to do with ground wire if no ground
- How to crimp spark plug wires
- How to wire an ignition coil diagram
References
(1) pulse generator – https://www.sciencedirect.com/topics/earth-and-planetary-sciences/pulse-generator
(2) ATVs – https://www.liveabout.com/the-different-types-of-atvs-4664
Video Reference
