15 min read
How to Test a Spark Plug Wire (3 Diagnostic Techniques)

If you’re like me, you’ve probably been in a situation where your vehicle won’t start, and you’re unsure why. The issue could be anything from a dead battery to a faulty starter, but often, the culprit is as simple as a bad spark plug wire.
When confronted with a vehicle that refuses to start, it can be both a frustrating and daunting experience. You can use the following test methods:
- Utilizing a spark plug tester: This tool helps you assess the efficiency of the spark plug’s ignition. Connecting it between the plug wire and the spark plug lets you gauge whether a strong, consistent spark indicates a healthy plug and wire connection.
- Assessing resistance using a multimeter: A multimeter measures the resistance within the spark plug wire. By attaching the multimeter’s probes to each end of the wire, you can check for any unusually high resistance that might point to a damaged or worn-out wire.
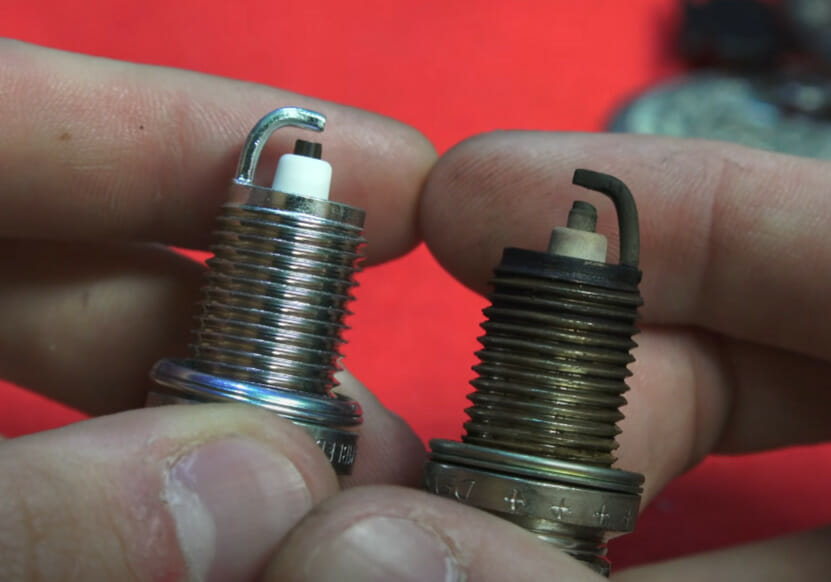
- Visually examining for signs of wear and damage: A hands-on inspection involves closely checking each spark plug wire for any visible damage.
Let’s go into detail below.
Warning Signs of Bad Spark Plug Wires
Before you get into testing, it’s essential to recognize signs that might indicate the need for inspection:
- Engine noise: A sputtering or rough engine noise can be due to insufficient spark.
- Decreased acceleration: This could be a sign if your vehicle doesn’t accelerate as it once did.
- Check Engine Light (CEL): Sometimes, the CEL illuminates due to ignition issues.
- Engine vibration: Due to the engine misfire, your vehicle might vibrate more.
Why Test Spark Plug Wires
Spark plug wires play a crucial role in your vehicle’s ignition system. Poorly performing or faulty spark plug wires can lead to several issues.
These include the following:
- Reduced fuel efficiency
- Engine misfires
- Potential damage to other parts of your vehicle’s ignition system.
Here are some statistics to consider:
- A vehicle running with worn-out spark plug wires can see fuel efficiency drop by as much as 30%.
- Misfires caused by faulty wiring can decrease engine power by up to 20%.
| Effect | Decrease |
|---|---|
| Fuel Efficiency | 30% |
| Engine Power | 20% |
Tools and Materials
Here’s what you should have:
- Spark Plug Socket
- Spark Plug Wire Puller
- Multimeter
- Insulated Gloves

Techniques for Testing Your Spark Plugs
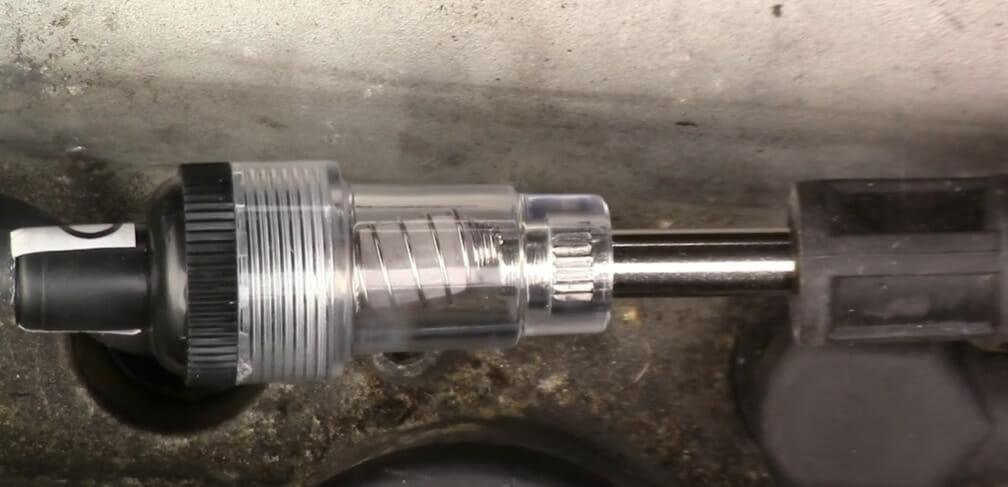
Method 1: Using a Spark Plug Tester
A spark plug tester is a handy diagnostic tool designed to evaluate the performance and health of the spark plug ignition system in your vehicle. Here’s a more detailed breakdown of how to utilize this device:
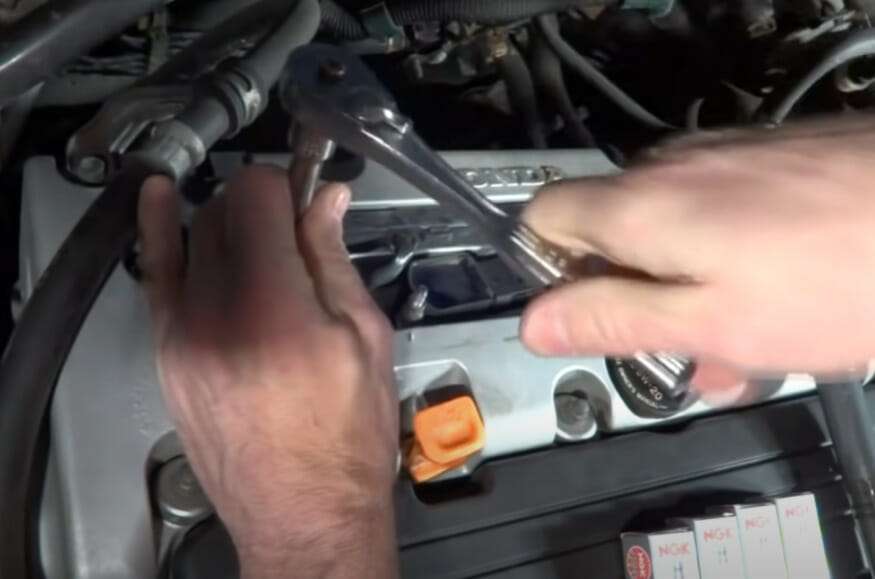
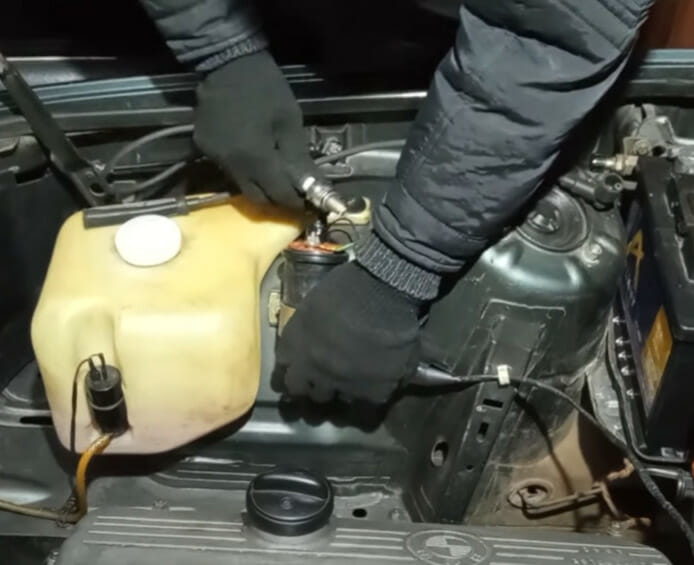
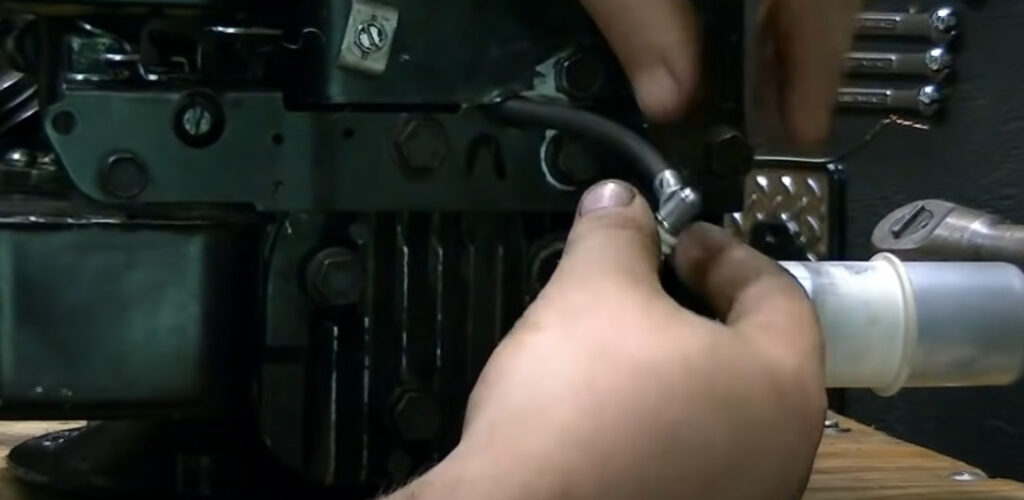
Step 1: Disconnect the Wire from the Spark Plug
Before you start, ensure the vehicle engine is off and cooled down to avoid burns or other injuries. Using the Spark Plug Wire Puller, carefully disconnect the wire from the spark plug. This tool is designed to remove the wire without causing damage or hurting your hand.
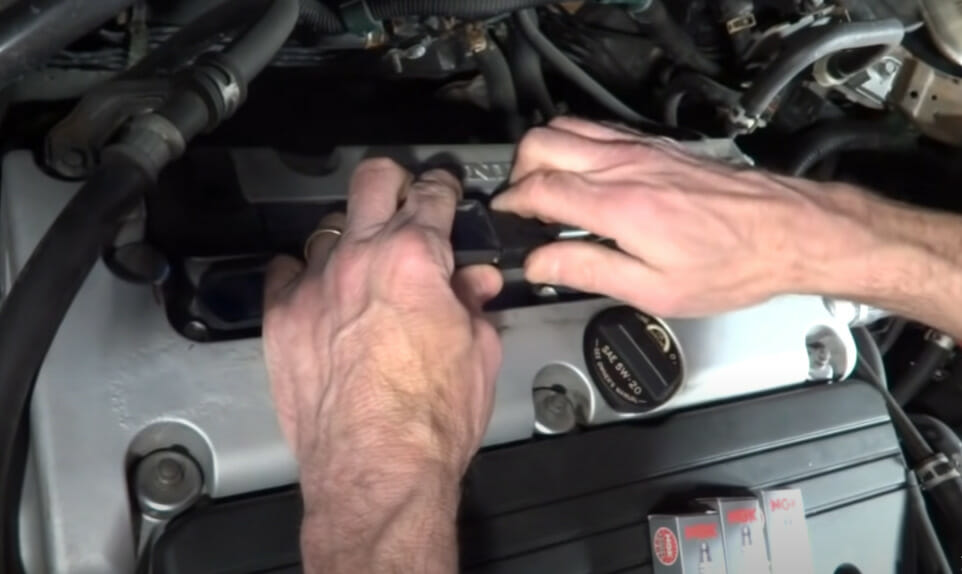
Step 2: Secure the Spark Plug
Next, fit the Spark Plug Socket over the spark plug. This socket is tailored to fit snugly over the spark plug, ensuring that the plug remains stationary during the test.
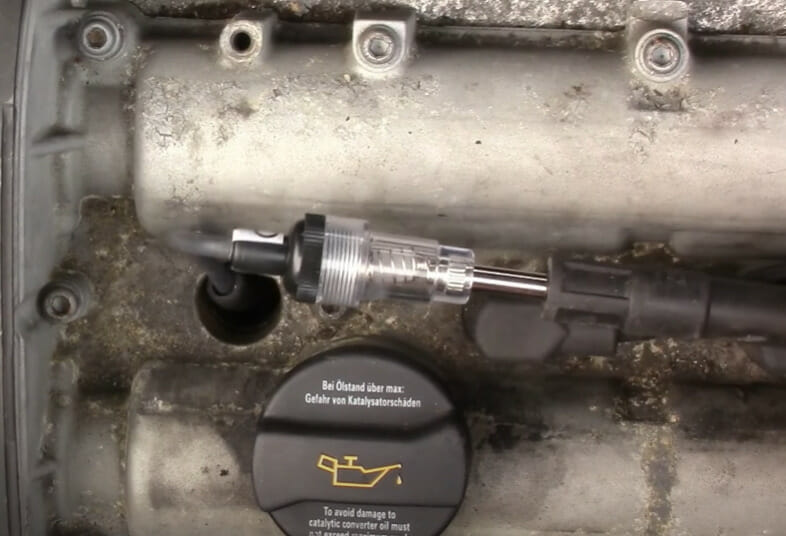
Step 3: Connect the Tester to the Plug Wire
Take one end of the spark plug tester and connect it to the plug wire. Ensure a firm connection so the tester can accurately measure the spark’s strength.
Step 4: Ground the Tester
For the tester to work, it needs to be grounded. Touch the other end of the spark plug tester to a clean, unpainted part of the engine or any other good grounding spot on your vehicle. This completes the circuit and allows the spark to travel through the tester.
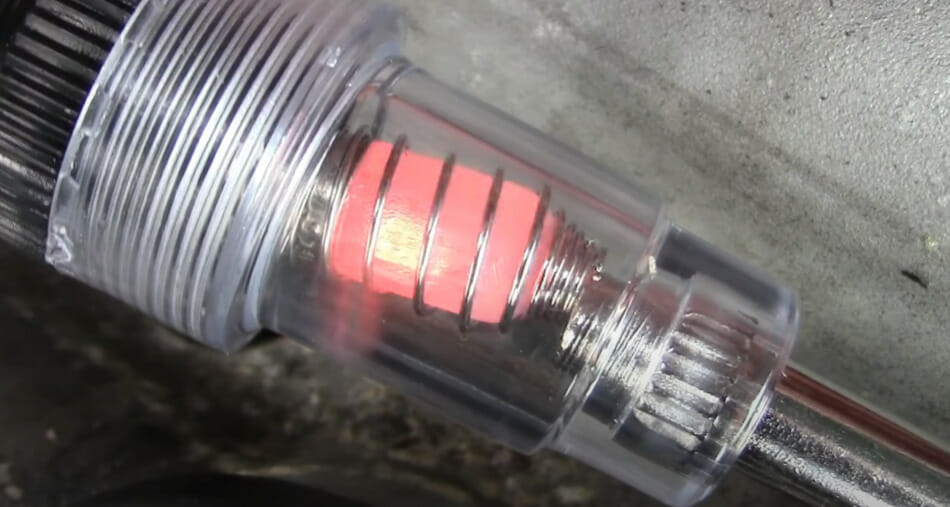
Step 5: Evaluate the Spark
With everything connected, turn on your engine. Look for a spark in the tester window. A healthy ignition system should produce a consistent, strong blue spark. If the spark is weak, inconsistent, or a different color, it might indicate issues with your spark plug or the ignition system.
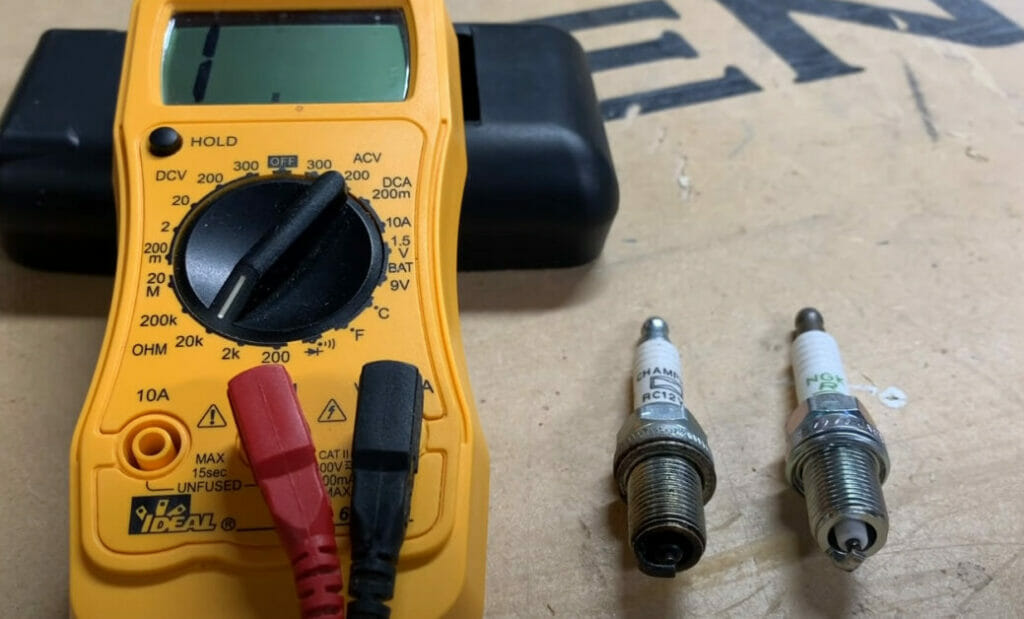
Method 2: Using a Multimeter
A multimeter is a versatile tool that measures electrical values, such as voltage, current, and resistance. Here’s a comprehensive guide on using a multimeter to measure the resistance of spark plug wires:
Step 1: Safely Disconnect Both Ends of the Spark Plug Wire
Before proceeding, ensure the engine is off and cool to the touch. Slowly and carefully disconnect both ends of the spark plug wire you wish to test. One end is connected to the spark plug, and the other to the ignition coil or distributor.
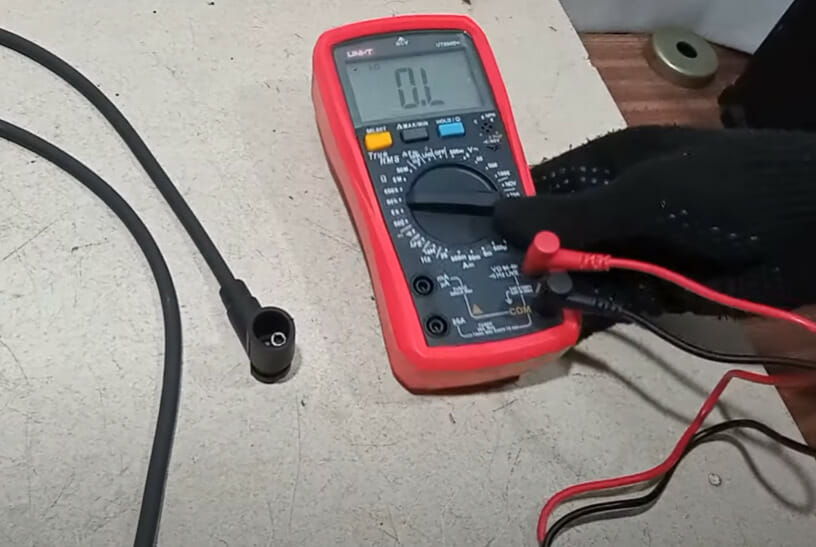
Step 2: Setting Up Your Multimeter
Turn on your multimeter and set the device to the resistance mode, typically represented by the ohm (Ω) symbol. Some multimeters may have multiple resistance scales; choose the one that fits the expected resistance range for spark plug wires, often the “kΩ” (kilo-ohms) range.
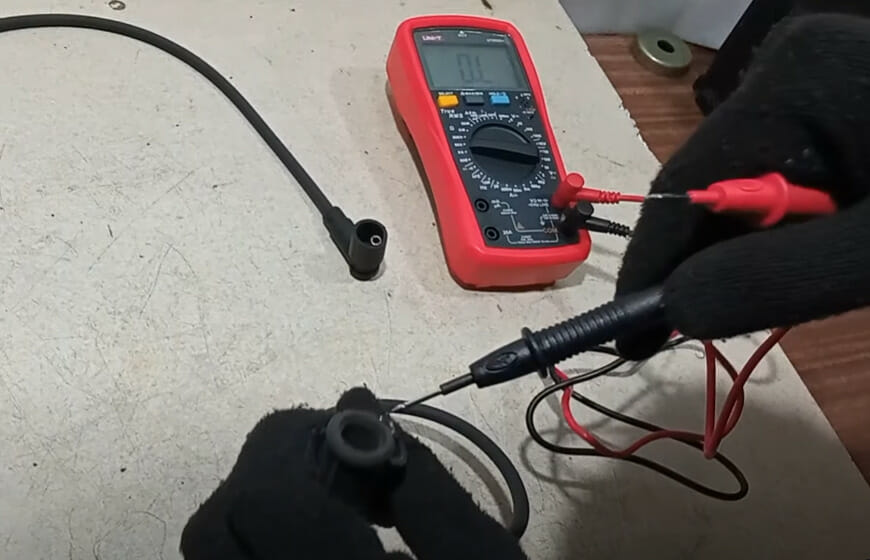
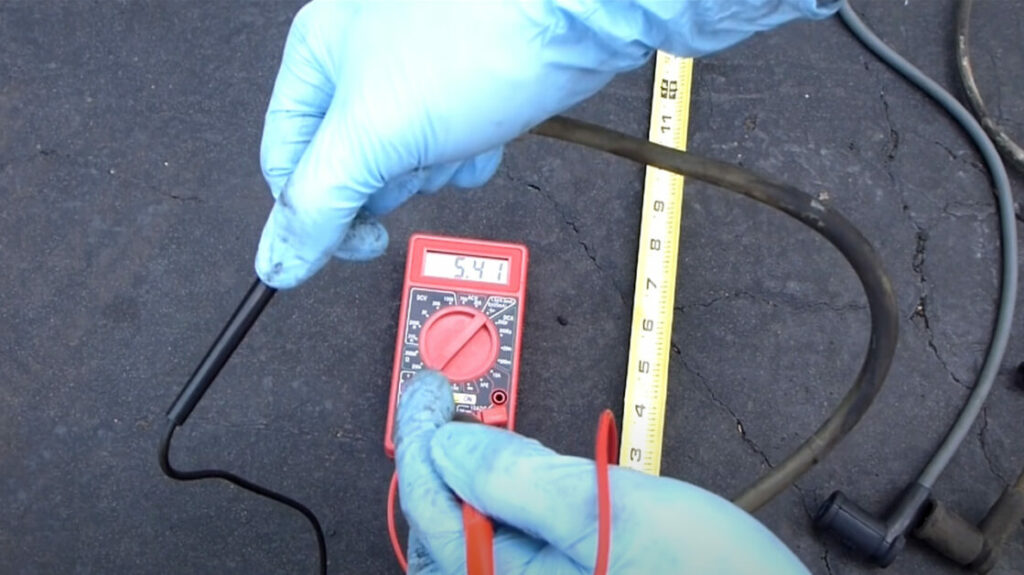
Step 3: Connect the Multimeter Probes
With the multimeter ready, take its two probes – the red (positive) and black (negative) – and connect one to each end of the spark plug wire. It doesn’t matter which probe goes to which end since you’re measuring resistance, not polarity.
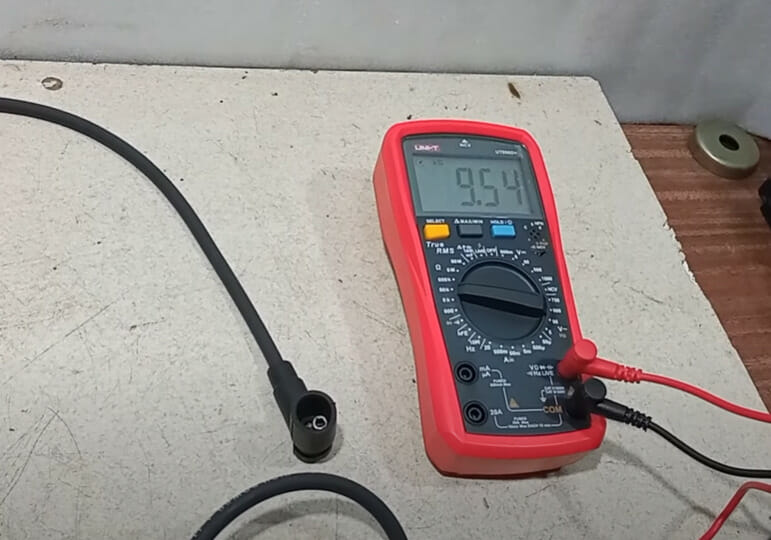
Step 4: Interpreting the Multimeter Reading
Once the probes make good contact, the multimeter will provide a resistance reading. Take note of this value. A general rule of thumb is that spark plug wires should have a resistance of roughly 5,000 to 7,000 ohms per foot. If your reading is significantly over 8,000 ohms per foot, it indicates excessive resistance, which can hinder proper spark and prompt a wire replacement.

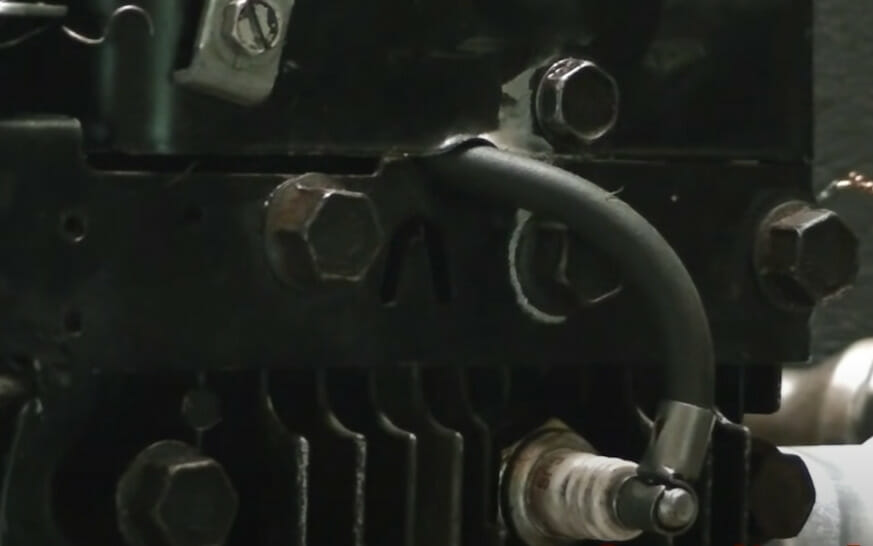
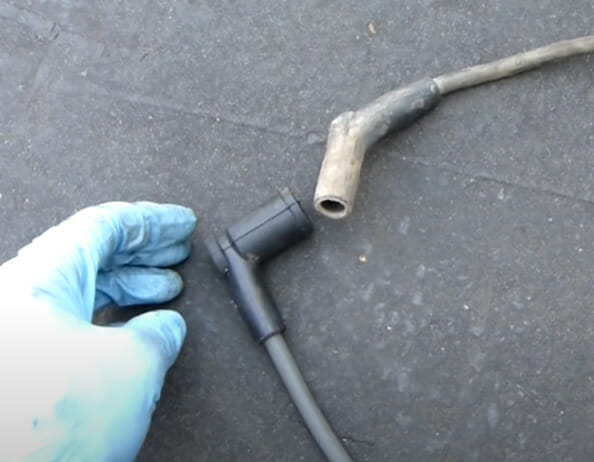
Method 3: Inspect Each Wire Visually
A visual examination is often the first line of defense when diagnosing potential issues with spark plug wires. A straightforward visual check can detect many common problems with these wires. Here’s a comprehensive guide to inspecting spark plug wires:
Step 1: Safety First
Before you begin, ensure that the engine is turned off and has had sufficient time to cool down. This will prevent accidental burns. Wear insulated gloves to safeguard against any residual electrical charges or sharp edges.
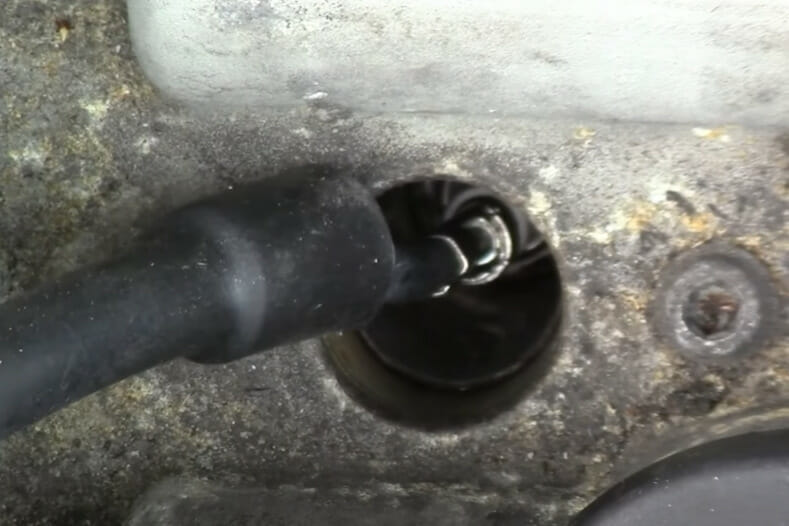
Step 2: Accessing the Spark Plug Wires
Open the vehicle’s hood and locate the spark plug wires. These typically run from the distributor or ignition coil to each spark plug and are often thick, insulated wires distinct from other wires in the engine bay.
Step 3: Follow Each Wire’s Path
Starting from one end, follow the path of each spark plug wire to its termination point, paying close attention to its entire length. Ensure the wires aren’t rubbing against any hot or moving parts, which can cause premature wear.
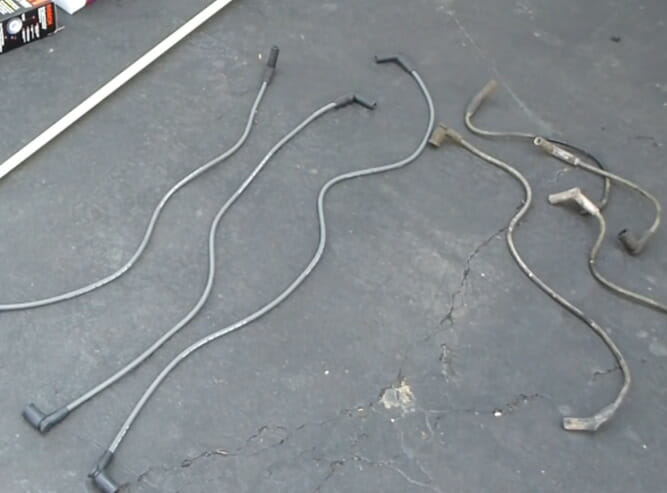
Step 4: Check for Physical Damages
Inspect the wire for:
- Cracks or Splits: Over time, the wire’s insulation can develop cracks due to heat, age, and wear.
- Burns: Signs of burns or melting indicate that the wire has been in contact with extremely hot engine parts or has experienced electrical issues.
- Rodent Damage: Look for bite marks or areas where the insulation has been stripped away.
- Discoloration: A discolored wire may indicate excessive heat exposure or contamination from engine fluids.
- Brittleness: Feel the wire’s insulation. If it’s become hard or brittle, it’s more susceptible to cracking or breaking.
- Loose Connections: Ensure that both ends of the wire are securely connected. A loose connection can cause intermittent issues or misfires.
Step 5: Inspect the Boots
The boots are the rubberized ends of the spark plug wires and should be inspected. Ensure they are not cracked, torn, or deteriorated, and snugly cover the spark plug’s terminal and the distributor or ignition coil’s connection point.
Safety Precautions
When handling spark plug wires or any component of the vehicle’s ignition system:
- Always ensure the vehicle is off and has cooled down.
- Wear insulated gloves and eye protection to safeguard against accidental sparks or debris.
- Work in a well-ventilated area to avoid inhaling any harmful fumes.
- Keep flammable items away from the work area.
What to Do If Wires Need Replacing
If you find that your spark plug wires need replacing:
- Document your findings: Take photos of the faulty wires to keep a record.
- Purchase quality replacements: Always opt for high-quality spark plug wires suitable for your vehicle make and model.
- Consider professional installation: If you’re uncomfortable replacing them, hire a mechanic to ensure the job is done correctly.
- Routine checks: Once replaced, make it a habit to inspect your spark plug wires during regular vehicle maintenance to catch any issues early on.
Costs Associated with Spark Plug Wires Maintenance and Replacement
Maintaining and replacing spark plug wires promptly can save you from costly repairs. Here’s a rough breakdown of potential costs:
| Item/Service | Estimated Cost | Notes |
|---|---|---|
| Spark Plug Tester | $10 – $50 | Varies based on brand and features. |
| Multimeter | $20 – $150 | Price depends on brand and functionality. |
| Insulated Gloves | $5 – $30 | Material and quality can affect the price. |
| Spark Plug Socket | $5 – $25 | Standard vs. magnetic or specialized models. |
| Spark Plug Wire Puller | $5 – $20 | Varies based on design and material. |
| Replacement Spark Plug Wires | $30 – $150 | The price depends on brand and functionality. |
| Professional Installation | $50 – $200 | Labor costs can vary by region and garage. |
| Total Estimated Cost | $125 – $625 | This is a rough estimate; actual costs can vary. |
Note: Prices are indicative and can change based on region, availability, and brand preference. Always check with local suppliers or service providers for the most accurate pricing.
Frequently Asked Questions
- How often should I replace my spark plug wires?
- Most mechanics recommend replacing spark plug wires every 30,000 to 60,000 miles. However, always refer to your vehicle’s owner’s manual for manufacturer recommendations.
- Can I replace the spark plug wires on my own?
- Yes, with the right tools and some basic knowledge, many vehicle owners replace spark plug wires themselves. However, it’s always best to consult or hire a professional mechanic if you’re unsure.
- Do all vehicles have spark plug wires?
- Many modern vehicles have moved to coil-on-plug (COP) systems, eliminating traditional spark plug wires. Always check your vehicle’s specifications.
- Are all spark plug wires the same?
- No, spark plug wires can vary based on the type of vehicle, its engine configuration, and the specific requirements of the ignition system. Always ensure you’re purchasing the correct set for your vehicle model.
References
Website References:
- Champion Auto Parts. https://www.championautoparts.com/Technical/Tech-Tips/Defective-Spark-Plug-Wires.html
- Family Handy Man. https://www.familyhandyman.com/project/how-to-test-a-spark-plug/
Video Resources:
Engineering Explained
RJ The Bike Guy
fnaguitarplayer9
Help from the Garage
Tight Wad DIY
Screw Nuts and Bolts
ChrisFix