10 min read
Multimeter 12V Battery Test (Guide)
Have you ever been stuck because your car’s battery quit? That’s a no-fun zone right there.
Let’s get to business and check if your 12v battery is ready to roll or needs some TLC. Here’s how we’ll do it:
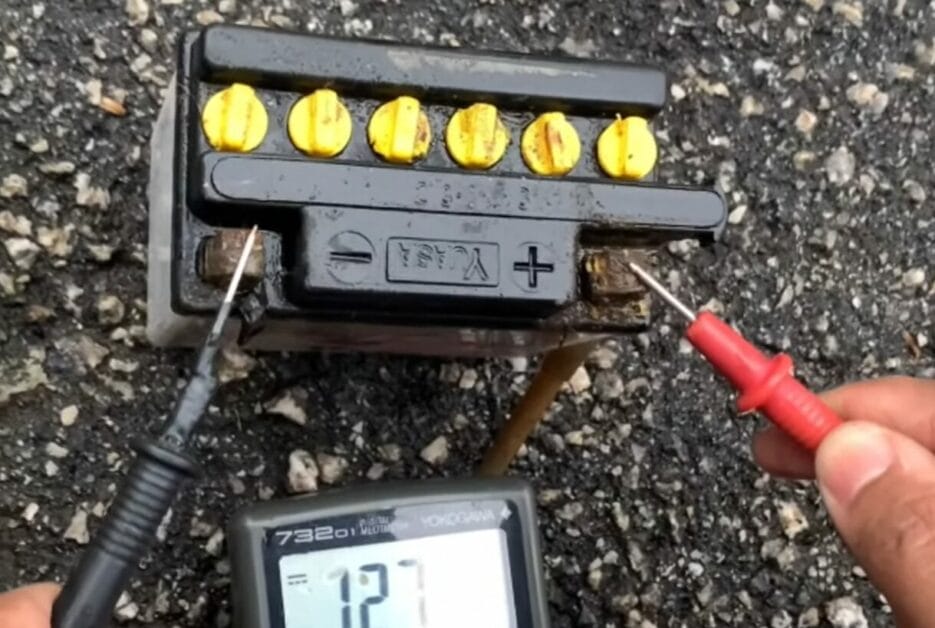
- Step 1: Kick things off by setting your multimeter to the “-V” section. This is where we measure Direct Current Voltage – it’s key for getting accurate readings on our 12v battery.
- Step 2: Take the black probe – our negative lead – and connect it firmly to the battery’s negative terminal. Follow that up with the red probe, connecting it securely to the positive terminal.
- Step 3: Finally, it’s time for the big reveal. Glance at your multimeter’s display. If it’s showing around 12.65 volts or higher, you’re in good shape.
In this guide, I will show you how to use a multimeter to check your car’s 12-volt battery. It’s all about ensuring you’re never stranded and keeping that battery in fighting shape. Let’s get into it!
Understanding a 12V Battery
Before we dive into how to test a 12V battery using a multimeter, let’s get a firm grasp on what a 12V battery is.
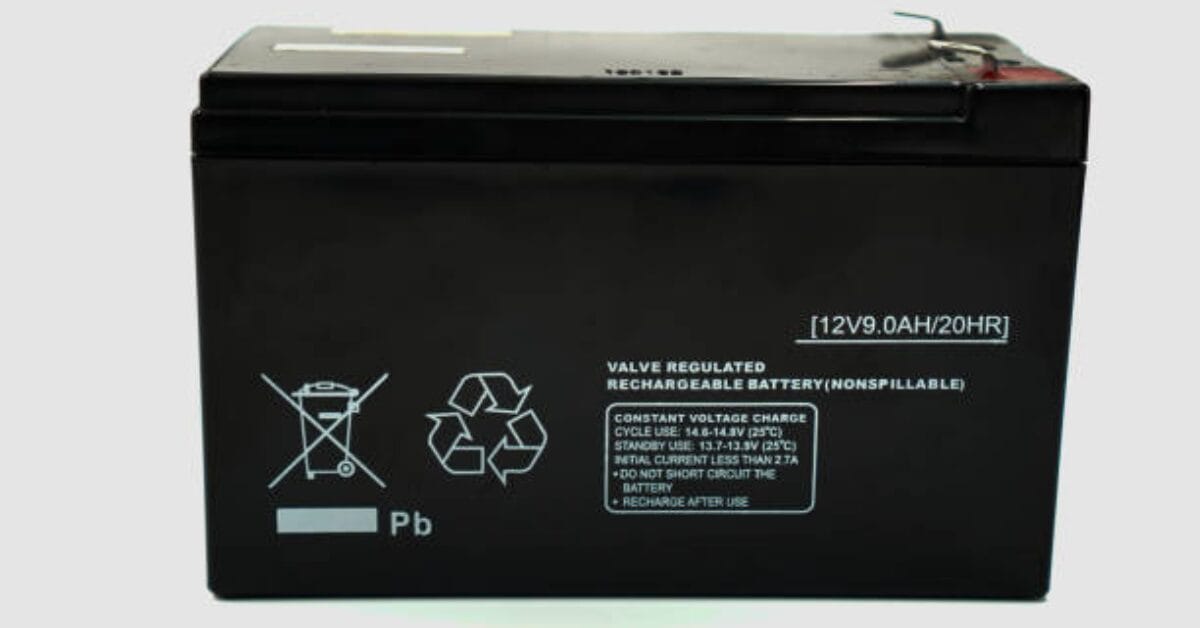
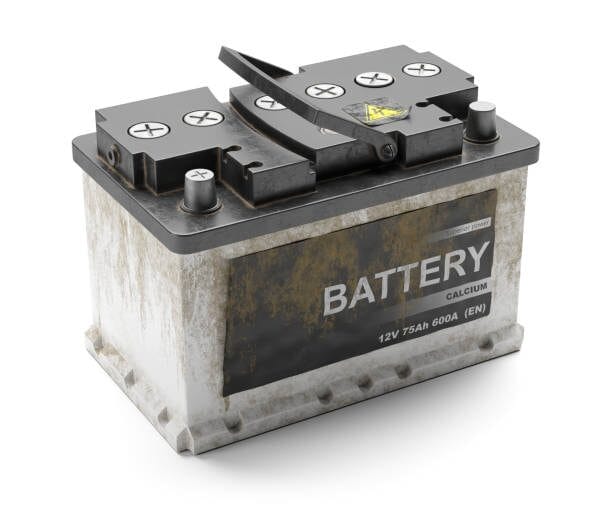
A 12V battery, which you’ll most likely find in your car or boat, is a rechargeable battery that uses a chemical reaction to produce 12 volts of electrical energy. The “V” stands for volts, a unit of electrical force.
12-volt batteries are commonly used in vehicles because they provide the right amount of power to run the electrical components without causing damage.
They’re a critical component in making sure your vehicle runs smoothly. Ignition, lighting, radio, and vital engine systems rely on a properly functioning 12V battery.
Step-by-Step Guide to Testing A 12V Battery
Now, I will show you how to test if your 12-volt battery is in tip-top shape or needs a pit stop. I’ve been down this road many times, and trust me, it’s easier than you think.
Step 1: Grab Your Multimeter
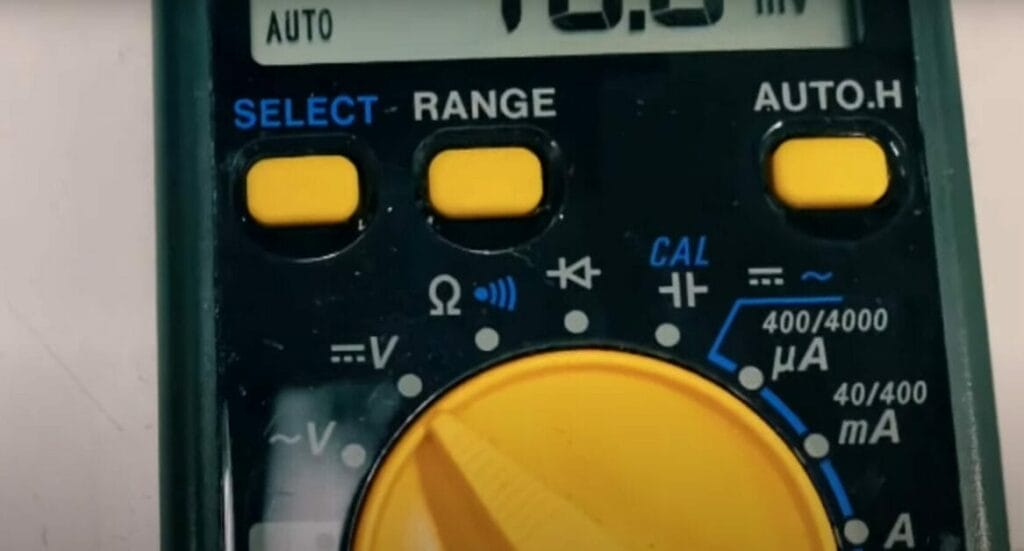
On your multimeter, you’ll find multiple settings. For our 12v battery test, we’ll use the section labeled “-V.” This setting enables us to measure Direct Current Voltage – which is perfect for 12V batteries most commonly found in cars and boats.
I can’t count how many times this tool has saved my day. This is crucial for getting the right readings.
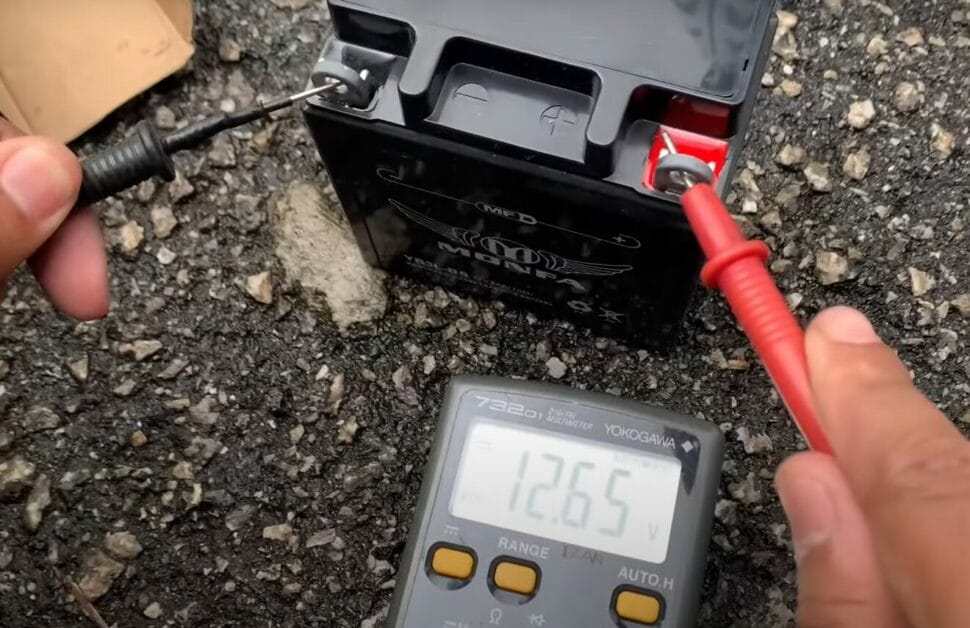
Step 2: Connect the Probes
Take the black probe of your multimeter – your negative buddy – and connect it to the battery’s negative terminal. I always ensure it’s a snug fit; a loose connection can distract your reading.
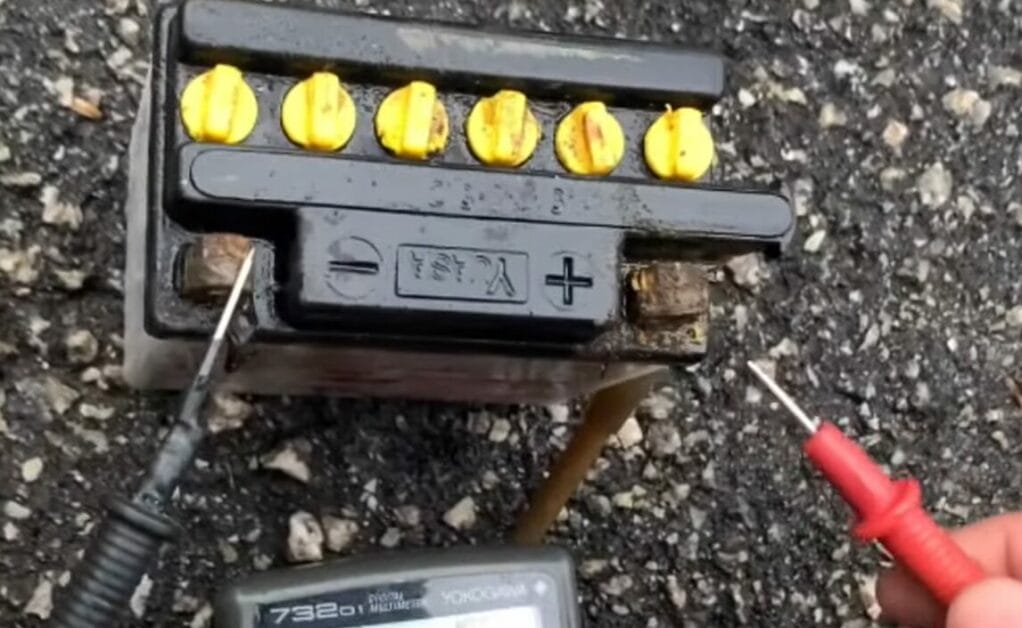
Next up, grab the red probe. This one’s positive and goes to the battery’s positive terminal. I’ve learned the hard way to double-check these connections.
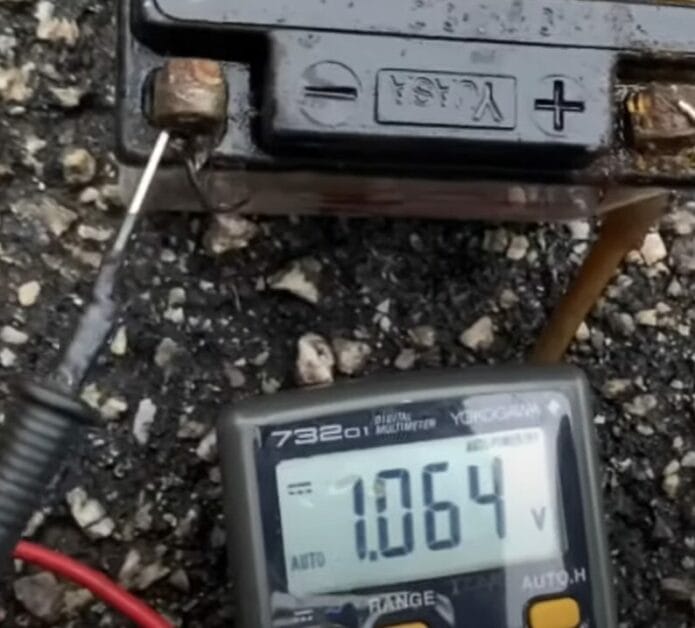
Step 3: Check Your Multimeter Reading
If it shows something like 1.064 volts, that’s a red flag. It’s a sign of an unhealthy or bad battery. I’ve seen a few of those in my time, and they’re no good for anyone.
If your multimeter reads around 12.65 volts or anything above 12.5 volts, you’re in the clear. That’s the sweet spot that indicates your battery is in good health. I always breathe a sigh of relief when I see those numbers.
So there you have it. I’ve been through my fair share of battery woes and victories, and sharing this knowledge feels just right. Keep on testing, and stay charged up!
Understanding the Results
When you’re elbows deep in the engine bay of your vehicle, multimeter in hand, testing your 12V battery, understanding the readings you’re seeing can be a bit like deciphering an alien language. But don’t you fret, my friends. I’m here to walk you through it.
First and foremost, you need to know that voltage varies depending on the state of charge in the battery. Your multimeter might show results between 11.8V and 12.7V; each value tells a different story. That’s your battery’s way of communicating with you.
Consider this handy guide to comprehend these alien conversations:
| Voltage | State of Charge |
|---|---|
| 12.7V | 100% charged |
| 12.5V | 75% charged |
| 12.42V | 50% charged |
| 12.32V | 25% charged |
| 12.20V | Discharged |
- Above 12.7V indicates your battery is in good health and fully charged; no worries. Steady as she goes!
- Around 12.5V, we’re still looking good here. Your battery’s at 75% charge—still a green light.
- Around 12.42V, we’re at 50%. Think of it as your half-full vs. half-empty scenario. It might be time to consider charging it up.
- Around 12.32V, your battery’s feeling depleted at just 25% and fast approaching the slippery slope to a dead battery.
- Around 12.20V or below is Defcon 1. Your battery’s empty, mate! Time to charge it up – and pronto!
Keep all these numbers at your fingertips– it’s the secret to your car battery’s health.
Troubleshooting Tips for Testing 12V Batteries
Let’s dive into some common hiccups you might hit while testing those 12V batteries with your multimeter. I’ve run into a fair share of these myself, so here’s the lowdown on how to tackle them:
Inconsistent Readings: Inconsistent readings can be a headache. First, check your multimeter’s battery – a weak one can give you many wonky readings. Also, ensure those probe connections are snug and secure. Loose connections can cause fluctuations.
Zero or Very Low Readings: Now, if your multimeter’s showing zilch, there’s a good chance your battery’s flat-out dead. But before you write it off, give those battery terminals a once-over. Corrosion can mess with your readings. Grab a wire brush and give them a good scrub. It’s amazing what a difference a clean connection can make.
Multimeter Shows ‘OL‘ or Overload: Seeing an ‘OL’ on your screen? This usually means there’s an open circuit somewhere. Check your battery cables and connections – a loose cable can throw off your readings. And remember, safety first. Don’t go poking around with metal tools that could sort something out.
Reading Drops Under Load: If your voltage reading takes a nosedive when the battery’s under load, it’s usually a sign the battery can’t hold a charge. But before you toss it, make sure it’s fully charged. I’ve had batteries come back to life after a good charge. It might be time for a new one if it still can’t hold up under load.
Testing a battery isn’t just about hooking up a multimeter and reading numbers. It’s about understanding what those numbers are telling you. With a bit of know-how and some patience, you’ll get the hang of it. Stay sharp and stay safe out there!
Common Mistakes to Avoid
Let’s discuss some pitfalls when testing your car’s 12V battery with a multimeter. I’ve seen my share of these blunders, and let me tell you, avoiding them can save you a whole lot of hassle.
Wrong Multimeter Setting: You’ve got your multimeter, but if it’s set to the wrong function, you might as well be trying to measure the temperature of your coffee with it. Always double-check that you’ve set your multimeter to measure DC voltage.
Incomplete Connections: Another common slip-up is not getting those probe connections right. Your readings will be off if the probes aren’t firmly attached to the battery terminals. I’ve seen folks gently place the probes on the terminals and then wonder why their readings are inconsistent. Press them firmly onto the terminals for a solid connection – a game-changer.
Misinterpreting Readings: Now, let’s talk about reading the numbers. A reading slightly above or below 12V can mean different things. People panic at a 12.2V reading, thinking their battery is toast. But in reality, it’s just not fully charged. Knowing the difference between a slightly undercharged battery and a dead one can save you unnecessary replacements.
Ignoring Battery Condition: Keep an eye on the condition of your battery terminals. Corrosion or dirt can lead to poor contact and faulty readings. I learned this the hard way while troubleshooting a friend’s car. I cleaned up the terminals, and the readings were accurate again. A simple brush-off can make all the difference.
Testing Under Load Incorrectly: If you’re doing a load test (which is more advanced), ensure everything else in the car is off. Headlights, radio, A/C – all these can affect your reading. I once forgot to turn off the headlights and couldn’t figure out why the voltage was dropping so fast. Turns out, it was just the extra load.
Not Giving the Battery Time to ‘Wake Up’: If you test right after turning off your vehicle, you might not get the true resting voltage of the battery. Give it some time to settle down for a more accurate reading. After several tests after a long drive, I found that the readings were higher than the actual resting voltage.
Avoiding these common mistakes will make you more effective at diagnosing battery issues. And hey, it’s always a good feeling to nail it on the first try! Stay curious, stay safe, and keep learning – that’s how to do it.
Frequently Asked Questions
- Is My Battery Dead If It Reads Below 12V?
- Readings below 12V usually spell trouble – it’s like your battery’s sending an SOS. If it’s reading around 11.8V or lower, your battery is discharged or possibly failing. It might be time to change it or even replace it.
- When Should I Replace My Battery?
- If your battery consistently shows a low voltage (below 11.8V), struggles to hold a charge, or fails load tests, it’s like a sign saying, “Time for a new battery.” Also, it might live on borrowed time if it’s over three years old.
- Can a Battery Show Full Voltage and Still Be Bad?
- A battery can show a full voltage (12.6V) and still be a dud. It’s like having a car with a shiny exterior but a faulty engine. Load tests are crucial here – they reveal the true health of your battery under stress.
- Does Temperature Affect Battery Testing?
- Cold weather can reduce your battery’s performance – it’s like how we all move a bit slower in the cold. Consider the ambient temperature when testing and interpreting your battery’s voltage levels.
References
Studies:
- Dynamic Charge Acceptance (DCA) and Heat Workshops. https://batteryinnovation.org/automotive/
Organizations:
- Consortium for Battery Innovation (CBI). https://batteryinnovation.org/
Website Resources:
- DriveSafe Online’s Guide to Battery Care and Maintenance. https://www.drivesafeonline.org/vehicle-maintenance/battery-care/
Video References:
TonaziTube