5 min read
How to Wire a Pull Chain Switch with Diagram (Expert Explains)
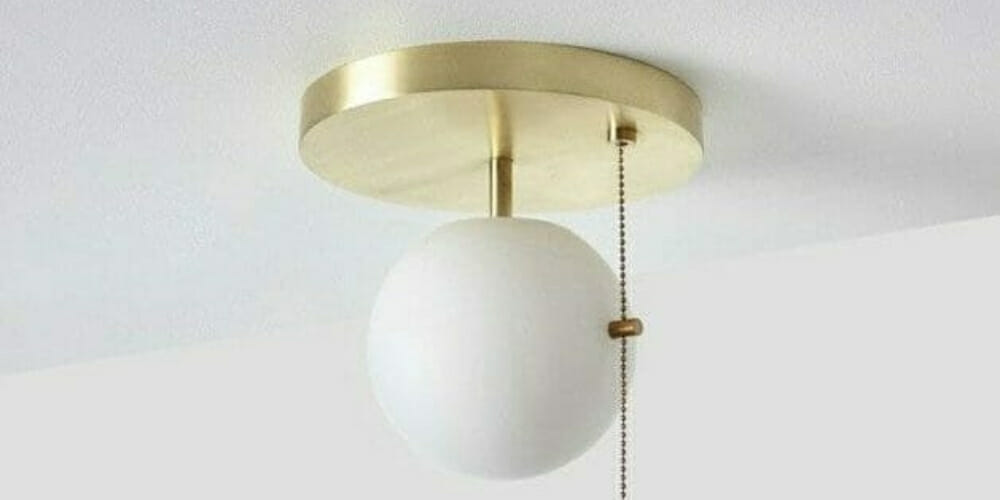
Today we’re going to go through wiring a pull chain switch.
To set up a pull chain switch on your light fixture, you need to wire it correctly and use its wiring diagram or you may set up the wires wrong and fry the components. I have over 15 years of experience in electrical wiring and having done this job multiple times in my home and for clients, I can guide you through the process.
Let’s get started below in more detail.
Quick Summary: To wire a pull chain switch, turn off the main power supply on the breaker panel and remove the bulbs and light shade. Next, disconnect the light fixture from the ceiling and find a sturdy working station. Then, pull out the wire connectors and the old switch from the light fixture. You can now connect the black cable and twist the orange connectors to the hot wires hanging from the ceiling. Finally, reattach the light fixture with screws to the electrical box.
Step 1: Turn Off the Power
Turn off the main power supply to the electrical fixture you are working on to be safe. You can do this by simply flipping the breaker switch off.
Step 2: Disconnect the Light Shade and The Bulb Lights
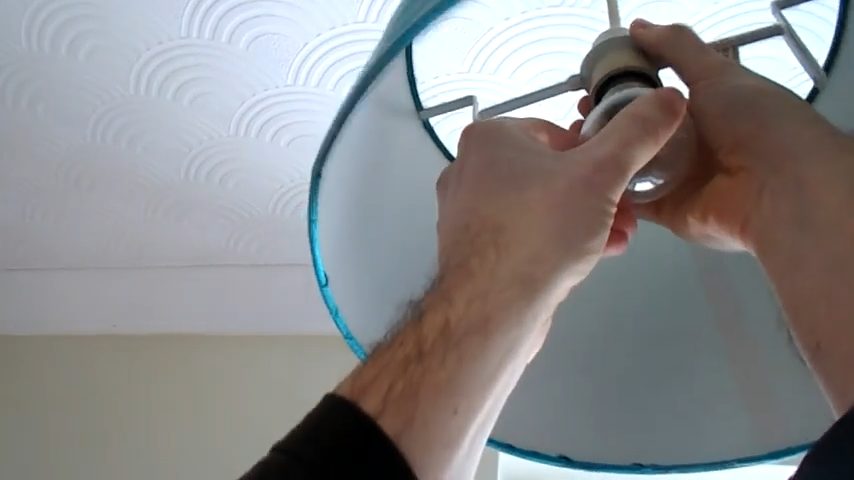
After you have disconnected the electricity, get rid of all the light shades and bulbs. Unscrew the screws connecting the light fixture to the electrical box. Proceed carefully to avoid breaking the bulbs because they are fragile. Take off the fixture from the junction box.
Step 3: Remove the Light Fixture from The Electrical Box on The Ceiling
Untwist the cable connectors holding the neutral (white) wire from the fixture and the other neutral wire from the electrical box on the ceiling.
Disconnect the hot wire (black) from the ceiling electrical box and the black wire from the fixture pull chain switch. Unwind the connectors to separate them.
Wind up the light fixture removal from the ceiling by disconnecting the wire connectors holding the bare copper wire from the electrical box to the ground wire.
Step 4: Move Your Light Fixture to a Sturdy Workstation
Take the light fixture to a stable place such as on a wooden table. Ensure you have enough light for clarity.
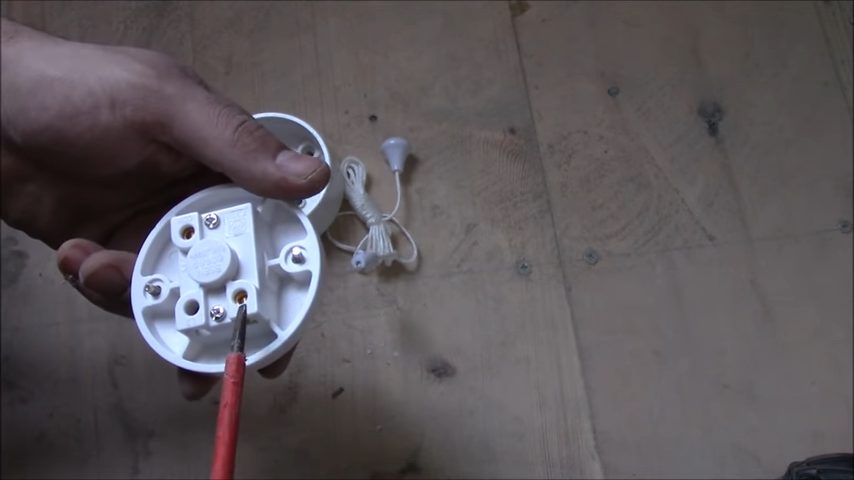
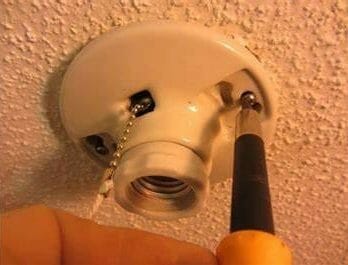
Remove the retaining nut that holds the pull chain switch from the light fixture. The chain runs through the retaining nut to enable easy identification.(2)
Step 5: Remove the Connector that Holds the Hot Wire
Untwist the wire connectors holding the live wire from the pull chain switch to the live wire on the light fixture. The pull chain switch has two hot wires attached to it. Of the two wires, one is linked to the main power supply cable in the electrical box. And the other is attached to the light fixture.
Step 6: Remove the Existing Pull Chain Switch from The Light Fixture
Remove the existing pull chain switch from the fixture and dispose of it. Install the threaded throat of the new pull chain switch via the hole you pulled the old light fixture out. Run the chain via the retaining nut. Then, connect the nut to the threaded throat on the switch. Turn it clockwise.
Step 7: Connect the Hot Wire from The Light Fixture

At this point, attach the black cable from the light fixture switch to the black cable on the pull chain switch. For this, wind an orange cable connector onto the two wires. Secure the connection with a wire cap.
Step 8: Twist on an Orange Cable Connector to The Hot Cable from The Ceiling
Twist the black cable dangling from the ceiling electrical box and the black cable from the pull chain switch together. For the connection, wind an orange cable connector.
You can now reconnect the two neutral/white cables with an orange wire connector. Then, twist another orange connector onto the bare copper cables coming from the ceiling electrical box to connect it to the ground (green) wire from the light fixture.
Step 9: Reconnect the Light Fixture to The Electrical Box on The Ceiling
Finally, reconnect the light fixture to the electrical box. Use the screws you initially removed while pulling the light fixture from the ceiling. You can now replace the light shades and the bulbs on the light fixture.
Restore power to the light fixture and test the switch.
Take a look at some of our related articles below.
- How to connect ground wires together
- How to test a fluorescent light bulb with a multimeter
- How to test a light switch with a multimeter
References
(1) electricity – https://www.eia.gov/energyexplained/electricity/
(2) identification – https://medium.com/@sunnyminds/identity-and-identification-why-defining-who-we-are-is-both-necessary-and-painful-24e8f4e3815
Video Reference