7 min read
How to Trace a Wire with a Multimeter (3-Step Guide)
It could be a home electrical wiring project or tracing a wire on your car; whatever the situation, without proper technique and execution, you might get lost.
We can easily trace wires in a home electrical system or your car’s circuit with a simple continuity test. For this process, we will need a digital multimeter. Use the multimeter to detect the continuity of the particular circuit.
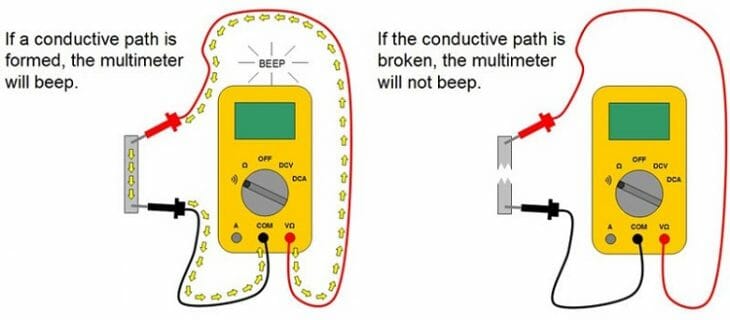
What is a Continuity Test?
Here is a simple explanation for those unfamiliar with the term continuity in electricity.
Continuity represents a complete path of current flow. In other words, with a continuity test, we can check if the particular circuit is closed or open. A circuit that remains in the ON position has continuity, which means the electricity flows through that circuit in a complete path.
Using continuity tests has many advantages. Here are some of them.
- Can check the condition of the fuse; good or blown.
- Can check if the switches are working or not
- Capable of checking conductors; open or shorted
- Can Check the circuit path; clear or not.
This post will use the continuity test to check the circuit path. Then we can easily trace the wires.
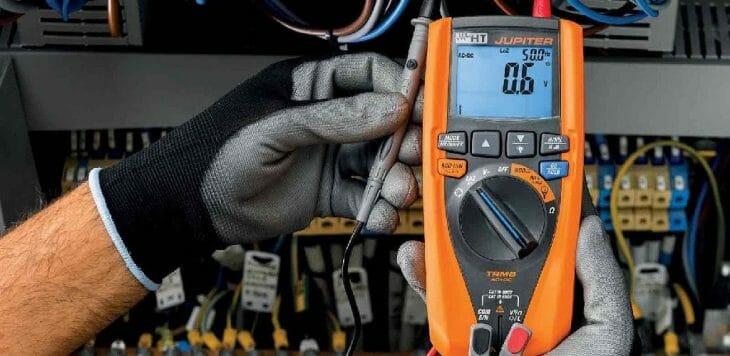
How to Set the Multimeter for a Continuity Test?
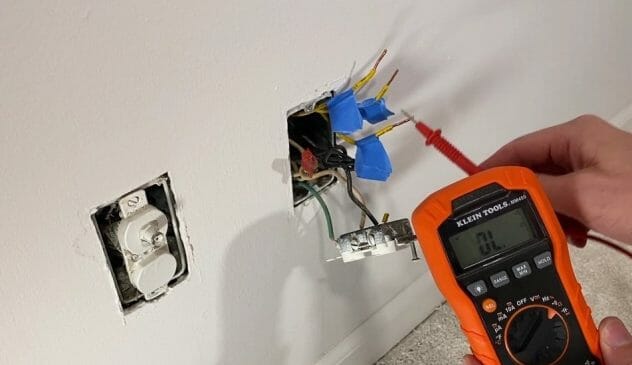
First, set the multimeter for the ohms(Ω) setting. Turn on the audible alarm. If you follow the steps correctly, the screen will display OL. Now your multimeter is ready for a continuity test.
Tip: OL stands for open loop. The multimeter will display a reading above zero if the testing circuit has continuity. Otherwise, it will display OL.
Aim of the Continuity Test
Usually, your car includes plenty of circuits. With the help of proper electrical wiring, these circuits carry signals and power to each component of the car. However, these electric wires can get damaged over time because of accidents, misuse, and component failure. These kinds of failures can cause open circuits and short circuits.
Open Circuit: It is a circuit with broken continuity, and the current flow is zero. Usually displays a high resistance between two points.
Closed Circuit: There should not be any resistance in a closed circuit. Therefore, the current will flow easily.
We hope to identify the open-circuit and closed-circuit situations using the continuity test with the following process.
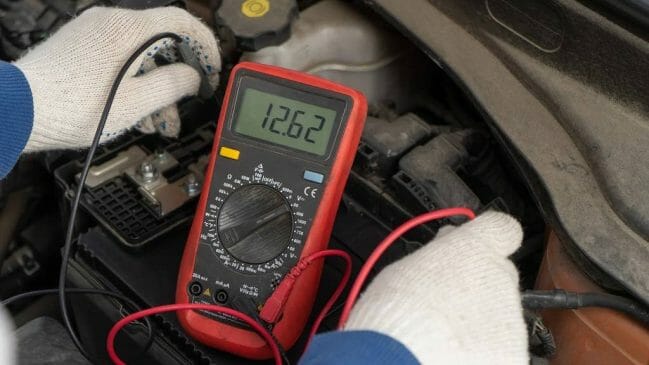
How to Use a Continuity Test to Identify the Improper Wires in your Car
For this testing process, we will look at how to trace wires with a multimeter in a car. It can be pretty handy for identifying some severe issues in your vehicle.
Necessary Tools to trace Wires in a Circuit
- Digital Multimeter
- Wrench
- Small mirror
- Flashlight
Before starting the process, gathering all the above tools is a must. Now follow these steps correctly to trace the wires.
Step 1 – Disconnect the Power
First, disconnect the power from the testing section of your car. You should not ignore this step; the best way to do this is to remove the battery cable. Use the wrench to remove the battery cable. Furthermore, disconnect the particular electrical device you plan to test from the voltage supply source.
Step 2 – Inspect All the Connections
First, identify the electrical wires you need to check in this process. Make sure all these wires are reachable so you can check them with a multimeter without any trouble. Besides, pull those wires to check the strength of the connection points. Afterward, check the length of the wires that you are testing. Also, check for any damaged wires too.
However, sometimes, you might not be able to reach every point. Therefore, use the small mirror and the flashlight to reach those positions. Also, you might spot some black spots on the insulation; it could be a sign of overheating. If that is the case, the wires that work with the insulation might be damaged. (1)
Step 3 – Tracing
After checking everything, you can now trace the wires. Locate the wire connector and remove it for better inspection. Now you can examine the damaged wires. Then set the multimeter for a continuity test.
Now place one of the multimeter’s leads on the metal terminal that attaches the wires to the connector.
Then place the other lead on any part of the wire. Shake the wire if you need to identify improper connections. If you follow the process correctly, now you will have one lead on the metal terminal and the other on the wire.
The multimeter should give a reading of zero. However, if it shows some resistance, it is an open circuit. That means the individual wire is not working properly and needs to be replaced soon as possible. Also, apply the same method to the end of the wire. Do this for all remaining wires. Finally, observe the result and identify the broken wires.
How to Use a Continuity Test in Your Home?
It can be done easily if you need to trace wires during your home DIY project. Follow these steps.
Tools Needed: A digital multimeter, a long wire, a few lever wire nuts
Step 1: Imagine that you want to check the connection from one outlet to another (consider points A and B). We cannot tell which wire is which exactly by looking at it. So, pull out the wires that you need to check. For instance, you must bring out point A and B wires.

Step 2: Connect the long wire to one of the outlet’s wires (point A). Use a lever wire nut to attach the wires. Then connect the other side of the long wire to the black lead of your multimeter.
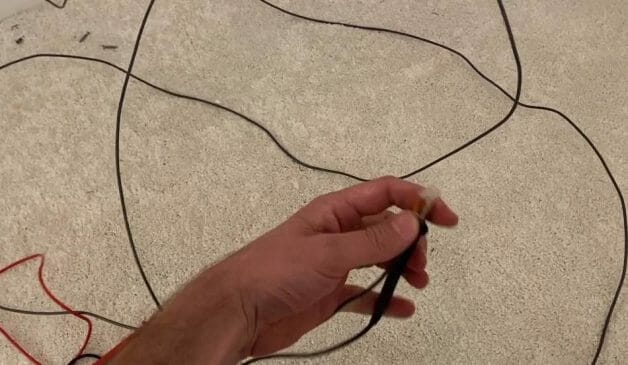
Step 3: Now go to point B. There you can see lots of different wires. Set the multimeter for the continuity test. Then place the red lead on each of those wires. The wire that shows resistance on the multimeter during the test connects with point A. If other wires do not display resistance, those wires do not have connections from points A to B.
Wrapping Up
Today, we discussed tracing a wire with a multimeter in different situations. We use a continuity test for tracing wires in both situations. We hope you understand how to trace wires with a multimeter in any environment. (2)
Below are other multimeter how-to guides you can check and refer to later. Until our next article!
- How to test a capacitor with a multimeter
- How to check for battery drain with a multimeter
- How to test fuses with a multimeter
References
(1) mirror – https://www.infoplease.com/encyclopedia/science/
physics/concepts/mirror
(2) environment – https://www.britannica.com/science/environment
Video Reference