15 min read
How to Trace Electrical Wires (Methods and Steps)

Tracing wires can be tricky, especially when many are in an appliance or hidden behind walls and attached at several points.
I will show how to trace electrical wires non-invasively so that you don’t have to open up your walls and invasively for confirmed tracing. First, I will show you 5 different instruments you can use. I will then show you 3 different wire tracing methods.
Quick Summary: You can trace electrical wires using a cable tracer, stud finder, tone generator, voltage tester, endoscope, or more than one in combination. The first three indicate if there’s a wire behind with a light or sound. A tester is for testing a live wire, and an endoscope is for seeing behind a stud wall but will require creating one or more holes.
Continue reading for more detailed information.
Tracing Electrical Wires
Tracing electrical wires requires looking at all the wire connections in the appliance, including where the power cord from the outlet is connected.
You might also need to look at the circuit breakers or get your home wiring map if you’re tracing electrical wires hidden inside walls. If you don’t have a copy, you might be able to obtain one from the construction company that built your house or the local council.
If you still can’t obtain it, all hope is not lost because this article will show you how to trace electrical wires, no matter how difficult the task might seem.
Instruments for Tracing Electrical Wires
The following instruments can help you trace your wires:
- Cable Tracer
- Stud Finder
- Tone Generator
- Voltage Tester
- Endoscope (see Method 3)
Using a Cable Tracer
As shown below, you will need an electronic cable tracer to help you trace electrical wires non-invasively.
It uses radar detection methods and transmits signals to identify wires behind walls or underground, even when they are de-energized. It’s a dedicated tool for the job. When the probe passes through the wire, the receiver detects it, and the detector either lights up to give a visual indication or produces a beep to give an audible indication.
However, such cable tracers are expensive, so I will also show how to trace electrical wires using alternative instruments.

Using a Stud Finder
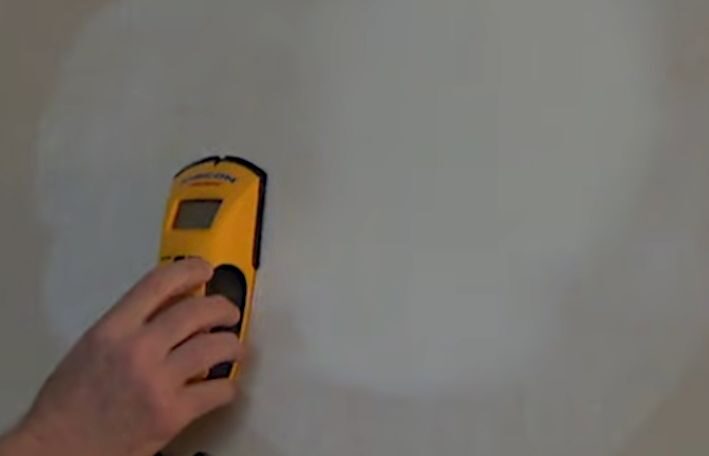
If you have a stud wall, you can detect a wire behind it or even a ceiling or floor using a magnetic stud finder.
Like a cable tracer, it produces electric fields when placed on a surface. It will produce a beep sound when it identifies a wire or a metal nail. An electronic version detects denser regions, such as something attached to a stud, and alerts with a light or sound. Some models can even detect a trace amount of electrical current to give a more precise location of the wire’s location but not the number of wires at that spot.

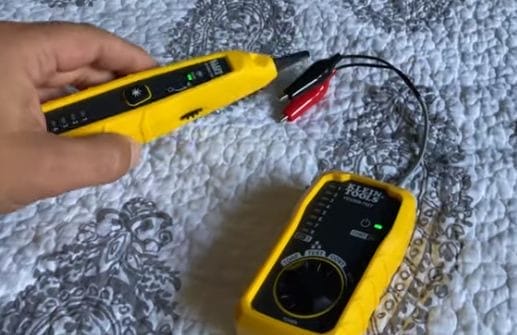
Using a Tone Generator
As the name suggests, a tone generator sends a high-frequency signal, and a receiver detects the same signal’s return.
You attach the end clamp to the target wire before sending the test signal. You then sweep the receiver end over the bundle of wires until it chirps over the right one. This method helps to detect which wire is which when there’s a bundle of mixed wires.

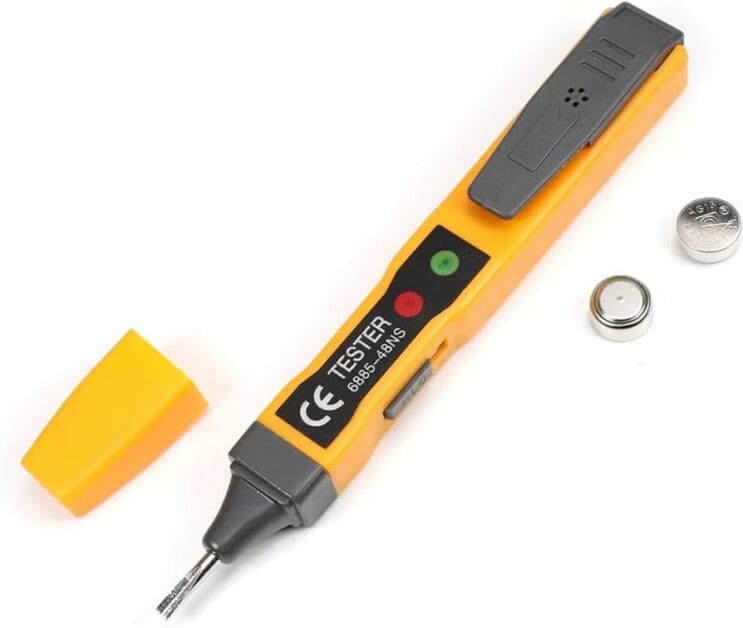
Using a Voltage Tester
A voltage tester or detector is another useful tool to trace wires.
It can tell whether the wire is live. Voltage testers come in contact and non-contact types. The contact types require directly touching the wire with the metal end of the voltage tester (while holding the plastic portion). The non-contact type only requires bringing the tester near the wire, and it will detect if it’s live or not.
They also vary by either providing a light indication or an audible alarm. For example, a neon circuit tester has a neon bulb. Audible types are also known as voltage probes or ticks because they make a sound in the presence of a live wire. The tips are either sharp like a screwdriver to allow them to fit into outlets or fitted with circuit-sensing clamps.
All voltage testers allow verifying the current, i.e., whether it is flowing. They’re also often used to verify that the breaker has turned the power off before working on a circuit.
Procedures for Tracing Electrical Wires
I will show you 3 methods for tracing electrical wires concealed inside walls as examples of procedures you can apply.
Choose the one that is ideal for your particular situation:
- Tracing wires in walls using an electrical wire detector
- Tracing wires in stud walls using a magnetic stud finder
- Tracing wires using a hole and camera
Tracing Wires in Walls Using an Electrical Wire Detector
Requirements and Suitability
In this method, we will trace a wire that runs up to an open outlet to see where it runs inside the walls. You can also use it to avoid nailing or screwing into an area containing a wire behind.
You will need an electrical wire detector that can emit signals for probing through a wire.
Some types can only work with live wires, whereas others can work with either (live or not live), so use the one you require. Live-wire detectors are usually more expensive. If the wire doesn’t need to be live, I suggest using the cheaper version to detect only non-live wires.
Also, turn off the power at the circuit breaker panel as a safety precaution.
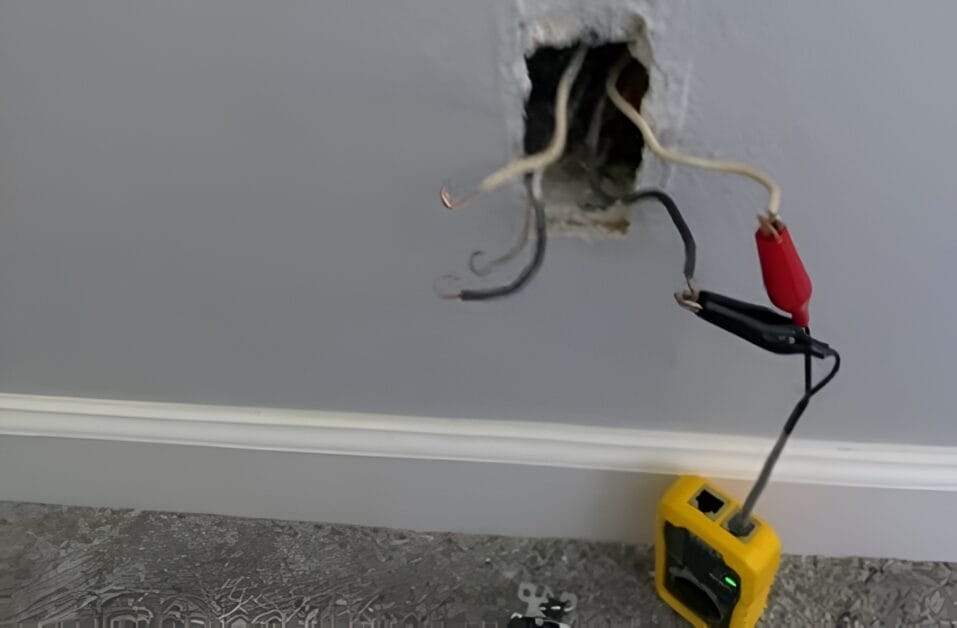
Step 1: Connect the Wire Detector
The electrical wire detector has 2 parts: a transmitter and a receiver.
Connect the transmitter part to a nearby power outlet. The closer you are to the inspection area, the more accurate the reading will likely be.
Step 2: Turn the Detector On
Turn both the transmitter and receiver on. Press the power buttons on them.
Step 3: Transmit a Signal
Press the signal button on the transmitter.
Doing so will transmit a probing signal through the wire in the wall.
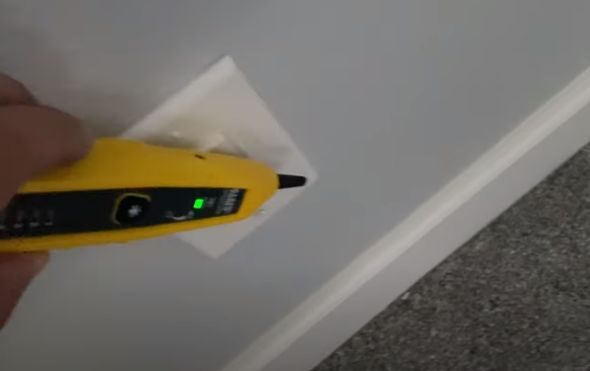
Step 4: Use the Receiver
Use the receiver to detect the signal you transmitted in the previous step.
Move it horizontally while scanning the inspection area and vertically if you suspect you found the wire. This is because electrical wires usually run vertically and horizontally through a wall.

Step 5: Look for a Signal
When looking for a signal, I suggest starting from the outlet and slowly moving outward to trace the direction of the wire inside the wall.
Keep an eye on the receiver if it’s the type that gives a visual indication. I suggest marking the spot with a pencil when getting a signal to know where the wire runs.
Tracing Wires in Stud Walls Using a Magnetic Stud Finder
Apply this method if you know the wire runs inside a wall with studs and is attached to them with nails.
Stud finders locate the nails rather than wires per se, but they can help trace wires because nailed clips inside wooden stud walls usually hold wires. Follow the steps below to trace wires in stud walls using a magnetic stud finder.
Step 1: Turn the Stud Finder On
Switch on the stud finder unless it’s a type that doesn’t require power.
Step 2: Use the Stud Finder
Hold the stud finder against the wall you’re inspecting and slowly move it around.
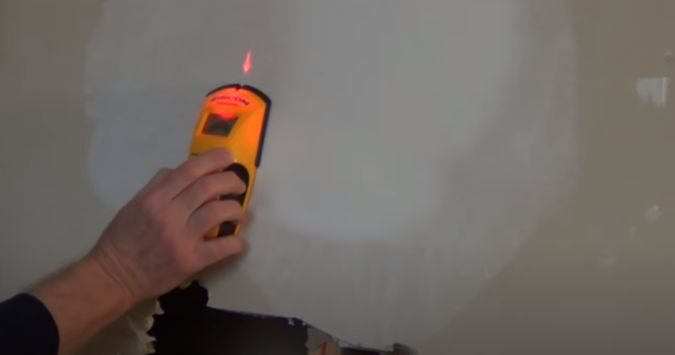
Step 3: Look for Signals
Move the stud finder horizontally or vertically once you find a signal, as the wire will likely run horizontally or vertically from that point.
Any metal object behind the stud wall will make the stud finder light up or emit a sound.
Step 4: Mark Known Spots
Mark the known spots using a pencil.
It will help to know the wire’s likely route inside the stud wall.
Step 5: Open the Wall
Open the wall once you’ve traced the wire if you want to gain access to it.
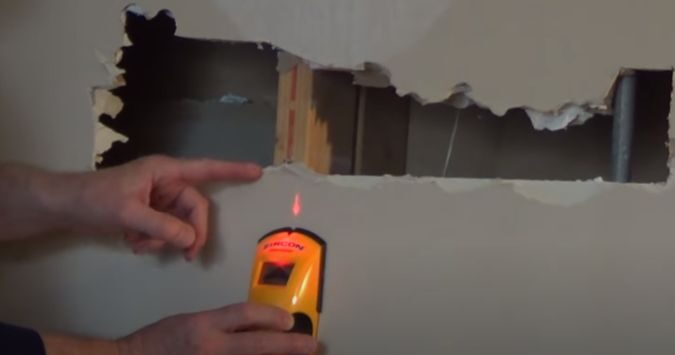
Or, if you’re detecting wires to avoid those areas for attaching or hanging something, do so in a ‘safe zone’ where you’re sure there is no wire behind, i.e., inside the stud wall.
Tracing Wires Using a Hole and Camera
This method involves making holes in a stud wall, so only apply it if you’re comfortable with that, and turn the power off before
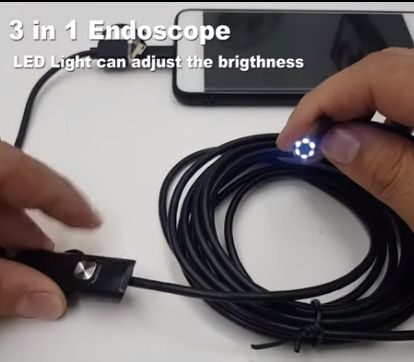
A flexible scope camera (endoscope) is necessary to see exactly where a wire is behind a stud wall if there’s one.
Step 1: Turn the Power Off
Turning the power off before creating a hole is necessary because you won’t know if there’s a wire behind.
Switch off the breaker at the main panel.
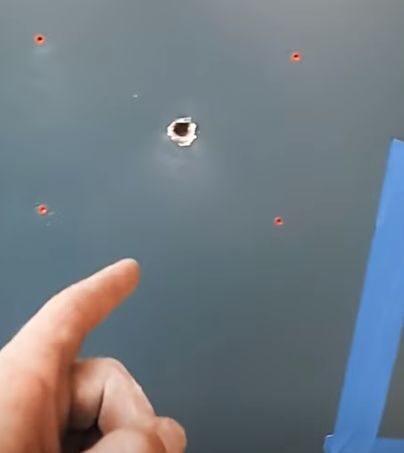
Step 2: Create a Hole
Carefully create a hole in the stud wall close to where you suspect a wire to be.
Try to avoid the wire and any plumbing. Don’t create a hole too close to an outlet. You can use this method in combination with the previous one that requires a stud finder. That way, you can create a hole in a safe zone. Still, create it slowly to be safe.
The hole must only be large enough for the camera to pass through. It doesn’t have to be any larger.
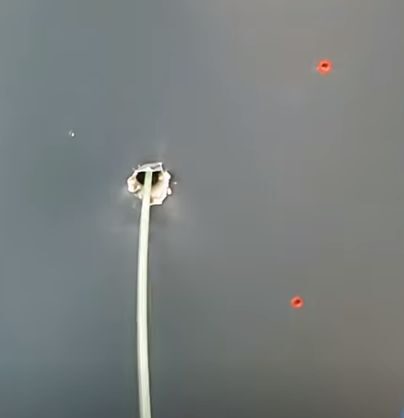
Step 3: Insert the Camera
Gently insert the camera into the hole you created.
Try to gauge how deep inside you’ve gone. You can do this by knowing how long the camera is up to certain points and noting how far it has gone inside.
Step 4: Observe the Camera’s Screen
Observe the camera’s screen.
Steer the camera around to take a good look at the wire. Move to the next hole if you don’t see the wire you want.
Step 5: Patch the Holes
Expand the hole if you need to work with the wire.
Remember to patch all the holes once you’ve located the wire you sought.
Use drywall plaster to patch them and paint them over afterward.
FAQ: Tracing Electrical Wires Like a Pro!
Why do I need to trace electrical wires?
Hey, buddy! Sometimes, you need to know where those wires are, especially if you are planning a renovation or trying to diagnose an electrical issue. Tracing wires helps you understand the layout and ensures you don’t accidentally damage anything while working on a project.
Which tool is best for beginners to trace wires?
If you’re starting out, I’d recommend using a stud finder. It’s a straightforward tool that can easily help you detect wires behind walls. But remember, practice makes perfect!
Can I trace wires without making holes in my wall?
Absolutely! Many of the methods I’ve shared allow you to trace wires non-invasively. Tools like the cable tracer or tone generator are fantastic for this. But if you need a closer look, the endoscope method might require a tiny hole.
Is It safe to trace live wires?
Safety first! Always turn off the power when working with or around electrical wires. Some tools, like voltage testers, are designed to detect live wires, but you should always exercise caution.
How accurate are these wire-tracing instruments?
Most of the tools are pretty darn accurate, especially when used correctly. However, like anything else, there’s a bit of a learning curve. The more you practice, the better you’ll pinpoint those pesky wires.
I’ve located the wires. Now what?
Great job! Once you’ve located the wires, you can proceed with your project, whether fixing an issue, rerouting wires, or planning a renovation. Always remember to work safely and, when in doubt, consult a professional.
Do I always need to turn off the power when tracing wires?
It’s always a good idea to play it safe. While some tools are designed to detect live wires, it’s a best practice to turn off the power whenever you’re working near electrical systems. Better safe than sorry!
Why can’t I find a wire even when using a detector?
Sometimes, wires can be tricky little things. They might be deeper in the wall, or there might be interference. Make sure you’re using the tool correctly, check its battery, and if all else fails, it might be time to call in a professional.
How do I patch up holes after using the endoscope method?
No worries! If you’ve made small holes for the endoscope, grab some drywall plaster to patch them up. Once it’s dry, paint over it, and it’ll be like the hole was never there!
Can I use more than one method to trace wires?
My friend! Combining methods can give you a clearer picture and increase accuracy. For instance, using a stud finder to get a general idea and an endoscope for a closer look can be super effective.
References
Website Resources:
- Fielectric non-voltage tester. https://www.amazon.com/Fielect-Voltage-Detector-Circuit-90-1000V/dp/B0832M52HX
- Stud finder. https://www.ebay.ca/itm/283681302263
- Wire tone generator probe tracer. https://www.lazada.com.ph/products/allan-rj11-wire-tone-generator-probe-tracer-network-tracker-cable-tracker-diagnose-network-tester-wire-detector-phone-wire-cable-tester-wire-tracker-i3057664749-s15073264933.html
Books:
- Jonathan Feldman. Sams Teach Yourself Network Troubleshooting in 24 Hours. Sams. 2003. https://www.abebooks.com/9780672323737/Sams-Teach-Network-Troubleshooting-Hours-0672323737/plp
Video References:
Uni-Trend Technology
Joshua A Lewis
FIX IT Home Improvement Channel
Pilot Jon
T Gadget