10 min read
How to Wire a Fish Finder to a Fuse Box (8 Steps)
It can be a pain in the butt wiring a fish finder; I have done a few. Below, I’ll go through how exactly to do it.
When wiring a fish finder to a fuse box, install the transducer in a suitable location and bring the single cable to the display screen. Then, attach the positive (red) and negative (black) cables from the screen to the fuse box. Refer to the fish finder’s manual for the exact layout configuration and to install the right fuse (usually 3 or 5 amps).
I’ll show you how to wire one in detail if you’re convinced it’s worth having in your boat.
Considerations when Wiring a Fish Finder
An important thing to consider before wiring a fish finder is where to locate it. Also, have all the necessary tools and other requirements ready before starting.
Location
To minimize interference, the transducer must always be submerged to work as designed and in a spot that experiences a smooth water flow. Also, it must not be within one foot of the engine’s lower unit.
One manufacturer marks these good and poor locations as examples based on the above conditions:
Here are some possibly suitable locations you might like to consider:
- The scupper hole
- A flat, solid part of the hull near the transom
- The back, near the rudder
The spot must be flat, solid, clean, and dry.
Options
Fish finders come in two types: those that you must attach permanently to the fuse box or battery and portable units. You don’t need to wire a portable unit in the fuse box.
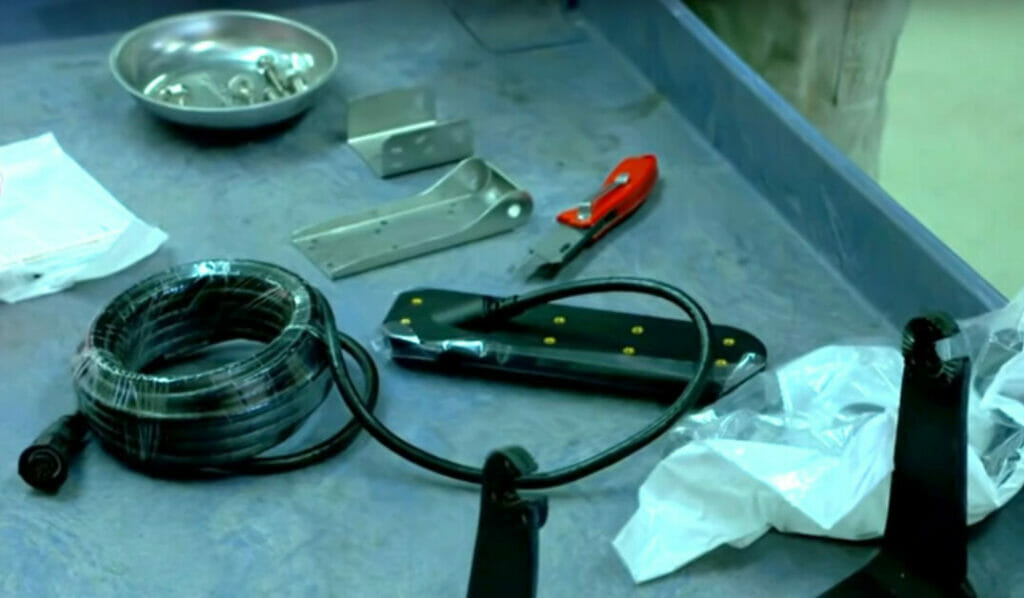
Parts
A typical fish finder has two parts: a transducer and a display screen.
- The transducer usually has a single cable because it draws power through the head unit.
- The display screen has two cables (one positive and one negative) that draw power from the battery via the fuse box.
Requirements
You will need the following to wire a fish finder to a fuse box:
- Fish Finder (device)
- Wires
- Fuse
- General tools: screwdriver, wrench, drill, heat gun
- Wiring tools: tester, wire stripper, wire crimper
- Wiring materials: heat-shrunk tube (small pieces), electrical (or fish) tape, cable clamps or ties
- Other materials: stainless steel screws, marine-grade sealant
- If you need to drill: power drill, 1” or 5/8” drill bit
- Safety equipment: rubber gloves while wiring
Fuse or Breaker
It would be best to have a spare fuse in the box or a spare breaker in the breaker panel for the fish finder to connect to. It must not be in use for any other purpose.
Wiring Diagram
You should consult the wiring diagram for your particular fish finder.
This is a sample wiring diagram from the Lowrance HDS-5 fish finder’s installation manual:

Method of Wiring a Fish Finder to a Fuse Box
You should wear rubber gloves when applying this method.
Step 1: Turn Off the Engine
Turn the boat’s engine off and remove the ignition key.
Step 2: Measure the Length
Measure the length of the fish finder’s wires from your chosen spot for the transducer to the dedicated fuse box.
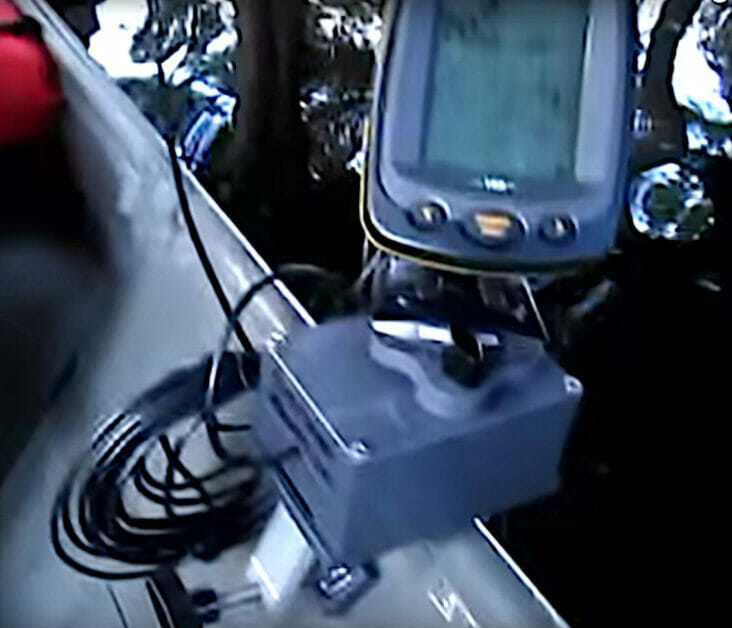
Step 3: Install the Transducer
Install the fish finder transducer on your chosen spot.
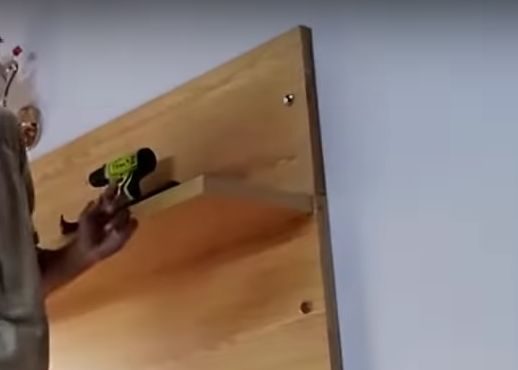
Step 4: Route the Cable
Route the cable and cable tiers from the chosen spot for installing the transducer around the inner edge to connect to the display screen and the dedicated fuse box.
Drill a hole to route the cable if necessary (above the waterline); otherwise, pass the cable over the edge into the boat if you don’t mind how that would look.
Keep the cables away from the engine casing throughout.
Use wire clamps or ties to secure the cable.
Step 5: Strip the Wires
Follow the wiring diagram for the fish finder and use a crimp connector to crimp the wires together. Strip the power cables using a wire stripper, about ¾ of an inch off the insulation and ½ an inch off each wire (red and black).
I recommend that you don’t cut excess cable. Coil it up, tie it together, and tuck it neatly out of sight. Also, allow approximately 3 to 4 inches extra as a tail to plug into the display screen.
Step 6: Connect the Wires
In this step, you can wire the fish finder (display screen) to the dedicated fuse box.
Usually, the two wires from the display screen are color-coded red and black, the positive (+) and negative (-), respectively. Refer to your fish finder’s manual if yours differs.
Connect the wires as follows (to the spare fuse in the fuse box):
- Connect the positive (red) wire to the power lead on the fish finder.
- Connect the negative (black) wire to a ground point on the fish finder.
Attach the other end of the power lead to the fuse box (or circuit breaker panel). Crimp the wires into place.
Note that you don’t need an inline fuse when wiring to the fuse box.
Step 7: Seal the Fish Finder
As the fish finder will be used in a water environment, sealing the fish finder is important to ensure it is water-tight.
Seal the wires at both ends with heat-shrink tubing using a heat gun. The shrink tubing helps to keep moisture away from the splices.
Then, wrap tape around the connections and other important points. I recommend you use special fish tape instead of regular electrical tape if you can, but only do so while wearing gloves to protect yourself from the fiberglass. Additionally, you can use masking tape to help prevent chipping and cracking.
Replace the fuse box (or breaker panel) cover when done.
Step 8: Insert the Fuse
The fuse you insert into the fuse box for the fish finder must match its requirement, depending on its amperage.
A basic fish finder operates on 1.5A, whereas a more advanced model might draw around 3.5A. The basic type will require a 3A fuse, but the higher amperage one will require a 5A fuse. Refer to the specifications in its manual to fit the right fuse for your particular device.
Benefits of Wiring a Fish Finder to a Fuse Box
I recommend wiring a fish finder to the fuse box in the boat for several reasons:
- Function – A fish finder is designed to assist you in locating fish, which should make it easier and quicker for you. It can potentially save you time and effort.
- Ease-of-Use – Fish finders are generally easy to use. Read the operating instructions that came with it.
- Durability – Fish finders are generally reliable and durable. You can expect it to last long if you wire correctly, seal the unit and its wires well, and take good care of it.
Some fish finder models don’t require brackets or additional batteries.
It is a particularly suitable way to wire a fish finder to a fuse box if the boat has a battery-operated dedicated power wire system. It will make it easier to do the wiring.
As with any other additional device or accessory, adding a fish finder will cost money (they’re not usually expensive) and add an extra load to your boat’s battery. These two cost and load factors should be weighed against the potential benefits.
FAQs
What are the safety aspects of wiring a fish finder to the fuse box?
Ensure that you:
- The fish finder transducer is attached at least one foot from the engine’s lower unit.
- Attached the cable securely using wire clamps or cable ties.
- Properly grounded the fish finder by securely connecting the neutral wire to a good grounding point.
- Heat shrunk the tubes over the wire connections using a heat gun.
- Inserted the right-sized fuse.
How can I improve the fish finder’s efficiency in locating fish?
The fish finder’s efficiency in locating fish depends on where you located the transducer. See the section above on positioning the transducer.
Can I wire the fish finder directly to the battery instead of wiring it via the fuse box?
Yes, you can, but I recommend wiring it to the fuse box because it’s easier and safer. It also reduces the chances of failure. The connection procedure is otherwise the same, as the red cable will connect to the battery’s positive terminal and the black one to its negative terminal or a ground point.
Does a fish finder need an inline fuse holder?
Generally, if you wire directly to the battery instead of through the fuse box, a fuse is essential to protect against a power surge, high current load, or short circuit. Fuses are designed to protect your fish finder.
What should I do if the fish finder stops working?
If the fish finder stops working, check the fuse first. Replace it if the fuse is blown. If you wired the fish finder recently, recheck the wiring to ensure you did it correctly.
More About How a Fish Finder Works
The fish finder transducer transmits ultrasonic waves directly under the boat.
If those waves hit a fish school, it converts the reflections into electrical signals and displays the data on the fish finder’s display screen. Depending on the model, the data may include other relevant underwater information, such as depth, seabed conditions, and how the school is distributed.
The display screen displays all this information to help detect the location of the school of fish. Some models apply a color code to distinguish between lower and higher density distributions, i.e., to indicate how much fish are present.
References
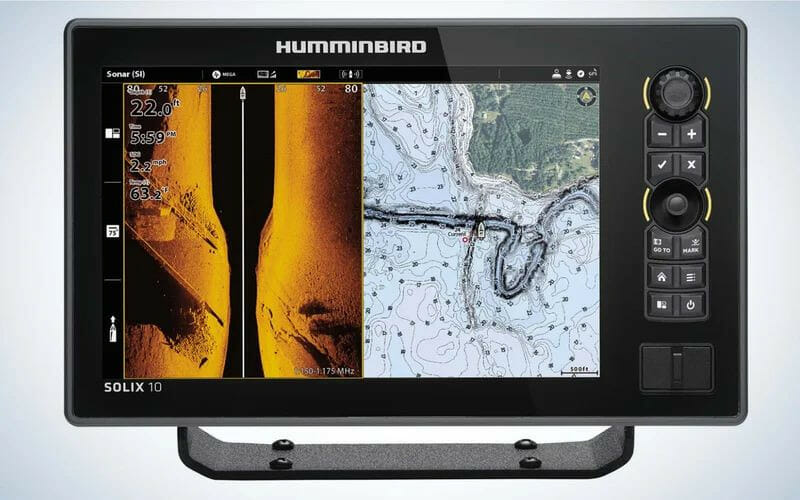
Hummingbird Solix. https://www.outdoorlife.com/
Lowrance HDS-5. https://www.manualslib.com/download/896767/Lowrance-Hds-5.html
Video References:
Float Tube Fanatics & Fish Finder Mounts
Wired2Fish