6 min read
How to Mount a Transducer without Drilling (2 Methods)

In this article, I’ll teach you how to mount a transducer without drilling using my two favorite methods.
I have experience fixing boats and installing transducers without cutting holes, which often results in damage. Here, I will guide you through the two most commonly used methods. If you install a transducer using any of these two techniques, there will be no room for water to leak through and rot the transom core, as with drilling holes.
Quick Summary: You can follow these steps to mount a transducer without drilling holes in your boat.
- Cut a piece of plastic wood several inches wider than the mount and long enough.
- Dry fit everything while carefully following the depth finder instructions.
- Seal the transom core with epoxy resin.
- Apply 3M 5200 over the board’s back to seal and “glue” the board to the transom.
I will cover more details below.
Mounting a Transducer without Drilling Holes
Most marine electronics manufacturers provide an inside-the-hull transducer kit that may be secured to the hull’s interior. Only hulls made of solid fiberglass will function in this (excluding balsa core or laminated hull construction that might contain air pockets).
Expect some signal degradation. The optimum location is one with a level surface. The thickness of the fiberglass layers in hull bends can limit the depth range of the transducer signal.
Several methods can be used to install a transducer in your boat without drilling holes.
Method #1: Substitute Transom
You don’t have to cut a hole to install a transducer. Smaller boats frequently have transducers mounted on the transom; however, the mounting screw holes can leak water and cause rot in the transom core.
The strain will eventually cause even strong sealing to fail. An improved solution uses a piece of structural grade Starboard as “plastic wood” for the mounting point.
The steps below will guide you through the process.
Step 1. Cut a piece of plastic wood several inches wider than the mount and long enough to reach from the bottom of the transom to the point at least six inches above the waterline.
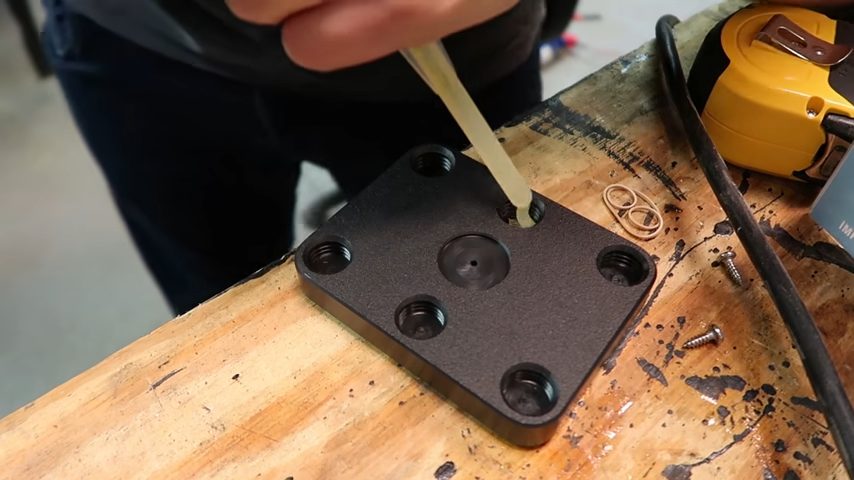
Step 2. Use four stainless bolts to through-bolt it to the transom. The bolts should fit tightly in each hole, far above the waterline.
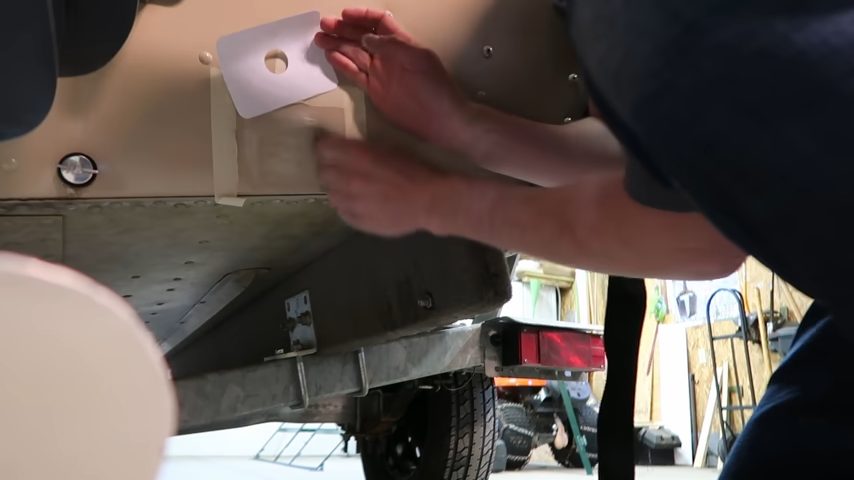
Step 3. To ensure you have the proper fit and location, dry fit everything carefully, following the depth finder instructions.
Tip. Try placing the transducer inside a Ziploc bag filled with water to see where it works best inside your hull. Place the transducer and bag against the test regions while operating the boat to discover one that works well.
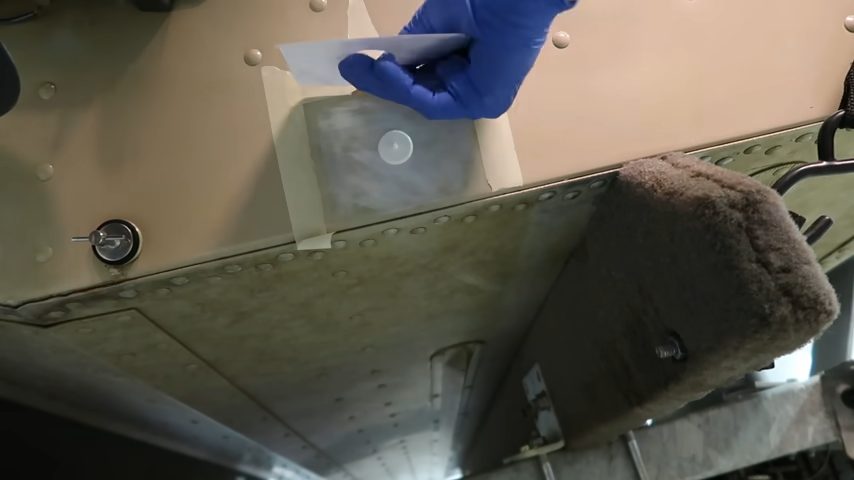
Step 4. Use epoxy resin to seal the transom core inside the bolt holes. Use a toothbrush or Q-tip to spread the epoxy resin inside the hole after injecting it with a syringe. Do this right away before you put the bolts in.
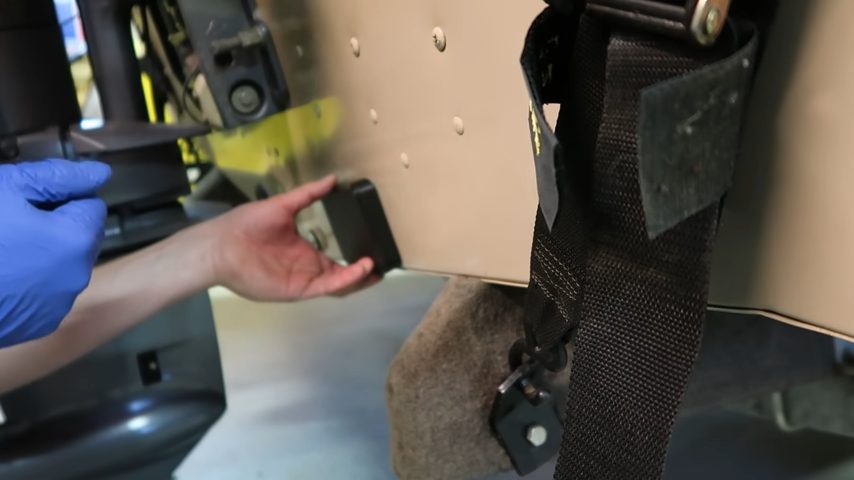
Step 5. Apply 3M 5200 Marine adhesive sealant over the board’s back to seal and “glue” the board to the transom.
Place the bottom edge of the board at least 1/4 inch above the boat’s hull to curb turbulence.
When on the plane, the bottom edge of the board will taper, becoming parallel to the water’s surface.
The transom shouldn’t be damaged by drilling mounting screw holes because you’ll have tolerance for error and the option to install additional transducers afterward.
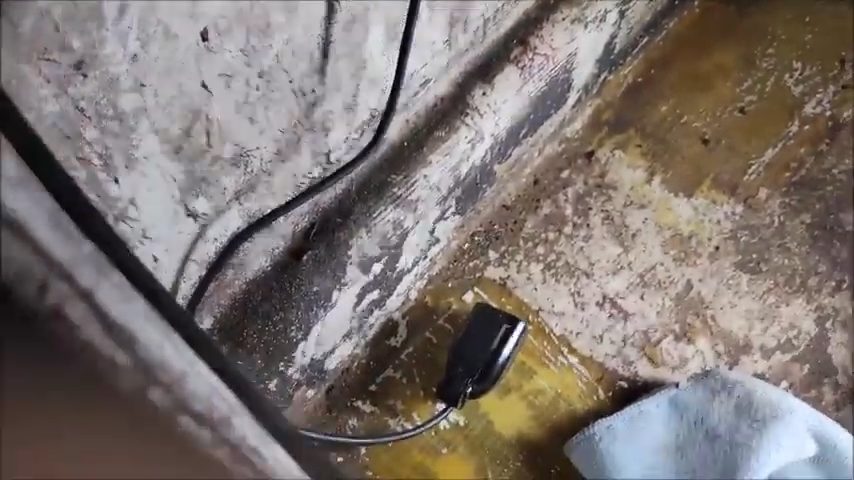
Method #2: Shoot Through the Hull
You can shoot through the hull by placing a transducer inside the boat if the bottom of your hull is solid fiberglass, meaning it is not cored.
Although it’s undoubtedly the simplest method, I do not favor epoxying a transducer to the inside of the hull.
To mount the transducer, I first fix the plastic pipe to the hull.
Step 1: Attach a Plastic Pipe to The Hull
Attach a length of plastic pipe to the hull to mount the transducer.
Step 2: Clean Rough Areas on The Hull
Use your drill and a wire brush to clean and roughen the hull region where the pipe will attach.
Step 3: Install the Transducer
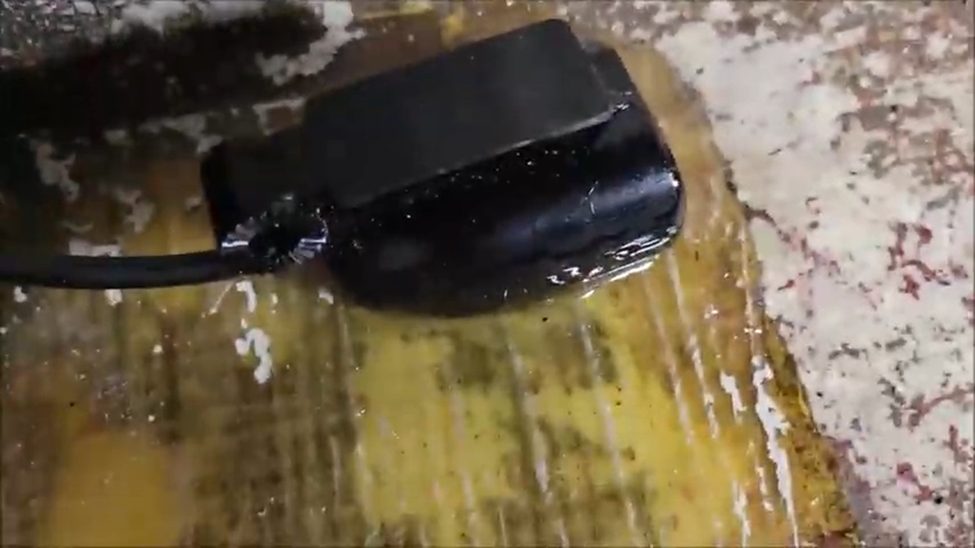
Install the transducer in the pipe at the same angle that it would be hanging from the transom. With the 5200, seal the mounting holes. The transducer and hull should be separated by about half an inch.
Step 4: Apply Acetone to The Attachment Point
Apply plenty of acetone to the pipe attachment point. Use 5200 to secure the pipe to the hull once it is dry. You’re done once you’ve filled the pipe with water or antifreeze.
Step 5: Pour Hot Wax Over the Liquid to Prevent Evaporation of The Antifreeze.
Pour enough hot wax over the liquid in the pipe to seal it to prevent the water or antifreeze from evaporating.
I use water instead of wax and only need to replenish it once every season.
If you don’t like the spot, rip the pipe apart, use the wire brush to remove the 5200 from the hull, and then attempt a different location.
Wrapping Up
You can easily mount a transducer (shoot-through transducer) in your boat without drilling using Shoot-Through the Hull or Substitute Transom techniques. You can accomplish the task quickly without fuss with the steps in this guide.
Your thoughts will be highly up-held. Regards!
References
Website Resources:
- Acetone. https://www.medicalnewstoday.com/articles/what-is-acetone
- Evaporating. https://www.britannica.com/science/evaporation
Video References:
Maine Trout Whisperer