11 min read
How to Mount a Light Bar on a Roof without Drilling (Methods and Steps)
Have you ever driven through outlying roads and wished that you had brighter headlights?
Light bars are inexpensive, bright LED lights. They illuminate areas better than regular headlights while consuming little energy. These are great additions to have for vehicle owners that frequently travel off-road. Luckily, you don’t need to drill holes or use complicated accessories to give your vehicle a light bar.
Let’s go ahead and dive into how to mount a light bar onto your vehicle without drilling.
Types of No-Drill Mounting Systems
Mounting systems are needed to install a lightbar without drilling holes in the vehicles.
Modern vehicles generally don’t come with exterior structures that can hold lightbars. This is because most manufacturers prefer a sleek, aerodynamic design. But if your vehicle comes with a bar roof, you’re in luck.
No-drill mounting systems use the bar roof present on the vehicle.
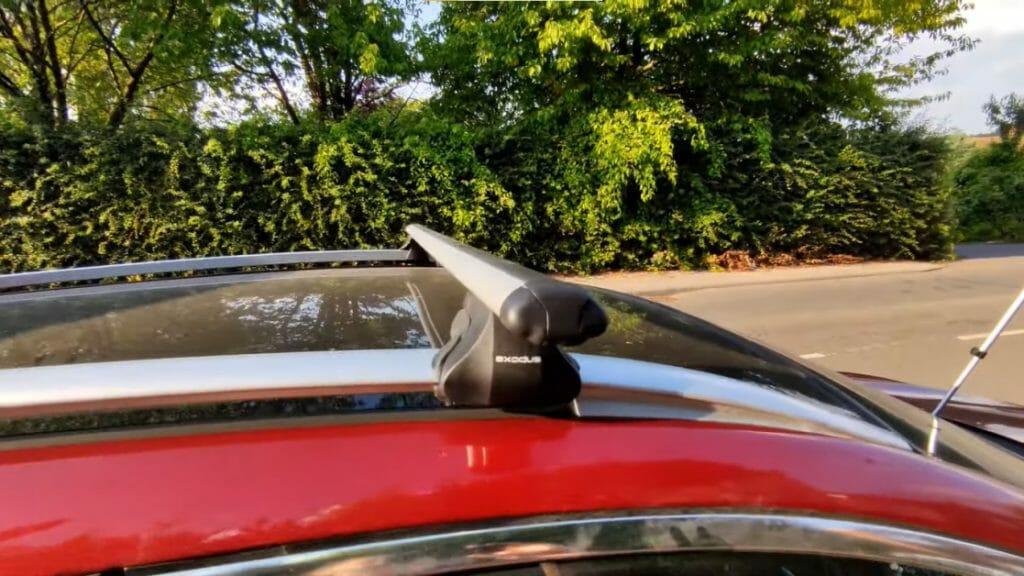
The mounting bracket is attached to the tubbing on the roof. Then, the light bar is anchored to the roof using the installed mounting bracket. Fortunately, these mounting systems are compatible with most vehicle designs. Vehicle owners can take their pick between the many kinds of mountain bracket systems available.
Clamp Mounts
If your vehicle comes with a bar roof, clamp mounts are the perfect option for you.
Clamp mounts are designed to utilize the tubing on the vehicle’s roof. The metal clamps are attached to the bar roof tubing. The spacing and location of each clamp are easily adjustable to fit the light bar. You can also change the angle of the light bar based on your preference.
The drawback to using clamp mounts is the limited location options.
Clamp mounts follow the design of the roof rack. Mounted light bars are generally positioned near the middle of the roof since most roof racks are located by the rear of the vehicle.
Grommet Mounts
Grommet mounts are a safer alternative to clamp mounts.
Grommet mounts use rubber grommets to attach the light bar to the vehicle roof. The rubber grommets are slid into the roof rack. Then, the lightbar is inserted into the opening of the rubber grommet.
Grommet mounts are safer options than other mounting systems but can be unstable.
Ball Mounts
Ball mounts are adjustable mounting systems connected to the roof rack.
It is categorized into two kinds: bolt mount and stud mount.
The bolt mount uses bolts to attach the light bar. It is easier to install, remove, and reposition than other types. On the other hand, it is usually less secure than stud mounts.
The stud mount uses a threaded stud to mount the light bar onto the roof rack. It is very secure and can support heavier accessories, but it can be challenging to install.
Mounting Light Bars Using Mounting Brackets
Light bars can’t be mounted directly onto the vehicle’s bar roof.
Mounting brackets are needed to attach light bars to the vehicle securely. There are many kinds of mounting systems to choose from. But don’t worry! No matter your mounting system, we’ll discuss the general procedure for mounting the light bar on the roof without drilling.
Step 1 – Get the Right Light Bar and Mounting Brackets Size
Choose the size of the light bar based on the height of your roof rack (or load-assist bars).
The light bar should be tall enough to illuminate the front or back of the car. You can install multiple light bars on the same roof rack to increase the brightness. A good measurement to keep in mind is that the length of most vehicles is generally 2 feet greater than its width.
Mounting brackets should attach firmly to the roof rack without damaging it.
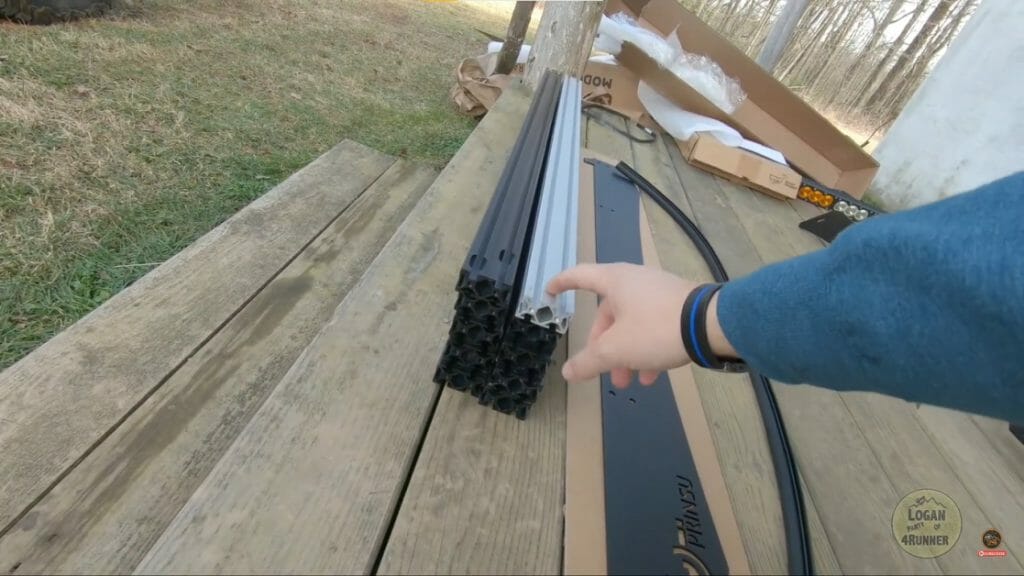
Get mounting brackets specifically made for mounting light bars. You can ask around local hardware stores or car accessories sellers if you’re unsure which one to get. Remember that the mounting bracket size should fit your vehicle’s roof rack.
If you’re mounting multiple light bars, choose mounting brackets that securely hold up each light bar without interfering with each other.
Step 2 – Mark the Locations of the Mounting Brackets
Light bars can be mounted in several locations. Still, we recommend placing the mounting brackets on the roof, specifically the roof racks.
Check your chosen location for any pre-installed accessories like tail lights. You may need to reposition those accessories to ensure the mounting system fits. Suppose you feel the mounting system is unstable or near too many accessories. In that case, you may need to find another location or remove the accessories.
For cars with removable roof racks, remove them first to get a better idea of where the light bar mount should go.
For cars with fixed roof racks or non-removable load-assist bars, temporarily remove them. This makes it easier to find a location for the mounting brackets that won’t interfere with other structures and accessories.
Mark the chosen locations using temporary and visible markers like masking tape.
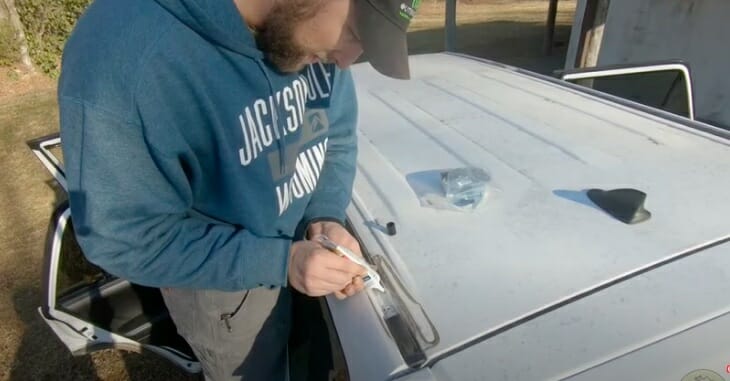
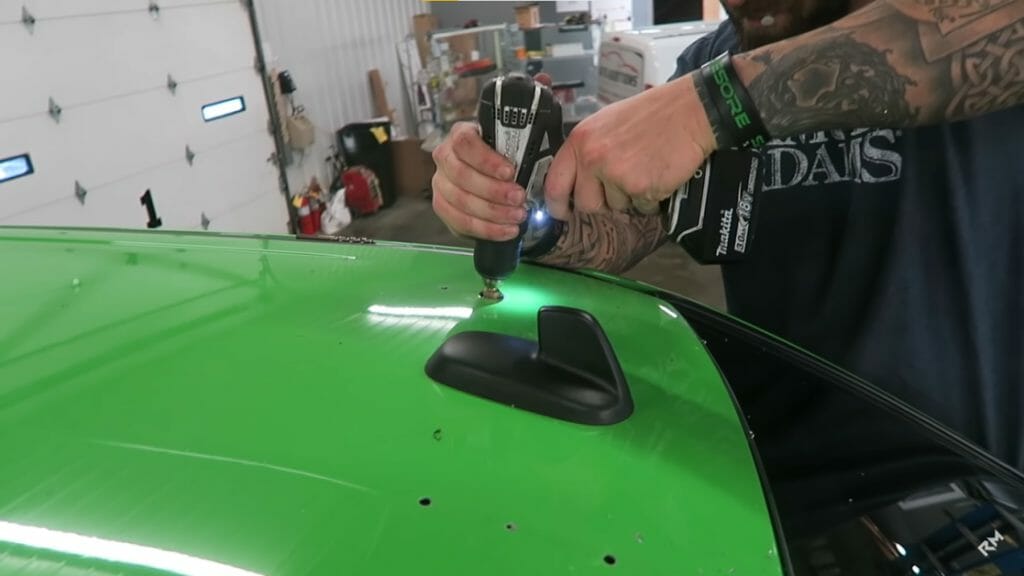
Step 3 – Install the Mounting Brackets
Install the mounting brackets onto the vehicle’s roof rack or load-assist bar.
Permanently attach the mounting brackets by following the installation procedure of the chosen mounting system. To secure it, you may need to use additional bolts, grommets, and other fasteners.
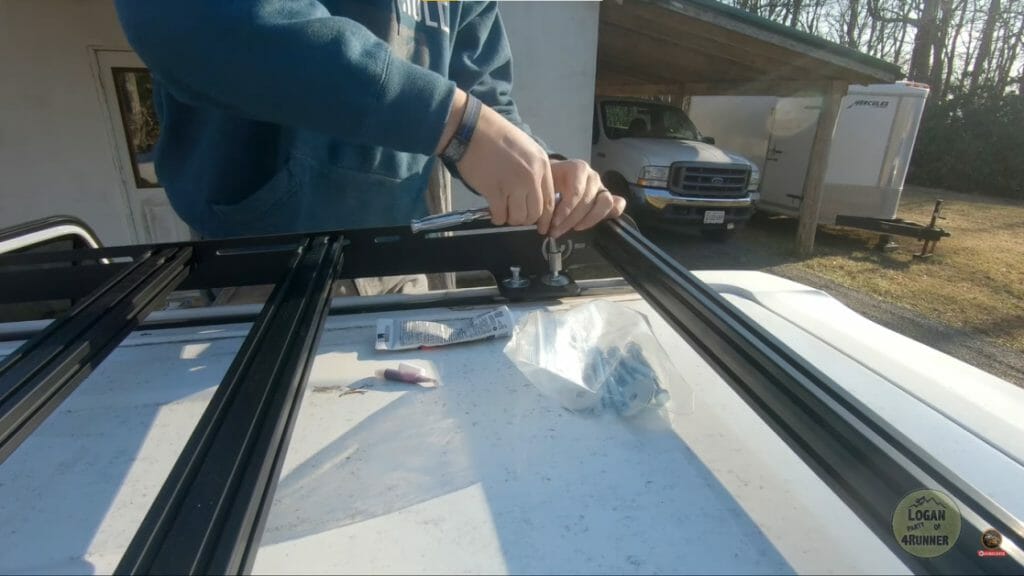
Light bars are heavy additions, so test out the stability of the attached mounting brackets.
Mounting brackets are generally made out of metal with a plastic exterior coating. This combination of materials is usually stable on its own. But, if it is unstable or made from other materials, you may need to reinforce it with additional metal pieces.
Step 4 – Connect the Wiring Systems
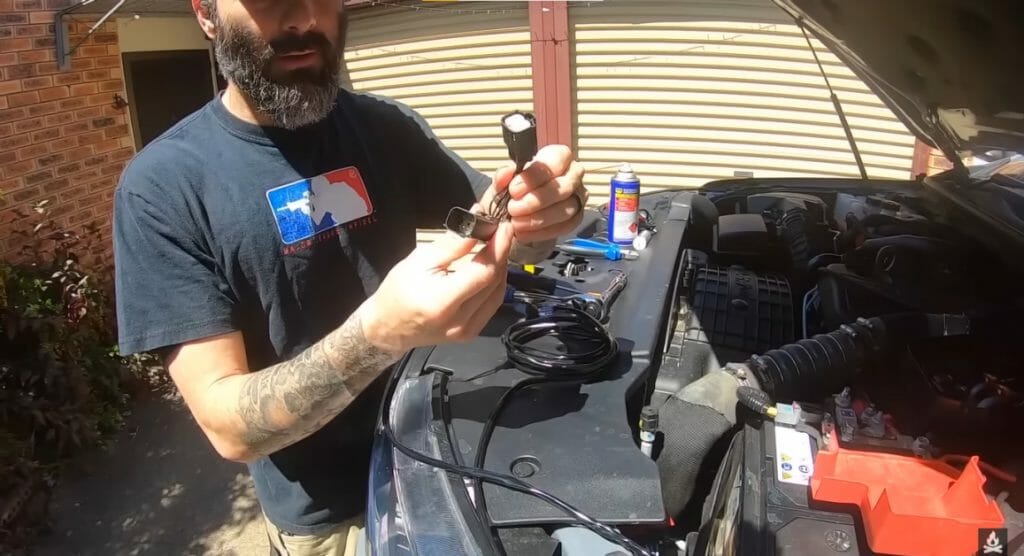
Mounting brackets come with pre-installed wires to make wiring easier.
Connect the longer electric wire to the car battery or car electrical system. Secure the placement of the long wire to ensure that it does not come loose during travel or is exposed to weather conditions. Connect the separate shorter cable to the harness of the vehicle’s headlights.
Test the wire connection by turning the light bar on and off.
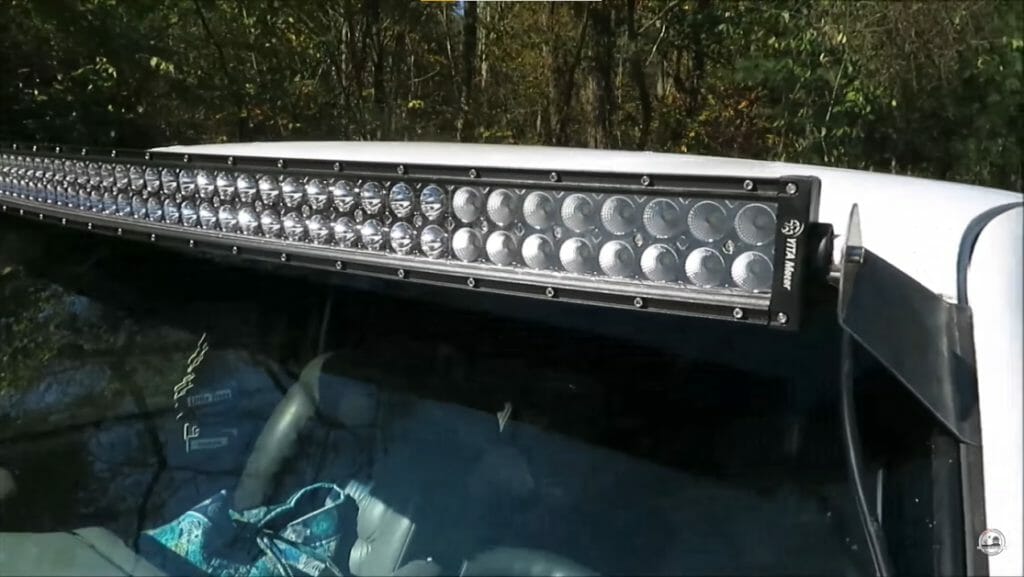
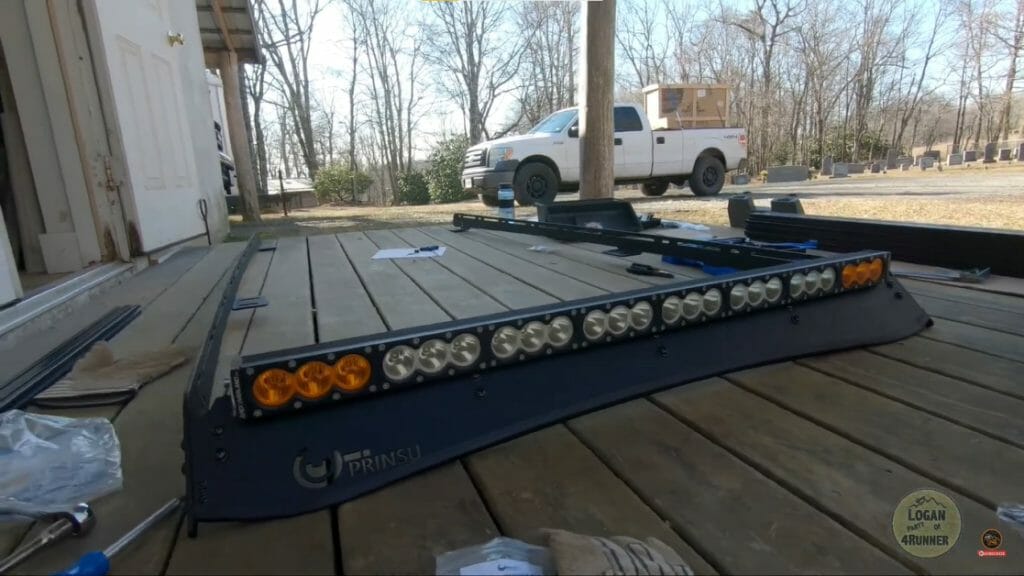
Step 5 – Install the Light Bars
If there is no problem with the wiring system, proceed with installing the light bars to the mounting brackets.
The installation of the light bars varies depending on the mounting system used. Consult the instruction manual of the mounting system to mount the light bars onto the vehicle properly.
It would be best to place the light bar on the indicated spots along the bracket for most mounting systems. Use the bolts or other fasteners with the mounting bracket to keep the light bar in place.
Other mounting systems are designed to have a sliding mechanism. Insert the light bar inside the mounting bracket, then lock it in place by sliding the metal ends into the matching grooves.
Step 6 – Test the Light Bars and Overall Stability
Test the stability of the installed light bar before driving off.
Place a small amount of pressure on the mounting bracket. It should stay firmly in place. This ensures that the light bar will not fall off when driving or hit by branches or other small branches.
Test the electric connection once again.
This ensures that all the connections are still in place after installing the light bar into the mounting bracket. Adjust the angle of the light bar so that it does not block any windows and mirrors. If the height needs to be adjusted, loosen the bolts and carefully lift the mounting brackets to the right position.
No-Drill vs. Drilled Mounting
Vehicle owners are always debating non-drilled and drilled mounting methods.
Both methods have their advantages and disadvantages when it comes to mounting a light bar to a vehicle. It is essential to consider these when you’re deciding between drilled or non-drilled methods.
Pros and Cons of No-Drill Methods
The advantage of no-drill light bar mounting is that the vehicle body does not need to be altered.
Mounting systems make use of the bar roof present on the vehicle. Mounting systems are affixed to the roof’s tubbing using various fasteners. Mistakes and wrong placements are easy to correct since all you need to do is dismantle them and place them correctly.
The main drawback of no-drill mounting methods is the decreased stability.
The vehicle roof racks are designed with a certain use in mind. The addition of external structures like light bars may throw it off balance. Some roof racks are not made to hold heavy weights. Mounting brackets tend to slide back and forth during travel.
It is crucial to ensure the stability of the mounted light bars before driving off.
Pros and Cons of Roof Drilling
The main advantage of drilling holes for the light bar into the vehicle is its increased stability.
Drilled mounting systems distribute weight more evenly. Also, it is more firmly anchored to the vehicle’s roof rack. This makes drilled-mounted light bars a better option for drivers that frequently travel off-road.
The drawback of drilled mounting methods is the permanent changes to the vehicle’s structure.
Drilling into the vehicle’s body is a risky venture. Drilling through the plastic or metal parts of the vehicle means permanently altering the vehicle. For newer vehicles, incorrectly roof drilling the light bar may void your vehicle’s warranty.
However, roof drilling the mounting systems may be the only option for vehicles without a bar roof.
If you decide roof drilling is the best mounting method, plan out all the details before proceeding. Find the best-suited drilled locations and research which mounting systems will work for your vehicle. Another alternative is to get a professional installer to mount the light bar for you.
Wrapping Up
Mounting brackets are essential to mounting a bar light without drilling holes into your vehicle.
You can easily install these mounting brackets within minutes. They often come in kits that contain all the materials and fasteners needed to install them. All you need are simple tools like screwdrivers and bolt wrenches.
Take a look at some of our related articles below.
- How to drill hole in granite countertop
- How to fill a drilled hole in wood
- Can you drill holes in apartment walls
Video References
The Qashqai Guy
Logan Party of 4 Runner
Round The Fire
Kevin Robinson
RYAN MAYER