How to Wire a Boat Switch Panel (Beginners Guide)
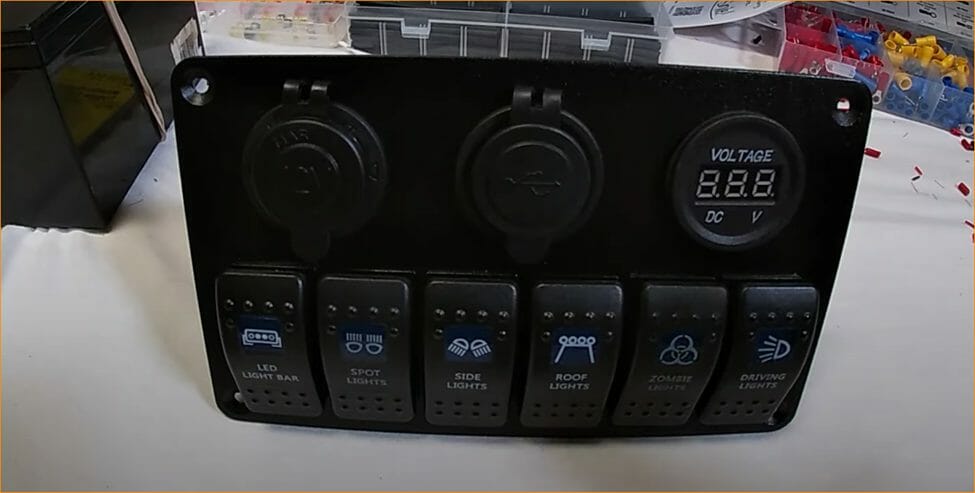
With extensive experience as an electrician, I have created this guide so that anyone with even the most basic knowledge of electrical systems can easily put together a boat switch panel.
Read everything carefully so you do not miss any key details of the process.
In General, wiring a boat switch panel requires you to find a good panel and battery, preferably lithium-ion with at least 100 amps of power, connecting the battery to fuses with thick wires (10-12 AWG), and then creating connections to all the electrical components through the accessory switch panel.
We’ll go into more detail on all these steps below.
Getting the Source to The Helm of The Boat
The helm is where all the boat controls are present and the target for you is to get the power from your batteries to your helm.
This is where you will be installing your battery switch panel along with a fuse box distribution panel to protect your electronics from overloading.
Wiring Options
Depending on the location of your batteries, you can either use a short cable or do a proper boat wiring run across the vessel.
Since you will be running a lot of components on the batteries, it is a good idea to use thick wires on the battery.
- Smaller boats can get away with a 12 AWG wire, this is because the appliances onboard will be fewer and they are usually not used for long hauls. Most inverters in small boats are also low-powered and generally used to power light electrical equipment only.
- Bigger boats would require a 10 AWG wire or thicker. Of course, that is only required in boats that are usually longer than 30 feet.
- These boats have more power draw as the appliances installed in them are of high capacity as well and provide more creature comforts which come at a heavy power cost.
- Using cables with a high AWG rating could potentially cause tripping or damage and even fire in extreme cases.
Connecting the Battery to Components
It is important to do this with a proper diagram so that you do not wire your components the wrong way. Here are the steps involved in connecting the battery to your electrical components.
Step 1 – Positive Wire
First, the positive wire from the battery will go to your main circuit breaker where you can distribute it to your fuse box distribution panel.
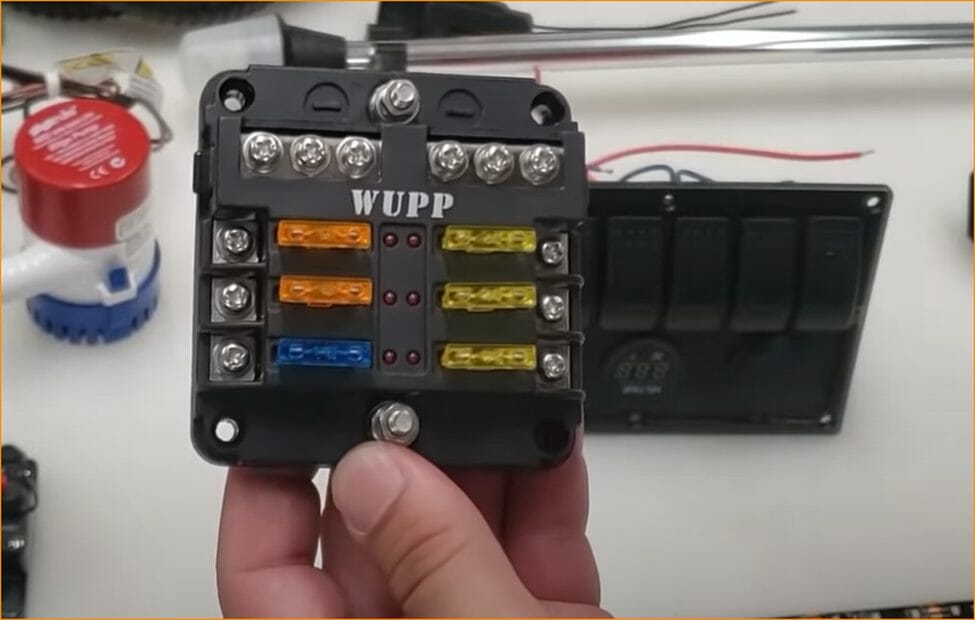
The fuse box is critical to making your electrical appliances safe in case of a sudden power surge or malfunction in the batteries.
Step 2 – Negative Wire
After that, the negative terminal can be connected by bundling all the negative wires from your components directly to a negative bus bar which will also have the negative cable from the battery connected to it.
Step 3 – Boat Switch
Each component of your boat will have its positive boat wiring going to any designated boat switch on your battery switch panel.
The switch panel is the component that will provide you with the individual component control that you need. Depending on the appliance that each switch is connected to, you will use the company-recommended gauge for wiring.
Step 4 – Fuse Box
Another wire will connect your components to the fuse box.
Check the amperage ratings on each electrical component that you are using and use the appropriate fuse to power it. Some items like light fixtures and fans can be bundled into a single button if they do not consume too much electricity combined.
This is only recommended for small boats as for bigger boats, you can create zones to divide your lighting.
Once all the connections are made, your battery should be able to power all the connected components.
The Battery
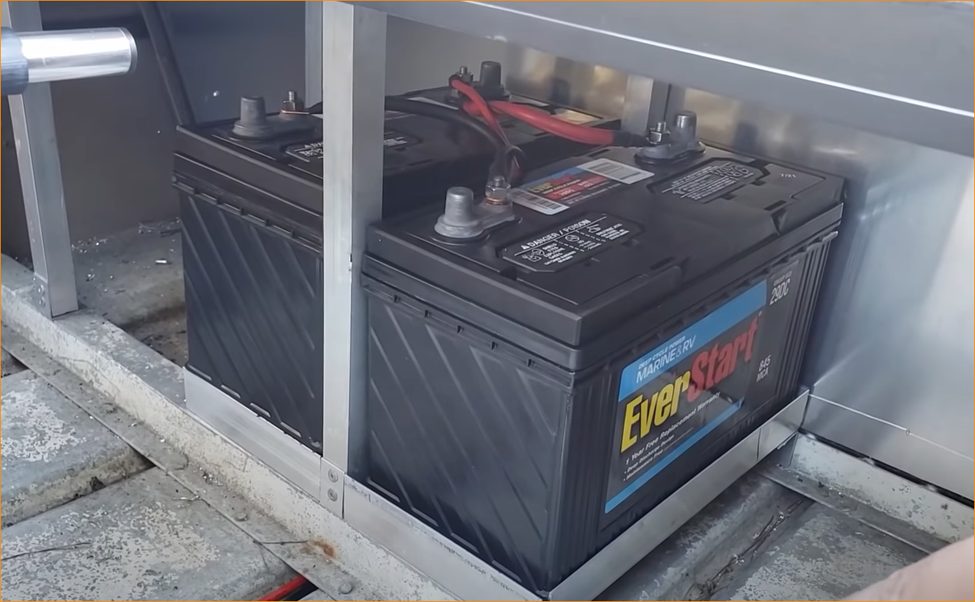
Given that a boat is expected to run on water that puts you a long distance away from any grid, the natural alternative is batteries.
Thankfully, we now have batteries that can hold incredible amounts of power and can last a long time. Of course, that much power can also be dangerous if not handled properly, so you must use proper battery protection.
Boat batteries also have positive and negative like any other battery out there and for them to support any load, you need to complete the circuit from the positive end to the negative end with the load in between.
When planning a battery installation on the boat, you will need to figure out your energy requirements and install a battery that can support that load for your designated time.
Main Battery Switch
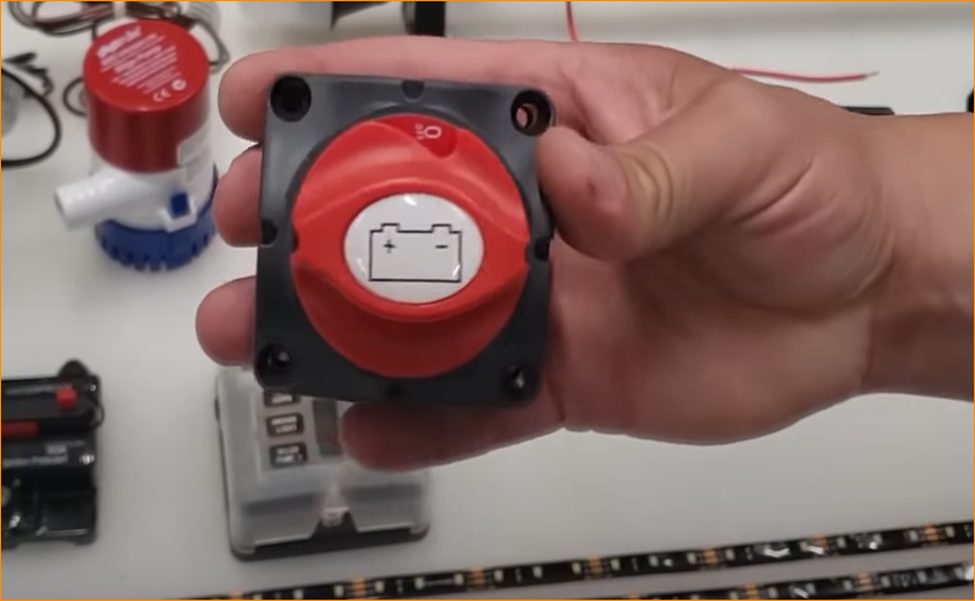
As we just discussed, batteries are incredibly powerful and while they can run all the electric components and devices on your boat, they can also easily fry them if the batteries do not operate properly. As a security feature, every boat must have the main battery switch or disconnect switch that can isolate the batteries from all electronics on board your boat.
Traditionally, the switches used have two inputs meaning you can connect two batteries to it simultaneously. You also have the option of choosing if you want to use either one or both batteries by selecting the appropriate setting.
How Long Does a Marine Battery Hold Charge?
The answer to this question is dependent not only on the type of battery you are using but also on the amount of power you are drawing from it. If it is in regular use, you can figure out how much use you can get out of your battery in a single charge using a simple formula.
If a battery has a capacity of 100Ah, it will be able to run a load of 1A for 100 hours. Similarly, if a load of 10A is being used constantly, the battery will last for 10 hours. However, efficiency also plays a role here and most batteries can give 80% – 90% of their rated capacity when in use.
If you leave the battery unused, the amount of time it will take to lose all its charge will vary depending on several conditions. This includes the quality of the battery, the type of battery being used, and the environment it is left in. For traditional deep cycle batteries, the target is to make sure that the voltage does not drop below 10 volts.
This can go even lower for lithium batteries which can be brought back to life from as low as 9 volts. However, that is not usually recommended. To ensure your battery keeps on running properly, you must use it regularly and recharge it on time when it runs out.
How Does an Onboard Marine Battery Charger Work?
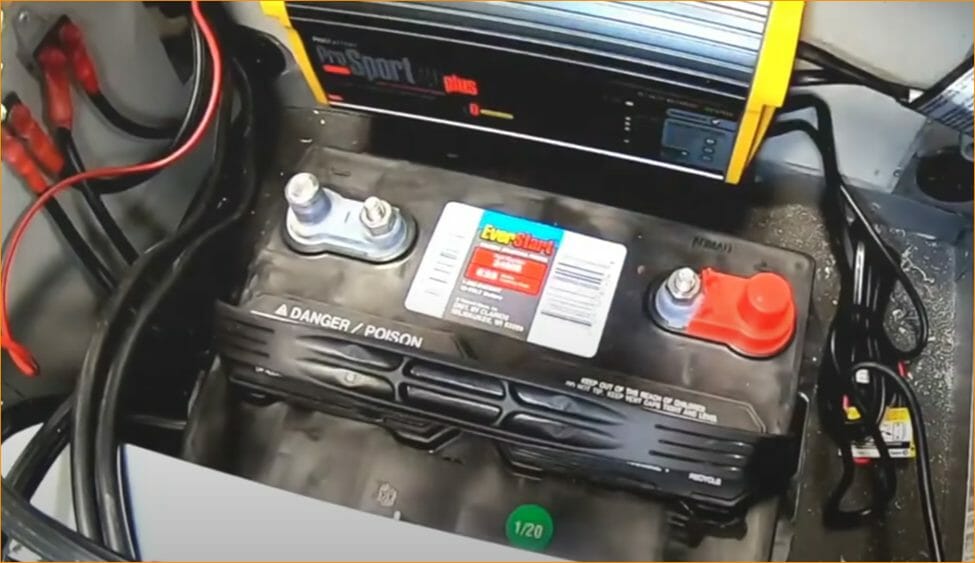
Onboard marine battery chargers are highly popular among boat users due to the way they work. The best thing about these chargers is that they can be left connected to the batteries without causing any issues. An onboard marine battery charger is designed to work in three phases which include the following: (1)
- Bulk Phase: This is the beginning of the charging process when the battery level is low. The charger provides a large power boost to get the battery going again and have your electronics and even the engine starting properly. This is for only a short while until the battery accumulates enough charge to keep things going if the charger is disconnected.
- Absorption Phase: This phase is about topping up the battery and has a smooth charging pace.
- Float Phase: This phase is about keeping the battery topped up by maintaining the momentum built during the absorption phase.
How to Hook Up Two Batteries in a Boat Diagram
You will need to take the following steps when connecting two batteries in a boat diagram:
- Choose a reliable dual battery switch with a custom switch panel.
- Connect the second battery to the system and distribution panel.
- Install the switch at an appropriate location, usually alongside the distribution panel and custom switch panel.
- Connect the positive and negative cables together.
You can also use wire jumpers to make this connection for easy connect and disconnect. Wire jumpers provide a strong grip while creating easy battery disconnection when needed. Now that you know how to wire a boat switch panel properly, you can easily bring power to your boat.
Take a look at some of our related articles below.
References
(1) marine – https://www.britannica.com/science/marine-ecosystem
(2) momentum – https://www.bbc.co.uk/bitesize/guides/z32h9qt/revision/1
