How to Make a Jumper Wire (7-Step Guide)
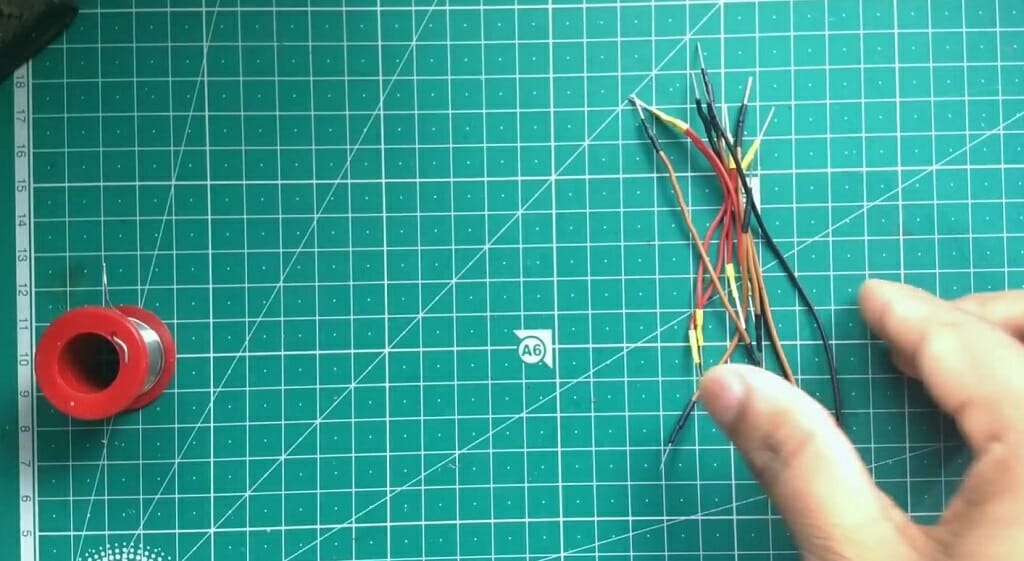
Jumper wires are a good way to connect two points without depending on a soldering iron. These wires are commonly used in breadboards and various prototype tools. With that in mind, today ill go through in detail how to make a jumper wire with photos.
In general, to make a jumper wire, follow these steps.
- Collect all the necessary parts.
- Strip both ends of the wire using a wire stripper.
- Pull out two male header pins from the break-away header.
- Insert heat shrink to the exposed wire (both ends).
- Solder the male header pins to the wire.
- Apply the heat shrink.
- Finally, connect the jumper wire to the breadboard.
Types of Jumper Wires
When it comes to jumpers, there are three different versions. Below you can find the list.
- Male to Female
- Male to Male
- Female to Female
In this post, we’ll talk about the male-to-male jumper cables.
7-Easy Steps to Make a Jumper Wire
Step 1 – Get the Necessary Tools Together
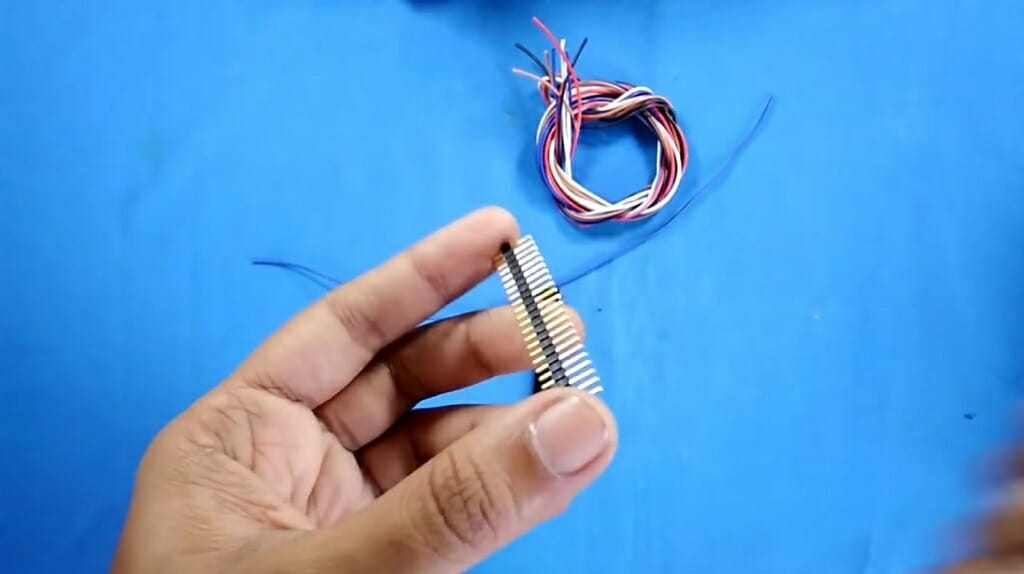
For this process, you’ll need the following tools and parts.
- Wire stripper
- Soldering iron
- Few heat shrinks
- Break away male header
- Lineman’s plier
- Few copper wires
- Lighter
Step 2 – Strip the Wire
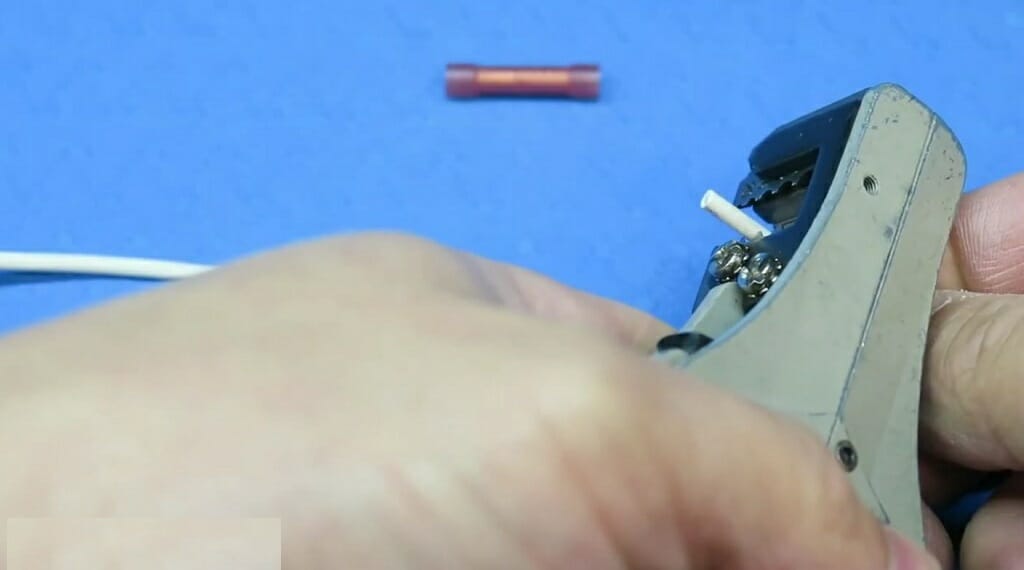
Here, you’ll have to strip both ends of the copper wire. Strip 1/3 inch to 1/2 inch from the wire. Use the wire stripper for this.
Step 3 – Separate Two Male Header Pins
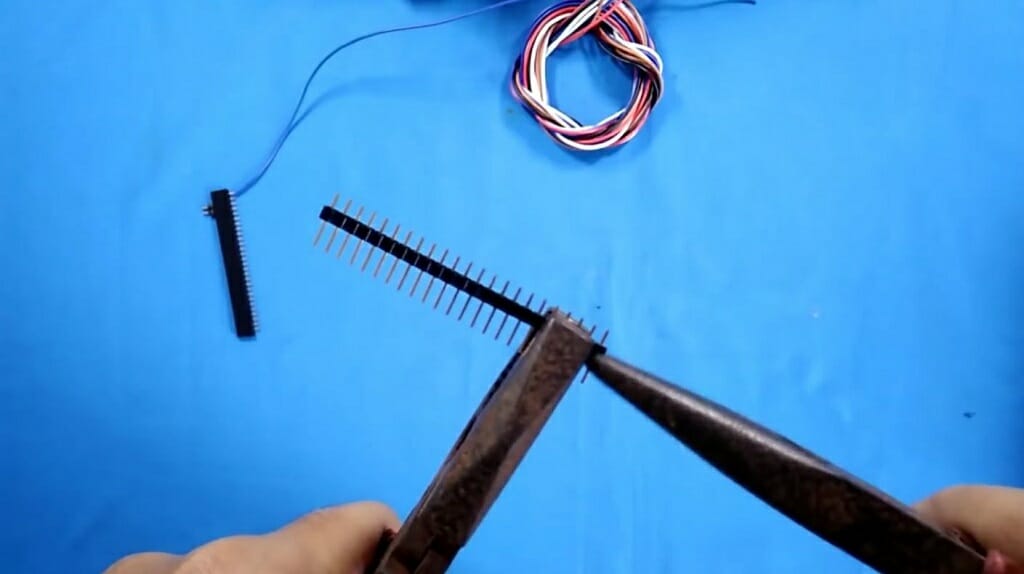
Then, take the breakaway male header.
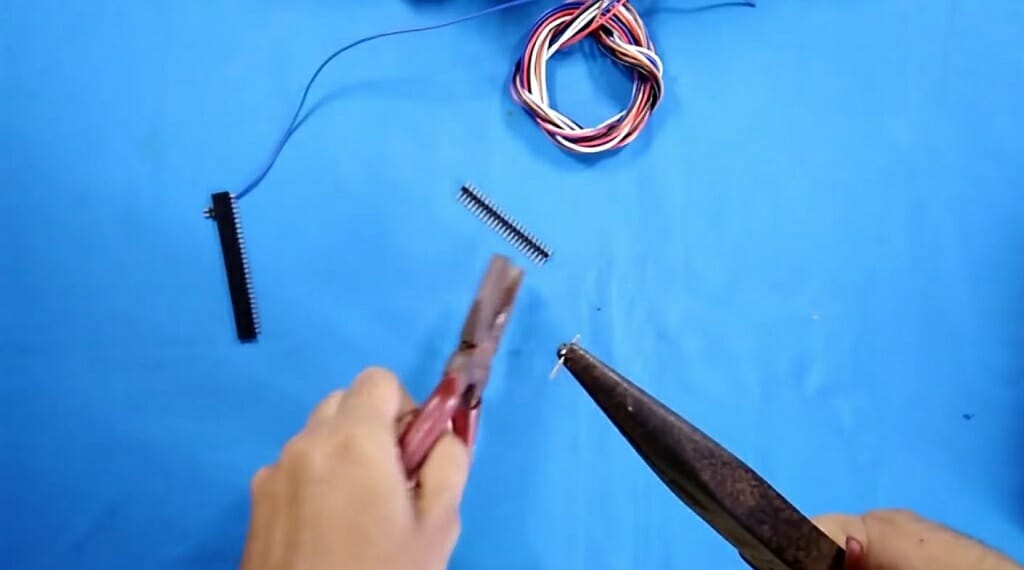
You can find 20 or 40 male header pins on the breakaway header. Use the lineman’s plier to pull out two male header pins.
What Are Breakaway Headers?
Breakaway headers are excellent for connecting electrical things. Also, you can use these with perf boards and breadboards. In electronics, breakaway headers do a similar job to duct tape.
Step 4 – Insert the Heat Shrink

Now, take two heat shrinks and insert them into the wire. These two heat shrinks are for the two ends of the wire. You should do this before connecting the pins to the wire. You don’t have to heat the heat shrink in this step. We’ll do that in step 6.
Step 5 – Solder the Pins to the Wire
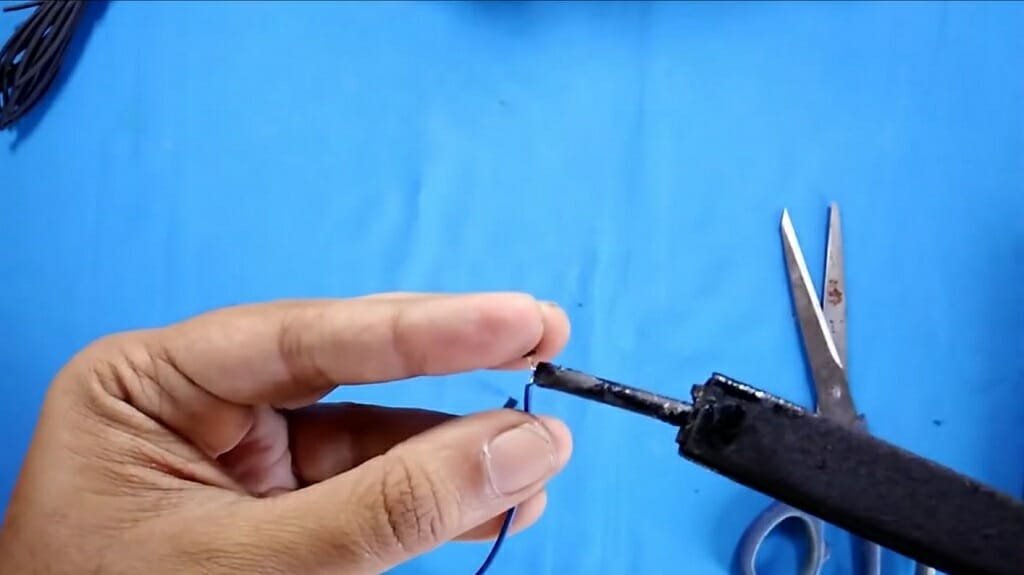
Next, you can start the soldering process. Take a male pin and solder it to the exposed wire. Repeat the same for the other end of the wire. Use the soldering iron for this.
Tip: For jumper wires, we use small diameter wires. So, choose a soldering iron that has a small tip. Otherwise, the soldering process will be a little difficult. (1)
Step 6 – Apply Heat Shrink
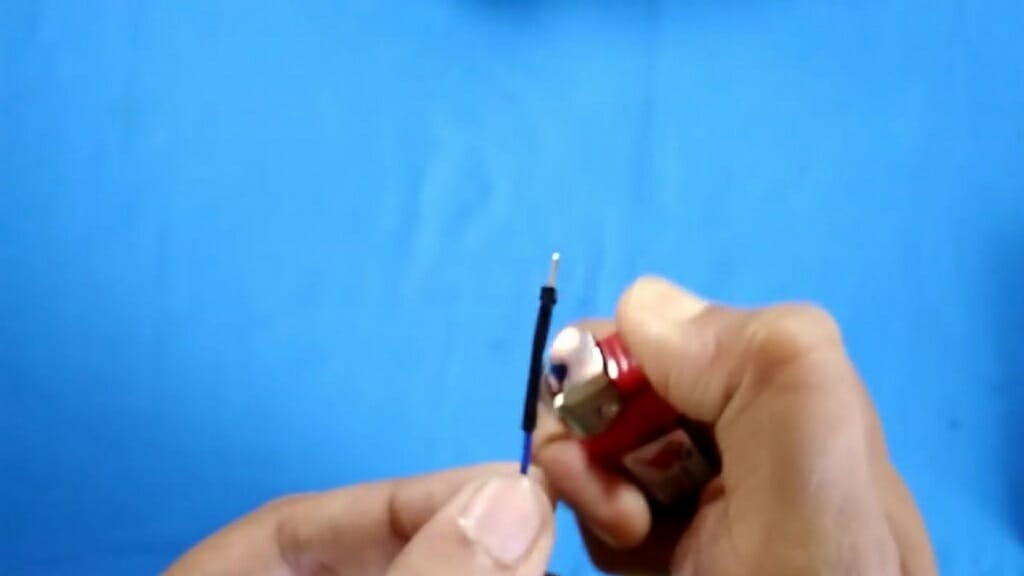
Then, bring the heat shrink to the wire and the male pin. Use a lighter to heat the heat shrink. While heating, don’t forget to rotate the wire. Do the same for the other end of the wire.
Step 7 – Connect the Jumper wire to the Breadboard
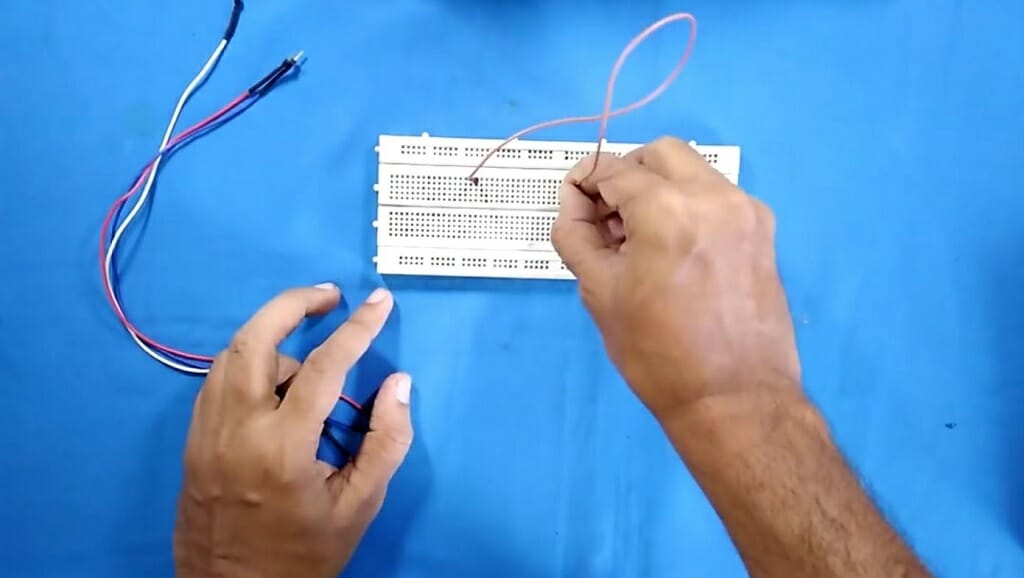
Now, you can test your jumper wire. Connect the jumper wire to the breadboard. (2)
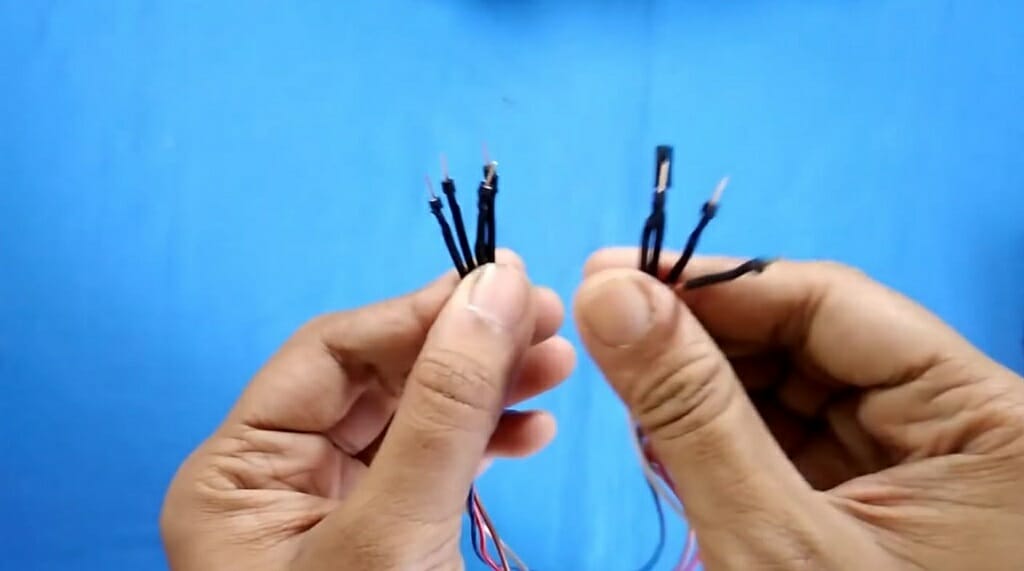
If you need more than one jumper wire, follow the above process and make as many as you want.
Take a look at some of our related articles below.
References
(1) soldering process – https://www.instructables.com/How-To-Soldering/
(2) breadboard – https://www.sciencedirect.com/topics/
engineering/breadboard
Video References
Electronics Demon
Technoreview85
