9 min read
How to Wire Rock Lights to Battery (Guide with Photos)
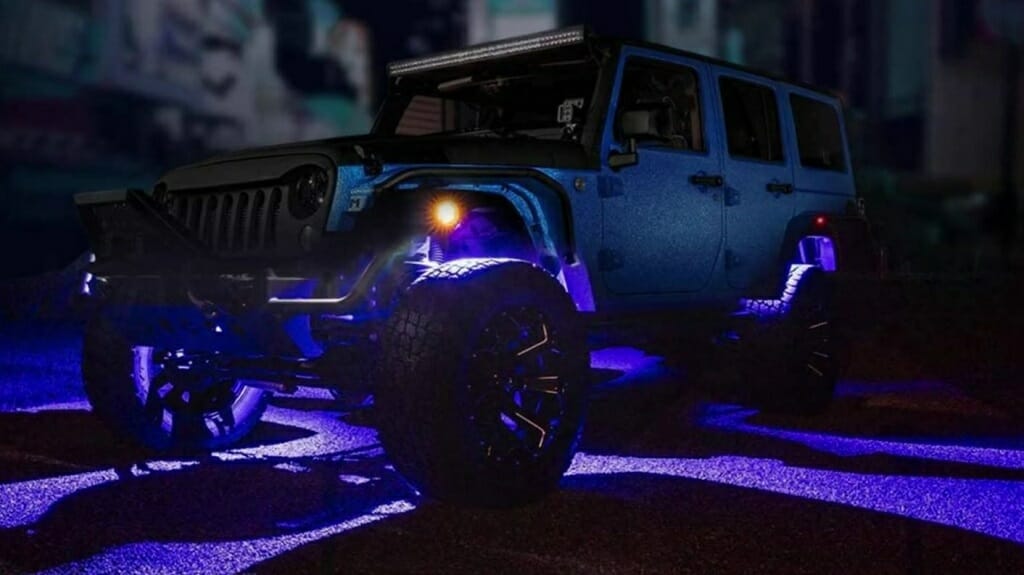
Last weekend I turned my old Jeep’s foggy lights into something beautiful. If you like me and want to increase the wow factor of your truck or car, installing rock lights is one of the best things you can do. They are an excellent accessory that can bring your truck some style. But what about the wiring process? Is it difficult? How do we get to the battery?
In truth, wiring led rock lights isn’t that complicated. Taking the wires through your truck is the hard part and that’s why we’re going to focus on how to wire rock lights to a battery in this guide.
In general, to wire rock lights to a battery, the hardest part is taking the wires through the car, we discuss this in more detail and images below. After that connect the red wire of the rock light to the battery’s positive terminal. Then, connect the black wire to the negative terminal or ground it by other means.
Before We Begin
Even though this post is all about the wiring process of rock lights, the wiring process is combined with the installation. So, if you are going to learn about the wiring process, you might as well learn how to install rock lights.
Step by Step Guide on Installing Rock Lights
Things You’ll Need
- Drill
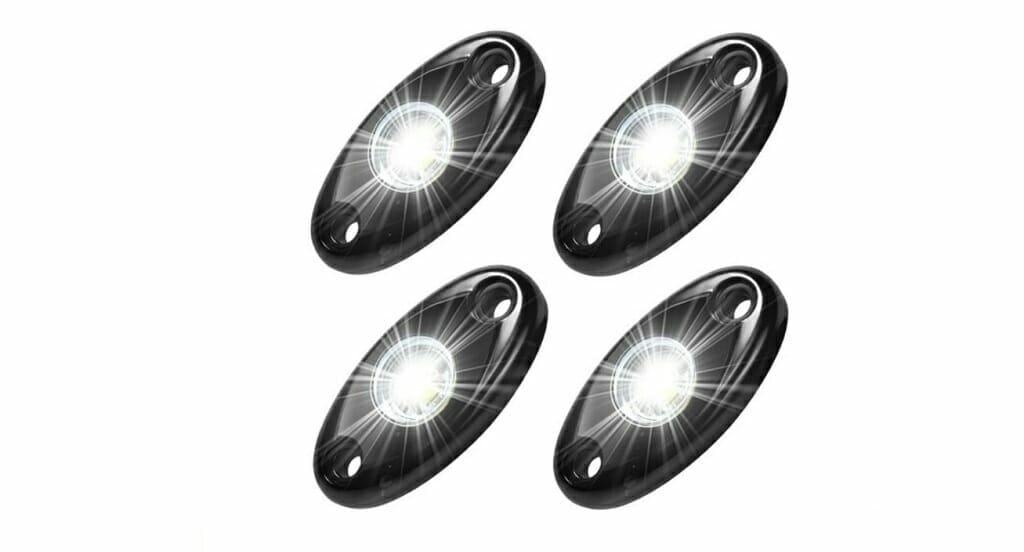
- Rock Lights
- Screwdriver
- Crimp connectors or electrical tape
- Wire strippers
- Crimping tool
Step 1 – Prepare Your Car for the Installation
First and foremost, park your vehicle in an open area. This area shouldn’t have a large amount of debris or dust. Apart from that, check the emergency breaks. The breaks should work properly. Also, the parking area should be a dry place. During this process, you’ll deal with lots of electrical components. So, avoid any damp surfaces.
Step 2 – Disconnect the Battery
Keep the vehicle power off. Then, disconnect the battery from the vehicle.
Step 3 – Determine the Position of the LED Rock Lights
Next, find a good position for the rock lights. These rock lights are installed beneath the vehicle body. Decide the exact locations where you want the led lights to be installed. To mount the brackets, you’ll have to drill those locations. So, remember to mark these positions.
Step 4 – Screw the Rock Lights
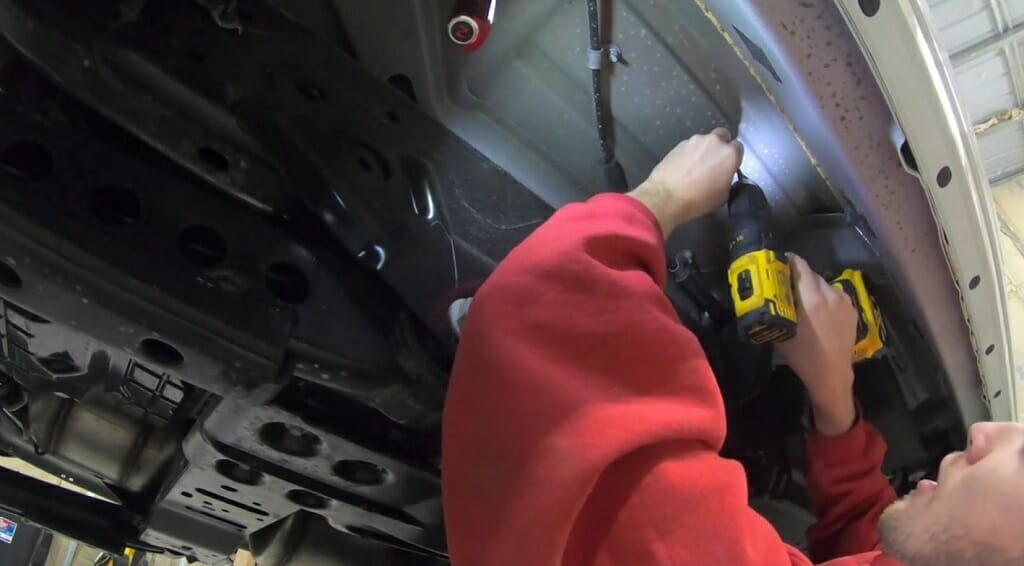
After determining the locations for your rock lights, start the drilling process. (1)
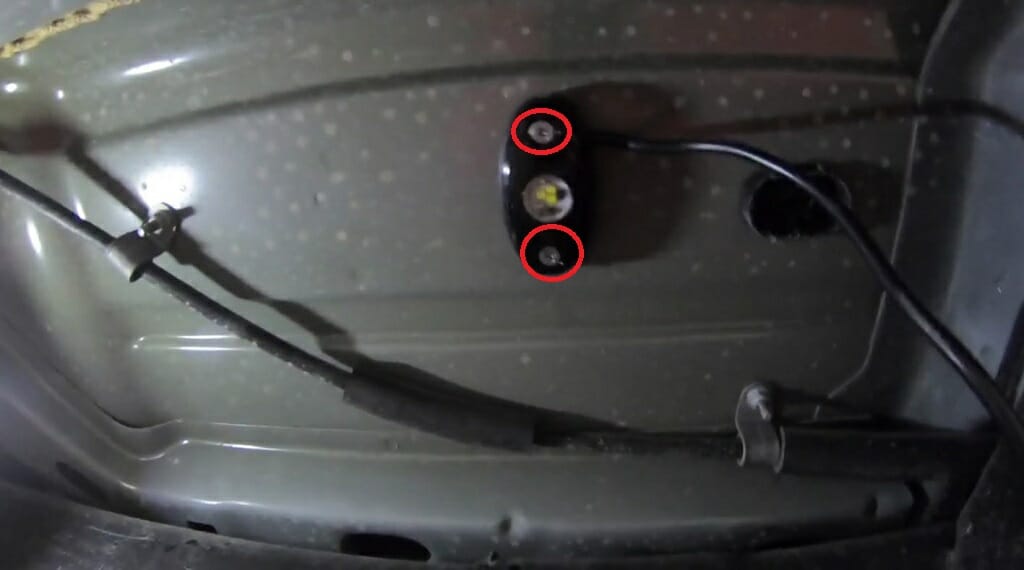
For one rock light, you’ll have to drill two holes. Then, attach the rock light to the chosen location.

Use the screwdriver to tighten the screws. Do the same for all the rock lights.
Step 5 – Connect the Wires
Connecting wires is more complicated than one might think. For instance, if you plan to install rock lights close to the rear tires, you have to bring the wires all the way from the rear tires to the battery.
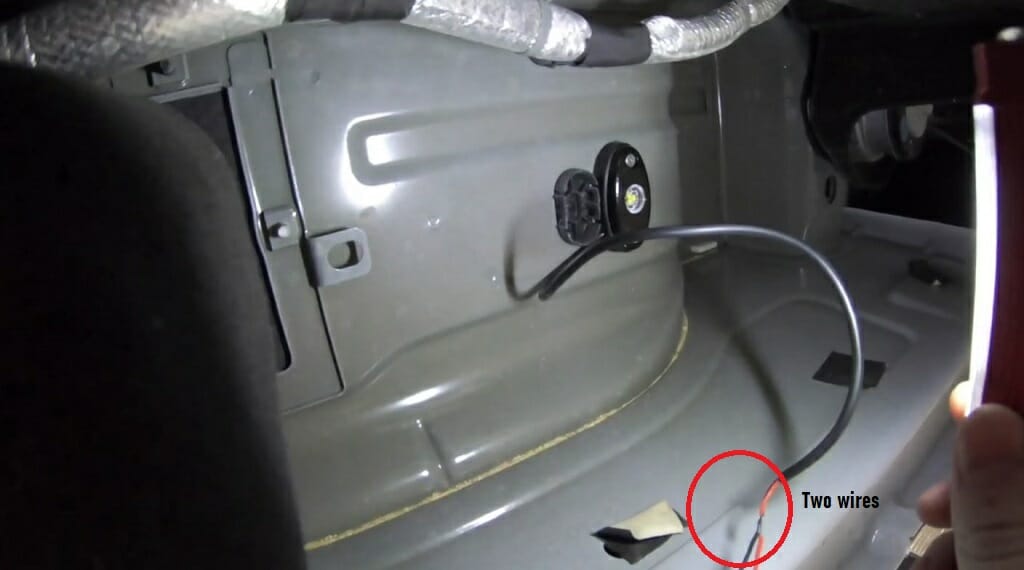
However, the good news is most rock lights come with only two wires; a red wire for positive and a black wire for negative.
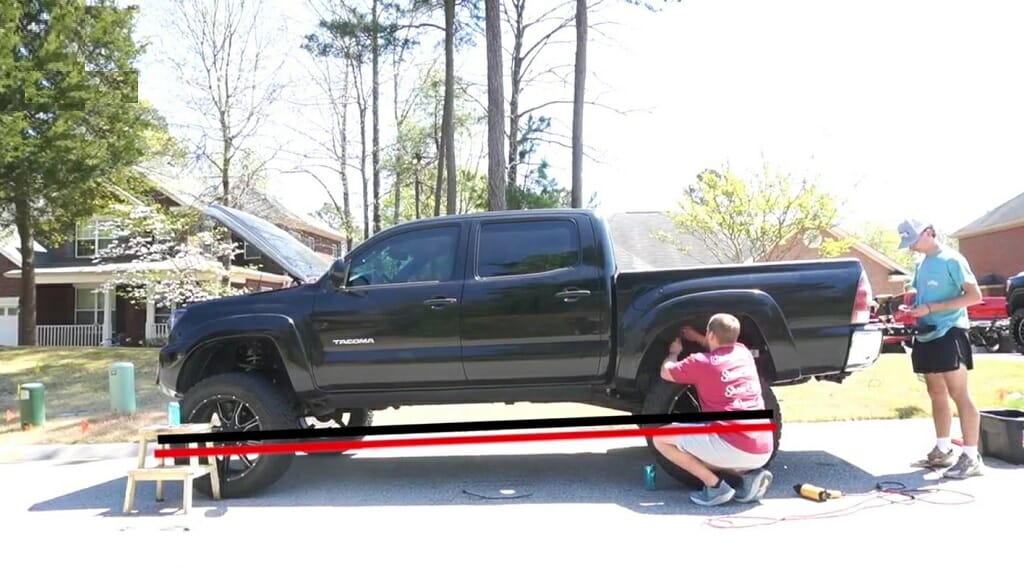
So, run those wires through the vehicle frame (check the image).

For the wires that come through the right side frame, you might have to use the front frame too.
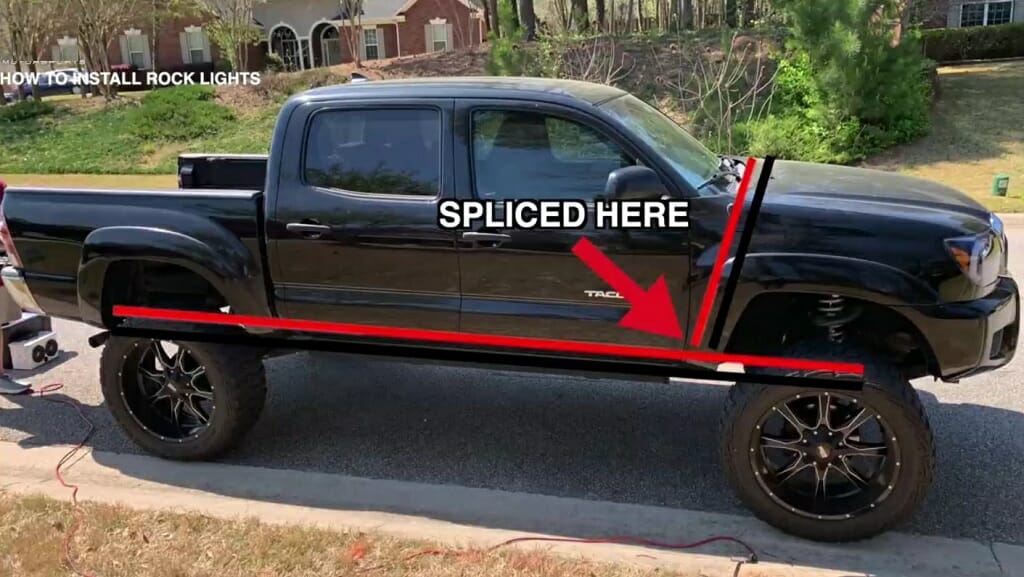
Check out the provided images closely to get a clear idea about this.
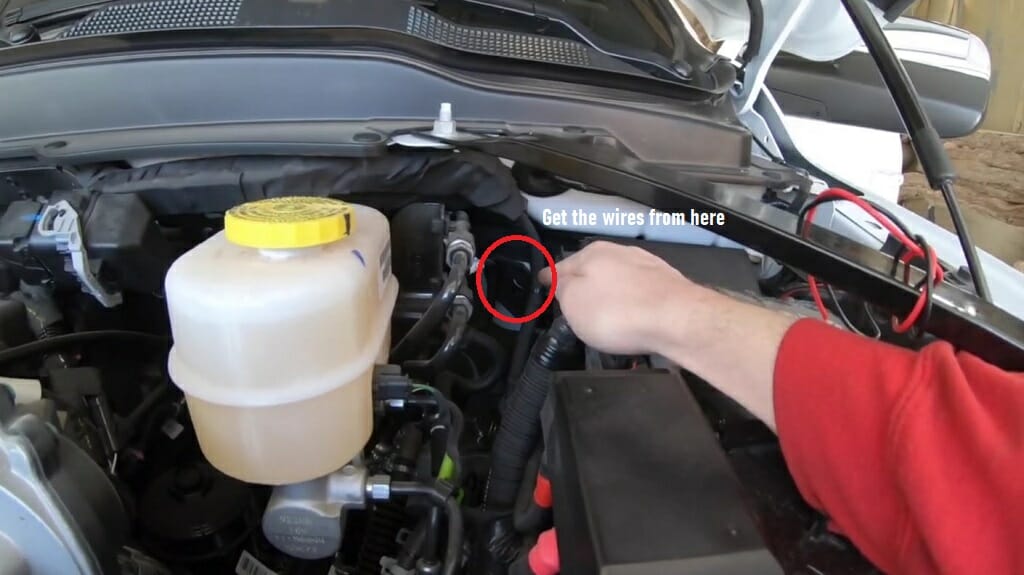
After successfully running all the wires to the battery, you can start connecting them.
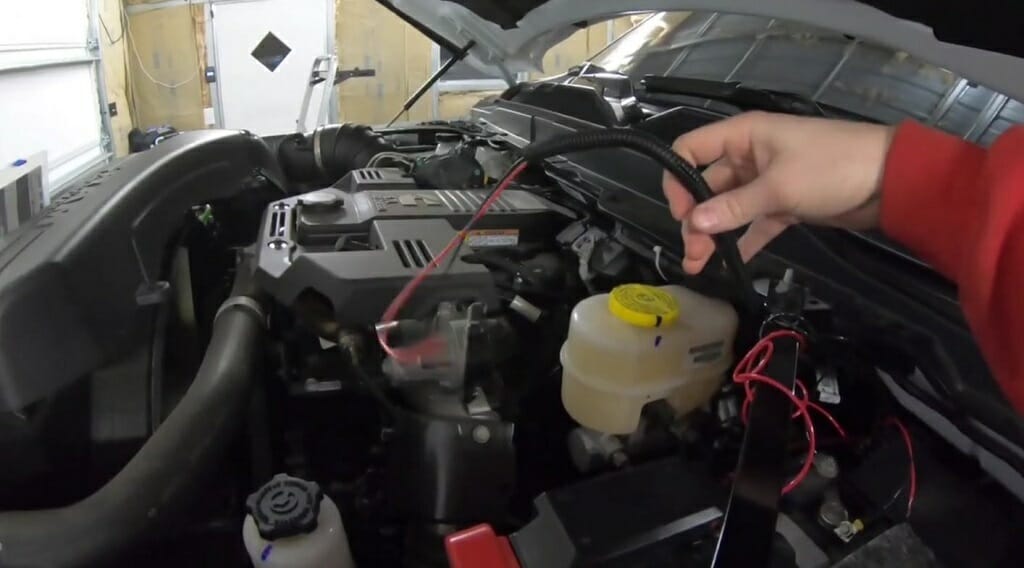
You should have two pairs of wires. One pair comes from the right side of the vehicle, and the other pair comes from the left side. Connect both red wires together and do the same for the black wires.
After that, Connect the red wire to the positive terminal of the battery. Then, connect the black wire to the negative terminal of the battery. Or you can ground the black wire. So, connect the black wire to the vehicle’s body.

Some rock light models might come with three wires. But, there is nothing to worry about. When that happens, refer to the led rock lights manual for better understanding.
Tip: If needed, use crimp connectors to splice the wires. Or use electrical tape.
Step 6 – Reconnect Everything
After completing the wiring process, connect the battery to the vehicle. Then, recheck all the connection points and close the hood.
Step 7 – Test the Rock Lights
Finally, start the engine and check the rock lights. If you followed the above process correctly, you can see the rock-led lights illuminating nicely.
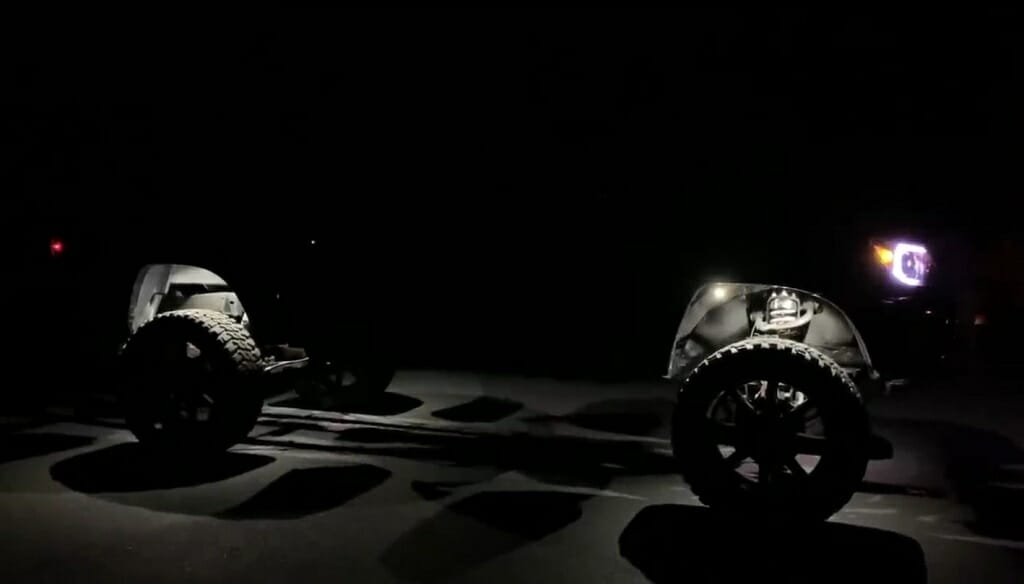
Tip: Remember to test the light at night time too. It will give you a better idea about the quality of the rock lights.
Things You Should Consider During the Installation
Installing rock-led lights is one of the most exciting jobs a truck owner or a driver can do. The sight of your rock lights illuminating against the night road is a satisfying feeling. But, to enjoy all of this, you need to install the lights properly.
Here are a few extra tips that can assist you with that.
- Always carry out the installation process in a dry and clean environment.
- Remember to Disconnect the battery.
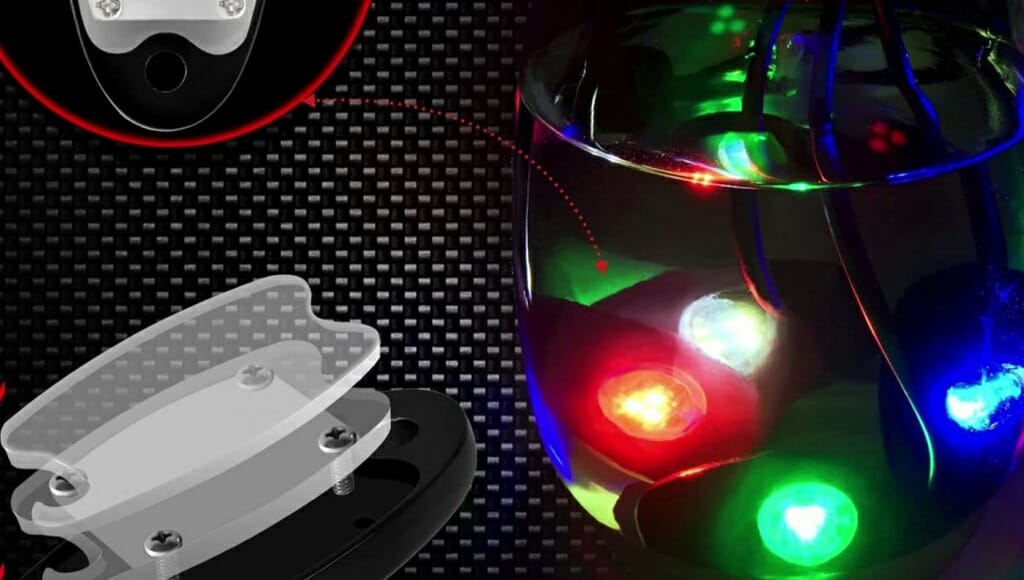
- Rock lights come in different colors. So, choose according to your needs.
- Never start the installation process while some vehicle parts are still hot.
- While buying led rock lights, choose weather-resistant lights. They are a little expensive, but in the long run, they will benefit you.
Wrapping Up

Rock lights are one of the cheapest and quickest ways to give your vehicle a stylish look. Besides, these lights are highly useful while driving at night. So, they are excellent for jeeps, trucks, and even boats. (2)
Take a look at some of our related articles below.
- How to wire rock lights to a switch
- How to wire lights on a 48 volt golf cart
- How to run wire through walls horizontally
References
(1) drilling process – https://www.researchgate.net/figure/Drilling-process-a-blind-holes-b-through-holes-10_fig1_349971840
(2) stylish look – https://www.elle.com/uk/fashion/a36340010/how-to-dress/
Video References
driveloop
JW Montoya
Coffey’s Garage