9 min read
How to Wire Power Windows to a Toggle Switch (7 Steps)
Do you want to install an easy-to-operate toggle (or momentary) switch for your vehicle’s power windows?
You can wire a toggle switch to your power window’s motor. Toggle switches are easy to install and operate, and you can accomplish the task in less than 15 minutes without paying for a mechanic.
Quick summary: To wire power windows to a toggle switch:
- Begin by testing the window motor with a jump starter
- Then, wire the window motor to a toggle switch with 16-gauge wires
- Next, link the inline 20-amp fuse to the hot wire from the switch
- Connect the positive and negative wires from the switch to the 12-volt battery
- Lastly, test the toggle switch by pushing the lever to either side
I will go into more detail below.
What You Will Need
- Window motor
- Wire nuts
- A toggle switch
- Wire stripper
- Red wire for power – 16- or 18-gauge
- Yellow for ground connection
- 20 amps inline fuse
- Jump starter
A toggle switch is a momentary switch that operates through a push button or projecting lever that moves either up and down or sideways. Unlike a simple on/off switch, the toggle switch does not latch into a set position.
How Power Windows Work
The window motor has two cables going into its positive and negative terminals from a power source, usually a battery, via a switch.
Flipping the switch will reverse the polarity on the window motor. Depending on the power window’s wiring, it causes the window to lower (open) or rise (close).
Wiring
Below, I’ve shown 2 wiring arrangements for connecting a toggle switch to power windows, one using a relay and one without it. The first is an indirect method, and the second is a direct method.

The window motor has two wires attached to its positive and negative terminals via a switch, forming a power source, normally the vehicle’s battery.
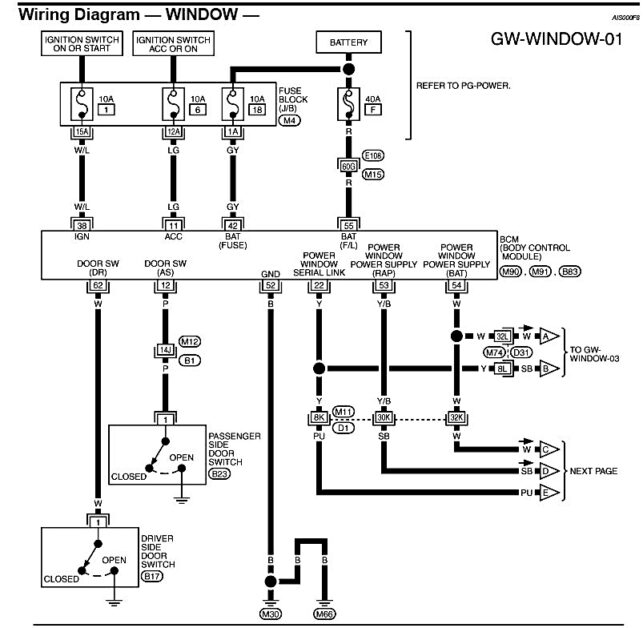
Flipping the switch causes the window motor’s polarity to reverse and the window to rise (close) or come down (open) according to the power window’s wiring. Below is a sample wiring diagram for a particular model provided by its manufacturer.
How to Wire Power Windows to a Toggle Switch
Follow the steps below to wire your power widow to a toggle switch.
Step 1: Testing the Power Window Motor
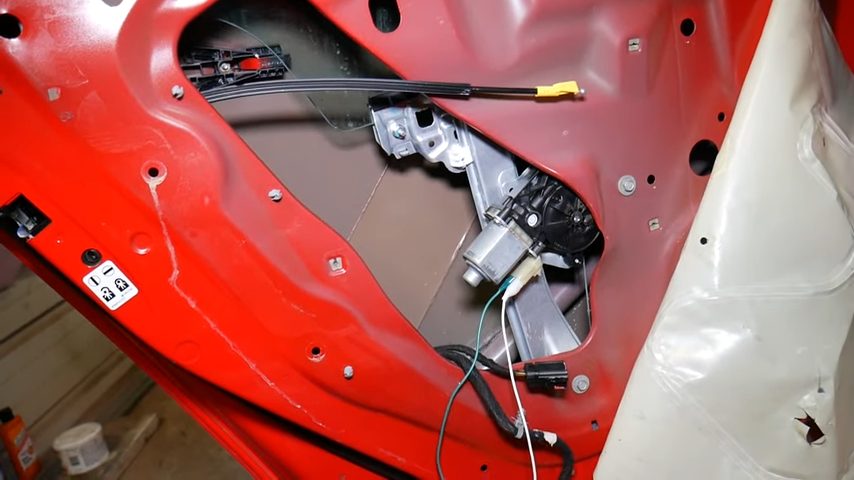
The first thing you should do is verify if your window motor is working or not.
You can do it using a jump starter without removing the motor itself. First, disconnect the window motor cables.
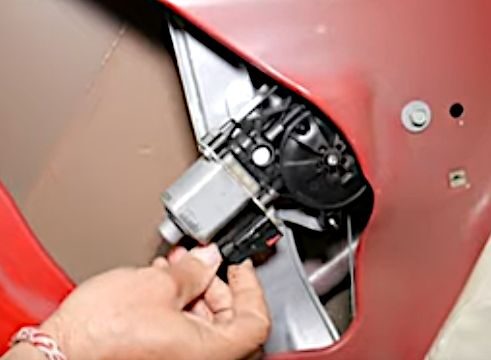
Use alligator clips to connect two wires to the two terminals on the window motor.
Ensure they don’t come into contact to avoid potential damage or shock. Then, use a jump starter to activate the window motor and bypass the protection circuit. Alternatively, you may use a 12-volt battery.
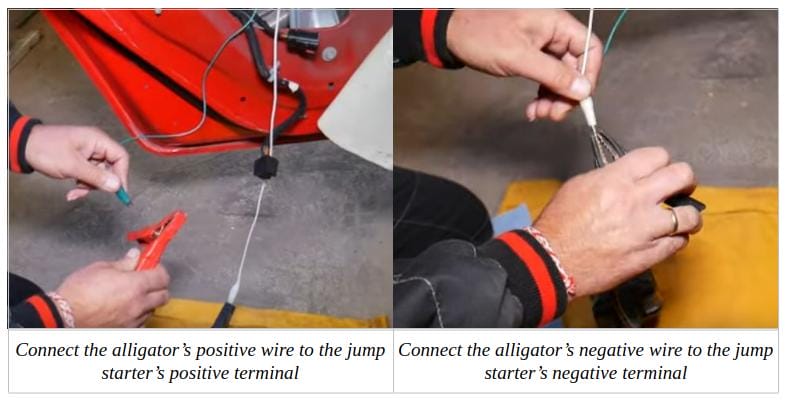
Connect the negative wire from the window motor’s negative terminal to the jump starter’s negative wire or clip. Do the same to the window motor’s positive wire.
If the window ascends (to close), swap the negative and positive wire connections and observe the window’s movement again. If the window descends (to open), the power window motor is fully operational.
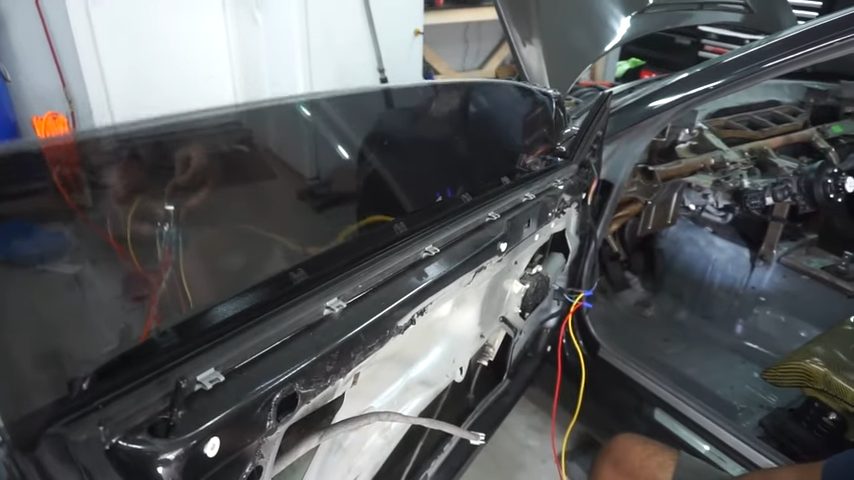
Step 2: Add Connecting Wires to the Window Motor
In this guide, we will use the yellow wire for the ground connections and the red wire for the hot connection.
Get your red and yellow wires ready. Strip off about one inch of the insulation layer with a wire stripper. Attach the wires to their respective terminals, i.e., the positive (red) and negative (yellow) terminals on the window motor.
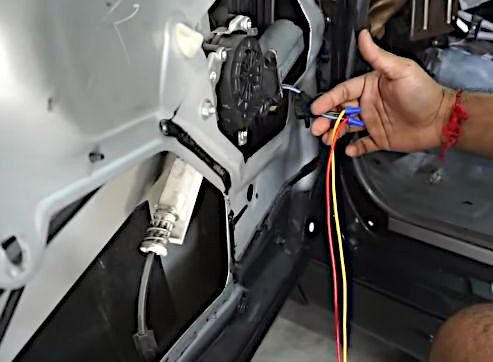
However, if the window motor is already wired, add pigtails to the two (hot and ground) wires by twisting them together instead. You can nest the twisted ends in wire caps.
I recommend using colored wire caps to help you tell the polarity of the wires at a glance.
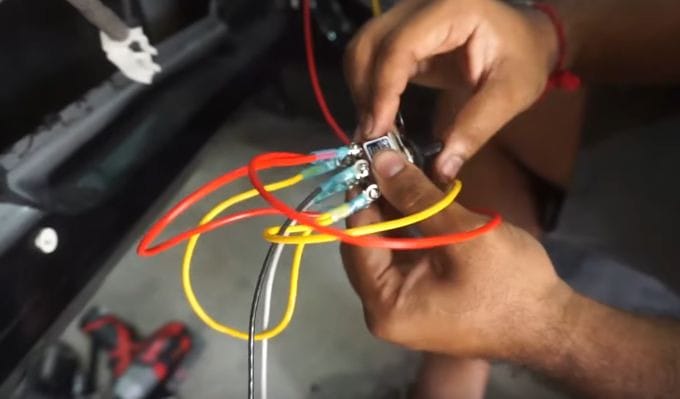
Step 3: Wiring the Window Motor to a Toggle Switch
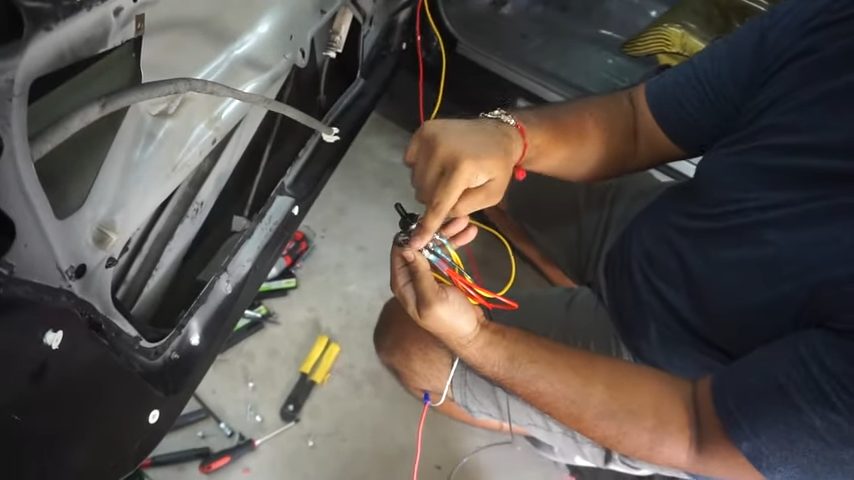
On your double-pole single-throw toggle switch, connect the hot (red) and ground (yellow) wires from the window motor to the power and ground wires on the toggle switch.
The black and white wires on the toggle switch are the ground and power wires, respectively. Connect them on either side of the toggle switch.
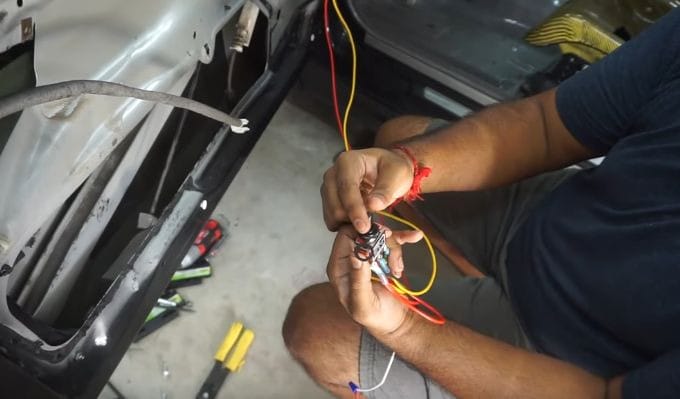
Step 4: Lowering and Raising the Window
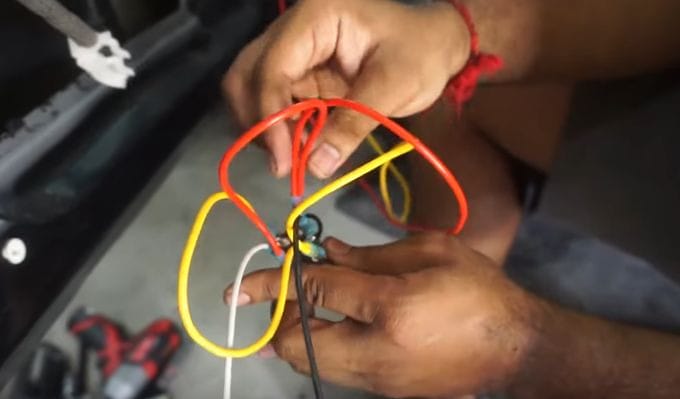
You need to make various wire connections on the toggle switch that will enable you to lower or raise the window.
To do that, connect one of the power wires to the toggle switch’s opposite end. Do the same to the ground wire, as shown below.
Step 5: Connect an Inline 20-Amp Fuse
A fuse will prevent the switch from breaking in the event of a power surge.
Attach a fuse between the positive wire (white) from the toggle switch and the red wire from the battery’s positive terminal.
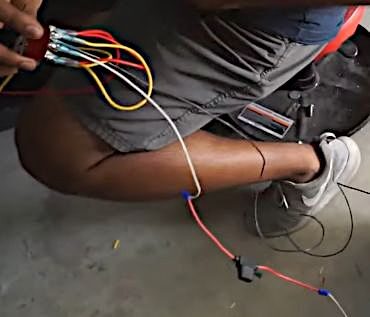
Note that a fuse is just a piece of wire without polarity. To link the fuse, wrap one end to one terminal of the positive wire and the other to another to form one continuous electrical line – hence the name “inline fuse”.
You may insulate the connection points with duct tape for safety.
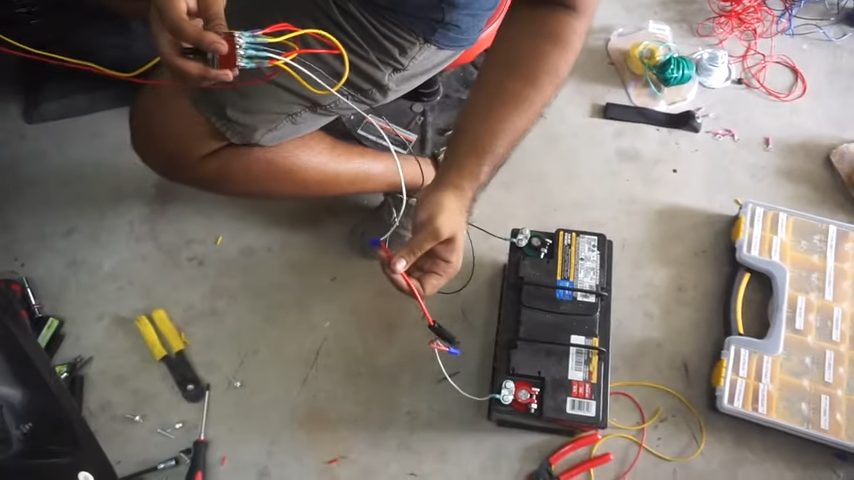
Step 6: Connect the Switch to a 12-volt Battery
The window motor requires a power source to function.
Strip about an inch of the insulation coating on the white and black wires from the toggle switch.
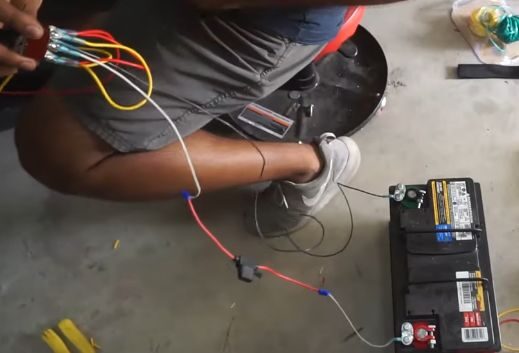
Next, attach the black wire to a black alligator clip and connect it to the battery’s negative terminal. Then, attach the white wire to a red alligator clip and connect it to the battery’s positive terminal.
Step 7: Test the Power Window
Finally, test the toggle switch. Press the toggle to one side and observe the window’s movement.
Now flip the toggle switch to the other position and observe the window. The toggle lever inclination that ascends (or closes) the window is the ON position, and the other direction represents the OFF position. A momentary switch cannot get stuck and can move in either position.
According to your preference, you may choose to use wire nuts in the connection points of the wires, or you can solder them instead. Additionally, you may use the standard AWG color codes to avoid any confusion that may lead to short-circuiting.
References
Website Resources:
- power surge. https://electronics.howstuffworks.com/gadgets/home/surge-protector3.htm
- electrical line. https://www.sciencedirect.com/topics/engineering/electric-lines
- GW-Window-01. https://www.350z-tech.com/attachments/diagram-gif.42101/
Video References:
Auto Repair Guys
Mehul Rana
Wiring Rescue