How to Wire Headlights to a Toggle Switch (6 Steps)

This tutorial will show you how to wire headlights to a toggle switch. This is a great way to keep your headlights on when you need them and turn them off when you don’t.
Your car’s headlight switch can wear out over time and become inoperable.
The headlight switch may be easily available but not likely to be cheap. An alternative is to use a standard toggle switch instead, as used for controlling other driving lights.
You can easily wire a headlight to a toggle switch.
You must choose a suitable mounting location, disconnect the old wiring, and ensure you know how the wires will be attached to the toggle switch. When you are ready, secure them in place, attach the wires to the toggle switch, and then mount the switch to the dashboard.
I will go into more detail below.
Wiring a Headlight to a Toggle Switch
The method to wire a headlight to a toggle switch includes six steps, which are:
- Choose a suitable mounting location.
- Disconnect the old wiring.
- Check the toggle switch pins.
- Prepare and secure the wiring in place.
- Attach the wires to the toggle switch.
- Mount the switch to the dashboard.
Once you’ve bought a new toggle switch, you’re ready to get started. You will need a few more things: a wire stripper, pliers, and insulation tape.
Also, don’t forget to disconnect the battery while you work on the wiring.
Step 1: Choose a Suitable Mounting Location
Choose a suitable location for mounting the toggle switch on your dashboard.
An ideal location would be close to the original location because you can then keep the rest of the wiring to the headlights in place. You can also drill a hole for the toggle switch if it suits you.
Step 2: Disconnect the Old Wiring
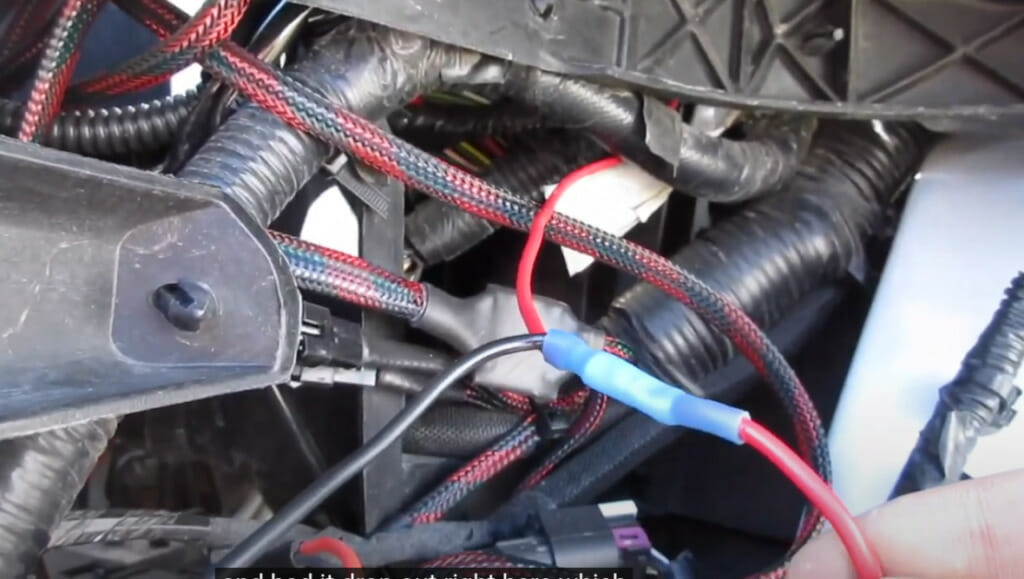
The second step is to locate and disconnect the end portion of the existing wiring from the old headlight switch, which we will replace.
Step 3: Check the Toggle Switch Pins
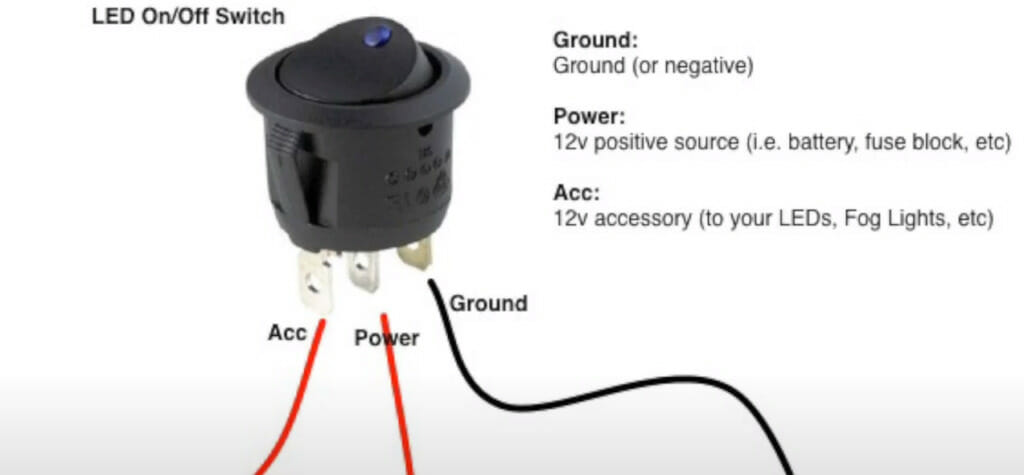
Now, check the back of the toggle switch, which will replace the old headlight switch.
You will see some pins for attaching wires. They are usually either in the form of screw-type or blade-type connectors. This will depend on the type of toggle switches you bought. You should see the following pins: one for ‘power,’ one for ‘ground,’ and an ‘accessory’ connection. The negative will be grounded.
In particular, make sure you know which wires are used to send power to the headlights when they are turned on. If there is any doubt, check your car’s manual for the headlight switch wiring diagram.
You can also find this out by connecting each wire in turn to each pin (with the switch in the on position) until the headlights turn on.
Step 4: Prepare and Secure the Wiring in Place
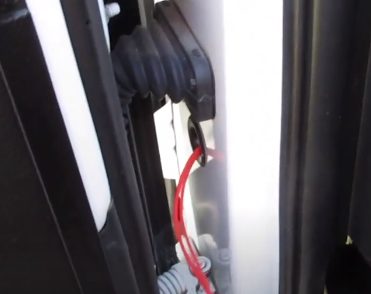
Once you are sure which wire goes where secure the wiring so it can easily reach the new toggle switch position and pins.
You might also need to prepare the wire ends by cutting them so that the blade connectors can be used. If this is the case, use a wire stripper to remove about ¼ to ½ inch of the wire insulation before attaching the connectors.
Step 5: Attach the Wires to the Toggle Switch
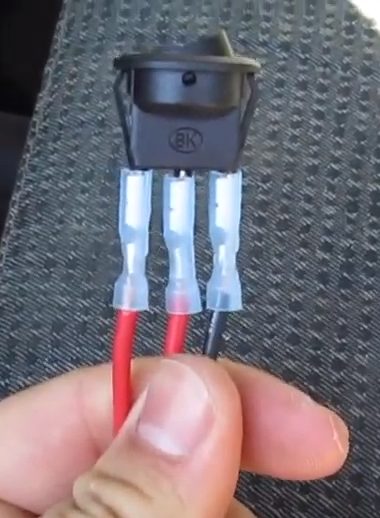
With the wiring secure, attach the wires to the toggle switch.
Once each wire is attached to the right pin, secure the connectors using a pair of pliers. Squeeze the ends to ensure they are attached firmly and will not loosen. It would be best if you also bound the wires and connector end using electrical insulation tape.
Step 6: Mount the Switch to the Dashboard
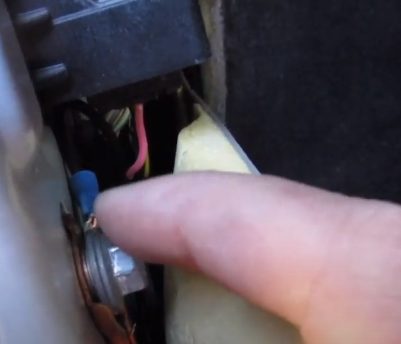
With the wires attached and firmly connected to the new toggle switch, the final step is to mount the switch to the dashboard in your chosen location.
You can mount the toggle switch in various ways. You might be able to screw it in place or insert it into a hole and thread a nut on the back of the switch.
Before you finally mount the new toggle switch into position, make sure no metallic piece comes into contact with it. If one is too close, you can use insulation tape to ensure it doesn’t make contact. This is important, as otherwise, it can cause a short circuit or create some other electrical problem.
Final Testing
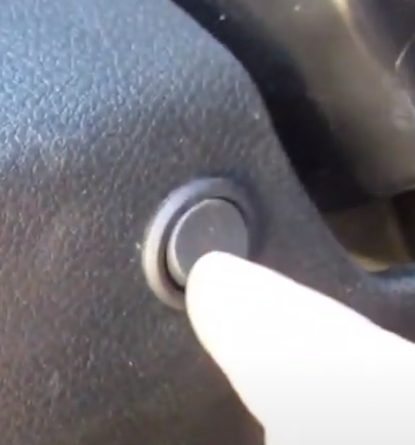
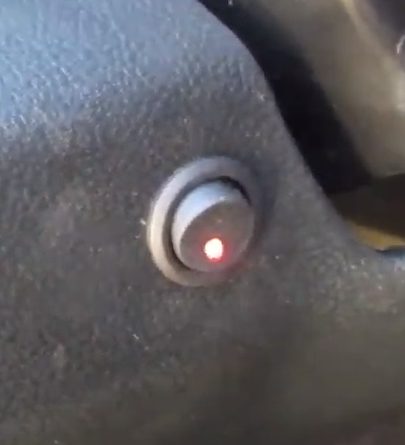
You should test to confirm that the wiring you did is correct before securing the wiring and fixing the toggle switch into position.
But you should also repeat this test at the end before considering the project to be complete. Go ahead and turn the toggle switch on to see if the headlight turns on or off position turns it back off. A three-way toggle switch will have a different position for driving lights.
Video Reference
Brandon Clark
