13 min read
How to Wire a Double Outlet (6-Step DIY Guide)
Have you ever found yourself juggling multiple devices without enough outlets?
We’ve all been there, juggling gadgets with nowhere to plug them in. But here’s the good news: wiring a double outlet can be a game-changer. And the best part? It’s a DIY task you can do with just a touch of guidance.
Key Takeaways: To install double outlets:
- Essential tools include a wire stripper, screwdriver, and a voltage tester.
- First, turn off the power,
- Then, connect the ground, neutral, and hot wires.
- For safety, regularly monitor for buzzing and warmth, ensure tight connections, clean outlets, and upgrade as technology advances. Always prioritize safety.
Ready to dive deep and make your space more electrically efficient? Let’s roll up those sleeves and jump right in!
Understanding the Importance of Double Outlets
Say goodbye to extension cords! You know how sometimes one outlet isn’t enough, and you use extension cords? While they can be convenient in some situations, they also pose a risk of electrical fires if overloaded or improperly used. Double outlets reduce this risk because they allow for the safe use of multiple appliances directly from the wall.
Double outlets aren’t just about safety; they’re also a budget-saver! Choose them during renovations, and you’ll often find they’re more cost-effective than the single ones.
Double outlets are the dynamic duo of safety and convenience, making them a must-have in every modern home’s electrical game plan!
Essential Tools and the Role of Pigtails
Jumping right into it, let’s talk about the fundamental tools you’ll need.
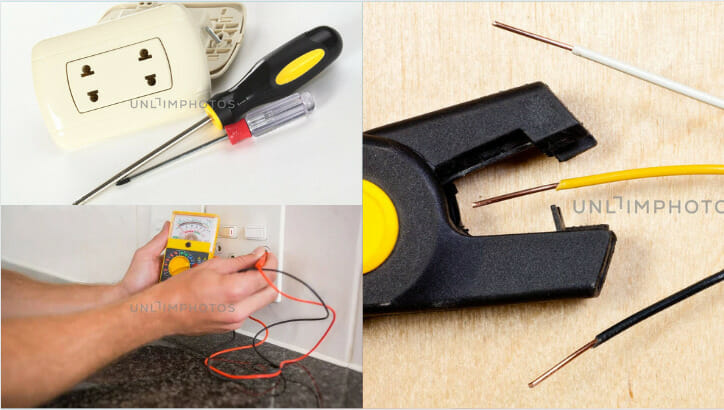
- Wire Stripper: Not just your average tool – it’s key to safely stripping away protective coatings and revealing that conductive magic inside!
- Screwdrivers: Arm yourself with both flat-head and Phillips. They’re your trusty sidekicks for securing those wires.
- Voltage Tester: A real lifesaver! This little gem will be your early-warning system, telling you if there’s any sneaky current still running.
- Pigtails: Why? These connect multiple wires into one, ensuring each outlet has its special connection to the service panel.
Lastly, remember this golden rule: always make sure electricity is turned off at your breaker box before starting any electrical work! Safety first, folks!
Wiring Double Outlets Step-by-Step
Before we jump in, a gentle reminder: Safety first! Call a pro if you’re uncomfortable with the steps below.
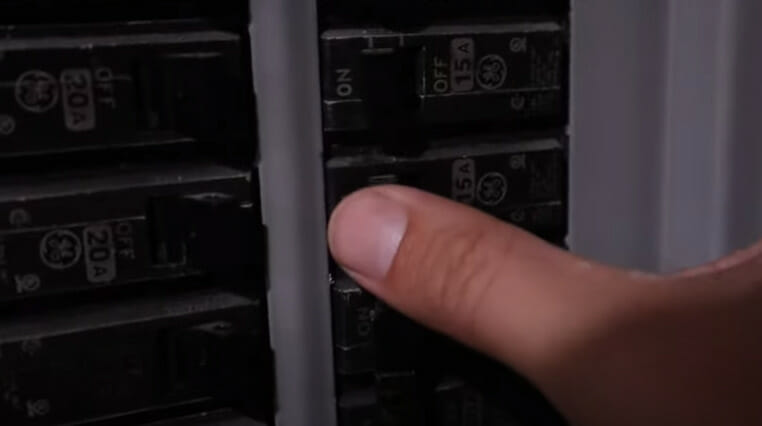
Step 1: Power’s Off, Right?
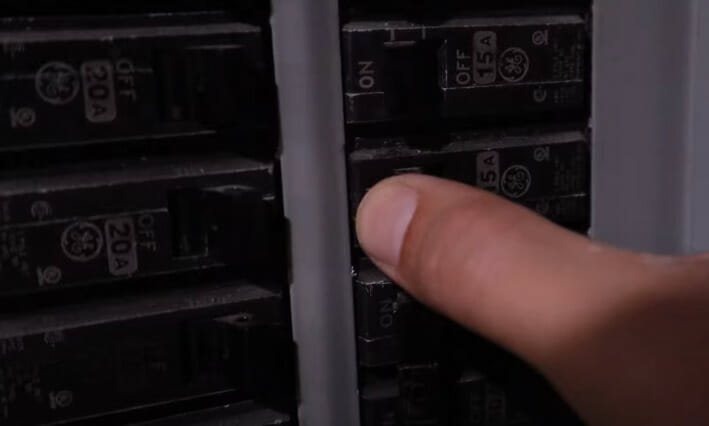
Always, and I mean always, ensure the power is off. You don’t want any surprises.
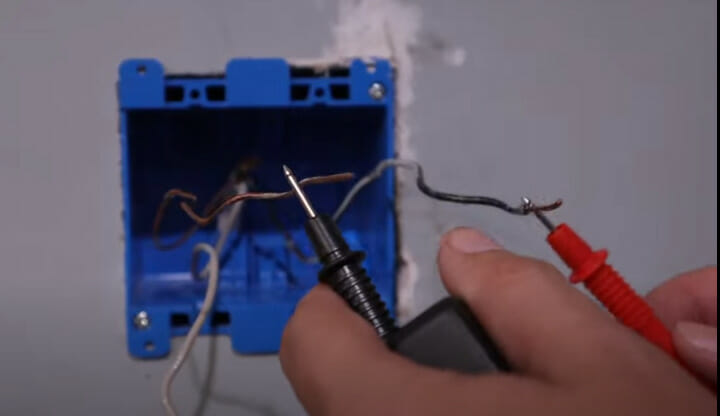
Head over to your circuit breaker and switch off the circuit you’ll be working on. Use a voltage tester at the outlet location to confirm there’s no electricity flowing. This tiny device can save the day – or your fingers!
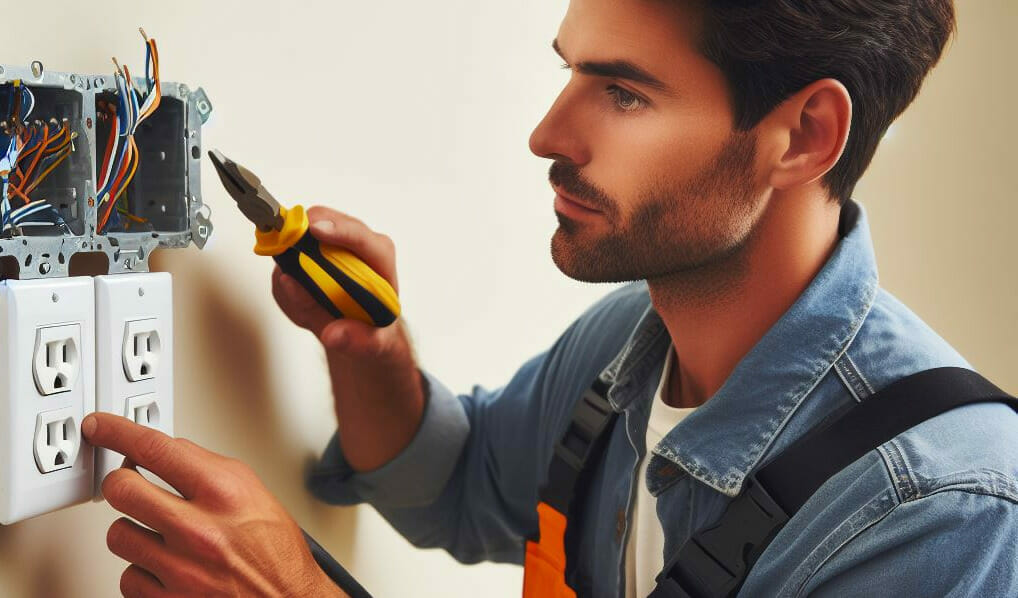
Step 2: Getting Familiar with the Outlets

Ever take a moment to look at an outlet? You should! Most outlets, or receptacles, have two main sections: hot wire (usually black or red) and neutral wire (typically white).
There’s also a green screw meant for the ground wire. We connect two outlets in the same electrical box when discussing wiring a double outlet.
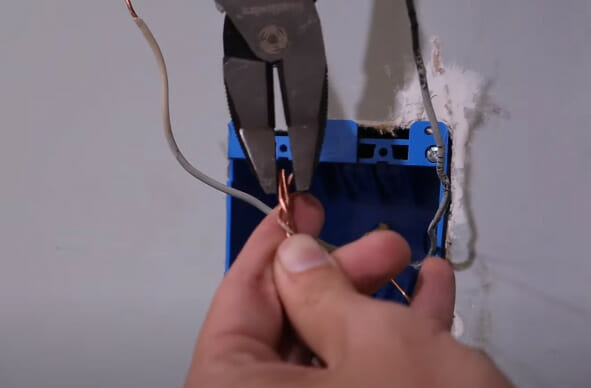
Step 3: Stripping Wires with Flair
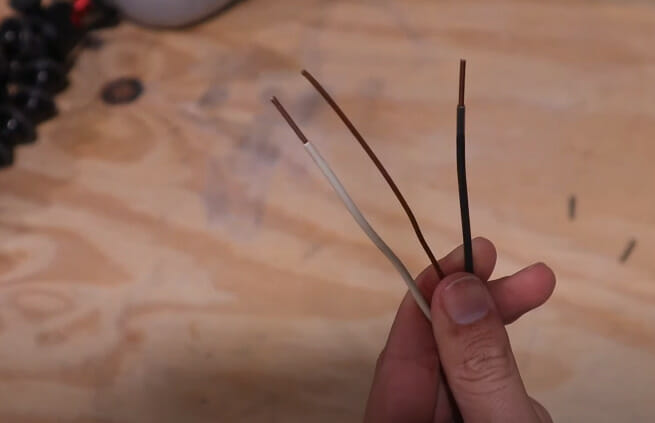
With your wire stripper, gently strip about 3/4-inch insulation off the wires. This reveals the copper underneath, which will help form a solid connection. And, a little pro-tip: make a small hook at the end of each wire with pliers. This will make attaching them to the screws on the outlet a breeze.
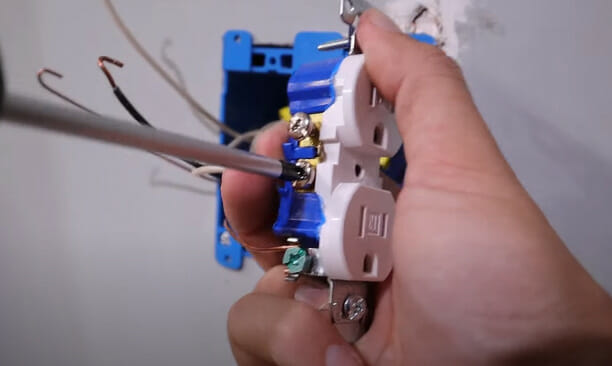
Step 4: It’s Connection Time!
Hold your first outlet. Attach the black (hot) wire to the brass screw, the white (neutral) wire to the silver screw, and the green or bare (ground) wire to the green screw.
Remember those little hooks? Loop them clockwise around the respective screws and tighten them securely.
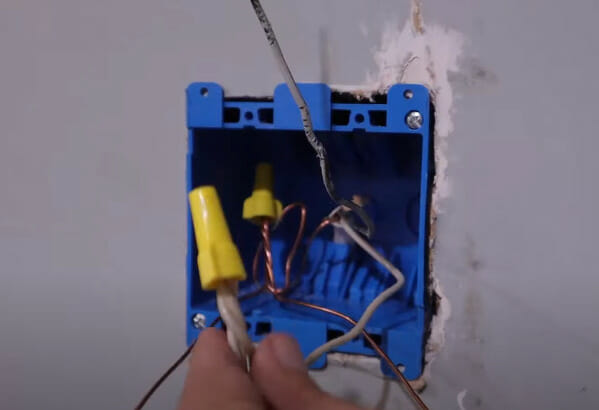
For the second outlet, you have two options:
- Pigtail Connection involves using short wires, or pigtails, to connect both outlets to the main power source.
- Join the hot wires with an extra black wire using a wire nut. Do the same for the neutral wires with a piece of white wire. Connect the other end of these pigtails to the second outlet.
This method ensures that the other keeps working even if one outlet fails.
- Direct Connection: You directly connect the first outlet to the second one. The hot wire from the first outlet goes to the brass screw on the second, and the neutral from the first connects to the silver screw on the second.
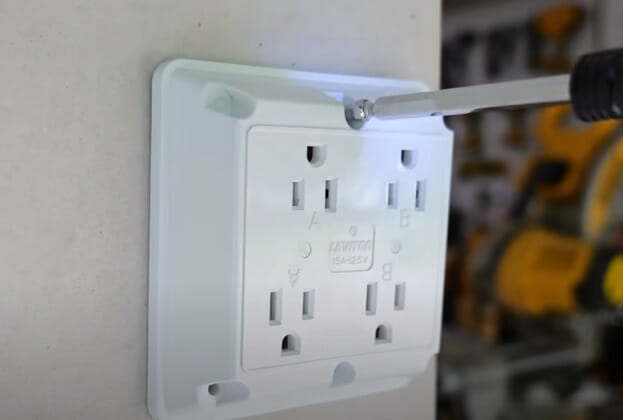
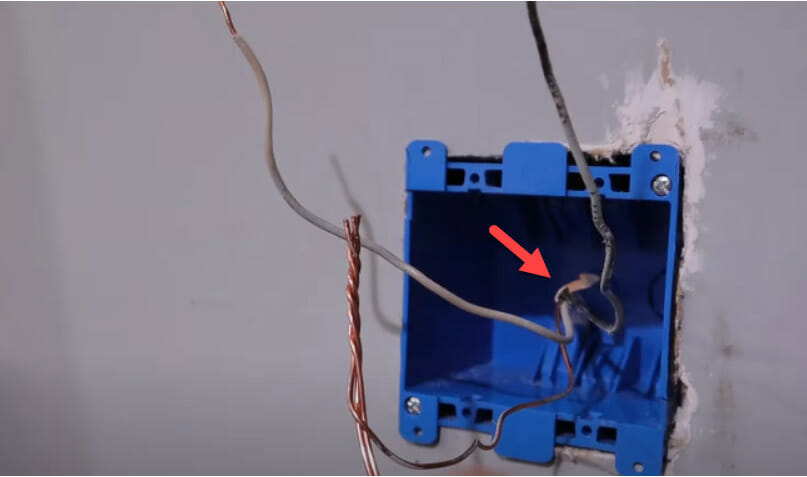
Step 5: Securing the Outlets
Gently push the wired outlets into the electrical box. I always emphasize being gentle – it’s not a wrestling match! Once they’re in place, use screws to secure them. Don’t over-tighten; snug is just fine.
Step 6: Faceplates: The Final Touch
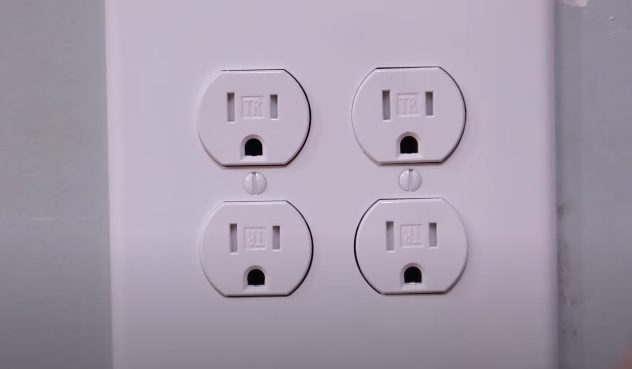
Attach the faceplate over the outlets. It’s the finishing touch that makes all the difference. These plates make everything look polished and keep things safe by covering the exposed wiring.
Step 7: Power On and Test
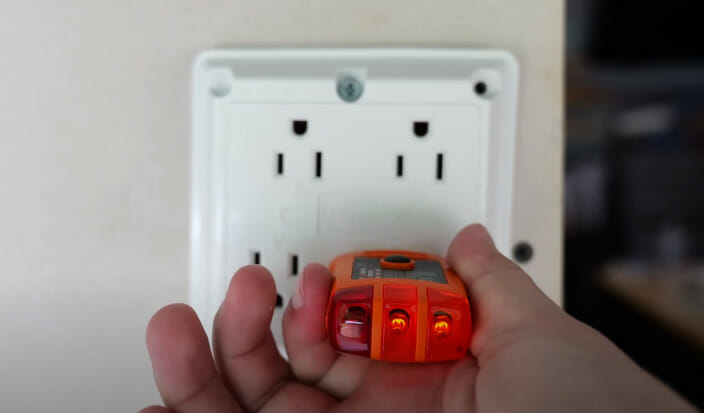
Head back to your circuit breaker and switch the power back on. Now, for the moment of truth! Plug in a device to both outlets to ensure they’re working seamlessly. If there’s no power or something seems off, switch off the circuit breaker and double-check your connections.
A Few Tips and Tricks:
- Age Matters: Older homes might have different colored wires or outdated wiring. If you’re unsure, call a pro.
- Box Size: Double outlets need space. Ensure your electrical box is large enough to accommodate both without cramping.
- GFCI Outlets: If installing in areas exposed to moisture, like bathrooms or kitchens, consider using Ground Fault Circuit Interrupter (GFCI) outlets. They shut off when there’s a risk of a current leak, making things safer.
Wiring might seem daunting, but with a little patience, the right tools, and a dash of enthusiasm, it’s a task you can master.
Twisting and Securing Wires: The Correct Method
Are you a little unsure of how to twist the wires together? Don’t worry for beginners below; we have a small tutorial to get you on the right track.
Step 1: Delicate Strips & Exposed Cores:
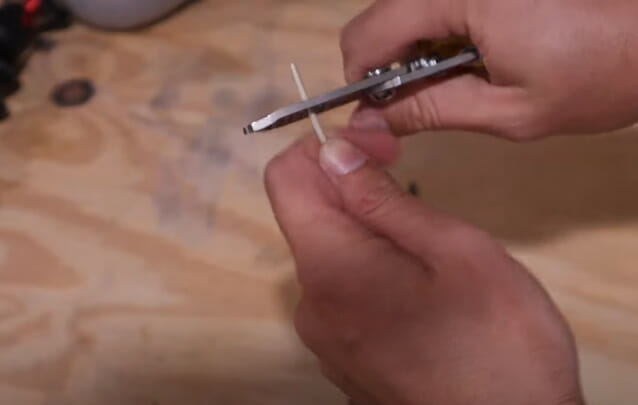
- The Right Tools Lead the Way: The foundation of any task is the tools you use. In the case of wiring, the wire stripper reigns supreme. However, a utility knife can be equally effective when used cautiously for those who like diversifying their toolkit.
- The Technique: Here’s where patience is paramount. Aim to gently strip away roughly half an inch of insulation from each wire, ensuring that the core wire beneath remains unscathed. Remember, it’s not about how quickly you can strip but how cleanly.
Step 2: The Unity Twist:
- Needle-nose Pliers – Your Best Friend: With your stripped wires ready, grab those needle-nose pliers. Their slender and elongated design will be instrumental in the next phase.
- Twisting Method: Here’s a little secret—the twist should always be clockwise. It’s not just a whimsical preference. This direction ensures compatibility with how wire nuts are designed to tighten, ensuring a firmer, more secure connection.
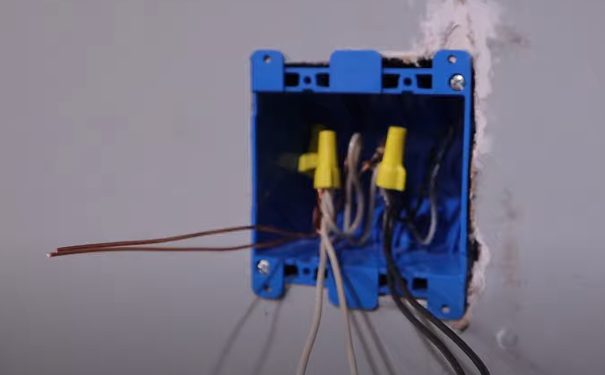
Step 3: The Safety Net of Wire Nuts:
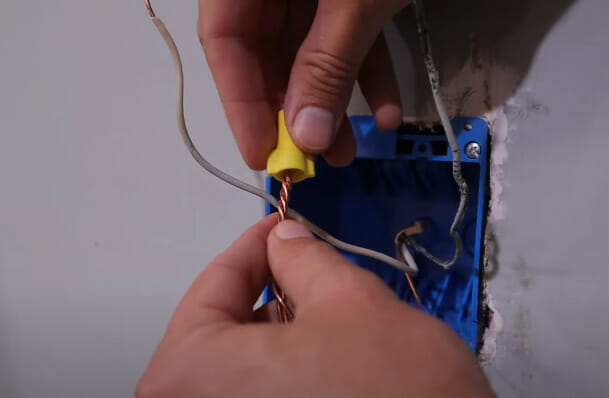
- Introduction to the Lifesaver: If you’ve never used a wire nut before, think of them as the safety nets of the wiring world. They ensure that the twisted wires remain together, safe from external interference.
- Securing the Connection: Slide the wire nut over the paired ends of the wires and twist. The goal is a snug fit, but a simple test will guarantee success. Once secured, give a gentle pull. If the wire holds firm, you’ve nailed it.
Step 4: A Final Layer of Protection:
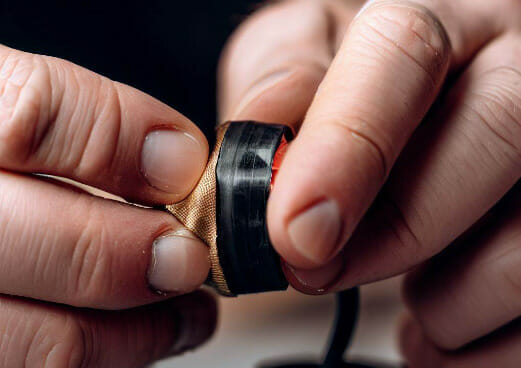
- Why Electrical Tape?: This isn’t just about holding things together. Wrapping electrical tape around the base of the wire nut provides an added layer of protection, ensuring longevity and mitigating potential risks.
- Wrap it Up: Take your electrical tape and tightly wind it around the wire nut’s base. This reinforces the connection and prevents any accidental slippages or unwinds.
Follow these simple steps for wiring, but always prioritize safety—now, tackle that double outlet with confidence!
Safety First: The Role of Circuit Breakers and Multimeters
You see, electricity isn’t something to mess around with. It demands respect and caution at all times.
- Circuit Breaker:
- Think of it as your home’s electrical guardian angel.
- It monitors the current flow and is always on the lookout.
- Overload? Boom, it trips, shutting off power and preventing potential disasters.
- Multimeter:
- A DIY electrician’s best buddy!
- Measures voltage, current, resistance—you name it.
- Unsure about live voltage? This guy’s got your back.
- Testing your outlets? Turn to the Multimeter!
Wrap it up? Electricity’s no playground—treat it with respect. Keep those breakers sharp and that multimeter close by!
Maintenance and Long-Term Care: Keeping Your Double Outlet Going for Years!
Routine Checkups:
- Just like your car needs its oil changed, those outlets need some lovin’, too. Now and then, please give them a gentle wiggle. If they feel loose or you spot any signs of wear, it might be time for a quick tune-up.
Keeping it Clean:
- Dirt and debris are like those party crashers you didn’t invite. They can mess with your outlet’s performance. Gently clean around the faceplates with a damp cloth (power off, folks!) to keep them shining and efficient.
Look, Listen, and Sense:
- Those outlets try to tell you something if you hear buzzing or notice unusual warmth! Please don’t ignore these signs; they could be hints of something needing attention. A little proactive care goes a long way in preventing bigger issues.
Upgrade Dance:
- Electrical codes and tech are always evolving. It’s worth checking in occasionally to ensure your outlets are still cutting-edge. And if they aren’t? Well, you’ve got the skills to upgrade!
Your Tools Are Your Comrades:
- Remember that Voltage Tester and Multimeter? Keep them close. They aren’t just for the initial setup. They’re invaluable for regular check-ups and ensuring everything’s flowing just right.
And…The Encore: Safety, safety, safety! Whether it’s day one or year ten, always approach your outlets with the same respect and caution. Electricity doesn’t age, and neither should your vigilance.
So, rockstars, that’s the lowdown on maintaining your double outlet. It’s not just about the installation; it’s the journey! Keep that rhythm going; your electrical setup will be grooving for years. Until next time, keep those pliers ready, and always dance safe!
References
Organizations:
- National Electrical Manufacturers Association (NEMA). https://www.nema.org/
- Electrical Safety Foundation International (ESFI). https://www.esfi.org/
Websites:
- Mike Holt Enterprises. https://www.mikeholt.com/exam-preparation-menu.php
Books:
- “Wiring Simplified: Based on the 2020 National Electrical Code” by Frederic P. Hartwell, Herbert P. Richter, and W.C. Schwan.
- “Black & Decker The Complete Guide to Wiring” by Editors of Cool Springs Press.
Studies:
- The U.S. Consumer Product Safety Commission (CPSC). https://www.cpsc.gov/
- IEEE Xplore. https://ieeexplore.ieee.org/Xplore/home.jsp
Video References:
How To Home