9 min read
How to Twist Wires Together
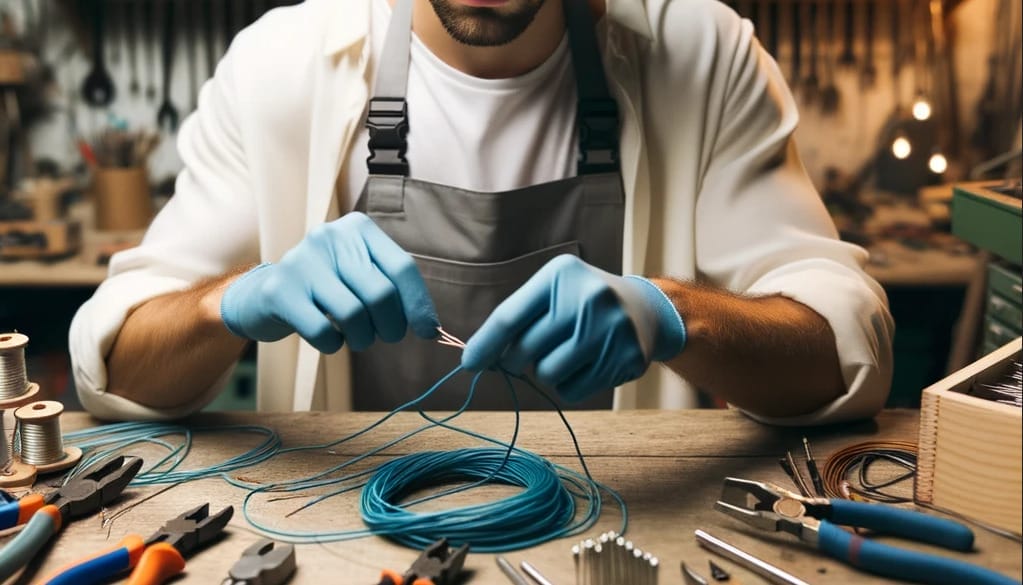
It might seem easy to twist wires together, but there are different types of wires and proper (more secure) and improper ways of twisting them.
Twist wires in parallel or facing each other, depending on how you use them. Twist the conductors around each other for a secure joint. Do so spirally and clockwise, using nose pliers.
Continue reading for more detailed instructions, tips, and illustrations.
Considerations and Requirements
Why We Twist Wires
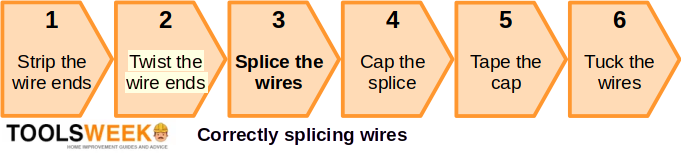
We twist wires as part of the splicing process to join their conductors so they function as a single wire or combine to become the same part of a circuit or when extending or repairing a wire.
For example, if the wires are inside an outlet’s box, you may have to twist them after stripping their ends and before splicing and tucking the wires.
Types of Wires
Before I show you how to twist wires, consider their different types properly.
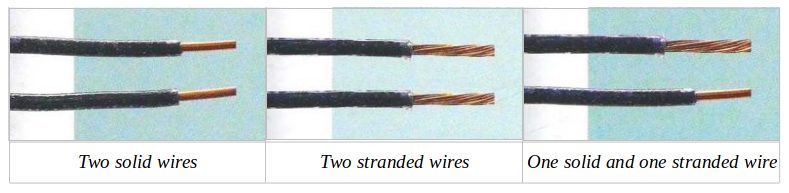
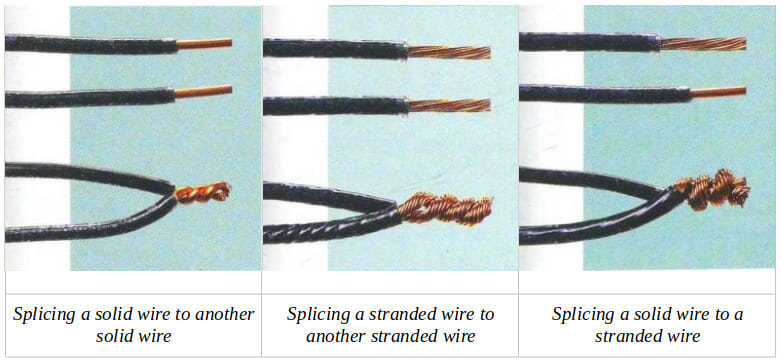
Regular electrical wires come in two basic types, and there are three possibilities when twisting to combine them. The two types are solid and stranded. You might have to twist two solid wires, two stranded wires, or one solid and one stranded wire.
The Tool for the Job
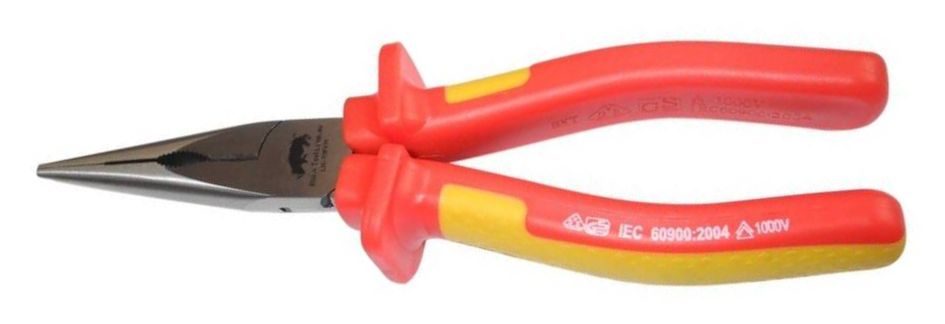
You might be able to twist and combine thin wires together, but you will need a tool for twisting thicker ones.
The right tool for twisting wires is a pair of pliers. Nose pliers usually work best for the job.
Before Twisting the Wires
Twisting wires requires stripping the insulation layer off their ends to reveal the conductors inside.
You cannot twist unstripped wires. Use a wire stripper to strip a wire neatly, manually, or automatically. Don’t be tempted to use a utility knife, as it could nick the wire. Also, don’t strip a wire by circling the insulation and cutting it with pliers. It might pull off the insulation but also cut the conductor inside, which can break off at some point.
When stripping a wire, one consideration is how much insulation to peel off.
As we twist the wires, I recommend you strip about an inch off their ends to get a good overlap. You can get it by stripping about ½ an inch to ¾ of an inch if it’s a solid wire.
Two more things to ensure before twisting the wires are that their ends (conductors) should be clean and undamaged.
Twisting Wires Together
When you twist wires together, keep the following in mind:
 | Twist the wires using nose pliers. Twist the wires so that their ends wrap around one another. Twist the wires in a clockwise direction. I’ll explain why later. Twist the wires spirally. Twist the wires enough that they don’t pull apart. |
 | Don’t twist the wires so much that the insulation layer starts wrapping. Don’t twist the wires too tight that it causes them to break. Don’t twist the wires too lightly or inadequately so that they pull apart easily. |
Parallel or Facing?
Should you twist wires after placing them in parallel or facing each other?
Whether to twist wires in parallel or a straight line (facing each other) depends on how you splice them. Both ways are possible.
- Twist them in parallel if you attach a wire cap, or you will tuck them inside an outlet’s box.
- Twist the wires in a straight line if you’re extending or repairing a wire, or you will attach a heat shrink tube over the joint.
Clockwise or Counterclockwise?
You can twist wires clockwise or anticlockwise, but doing so is advisable for two reasons.
If you attach a wire cap, it makes sense to twist it clockwise because you will twist it clockwise to tighten it over the joint. Otherwise, you could unwind if you do both steps in different directions.
Second, you can remember to unwind the wires counterclockwise if needed. This scheme corresponds to how you normally tighten and open screws and nuts.
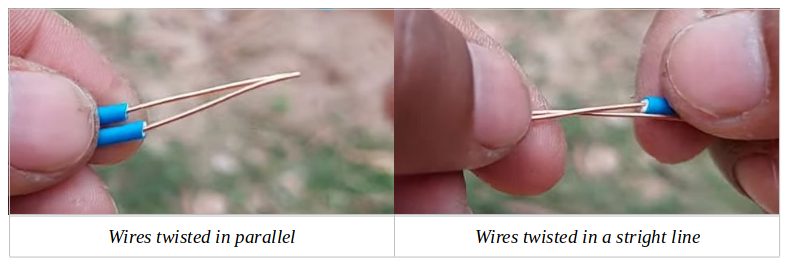
Twisting Wires in Parallel
When twisting wires in parallel, hold them together with the insulated portions touching one another.
Twisting Wires in a Straight Line
When twisting wires in a straight line, hold them facing each other with the conductor portions overlapping.
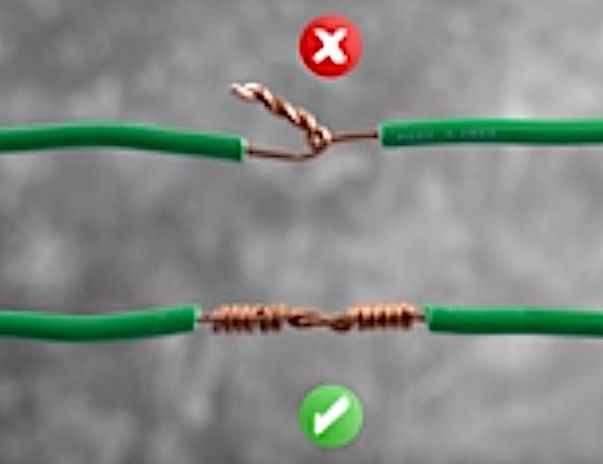
The correct way to do this is in the bottom part of the above picture, not the top. Here are the steps to achieve this type of twisted joint:
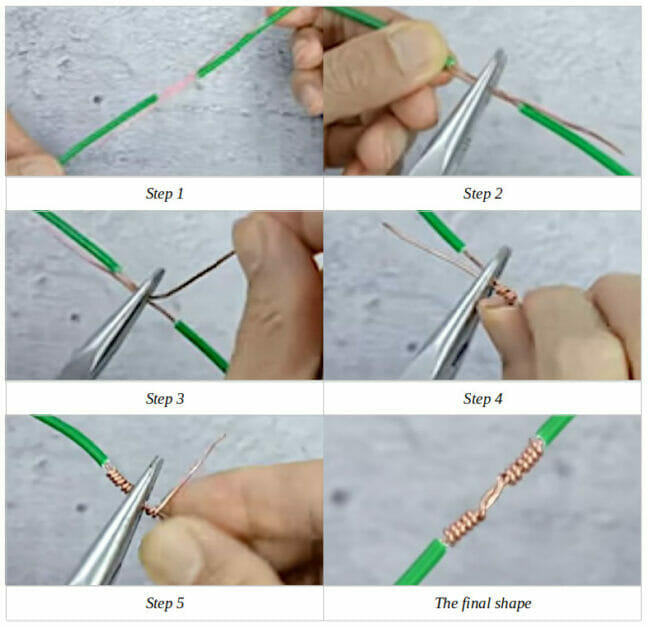
Step 1: Position the Wires
Position the wires facing each other with the conductors overlapping.
Step 2: Hold the Joint with Pliers
Hold the center of the overlapping joint with a pair of pliers.
Step 3: Hold One Strand
Hold one wire from one side and start winding it around the other.
Step 4: Twist the Wire
Twist the wire around several times, as shown below.
Step 5: Repeat for the Other Side
Turn the wires around and repeat the above for the other side by twisting one conductor around the other.
The final twisted joint should look like the last picture in the illustrations below.
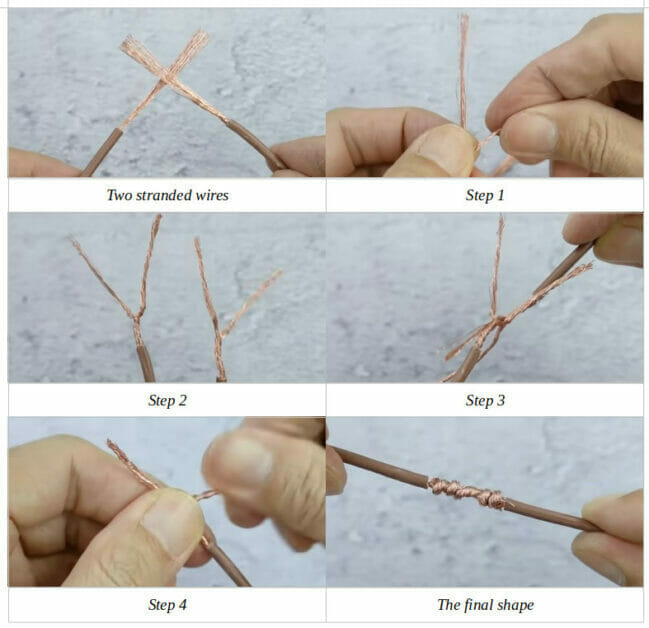
If the wires are stranded, one technique for a solid joint is to split each wire into two (Step 1), twist them around each other part of the way (Step 2), bring them to face each other (Step 3), twist one set of strands from each wire (Step 4), then twist each twisted pair of strands around the main wire.
See the illustrations below. The wires should not pull apart easily.
Alternatives to Twisting
You don’t always have to twist wires, as alternatives are possible. Two such alternatives are wagos and soldering.
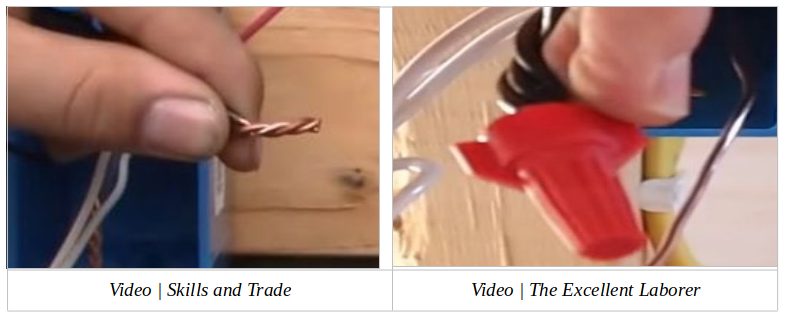
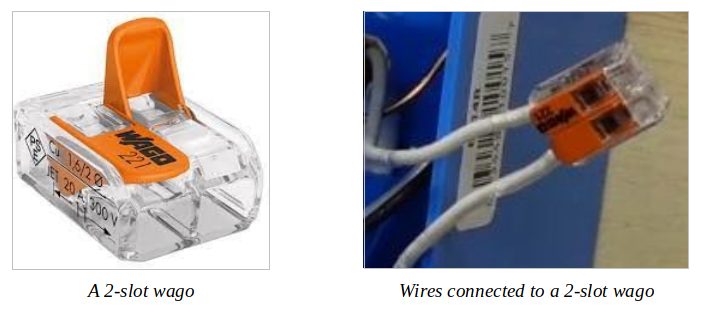
Using Wagos
Wagos are also called terminal blocks or wire connectors.
You insert each wire end (conductor, without twisting) into a slot, push the lever down to secure it, and combine it with the others. They are suitable for both solid and stranded wires.
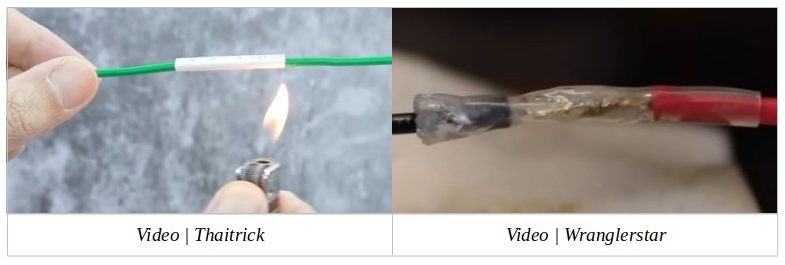
Soldering
Soldering is a more permanent way to join wires, for which you would need a soldering iron and solder. You can optionally twist the wires before soldering and apply a heat shrink tube afterward, as shown below, for an even more solid joint.
References
Website Resources:
Video References:
Cam Tips
HandyDadTV
Terry Peterman
Thaitrick
Wranglerstar