8 min read
How to Splice Wire (DIY Guide, Wire Stripping, Safe Splicing)
Hey there, DIY warriors! Ready to conquer another handy skill? That’s right; we’re delving into the world of wire splicing today. It might seem complex, but trust me; it’s easier than it sounds. We’ll get dirty, stripping wires, twisting them up, and locking them safely and soundly.
Quick Summary: Splicing a wire requires spirally twisting two or more wire ends to be joined together, using nose pliers in a clockwise direction. Strip 1/2-1″ of the insulation off their ends beforehand, then cap the splice and tuck the wires in afterward.
I show how to splice three different possibilities with solid and stranded wires and what is necessary to do before and after splicing below.
Splicing
A wire splice is a connection between two or more wires.
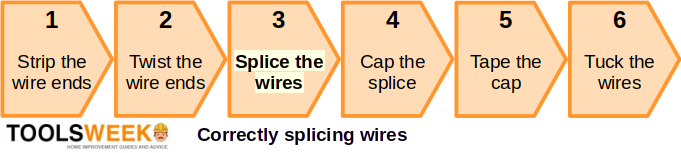
In this guide on how to splice wire, we will follow this 6-step procedure, which includes what to do before and after splicing:
You will require the following:
- A wire stripper for Step 1
- Nose pliers for steps 2 and 3
- A wire cap or push-in connector for Step 4
- Electrical insulation tape for Step 5
RELATED How to Twist Wires Together
The Right Tools to Use
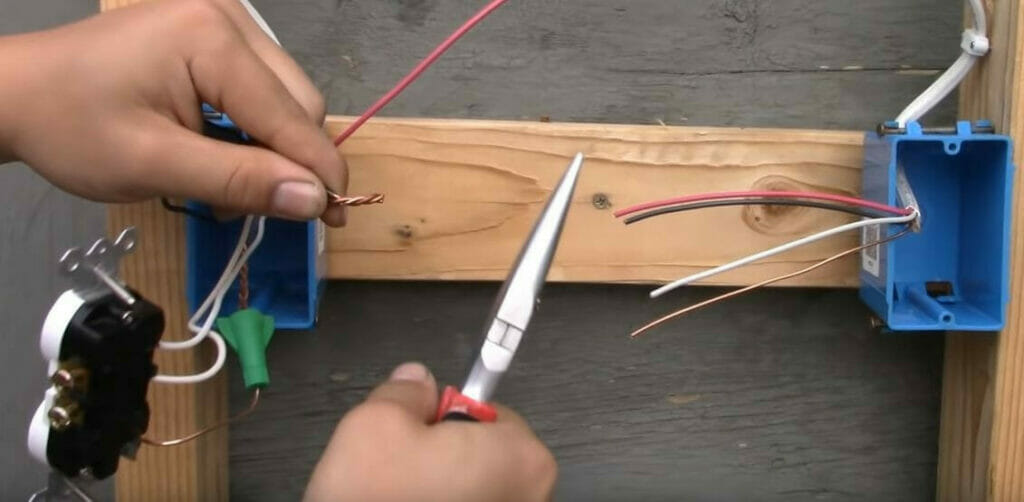
Before splicing two or more wires, you must strip some of the insulation off their ends, usually about a half to one inch, and then twist them together. I’ll show you the right tools (wire stripper and nose pliers) and how to use them properly.
Wire Stripper
Use a wire stripper or multipurpose tool to strip them. You can use either a manual or an automatic wire stripper.
Don’t be tempted to use a utility knife, as it could nick the wire. Also, don’t strip a wire by circling the insulation and cutting it with pliers. It might pull off the insulation but also cut the conductor inside, which can break off at some point.
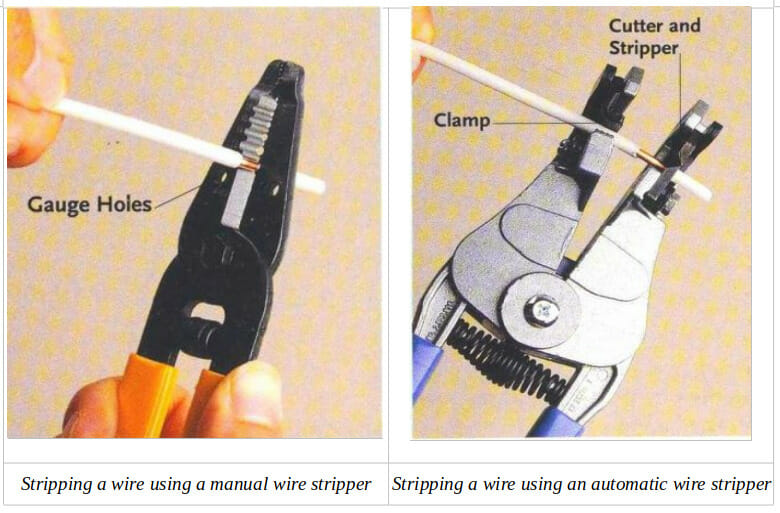
If using a manual wire stripper, insert the wire into the matching gauge hole, as shown above. Then, close the stripper, which will cut the insulation layer, and gently pull toward the useful wire end.
If using an automatic wire stripper, you only need to place the wire as shown above and press it. It will automatically cut to the required depth and strip the insulation layer in that one motion.
Nose Pliers
Twist the pair or set of wires using pliers, preferably nose pliers, as instructed under ‘Splicing a Wire’ below.
When you twist the wires together so that their ends wrap around one another, twist them clockwise using the nose pliers. That way, you’ll know how to open them (anti-clockwise) if you later need to. Twist them spirally. Don’t twist too much so that the insulation layer also starts wrapping.
The twisting should be light but not too tight that it causes the wires to break. I’ve mentioned twisting separately from splicing in case you need to twist stranded wire before splicing.
Splicing a Wire
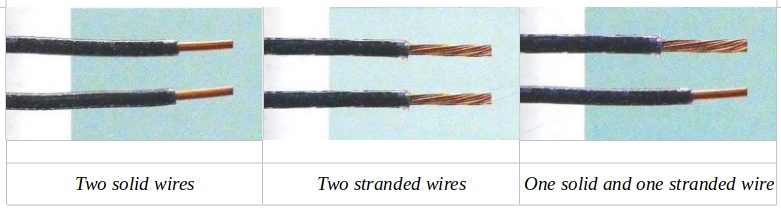
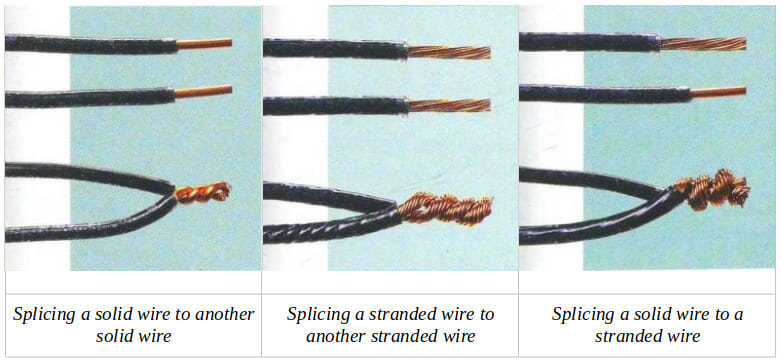
There are three possibilities when you need to splice a pair of wires if we consider the two wire types of solid wire and stranded wire:
- Splicing a solid wire into another solid wire
- Splicing a stranded wire into another stranded wire
- Splicing a solid wire into a stranded wire
Before splicing, strip approximately half an inch off the end of a solid wire and one inch off the end of a stranded wire. Then hold the wires to be spliced in parallel, with the insulated portions touching one another.
Let’s see how each combination should be spliced. [Creative Homeowner, 2007]
Splicing a solid wire into another solid wire
Spirally twist one of the solid wires around the other solid wire in a clockwise direction. Then cap the splice with a wire connector.
Splicing a stranded wire into another stranded wire
Spirally twist one of the stranded wires around the other wire clockwise. Ensure not to cut or break the individual conductor strands. Then strip the stranded wires to expose one inch of bare wire before splicing them.
Splicing a solid wire into a stranded wire
Strip the solid wire about half an inch before splicing. Spirally twist the stranded wire around the solid wire. Cap the splice using a suitably sized wire connector.
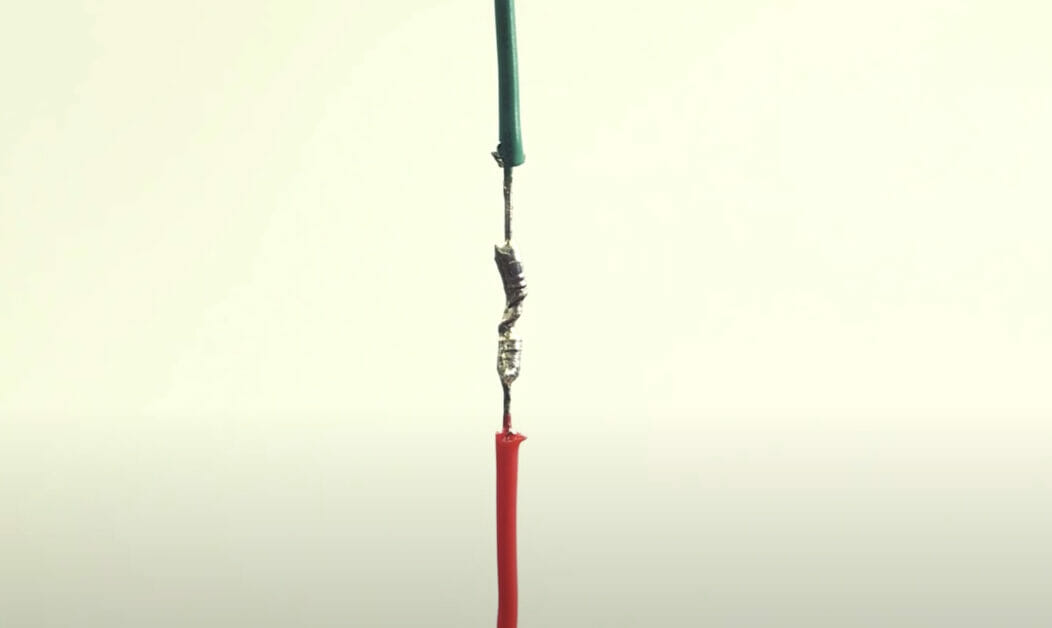
Here’s an example of two black wires spliced together in an actual project:
After Splicing
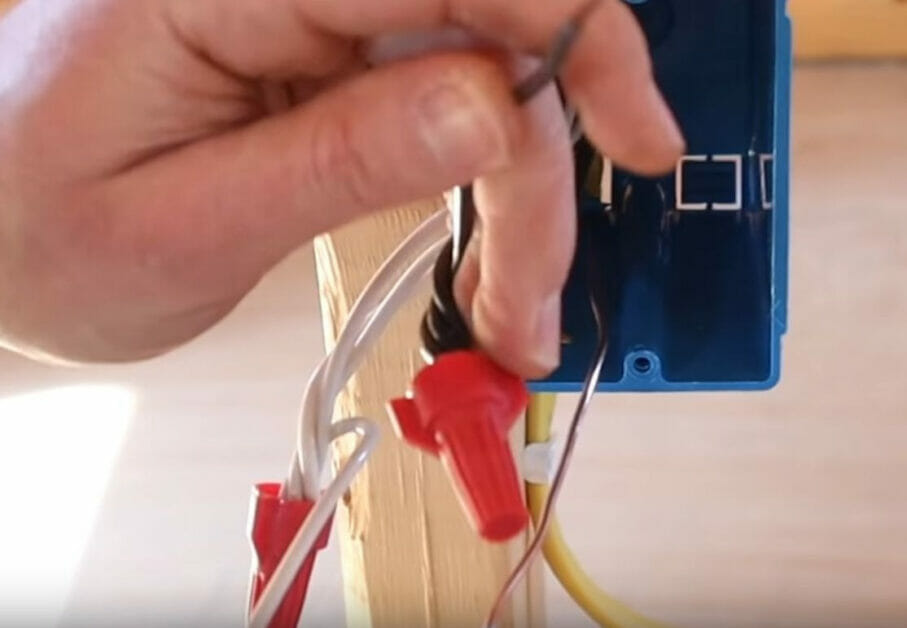
Two more things are necessary after splicing the wires: capping and tucking.
Capping the Wires
Capping the wires is necessary after splicing them. Before that, some electricians prefer to trim the very ends, especially if they stick out.
You can do the capping in either one of the following ways:
- Using a wire cap (also called a wire nut), which is a plastic cap you twist around the wire ends;
- Using a push-in connector into which you insert the wires.
If using a wire cap, you can cap the wire first before twisting them. Additionally, observe the following:
- Ensure the wire ends are clean.
- Ensure the wire ends are not damaged.
- The connector should cover the bare wire ends (conductors) completely.
- Use only an appropriately-sized cap or connector, according to the gauges of the wires.
- Ensure the connectors are secure after capping.
Note that standard wire connectors should only be used with solid or stranded wires, not aluminum. Look for “UL Listed” connectors.
Here’s an example of two black wires capped after splicing:
Taping the Cap
Additionally, some people prefer taping the cap or connector after capping the wires.
Although not strictly necessary, taping helps to ensure the wires will not get loose and come out of the cap or connector.
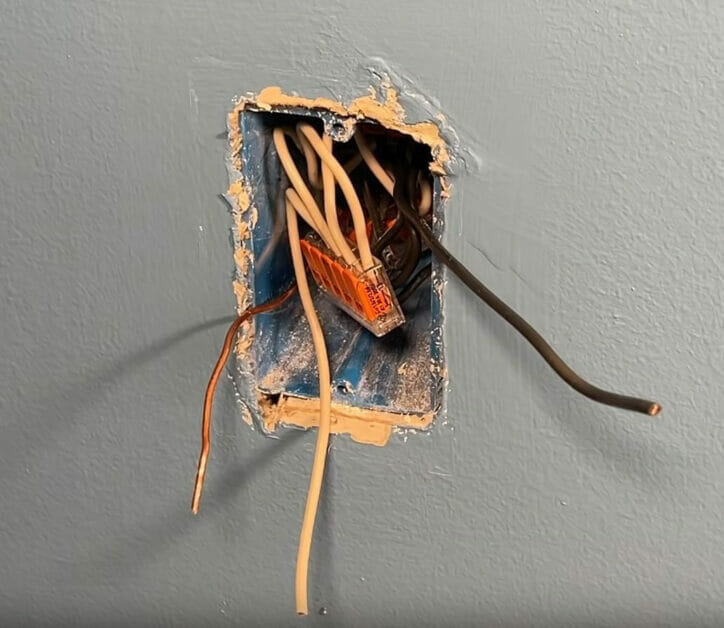
Tucking the Wires
The NEC code requires all wire splices to be enclosed inside a receptacle/outlet, switch, fixture, or junction box.
No wire splices should be sticking out and visible. In the example below, white wires were combined by inserting them into a push-in wire connector before tucking the connector safely inside the outlet’s box:
References
Creative Homeowner. The ultimate guide to wiring: complete home projects. 6th edition. Creative Homeowner. 2007
Video References:
Make
Everyday Home Repairs
Skills and Trade
The Excellent Laborer