9 min read
How to Splice a Speaker Wire (7-Step Guide)
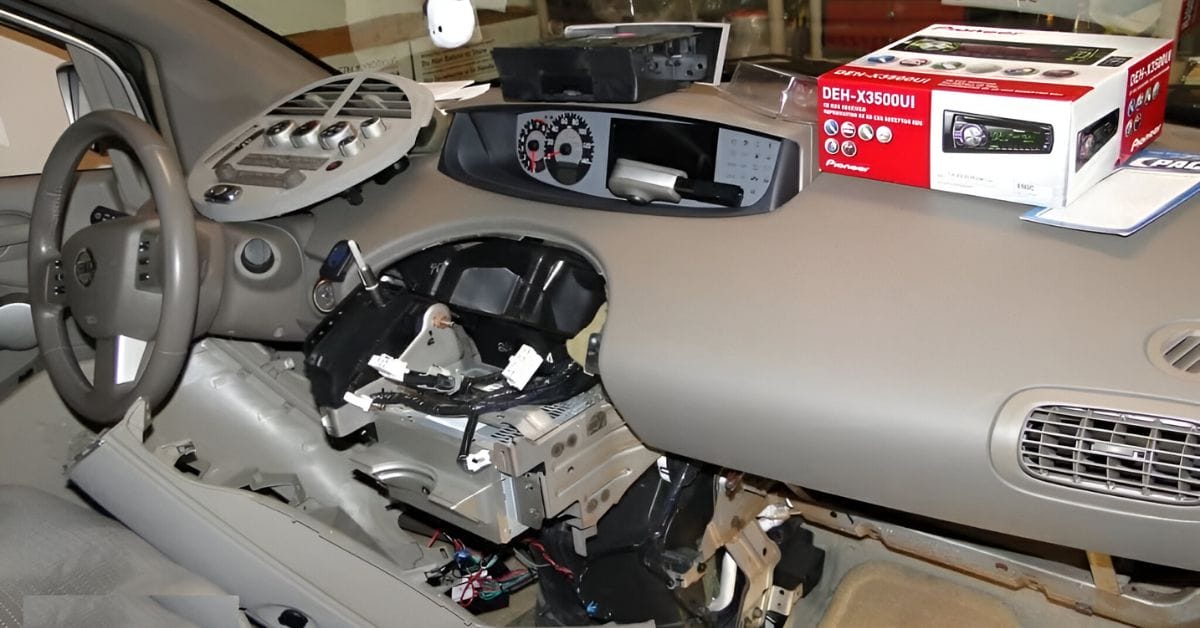
Hey there, DIY enthusiasts and audio aficionados! Today, I’ve got a fantastic guide for you on a skill that every audio enthusiast should have in their toolkit – splicing speaker wires.
Whether you’re looking to upgrade your car audio system or give your home speakers a new lease on life, mastering this technique is essential. In general, follow these steps to splice two speaker wires:
- Step 1: Disconnect all power cords to avoid accidents, and label wires that don’t need splicing for better organization.
- Step 2: Measure the desired wire length, add an extra inch or two for safety, and cut off damaged parts if necessary.
- Step 3: Strip about three inches off each wire end, separating positive (often red) and negative (usually black) wires.
- Step 4: Separate and twist the individual strands of each wire for a better connection and improved sound quality.
- Step 5: Pair and twist the twisted strands from each wire, overlapping them for a secure connection.
- Step 6: Use electrical tape or heat-shrink tubing to insulate the twisted wires.
- Step 7: Reconnect the speaker wires and give them a test to ensure your spliced wires are as good as new without any loss in audio quality.
We’re about to dive into the world of speaker wire splicing. Trust me, it’s a game-changer for your sound system, and I’m here to walk you through it step by step. Let’s get started!
Tools and Materials
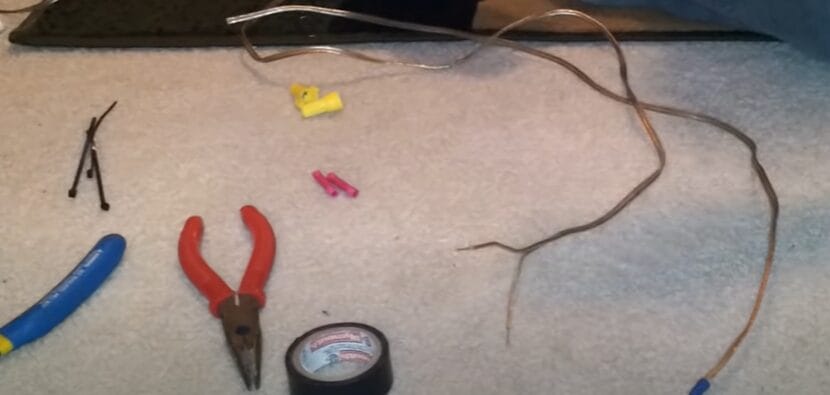
Let’s start this party by discussing the tools and materials needed to splice those speaker wires like a pro. When tackling a project like this, having the right gear makes all the difference in the world.
Tools:
- Wire cutters or wire strippers
- Wire crimping tool (optional but useful)
- Heat gun (if using heat-shrink tubing)
- Electrical tape (if not using heat-shrink tubing)
- Wire connectors (optional for extra security)
- Utility knife (for cutting heat-shrink tubing)
Materials:
- Speaker wires (the ones you need to splice or repair)
- Heat-shrink tubing (preferably with a diameter that fits your wires)
- Labeling materials (e.g., markers, labels, or tape for wire identification)
You can typically find these tools and materials at hardware stores, electronics stores, or online retailers. Make sure to choose the appropriate size and type of heat-shrink tubing for your wires, and consider using wire connectors if you want extra peace of mind for your connections.
How to Splice Speaker Wires: A Step-by-Step Guide
Splicing wires is handy, especially when upgrading your car audio system or fixing home speakers. Let’s dive in!
Step 1: Arrange Your Workspace
First up, safety and organization. Make sure to disconnect all power cords.
It’s a crucial step to avoid any accidents. Label the wires that don’t need splicing – it saves time and confusion.
Step 2: Measure and Cut
Sometimes, you’re dealing with damaged wires, or you need a bit more length.
Measure the required length, and add an extra inch or two for the error margin. Then, cut off the damaged parts.
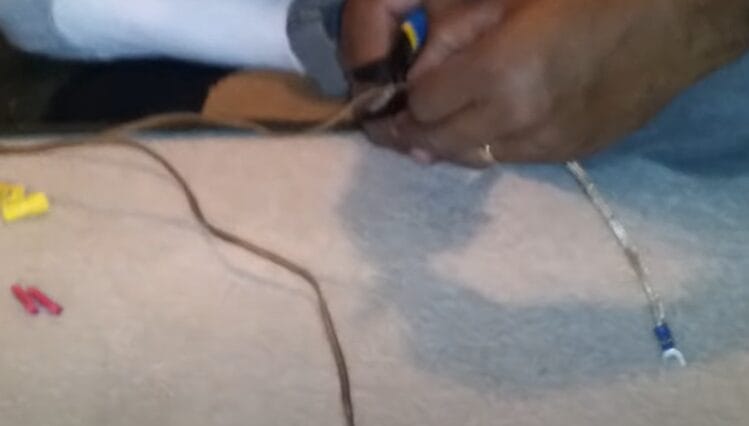
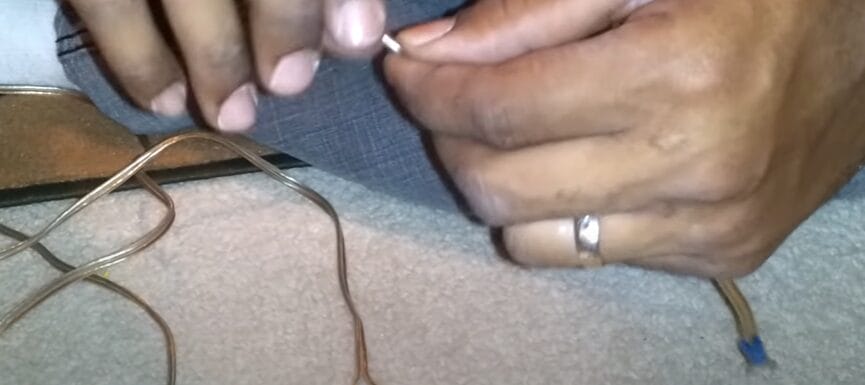
Step 3: Strip the Wires
Take the wires you plan to splice and strip about three inches off each end.
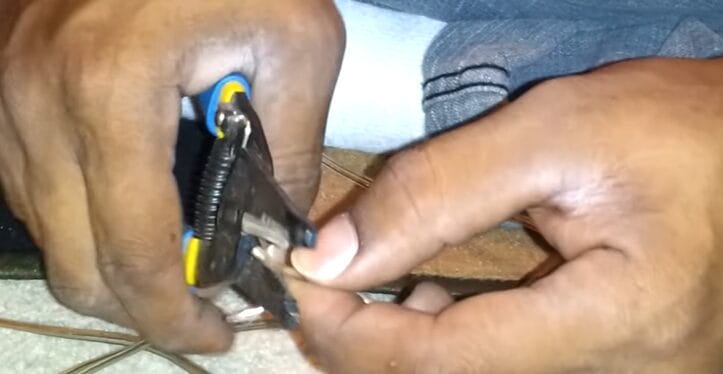
Most speaker systems have two wires: positive (often red) and negative (usually black). Separate them before stripping.
Step 4: Twist the Strands
Now, here’s where it gets interesting. Separate the individual strands of each wire and twist them together.
This increases the surface area, making for a better connection. I’ve found that this step makes a difference in maintaining sound quality.
Step 5: Create the Splice
Take the twisted strands and pair them with their counterparts from the other wire.
Lay them overlapping each other and twist them together. This method creates a more secure and effective connection than crimp connectors.
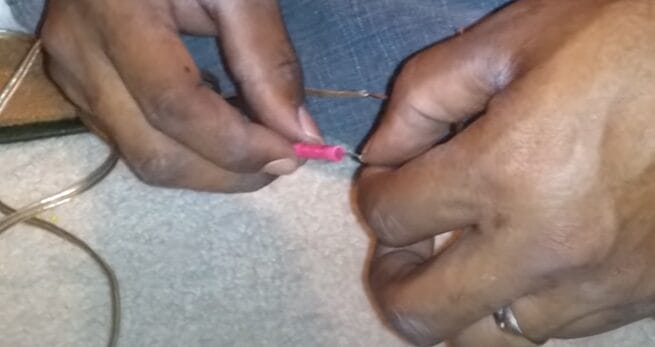
Step 6: Secure the Connection
Once you’ve twisted the wires, you can use electrical tape or heat-shrink tubing to insulate the splice.
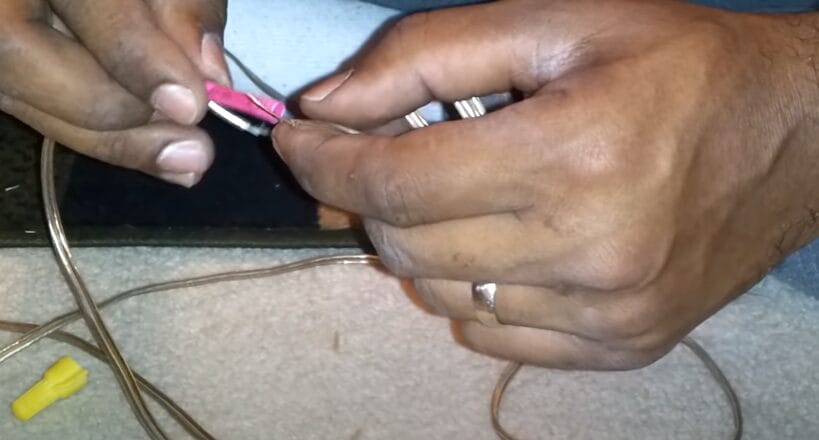
I prefer heat-shrink tubing for its durability and clean finish.
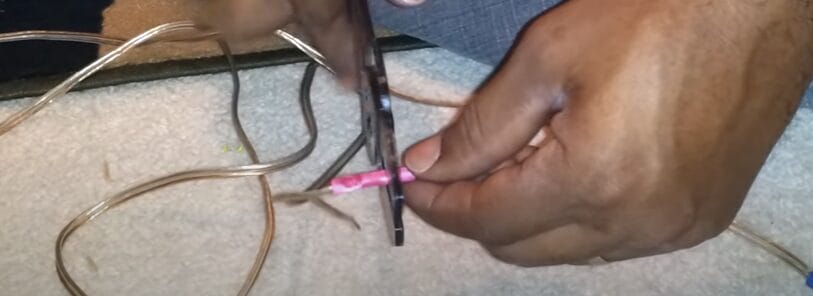
Step 7: Test Your Connection
Finally, reconnect your speaker wires and give them a test. If you’ve followed these steps, your spliced wires should be as good as new without losing audio quality.
Remember, ensuring a solid connection between the wires is the key to a successful splice. This might seem like a small detail, but it’s crucial for maintaining the integrity of your audio system. Happy splicing!
Troubleshooting Tips for Speaker Wire Splicing
Splicing speaker wires might seem straightforward, but running into a few bumps is not unusual.
From my experience, tackling these issues early on makes all the difference between a smooth sound and a frustrating buzz. So, let’s dive into some common problems you might encounter and how to fix them.
| Common Problem | Description & Personal Insights | Solution |
|---|---|---|
| Poor Connections | This happens when the splice isn’t secure, leading to sound issues. I’ve been there – a loose connection can really ruin your day. | Twist the wires firmly before securing them with a connector. A solid twist is crucial for a reliable connection. |
| Wire Gauge Mismatches | Using wires of different gauges can cause inefficiency and even damage. I’ve seen mismatched gauges create more problems than you’d expect. | Always match the wire gauges. If they’re different, find a matching pair. This small step can prevent big issues. |
| Insulation Challenges | Insufficient insulation can lead to shorts, while too much insulation can hinder the connection. Stripping just the right amount is an art form. | Carefully strip the insulation, and if you overdo it, use heat-shrink tubing to re-insulate. Avoid leaving any exposed wires for safety. |
Remember, these issues are more common than you might think, and a bit of troubleshooting can go a long way. Keep your tools handy, double-check your work, and you’ll be all set. Happy splicing!
When to Call in the Pros: DIY vs. Professional Speaker Wire Splicing
We all love a good hands-on project, but sometimes it’s smart to weigh the pros and cons of DIY versus calling in a professional, especially regarding something as crucial as splicing speaker wires.
Let’s break it down based on cost, time, and quality, drawing from my own experiences in the field.
Cost: DIY Savings vs. Professional Assurance
DIY: Doing it yourself is more wallet-friendly. You only pay for materials; if you already have the tools, that’s a bonus. I’ve seen folks save a decent amount by handling it themselves. But remember, if you mess up, the cost of fixing mistakes can add up.
Professional: Hiring a pro can be pricier upfront. You’re paying for their expertise, time, and materials. But here’s the kicker – you’re also paying for peace of mind. If something goes wrong, they’ve covered it—no extra charge for fixes.
Time: Quick Fixes vs. Scheduling Hassles
DIY: If you’re handy and have the time, DIY can be quicker. You decide when to start and finish. I’ve tackled projects in a single afternoon that might take days to schedule with a pro.
Professional: Professionals might take less time to do the job because they’re experienced. But scheduling them in can be a hassle. You might be waiting days or even weeks, depending on their workload.
Quality: Learning Curve vs. Expert Touch
DIY: There’s a learning curve with DIY. Your first splice might not be perfect, and that’s okay. I’ve been there – my first few attempts were rough, but I learned a lot. If you’re up for learning and improving, DIY can be rewarding.
Professional: Pros bring a quality and expertise that’s hard to match. They’ve done this countless times and know exactly what to do. If you want it done right the first time, a pro is your go-to.
Remember, some projects might look simple but require a skilled hand, especially when it involves your home’s wiring and safety.
Frequently Asked Questions
- What’s Better: Wire Nuts or Crimp Connectors?
- Crimp connectors are generally more reliable, providing an air-tight seal. But wire nuts can be sufficient for simpler, temporary fixes.
- Can I Splice Different Brands of Speaker Wires?
- Yes, as long as the gauge and type of wire are compatible. The brand doesn’t typically affect the splicing process.
- How Do I Determine the Correct Wire Gauge?
- Check your speaker system’s manual or inspect the existing wire. Most common gauges range from 12 to 18. Matching the gauge is vital for consistent performance.
- What Should I Do If the Speaker Wire Gauge Isn’t Labeled?
- If the gauge isn’t marked, use a wire gauge measuring tool. In a pinch, compare the wire’s thickness to known gauge sizes or seek professional advice.
- What’s the Maximum Number of Times I Can Splice a Single Wire?
- There’s no set limit, but frequent splicing can shorten the wire and degrade its quality. Try to keep splicing to a minimum.
References
Organizations:
- Institute of Electrical and Electronics Engineers (IEEE). https://www.ieee.org/
- National Association for Amateur Radio (ARRL). https://www.arrl.org/
Books:
- “The Homeowner’s DIY Guide to Electrical Wiring” by David Herres. https://www.barnesandnoble.com/w/the-homeowners-diy-guide-to-electrical-wiring-david-herres/1120021073
- “Electrical Wiring Residential” by Ray C. Mullin and Phil Simmons. https://www.barnesandnoble.com/w/electrical-wiring-residential-ray-c-mullin/1116778103
Website Resources:
- The Spruce. https://www.thespruce.com/
- National Fire Protection Association (NFPA). https://www.nfpa.org/en
Video Resources:
Donald Woods