10 min read
When Wire Conductors Are Coated with Solder (Advantages, Techniques, Applications)
Let’s dive into a fascinating topic today – what happens when wire conductors are coated with solder?
In the world of electronics and electrical engineering, soldering is a crucial process. It creates a reliable and long-lasting connection between different components. The magic happens when wire conductors get their shiny coat of solder.
In general, solder-coated wire conductors offer:
- Enhanced conductivity, taking electrical signals to new heights.
- Elevated durability, shielding wires from thermal degradation.
- Corrosion resistance, preventing unsightly green spots.
- Ease of handling and installation, simplifying complex setups.
- Exceptional adhesion, ensuring robust connections.
In this article, we’ll explore why coating wire conductors with solder is essential and how it affects the performance and reliability of your electronic devices.
Advantages of Solder-Coated Wire Conductors
Let’s dive right into the benefits of solder-coated wire conductors. I’ve seen my fair share of wiring projects, and I can tell you that these coated conductors are a game-changer.
1. Enhanced Conductivity: Solder-coated wires offer enhanced conductivity. The solder layer boosts the ability to transmit electrical signals without unnecessary loss. This means your gadgets work just as they should – efficiently and consistently. It’s like giving them a little extra juice!
2. Elevated Durability: These coated wires come with increased durability. Wires can get exposed to heat during their lifetime, and guess what? Solder coatings serve as a protective shield against thermal degradation! It’s like having a personal bodyguard for your wires.
3. Corrosion Resistance: That’s not all, folks! Solder-coated wires also provide corrosion resistance. Moisture is a sworn enemy of any electrical setup, but our tiny heroes aren’t easy targets. Because solder doesn’t easily oxidize, it keeps corrosion at bay, ensuring those nasty green spots don’t appear on your beloved gadgets.
4. Ease of Handling and Installation: The flexibility provided by the solder coating simplifies bending or shaping around corners or obstacles in an installation process – removing all the headaches from those tricky situations!
5. Exceptional Adhesion: They offer excellent adhesion with other metals, significantly improving joint strength in connectors or terminals.
So there you have it! From improved conductivity and durability to corrosion resistance and ease of use, solder-coated wire conductors bring their A-game when it comes to advantages.
Soldering Process and Techniques
Step 1: Gather Your Tools and Materials
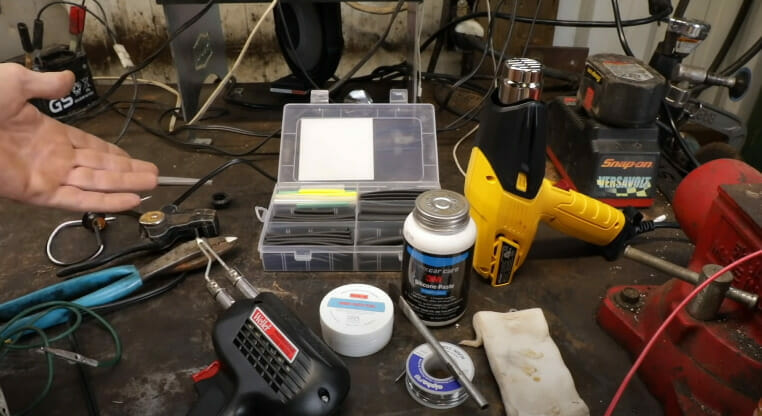
First, gather your trusty soldering tools:
- Soldering Iron: Pick the perfect one for your project.
- Solder Wire: Choose the type and size that suits your needs.
- Wire Strippers: Get ready to reveal those copper strands.
- Heat Shrink Tubing: The insulation superhero.
- Flux (optional): Elevate your soldering game.
- Safety Gear: Safety glasses and a well-ventilated space.
Step 2: Prepare the Wires
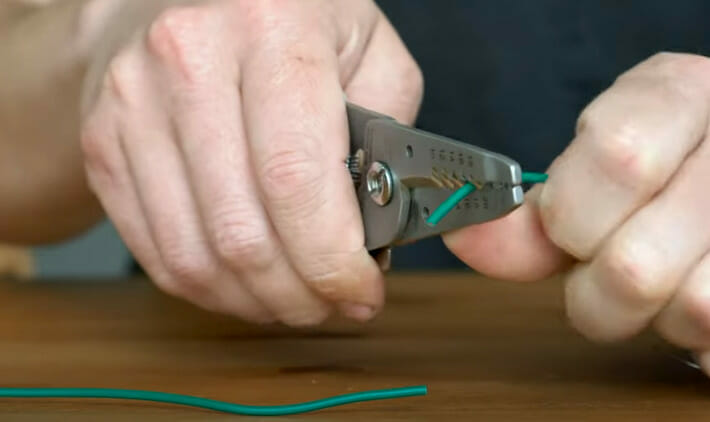
- Wire Stripping: Use those wire strippers to uncover the magic beneath the insulation.
Step 3: Twist the Wires Together
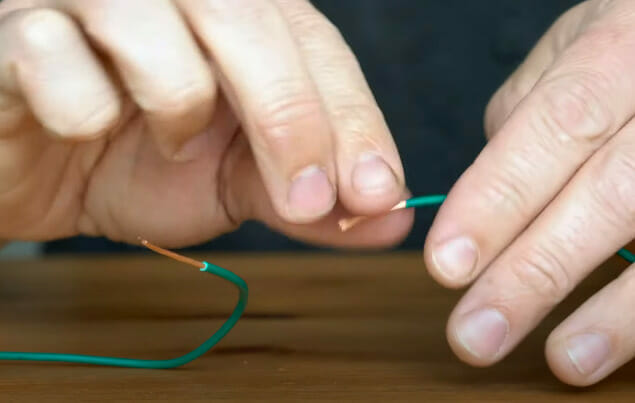
- Wire Twisting: Now, play the wire-twisting game. Secure those strands together, making your wires dance in harmony.
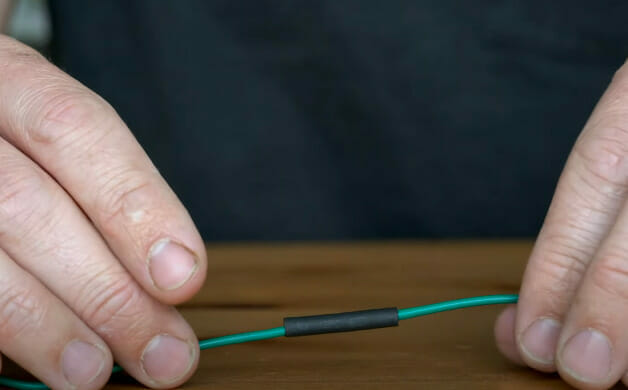
Step 4: Heat Shrink Tubing
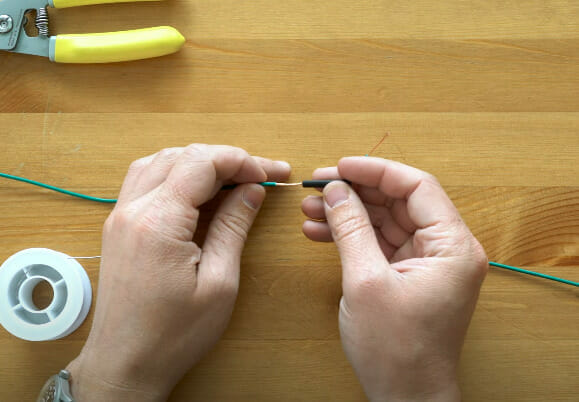
- Slide Tubing: Slide that heat-shrink tubing onto one wire. Keep it far from the soldering action for now.
Step 5: Secure the Wires Temporarily
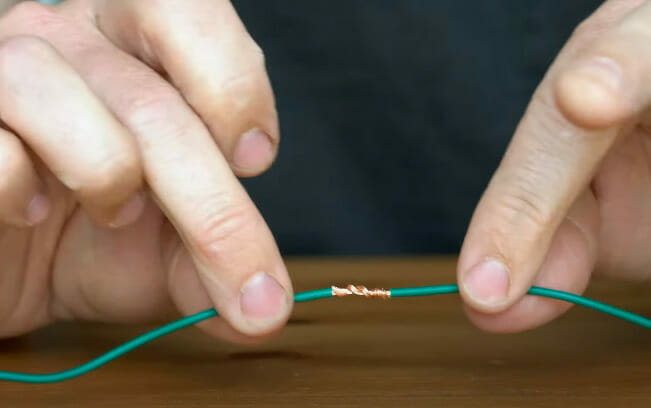
- Wire Twisting: Give your wires a twist for a temporary connection. This dance holds them in place for the main event.
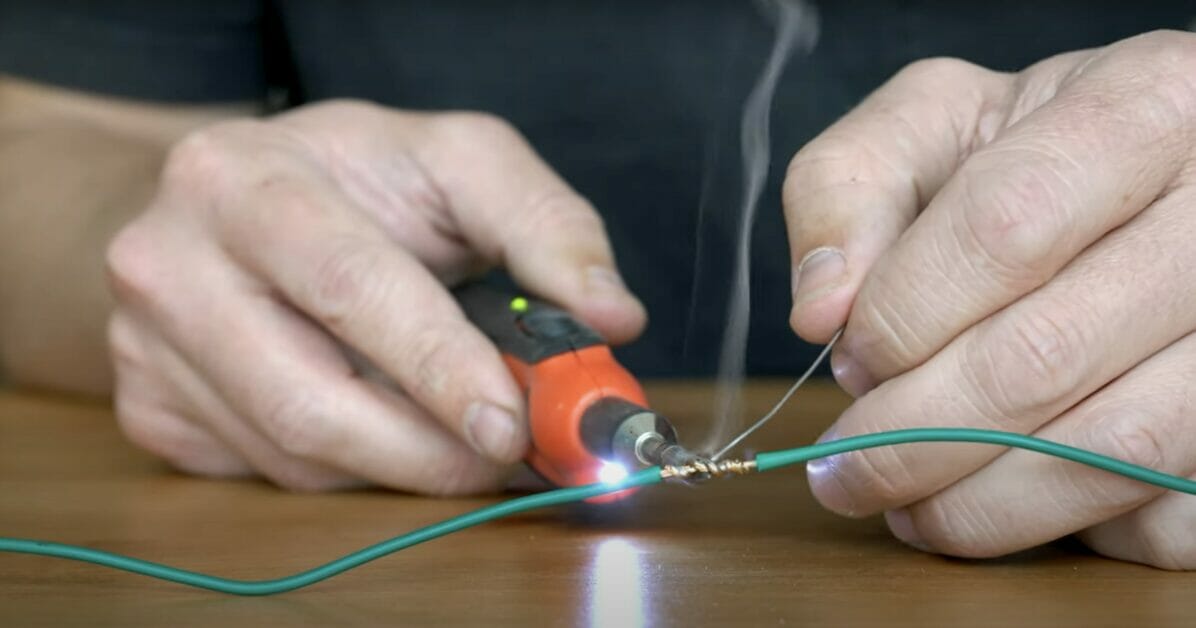
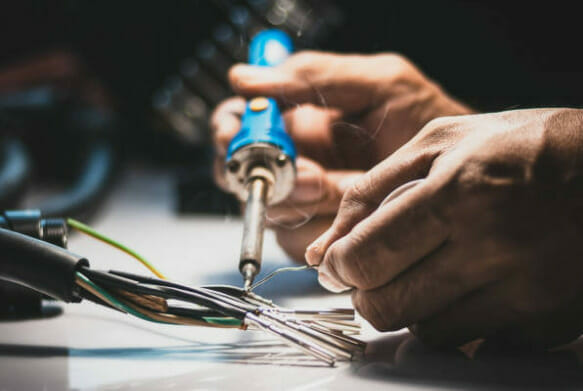
Step 6: Solder the Wires
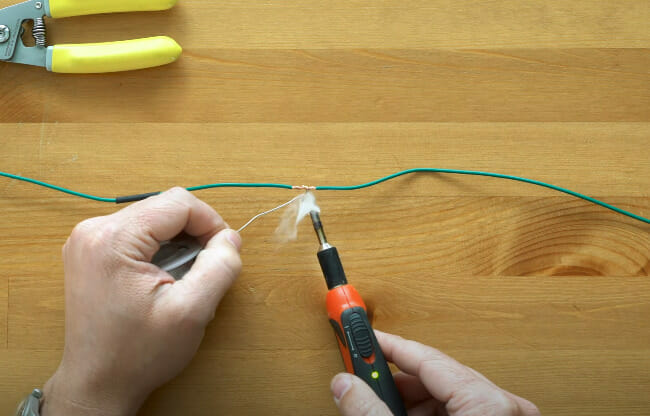
- Your soldering iron is the star here. Heat the wires from below while applying solder from above. Watch that solder melt and become one with the wires.
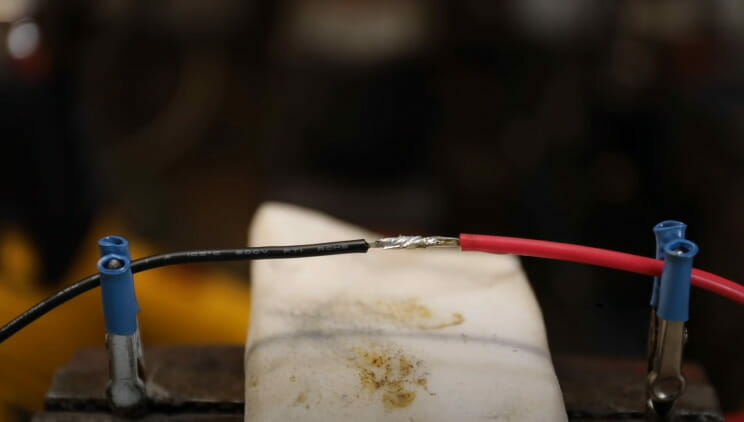
Step 7: Test and Insulate the Connection
- A properly soldered joint is smooth, shiny, and covers the whole area. Please give it a gentle tug to check its strength.
- Slide that heat-shrink tubing over your soldered masterpiece. Shrink it using a heat gun, hair dryer, or even a lighter (carefully!). Keep those wires cozy and protected.
Step 8: Safety Precautions

- Don’t forget your safety groove! Ventilation and safety glasses are your dance partners in this soldering tango.
With these fun and engaging steps, you’ll be a soldering pro in no time, creating secure connections for all your electrifying projects!
Real-World Applications and Industries
Oh, the places you’ll find solder-coated wire conductors! They’re not just in your electronics at home. Let’s explore some of the many industries they’re used in.
1. Automotive Marvel: You’d be surprised how many vehicles use these little wonders. Solder-coated wire conductors are everywhere, from cars to trucks, buses to bikes. They are crucial in everything from lighting systems to engine management modules.
2. Consumer Electronics Extravaganza: Think about your television, laptop, or even your trusty old toaster—they all utilize this technology to function smoothly.
3. Aerospace Advancements: The aerospace industry is another big consumer of solder-coated wire conductors. Everything from satellites to spacecraft relies on them for efficient electrical connections.
4. Life-Saving in the Medical Field: Picture this: a high-tech MRI machine or vital medical equipment. Now, imagine the chaos without the magic of proper wiring. These incredible solder-coated wire conductors ensure these instruments perform like superstars, paving the way for top-notch healthcare results!

So next time you see a car zoom past or watch TV after a long day at work, remember—those little things like solder-coated wire conductors make our lives so much easier!
Disadvantages and Limitations

While solder-coated wire conductors have their perks, it’s crucial to understand that they come with certain downsides, too.
1. Time-Consuming Process: First off, the process of coating wires with solder can be rather time-consuming and costly. It requires precision, high-quality equipment, and a trained workforce. It’s not as simple as dipping a wire into molten solder and calling it a day.
2. Rigidity Concerns: Another downfall lies in the rigidity of these conductors once coated. Solder is known for its hardness, which might increase wire rigidity after coating – this could lead to potential breakage during bending or shaping processes. Let me illustrate this with an example: Imagine threading a stiff rope through a series of loops; you’ll likely encounter more difficulties than using a softer, more flexible rope.
3. Oxidation and Conductivity: Commonly used tin-lead solders are susceptible to oxidation over time, leading to decreased conductivity – that’s not what we want! The health risk factor associated with lead-based solders has led many industries towards lead-free alternatives.
2. Rigidity Concerns: Another downfall lies in the rigidity of these conductors once coated. Solder is known for its hardness, which might increase wire rigidity after coating – this could lead to potential breakage during bending or shaping processes. Let me illustrate this with an example: Imagine threading a stiff rope through a series of loops; you’ll likely encounter more difficulties than using a softer, more flexible rope.
4. Challenges with Lead-Free Options: However, even lead-free options like silver or copper-based solders aren’t without their issues:
- Silver is expensive.
- Copper doesn’t melt easily at low temperatures, making it less practical for everyday use.
5. Thermal Cycling and Fatigue: Let me touch upon thermal cycling – repeated heating and cooling cycles that can affect the conductor’s integrity. This could result in cracks developing within the solder itself or between the solder and conductor material, causing what we call ‘fatigue failure.’
Solder coating isn’t all doom and gloom, but understanding its limitations helps us make more informed decisions about when it’s best used.
Comparing Solder-Coated and Non-Coated Wire Conductors
Wrapping up our discussion, let’s look at solder-coated versus non-coated wire conductors. Now, don’t get me wrong, both types have their merits. But as with most things in life, it’s all about the right tool for the job.
| Solder-Coated Wire Conductors | Non-Coated Wire Conductors |
|---|---|
| Enhanced Conductivity: Solder coating enhances conductivity, minimizing energy loss as heat during transmission, resulting in higher efficiency. | Standard Conductivity: Non-coated wire conductors offer basic electrical conductivity, suitable for straightforward applications. |
| Increased Durability: Solder-coated wires are more resistant to oxidation and environmental factors like humidity and oxygen, increasing lifespan. | Oxidation Susceptibility: Non-coated wire conductors may oxidize over time, potentially affecting their performance and longevity. |
| Improved Workability: Solder-coated wires are more flexible and easier to work with, making them ideal for intricate wiring systems. | Increased Durability: Solder-coated wires are more resistant to oxidation and environmental factors like humidity and oxygen, increasing lifespan. |
| Cost: Solder-coated wire conductors are generally more expensive due to the additional manufacturing process. | Cost-Efficient: Non-coated wire conductors are typically more budget-friendly, making them a practical choice for cost-conscious projects. |
This table provides a clear overview of the characteristics that differentiate solder-coated and non-coated wire conductors, helping you make an informed decision based on your project’s requirements.
Ultimately, your choice should depend on what you need for your specific project. I always say it’s not about finding the best tool but the right one!
References
Organizations:
- American Welding Society (AWS). https://www.aws.org/
- International Electrotechnical Commission (IEC). https://iec.ch/
Books:
- “The Soldering Handbook” by Alan W. Stanley
- “Soldering in Electronics Assembly” by Mike Judd and Chris Hunt
Website Resources:
- Electronics Tutorials (Electronics-Tutorials.ws). https://www.electronics-tutorials.ws/
Video References:
CRUTCHFIELD
Wranglerstar