10 min read
Right Size Heat Shrink for 16 Gauge Wire (Dimensions, Fit, Use)
Wondering what size heat shrink to use for that 16 gauge wire?
Quick Summary: Heat shrink is crucial for insulating wires, providing abrasion resistance and environmental protection. For 16 gauge wire, typically, the go-to heat shrink size would be 3/16 inches. That’s because this size snugly fits over the wire, providing effective insulation without being too tight or loose.
This article will dive deeper into why choosing the right heat shrink size is essential and how it can make all the difference in your wiring project. Let me tell you – understanding this isn’t just helpful; it’ll save you time (and possibly some rework down the line)!
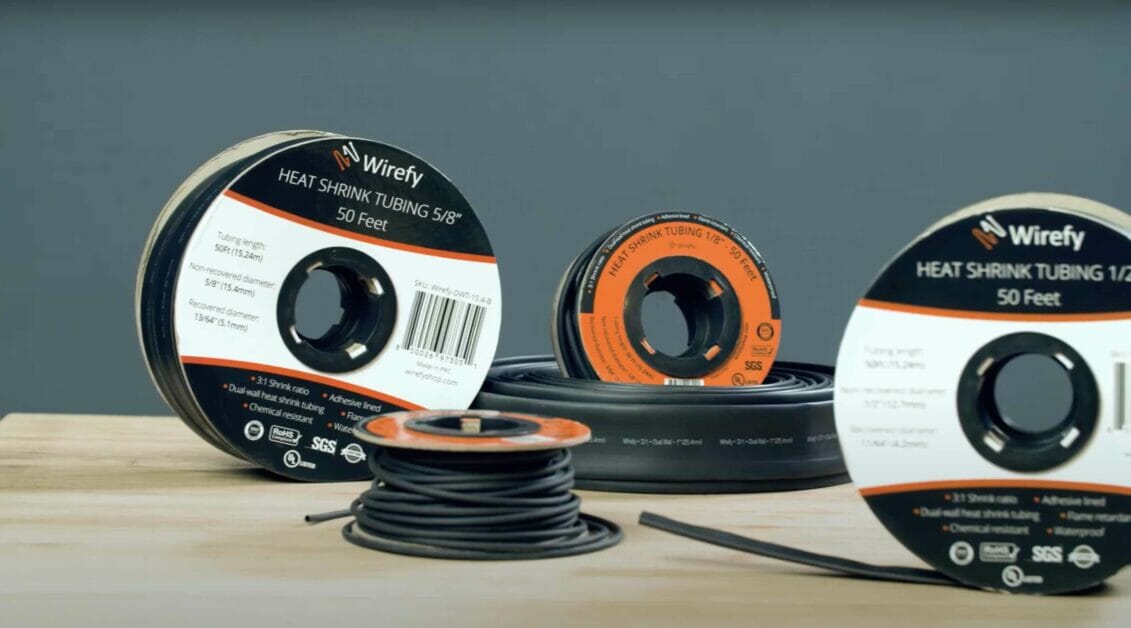
Basics Of Heat Shrink Tubing
Let’s talk about heat shrink tubing if you have made it here without knowing how it works.
Heat shrink tubing is a plastic sleeve designed to shrink down and fit snugly over whatever it’s applied to when heat is added. It’s sort of like magic! When you apply just the right amount of heat (not too hot!), the tubing reduces in size, forming a tight seal around your wires or whatever else needs covering.
Now, why would anyone need this stuff? Good question! Here are some reasons:
- Insulation: It protects wires against abrasion and environmental factors.
- Organization: You can use different colored tubes for easy wire identification.
- Sealing: The tubing can provide an excellent seal against dust and other contaminants.
It’s available in many sizes, measured by diameter. For instance, 16 gauge wire typically uses a heat shrink tube with a diameter of 3/16 inches before shrinking. But remember that it should be slightly larger than the wire to ensure a good fit before heating.
| Wire Gauge | Tube Diameter Before Shrinking |
|---|---|
| 16 | 3/16 inches |
Decoding the 16 Gauge Wire Diameter

First off, let’s get one thing straight. When we talk about gauges in the context of wires, we’re referring to the diameter of the wire. The tricky part is that it works on an inverse scale. That means a bigger number represents a thinner wire. So a 16-gauge wire is thicker than, say, a 20-gauge wire!
So how thick is our friend, the 16-gauge wire? It measures approximately 0.051 inch or 1.29 millimeters in diameter.
To make more sense of these measurements:
| Wire Gauge | Diameter (inches) | Diameter (mm) |
|---|---|---|
| 16 | 0.051″ | 1.29mm |
Now, when choosing heat shrink tubing for your wiring projects with a 16-gauge wire involved, it’s important to remember this golden rule: always go for heat shrink tubing that has an expanded diameter roughly 20-30% larger than your wire’s diameter.
So, if we apply some good old math:
- A safe bet would be tubing with an expanded diameter of around 1.55 – 1.68 mm
Here are a few options that could work great:
- Heat Shrink Tubing Size A: Expanded Diameter = 1.6mm
- Heat Shrink Tubing Size B: Expanded Diameter = 1.7mm
Remember folks! Regarding selecting suitable heat shrink sizes for your wiring projects involving a nifty little tool called ‘The Rule of Thumb,’ don’t forget! It’s all about ensuring you have enough space for your wires while ensuring the tubing snugly fits once shrunk.
Why 16 Gauge Wire Needs Specific Heat Shrink Size

I’m sure you’re thinking, “What does it matter?” Every detail counts in electrical wiring – including the size of your heat shrinks!
First off, let me tell you – heat shrink is essential for insulating wires. It provides a tight seal to protect against moisture, dust, and other environmental hazards. Having the correct size ensures optimal performance.
Now, onto our main star: the 16-gauge wire. This fellow is popular in various applications like household wiring and car audio systems because it can carry ample current without heating up too much. But just like any other superstar on stage, this wire needs its perfect fit costume – and that’s where we need to consider heat shrink sizing.
You see, my friends, there’s no one-size-fits-all approach here! The key factor lies in knowing the diameter of your wire (including insulation). For example:
- A 16 gauge wire usually has a diameter of around 1/16th of an inch or about 1.6mm.
- You’d typically want to use a heat shrink with an unshrunk diameter about 30% larger than your wire.
This gives us room for error while creating that snug fit we want!
But hey! Don’t take my word for it; let’s look at some numbers:
| Wire Gauge | Diameter (in) | Recommended Heat Shrink Size (in) |
|---|---|---|
| 14-16 | ~1/16 (~1.6mm) | ~5/64 (~2mm) |
Using the right size heat shrink for your 16-gauge wire isn’t just good practice; it’s crucial for the safety and longevity of your electrical connections! And remember – when you’re working with electricity, always put safety first!
Expert Tips on Applying Heat Shrink to a 16-Gauge Wire
So, you’ve got your hands on some 16 gauge wire and are ready to work magic with heat shrink! Well, buckle up because I will share some top tips with you. First, let’s chat about picking the right size heat shrink.
You’ll want a heat shrink around 1/4 inch in diameter. Why? Because it provides just enough room for the wire but tightens up nicely when heated. Plus, it’s easy to find at most hardware stores.
Now, onto the application process itself:
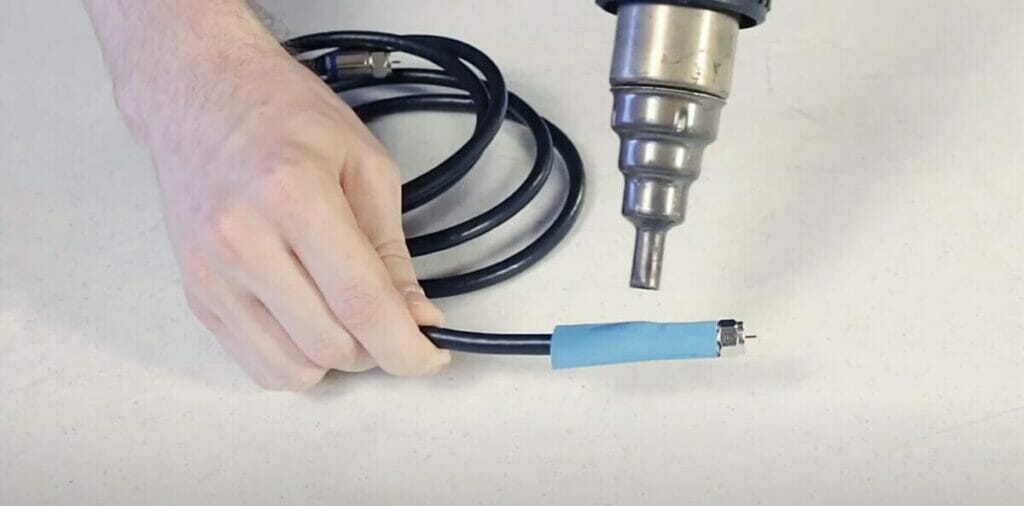
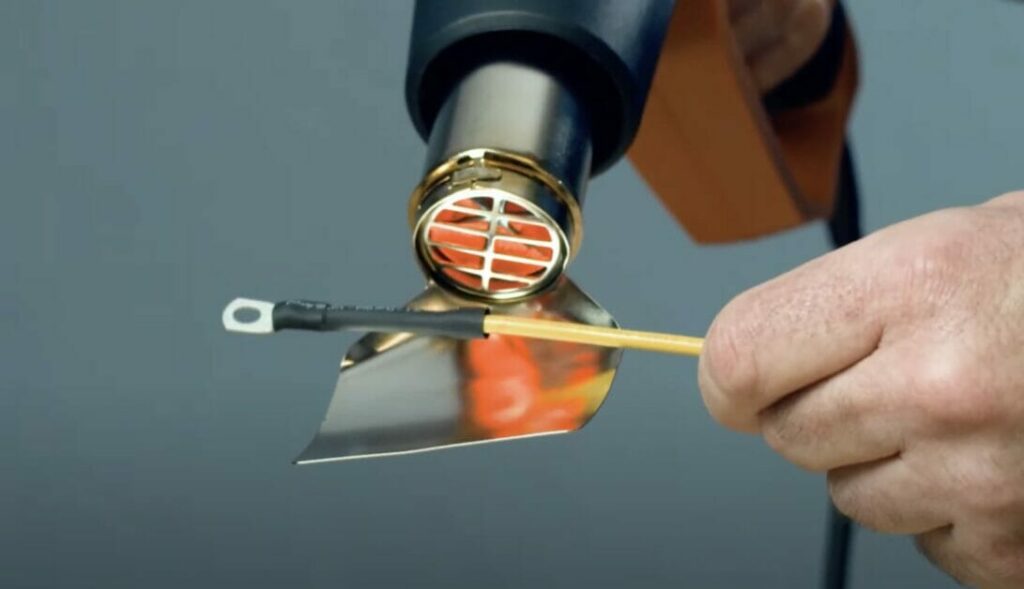
- Start by Cutting: Cut your heat-shrink tubing into pieces long enough to cover the exposed wire and overlap with the insulation.
- Slide it Over: Slide one piece of tubing over each end of your wire before making any connections.
- Connect Wires: After connecting your wires – preferably with solder if you want maximum durability – slide the tubing to cover the joint evenly.
- Apply Heat Gently: Use a lighter or a heat gun on a low setting, moving it around constantly so as not to burn or melt anything accidentally.
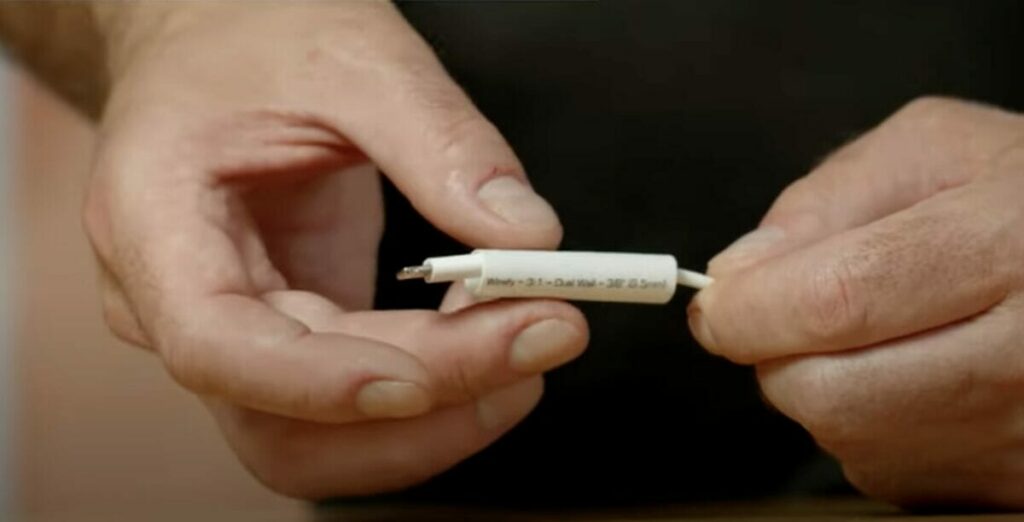
Remember, not all heat shrinks are created equal. You might come across two main types: adhesive-lined and non-adhesive-lined. Adhesive variants offer more robust protection against moisture but can be trickier to remove if you make a mistake.
One last thing – don’t rush! Patience is key when applying heat shrink. Allow its time and space to contract evenly without bubbles or weak spots.
I sure hope these tips help out in your project! Remember: the right size, careful application, and patience go a long way in this game!
Top Recommendations for Heat Shrinks for a 16-Gauge Wire
Hey there, guys and gals! Let’s dive into my top recommendations for heat shrinks when dealing with 16-gauge wire. There’s much to consider here, so let’s get down to it.
First off, 3:1 shrink ratio heat shrink tubing is an absolute must-have. This stuff is the bee’s knees because it shrinks down three times smaller than its original size. It’ll snugly fit that 16-gauge wire like a well-tailored suit.
Now, you might ask why not go bigger or smaller. Using a larger diameter tube (like one designed for 12-gauge wire) won’t shrink enough to secure your connections properly. And if you try something made for tiny wires (say around 22-gauge), good luck squeezing your beefy 16-gauger in there!
Regarding specific brands, I’ve got two top picks – Ancor Marine Grade heat shrink and 3M Scotchlok tubing. Both are super reliable and will give your wires the protection they need.
Here’s how they stack up:
| Brand | Shrink Ratio | Designed For |
|---|---|---|
| Ancor Marine Grade | 3:1 | Marine environments |
| 3M Scotchlok | Variable (2:1 –4:1) | General purpose |
Next up on my list would be Gardner Bender, another fantastic option with its heavy-duty design perfect for any tough job.
Finally, remember, folks – picking the right size is crucial, but don’t forget about quality either! Cheap heat shrink might save some pennies now but could lead to headaches later on…and we all know how much fun that can be! Keep those wires safe and happy wiring – until next time!
References
Books:
- “Electrical Wiring: Residential” by Ray C. Mullin and Phil Simmons
- “The Complete Guide to Wiring, Updated 7th Edition: Current with 2017-2020 Electrical Codes” by Black & Decker
- “Wiring a House: 5th Edition” by Rex Cauldwell
Website Resources:
- Cable Organizer. https://www.cableorganizer.com/
- Heat Shrink Tubing Guide by RS Components. https://uk.rs-online.com/web/generalDisplay.html?id=ideas-and-advice/heat-shrink-guide
- Electrical Construction & Maintenance (EC&M) Magazine. https://www.ecmweb.com/
Video References:
ShowMeCables
Wirefy – Professional Connectors and Tools