How to Solder Speaker Wire (7 Steps)
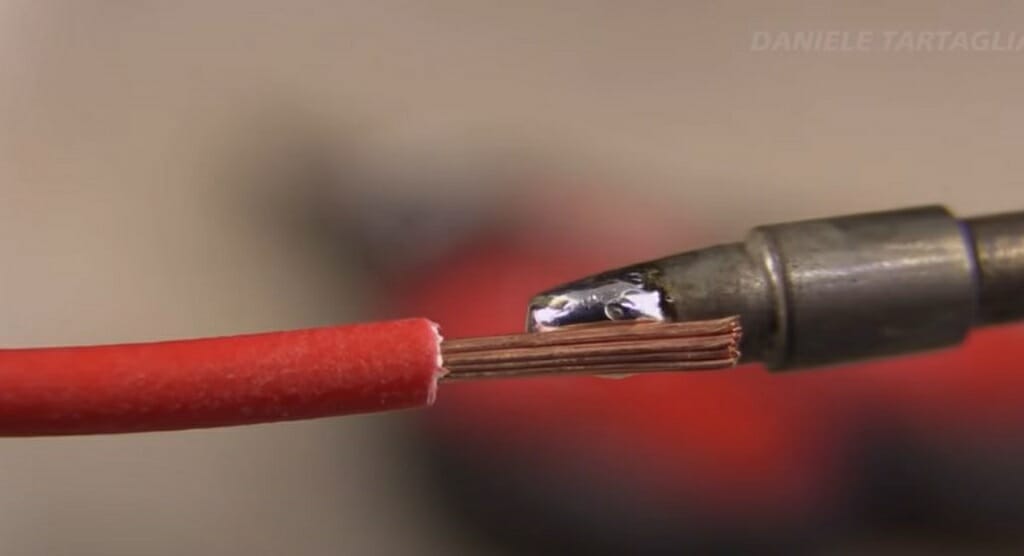
With this article, you’ll learn everything there is to know about soldering speaker wires.
Are you having trouble hearing the sound clearly from your speakers? It might be because of the loose ends on the speaker wires. You might have to solder the old wires properly. Or you might have to solder the new wires. To help you with the above issues, here is a simple guide on how to solder speaker wire.
In general, to solder a speaker wire:
- Gather the necessary tools/materials.
- Identify the positive and negative wires and speaker terminals.
- Strip the wires (if needed).
- Insert the speaker wires into the terminals.
- Heat the connecting points with the soldering iron.
- Apply the solder.
- Don’t forget to clean the soldering iron.
Read the below step-by-step guide for a detailed explanation.
7-Easy-Steps to Solder Speaker Wire
Step 1 – Gather the Necessary Things
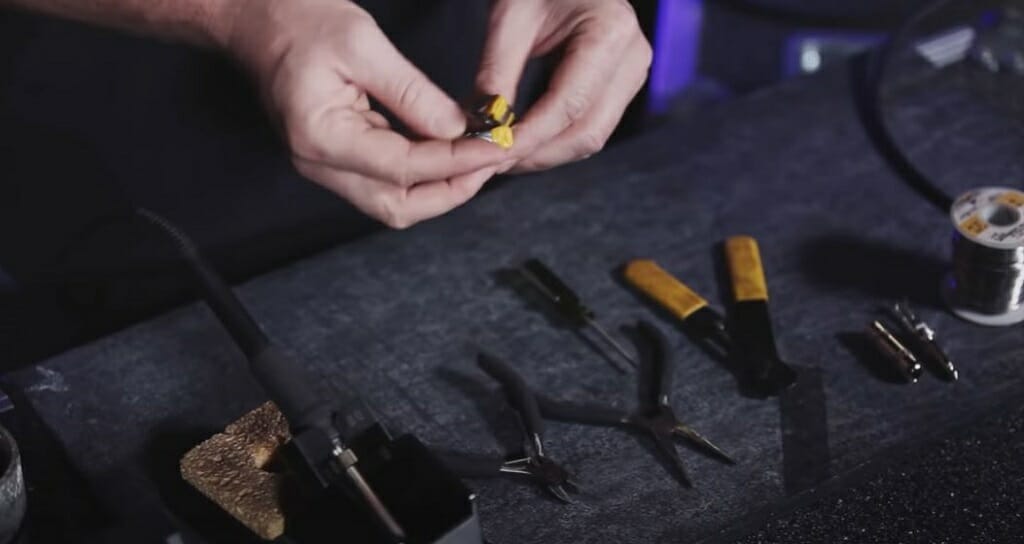
First and foremost, gather the following things.
- A speaker
- Speaker Wires
- Soldering iron
- Solder
- Wire stripper
- Small flat-head screwdriver
- A piece of a wet sponge
Step 2 – Identify the Positive and Negative Wire and Speaker Terminals
If you are soldering the loose end of the wire, there is no need to identify the positive and negative speaker wires. Just solder the loose end to its terminal. However, if you are soldering new wires to a speaker, you need to correctly identify the positive and negative wires. And the same goes for the speaker terminals.
Identifying Speaker Terminals
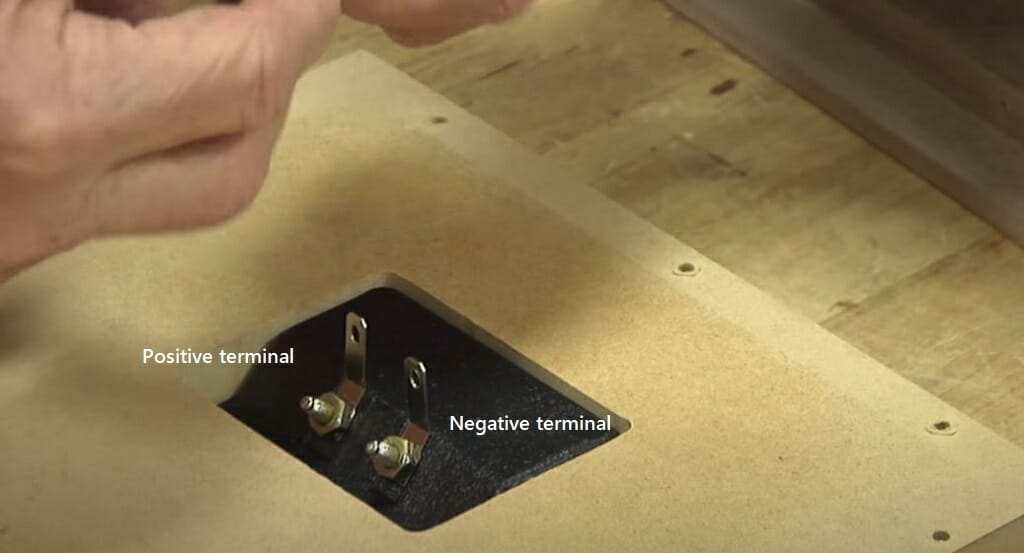
Identifying speaker terminals is not that difficult. Most often, you’ll be able to find the particular marking for the positive or the negative on the speaker terminals.
Identifying the Speaker Wires
In truth, identifying speaker wires is a bit difficult. But it is not impossible by any means. There are three different methods for this.
Method 1 – By Insulation Color Code

Undoubtedly, this is the most commonly used technique for identifying speaker wires. The red-colored wire is positive, and the black-colored wire is negative. This red-and-black combination is the favored color code for most manufacturers.
Method 2 – By Conductor Color
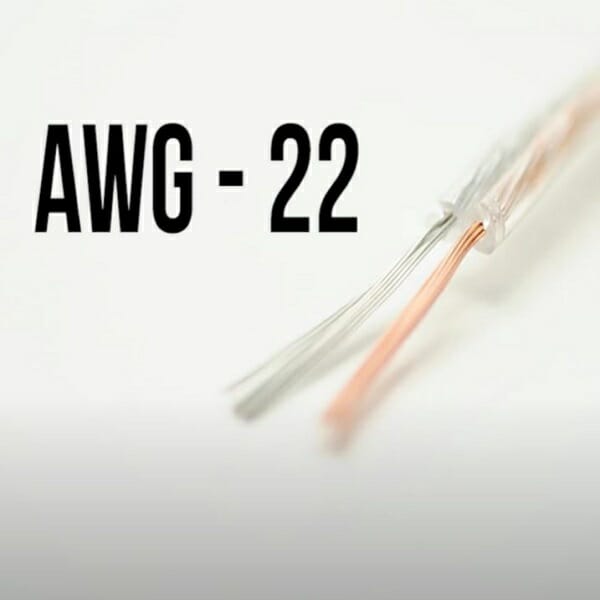
Some use the silver wire conductor (not the insulation) for the positive speaker wire. And the negative wire will be represented by a copper wire.
Method 3 – By the Stripes
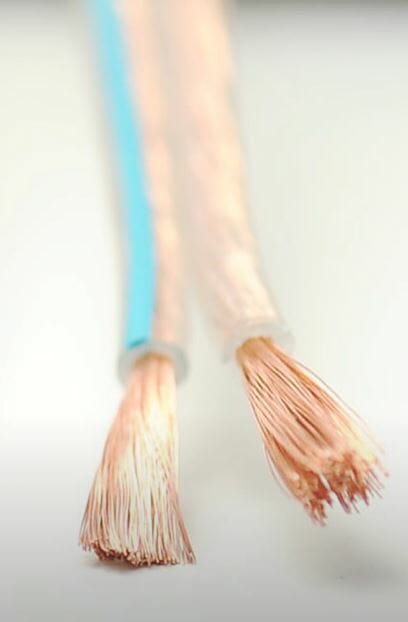
This one is also a common method to identify speaker wires. Some wires come with a red stripe (or some other color) on the insulation, and some come with a smooth texture. The wire with a red stripe is the negative one, and the wire with a smooth texture is the positive one.
Important: Correctly identifying the terminals and the wires is a crucial task. If you mess up the polarity while connecting the speaker wires to the terminals, you might damage the speaker or the wires.
Step 3 – Strip the Wires
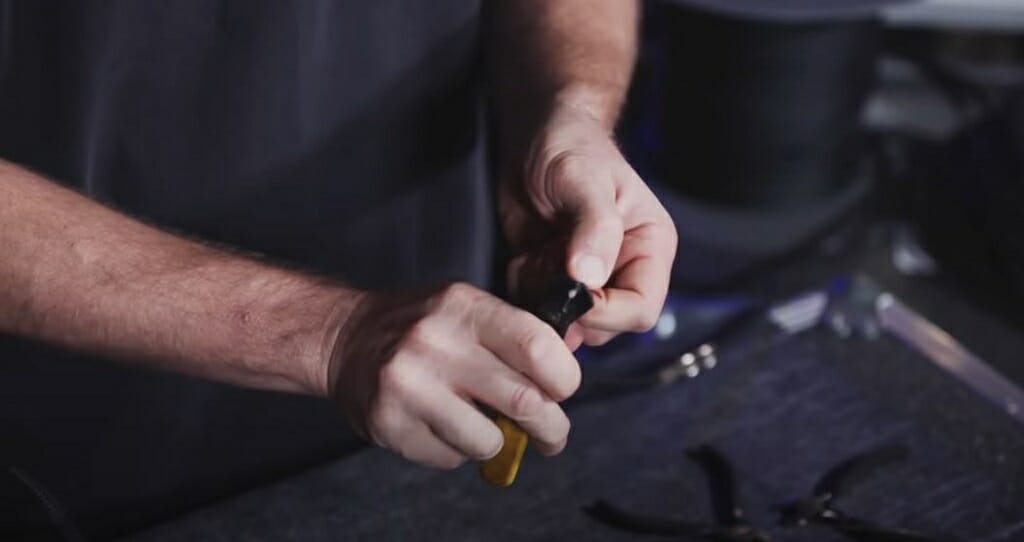
After identifying the wires, you can strip them.
- Take the wire stripper and strip the two wires.
- Keep the strip length to ½ – ¾ inch.
- Remember not to damage wire strands. Damaged wire strands might cause problems for your audio system.
Quick Tip: After stripping the two wires, twist the wires strand using your fingers.
Step 4 – Insert the Speaker Wires Into the Terminals
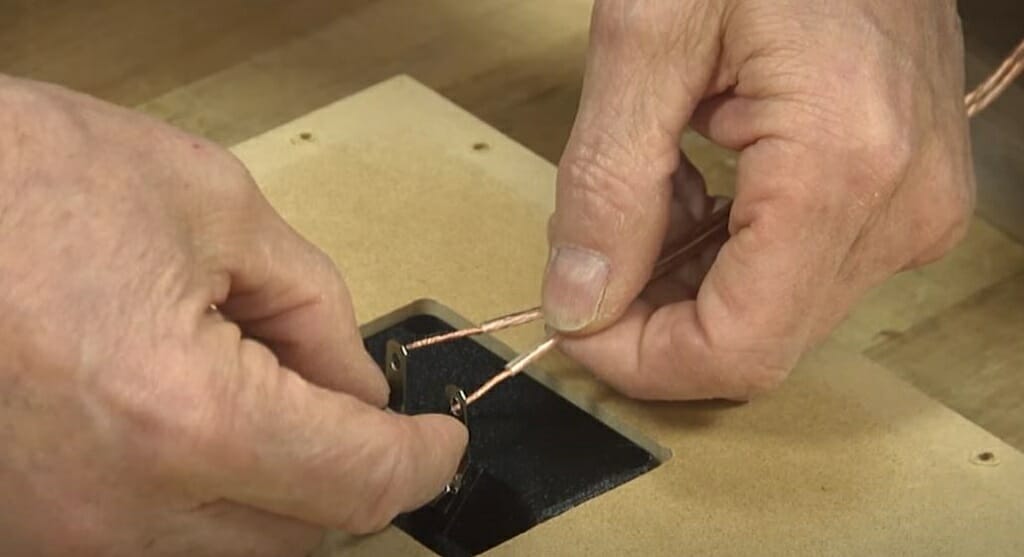
Before connecting speaker wires, you’ll have to insert them into the terminals in a particular way so that you can make a high-quality connection between the wires and terminals.
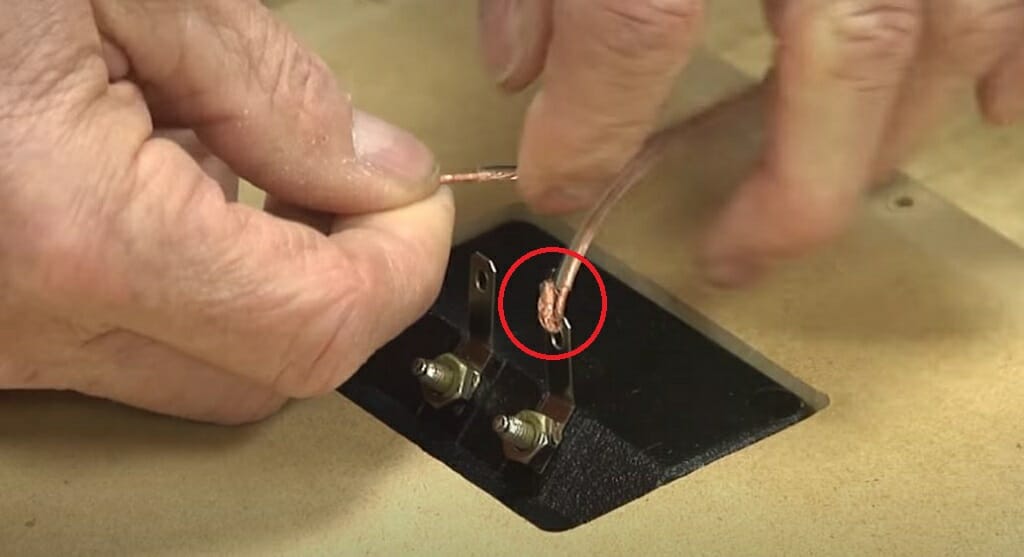
To do that, first, bring the wire through the speaker terminal. Then, bend it upwards. Now your speaker wires are perfectly positioned for soldering.
Step 5 – Heat the Connecting Points
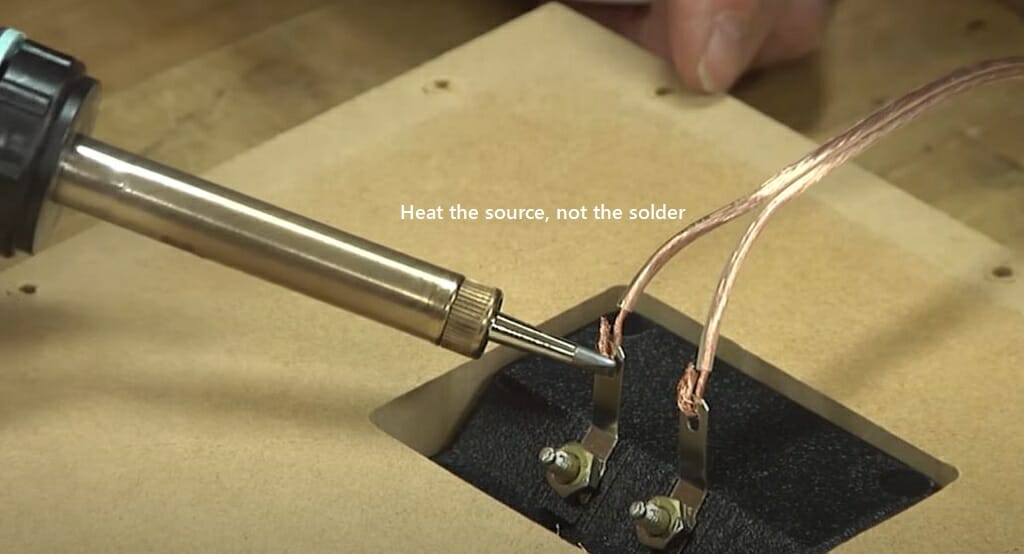
Before applying the solder to the wires and the terminals, you should heat the two connecting points (two terminals). Doing this will allow the solder to flow evenly around the terminals and the wires.
So, connect the soldering iron to a suitable outlet and place it on top of the connecting points of each speaker terminal. Keep the soldering iron on there for at least 30 seconds.
Step 6 – Apply the Solder
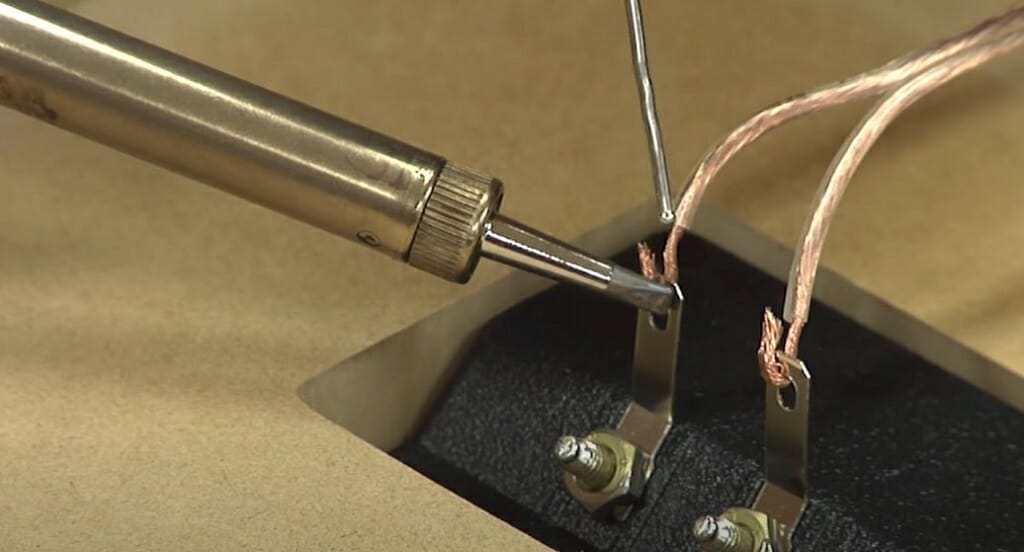
After you heat the connecting points, bring the solder close to the connecting points and let it melt.
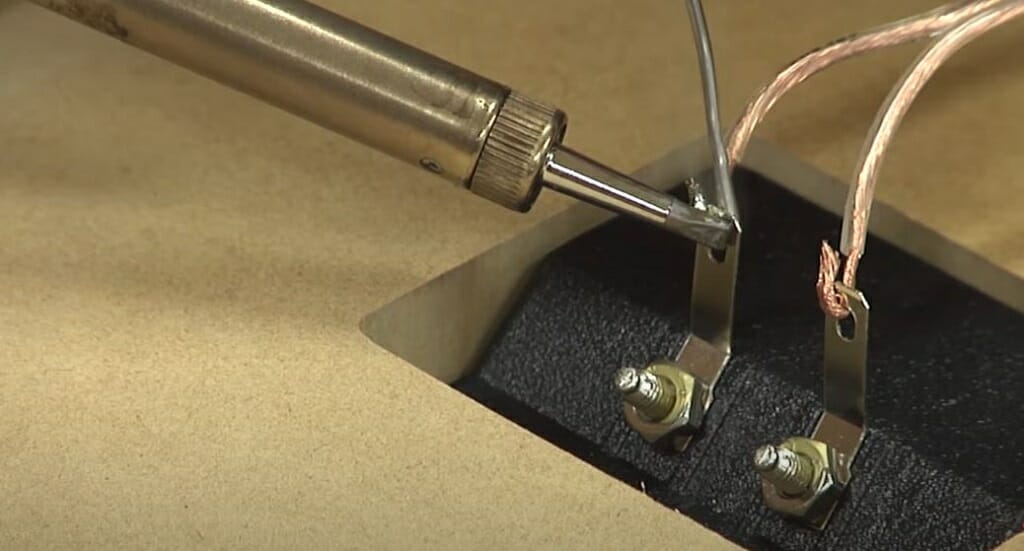
Remember to let the solder flow into both sides of the terminal.
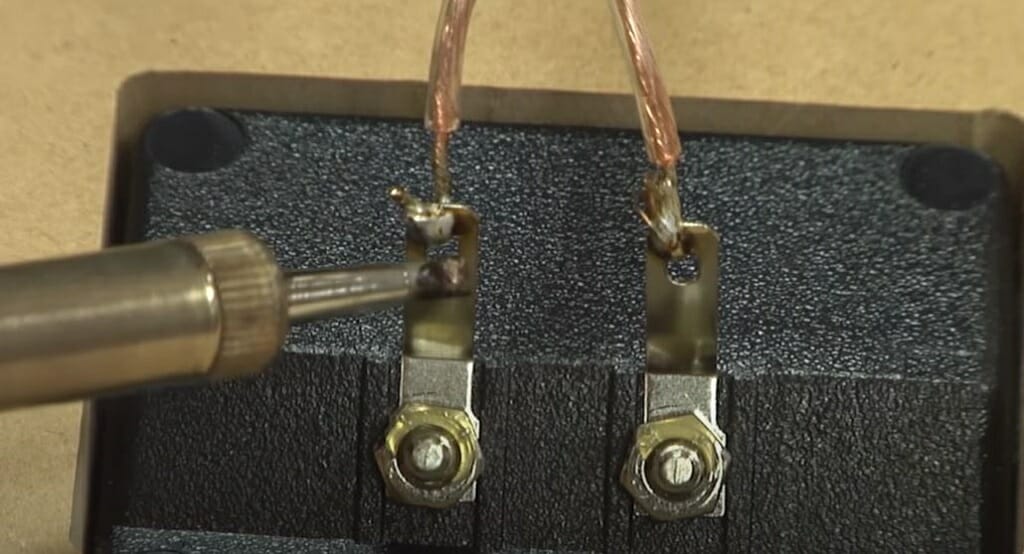
That way, the wires, and terminals will be connected from both sides.
Step 7 – Clean the Soldering Iron
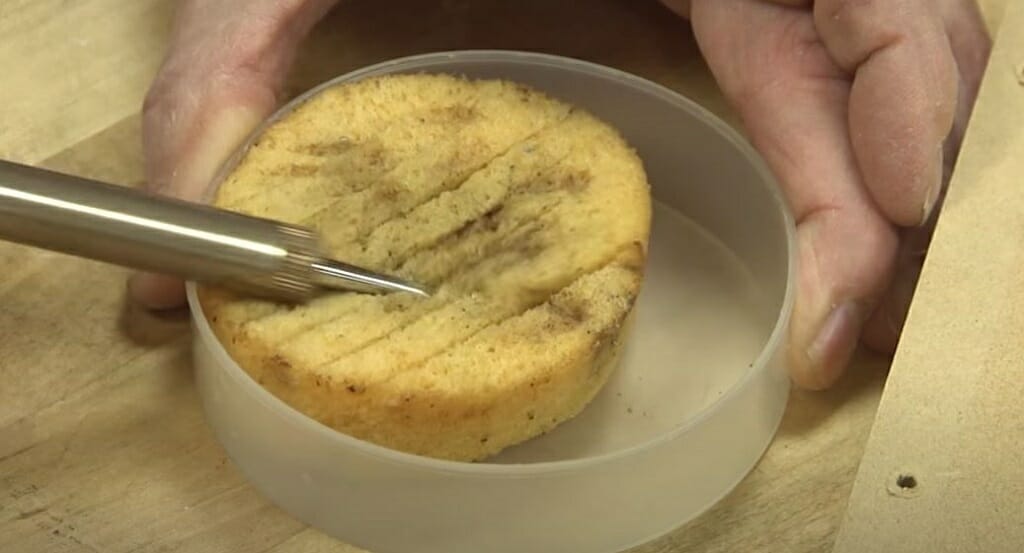
This is a step most people ignore. But it would be best if you didn’t do that. An uncleaned soldering iron might cause issues for your future soldering project. So, clean the soldering iron using a wet sponge.
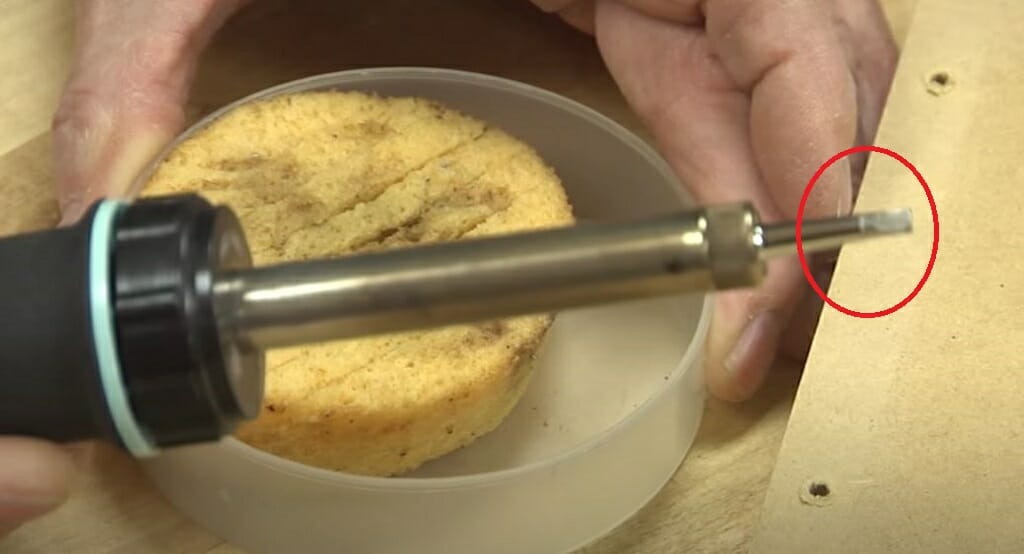
But leave some solder on the tip of the soldering iron. This process is called tinning, and it will protect the soldering iron from any corrosion. Always try to keep the tip of the soldering iron shiny. (1)
A Few Tips That Can Be Useful While Soldering
Even though soldering speaker wires seem straightforward, many things can go wrong. Here are some soldering tips to help you during the above speaker wire soldering process.
- Always use a high-quality soldering iron.
- Use a suitable soldering tip according to the wire gauge.
- Apply the heat to the connecting points first.
- Let the solder joints cool by themselves.
- Complete the soldering in an area that has proper ventilation. (2)
- Clean and tin the soldering tip properly.
- Wear some safety gloves to protect your hands.
Follow the above soldering tips for clean and robust soldering.
Take a look at some of our related articles below.
References
(1) corrosion – https://www.sciencedirect.com/topics/engineering/corrosion
(2) proper ventilation – https://www.ncbi.nlm.nih.gov/books/NBK143277/
Video References
Daniele Tartaglia
Full Sail University
WOOD magazine
ShowMeCables
