6 min read
How to Wire a 220 Outlet for a Welder (6-Step Guide)
Welding equipment draws a lot of electricity, thus requiring a high-capacity connector to pass electrical current to the welding machine.
Anything that has to do with electricity should be handled with caution. Electrical work is no joke; everything must be done properly to avoid injuries.
Precision is key here. Every wire needs to be in a certain place, the connectors should be adequate, and the power supply should be handled properly.
It’s not a complex job, but since it’s a matter of life or death for you and the welder, I’m here to guide you on how to wire a 220 outlet for a welder properly.
Make sure to read everything thoroughly. Double or even triple-check every step before proceeding. If you don’t feel comfortable after completing the wiring, I advise you to talk to an electrician.
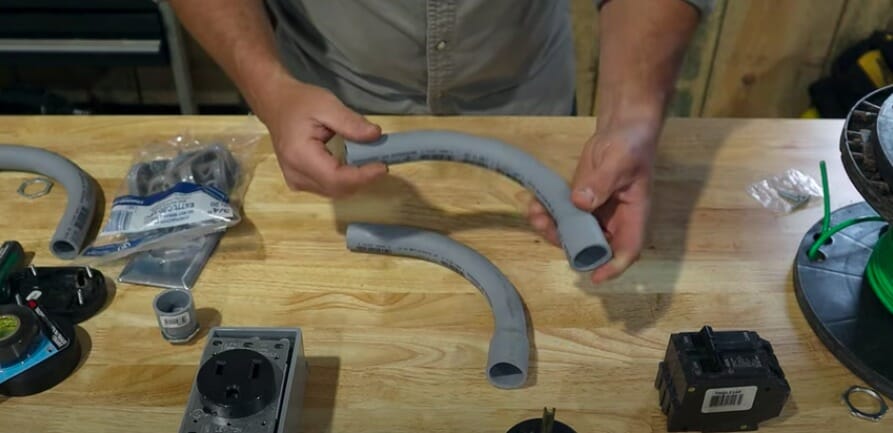
What You’ll Need: Materials & Tools
Before you do the actual work and wiring, grab these items to smooth out the process:
- A lengthy amount of #6 wire.
- Flush mount two gang box or External outlet box for the plug
- 50Amp flush mount welder outlet.
- 50Amp two-pole or three-pole breaker.
- Voltage tester
- Adhesive electrical insulation tape (Non-corrosive)
- Cable ripper & Wire Stripper
- Screwdriver and box cutter
- Electrician’s gloves
Step-by-Step: Wiring a 220 Outlet For a Welder
Step 1: Kill the Power
Kill the power. Don’t begin work until you confirm there’s no power in the circuit breaker. Switch the main breaker if you aren’t sure which circuit breaker is the right one.
Grab your voltage meter, and check for stray voltages inside the feeder box.
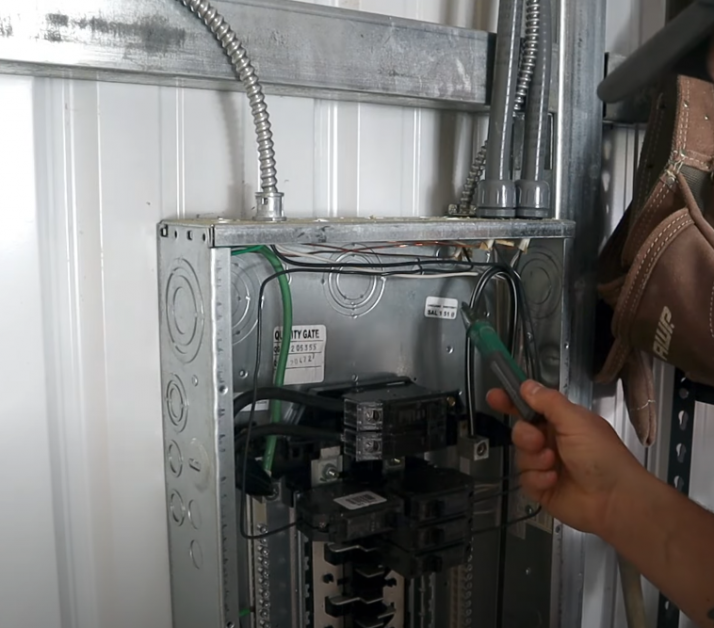
After you confirm there’s no electricity running through, you can move on to step 2.
Step 2: Placing Two-pole Breaker Inside Electrical Box
Take the two-pole breaker and place it inside the electrical box. There are no screws here, the breaker should just pop into place. Don’t be afraid to use a little force, and wiggle it in as you press down.
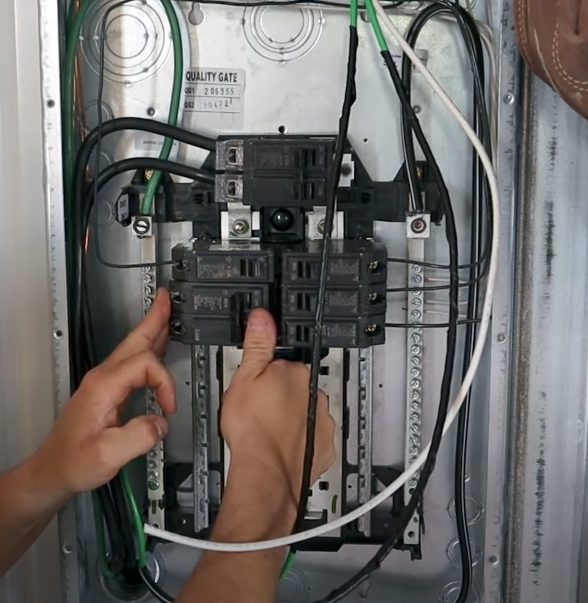
You should hear a click or a pop. This means you’ve properly attached the breaker in place. There’s no electricity running here, but just in case, make sure the breaker you just put in is switched off.
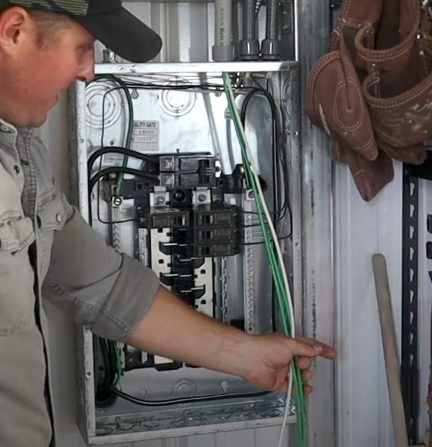
Step 3: Closing the Electrical Box
Close off the door of the electrical box. Most electrical boxes have knock-out panels on the door itself. Since this is a two-pole breaker break off two of the panels.
Grab the flush mount two gang box, and put it in place. Screw it in and lightly wiggle everything with your hands to ensure it’s secure. If it feels sturdy, proceed to step 4.
Step 4: Wiring It Right
This is where it’s tricky, and you need to get everything in the right place. It’s time for the wiring.
#6 wire is a rigid wire. You might have some issues moving it around inside the electrical box.
Place the wire in the dedicated hole on the box. You should have a lengthy amount of wire on the inside.
Grab a hold of your wire stripper or box cutter, and separate the wires from the rubber wrap. You should have about 6 inches of separated wires. This makes it easier to move around and connect the wires accordingly.
Next in line is to take the wire stripper and expose the tips of the wires.
The ground cable goes inside the ground terminal block. It’s usually colored green or at least primarily green. (1)
Since we’ve installed a two-pole breaker, you need to connect the two conductor wires to the breaker.
Once everything is connected, it’s time to close off all the work with the door panel and proceed to step 5.
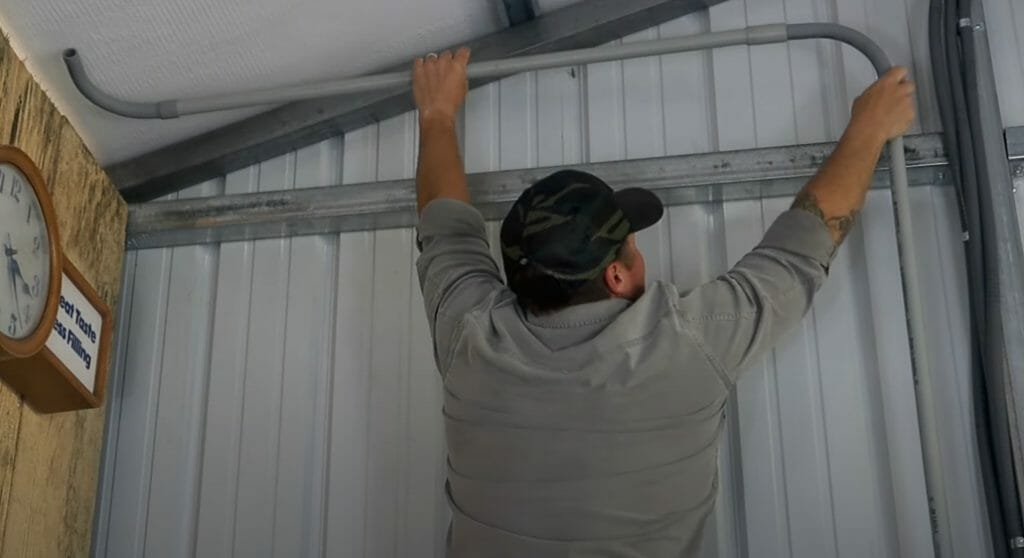
Step 5: Guiding Wire to the Outlet
The next thing you need to do is to guide your wire to the outlet.
There’s no strict guideline here you need to abide by. Ensure the cable doesn’t crease and there’s no pressure on it. This is a fairly large amount of work, so it’s better to do it right instead of damaging your cable over time and swapping it.
Step 6: Separating Wires
Now that you have the cable running from the electrical box to the outlet itself.
Grab your box cutters and separate the wires once more. Take off the tips of the wires, and connect the cables accordingly. Don’t forget the ground wire!
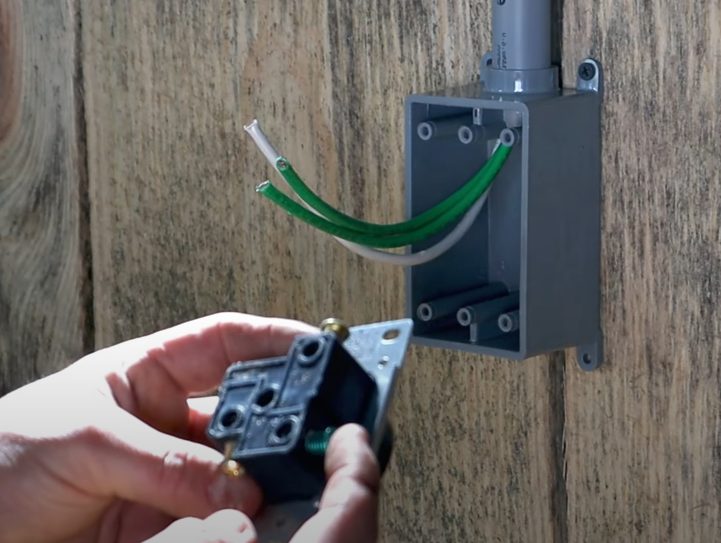
Place the outlet cover on and screw it in place. All that’s left is to flip the breakers and introduce power to your newly installed 220 outlets for a welder.
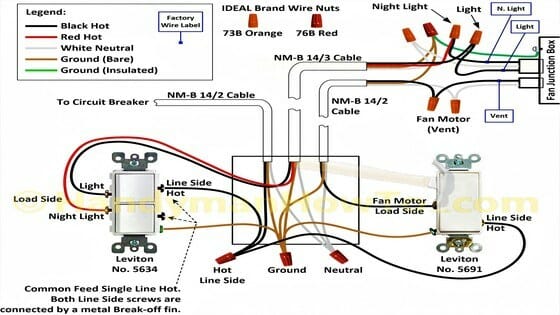
220v Welder Plug Wiring Diagram
In Summary
This is as plain as it gets. The process itself is quite straightforward if you follow the steps.
Take some time to inspect the wiring diagram and always double and even triple-check every step of the way.
Since you probably don’t want to go through this process again, buy quality materials. Especially if your project is outdoors.
You are dealing with electricity, so if you aren’t confident in doing this, we strongly recommend consulting with an electrician. Always be prepared for things to go wrong. (2)
Hopefully, you’ve found this guide practical, and your process of wiring a 220v outlet for a welder is a breeze.
Take a look at some of our related articles below.
- What is the blue wire on a ceiling fan
- How to wire inverter to RV breaker box
- How much wire to leave in outlet box
References
(1) green – https://www.verywellmind.com/color-psychology-green-2795817
(2) electrician – https://www.thebalancecareers.com/electrician-526009
Video Reference