6 min read
How to Wire a 20 Amp Male Plug (6 Step Guide)

By the end of this 6-step guide, you’ll be able to wire a 20 amp male plug.
You might find lots of plugs at your home with different ratings, such as 10 amp, 15 amp, and 20 amp. Each one of these plugs has its own responsibility. But when it comes to 20 amps, these male plugs hold a special function. They are responsible for electrical devices such as larger electrical heaters, air conditioners, and air compressors. Hence, knowing how to wire them will come in handy for many devices. With that in mind, here are a few simple steps to wire 20 amp male plugs.
In general, follow these steps to wire a 20 amp male plug connector:
- Remove the housing of the plug.
- Grab the electrical cable and compare it with the terminals.
- Strip the wires if needed.
- Insert the wires into the terminals.
- Tighten the terminals.
- Assemble the plug.
We’ll go into more detail below.
Things You’ll Need
- Three-point 20 amp plug
- Flat screwdriver
- Philips screwdriver
- Wire cutter
- Wire stripper
Step 1 – Remove the Housing

First and foremost, take the male plug and loosen the outer screw that holds the housing. Use the Philips screwdriver for this. Separate the housing and part that includes the terminals.
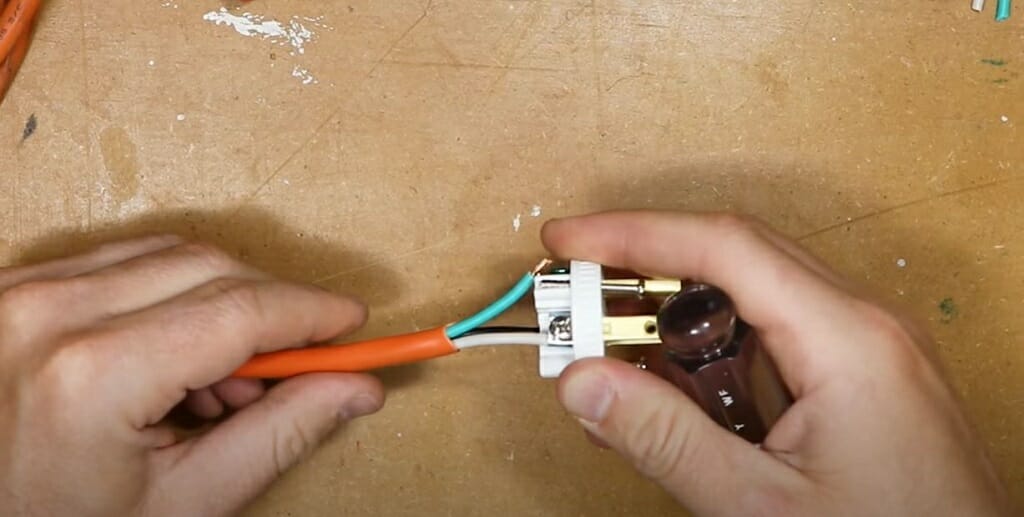
Step 2 – Inspect the Cable and Terminals
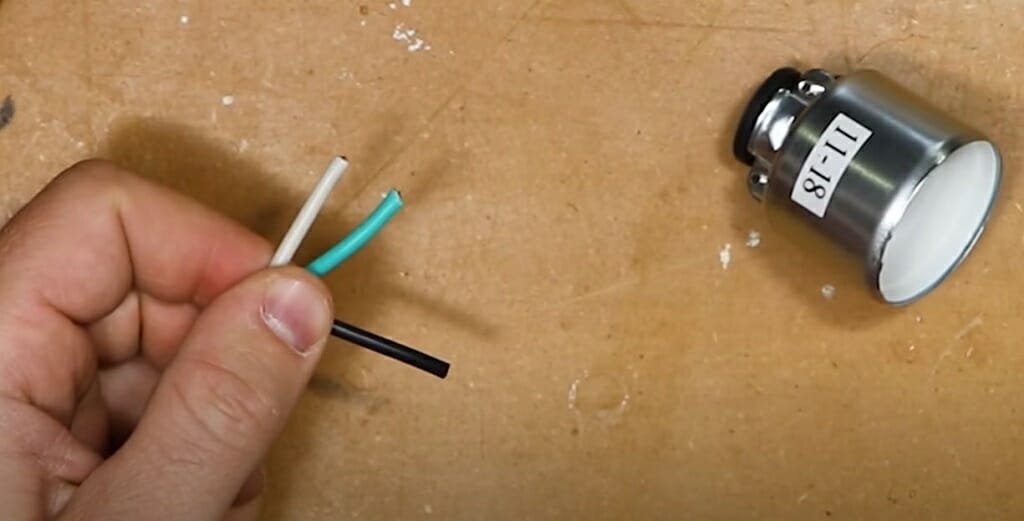
The cable should include three wires. The white one is the neutral wire, and the red or black one is the hot wire. The green one represents the ground wire.
Be Mindful Of: If the above wires come with insulation, you’ll have to remove the outer insulation.
On the plug, there should be three terminals. Identifying these three terminals accurately is vital. There can be two types of markings.
Type 1
You would see “G” and “W” markings on two terminals. “G” is for the ground connection, and the “W” is for the neutral connection. One terminal won’t have any marking on it. This terminal is for the hot wire.
Type 2
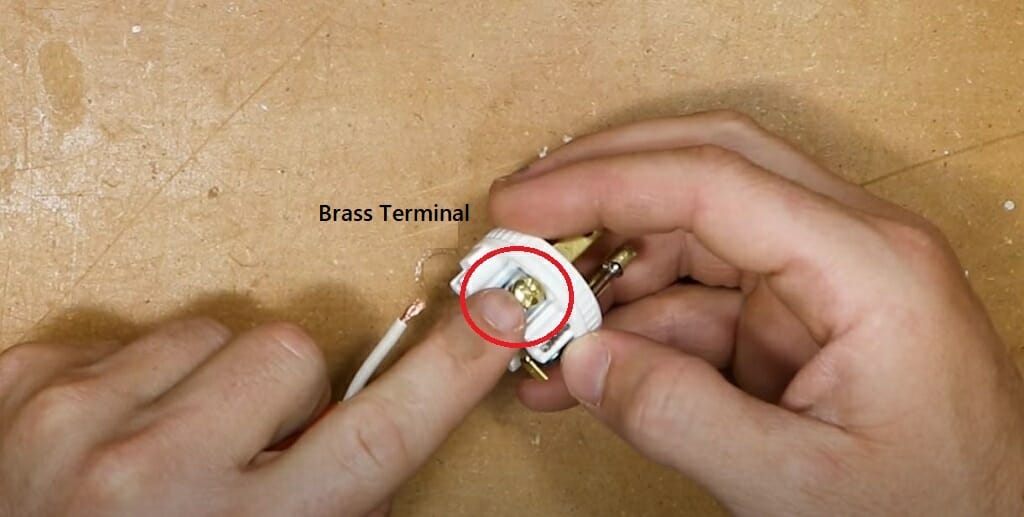
In some plugs, you can locate a brass terminal, silver terminal, and green terminal. The brass one is for the hot wire and the silver one is for the neutral wire. The green one is for the ground wire. (1, 2)
After properly checking for the above marks and colors, you’ll get a better idea of which wire goes to which terminal.
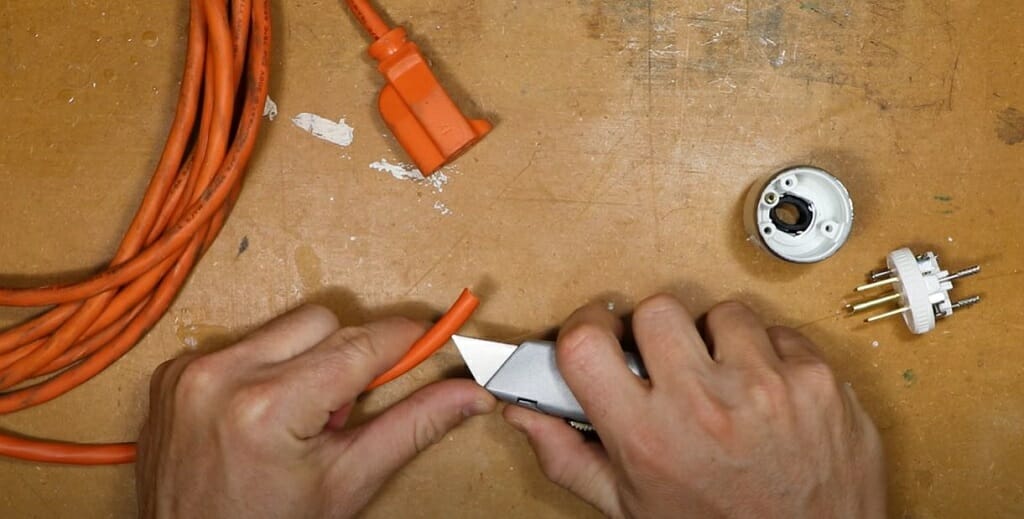
Step 3 – Strip the Wires

Then, take the three wires and strip them using the wire stripper. If required, cut off any damaged cable parts before the stripping. Strip the wires smoothly. Do not damage any wire strands while stripping. Damaged wire strands may affect the circuit and the electrical devices.
RELATED What is Upholstery?
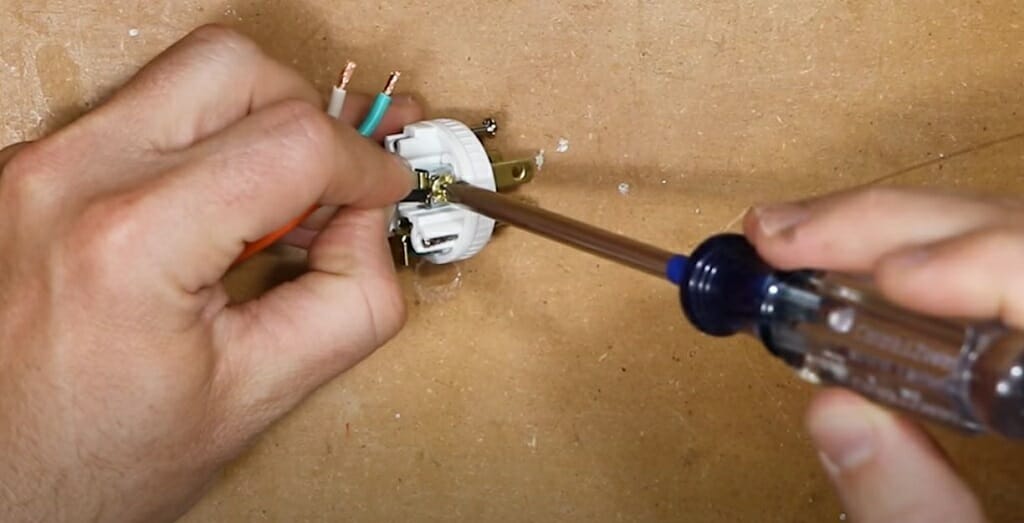
Step 4 – Insert the Wire into the Terminals
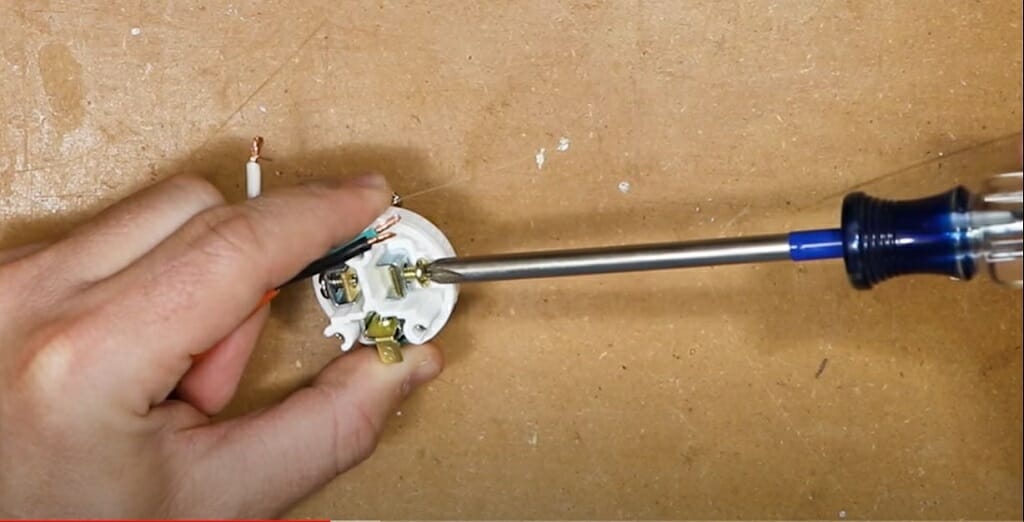
Loosen three terminals using the screwdriver. Depending on the model, you might have to loosen the two screws that hold the wires.

Then, take the three wires and form a hook shape on each wire. Next, wrap the wires around the terminals.
- Place the neutral wire on the “W” or the silver terminal.
- Place the ground wire on the “G” or the green terminal.
- Place the hot wire on the unmarked or brass terminal.
20 amp Cable Size
The 12 AWG is the perfect option for 20 amp circuits.
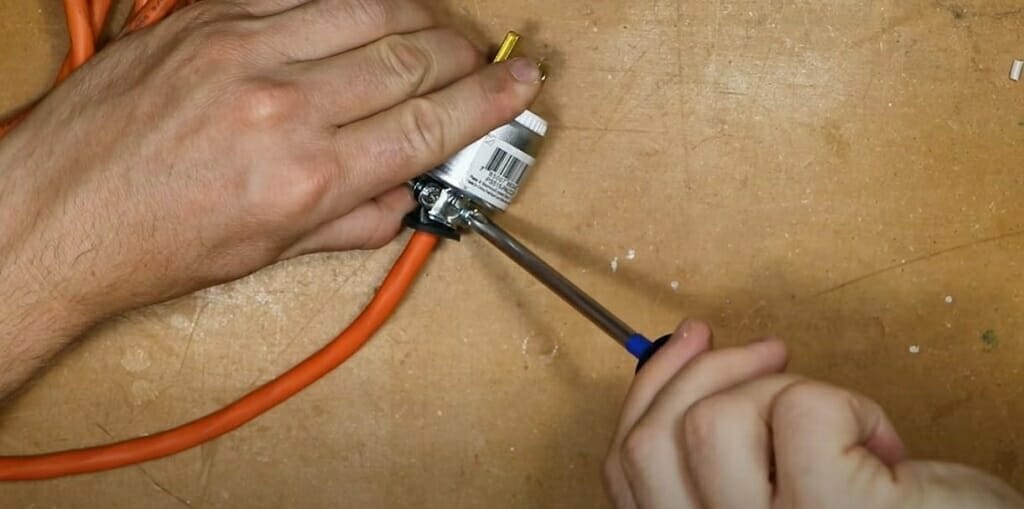
Step 5 – Tighten the Screws
Properly tighten the three terminals using the screwdriver.
Don’t tighten the terminals too much. It will damage the wire strands.
Step 6 – Assemble the Plug
Finally, place the housing on the back of the male plug and secure the connection. Connect the plug to a matching receptacle to check the particular piece of equipment.
Be Mindful Of: The wire strands should not be visible in the assembled male plug. All the wire strands should be inside the plug connector.
Take a look at some of our related articles below.
- How to crimp spark plug wires
- How to put spark plug wires in the correct order
- How to cut wire without wire cutters
References
(1) brass – https://www.thoughtco.com/brass-composition-and-properties-603729
(2) green – https://www.britannica.com/science/green-color
Video Reference