6 min read
How to Test a Car Ground Wire with a Multimeter (Guide)

A faulty ground connection is frequently the root cause of an electrical issue. A defective ground can generate audio system noise. It can also cause electric fuel pumps to overheat or provide low pressure and cause electronic engine controls to act strangely.
A digital multimeter is your first line of defense to test the ground wire and determine whether it is the source of the problem.
In general, ground wire testing in a car is often simple if you have a multimeter.
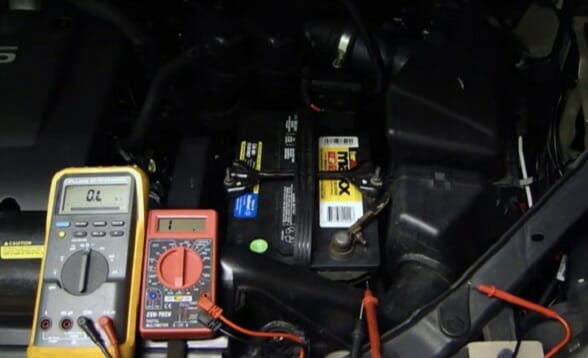
- Switch on the multimeter and choose OHM as the measurement unit.
- Next, attach one probe to the battery’s negative terminal and the other to any metal point or connecting bolt you want to test.
- When the multimeter value is close to zero, you have good ground.
As we proceed, we will go through how to test a car ground wire with a multimeter in detail.
How to Test a Car Ground with Multimeter
Many people believe that an accessory is grounded if its ground wire touches any car portion. That is not correct. You must attach the ground wire to a place devoid of paint, corrosion, or plating. The paint on the body panels and engine serves as an insulator, resulting in a poor ground connection. (1)
#1. Accessory Test
- Connect a ground wire straight to the alternator case.
- Ensure there’s no dirt between the starter and the engine compartment mounting surface.
#2. Resistance Test
- Set the digital multimeter to read resistance and probe the auxiliary battery’s negative plug and ground connection.
- The ground is safe if the value is less than five ohms.
#3.Voltage Test
- Take out the connection.
- Trace the wirings.
- Turn on the vehicle’s ignition.
- Set the multimeter to DC Volts.
- Turn on the attachment and retrace your grounding path as previously mentioned.
- The voltage should be no more than .05 volts under load.
- If you discover a site where voltage drop is present, you must add a bonding strap or locate a new grounding point. It ensures that no voltage drop is present at any of the grounding locations.
#4. Examining the ground path between Accessory and Battery
- Starting with the battery, move the multimeter probe to the first grounding location, commonly a fender on muscle vehicles.
- Continue until the fender connects to the main body and then to the accessory. If you discover a spot of high resistance (more than five ohms), you must click the panels or pieces with a bonding strap or wire.
What Should a Multimeter Read on a Ground Wire?
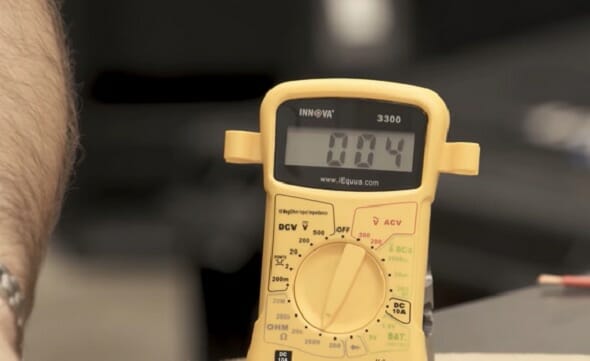
On a multimeter, a car audio ground cable should indicate 0 resistance.
If the ground connection between the car battery and any location in the automobile is faulty, you’ll see low resistance. It ranges from a few ohms to roughly 10 ohms.
It means that additional tightening or cleaning of the connection may be necessary. It guarantees that the ground wire has direct contact solely with bare metal. (2)
However, in rare circumstances, you may find 30 ohms or more significant values. It signifies that you must repair your ground connection by replacing the ground contact point. You can also connect the ground wire straight from the battery.
How to Check Good Ground Wires with Multimeter
A car audio system powered by a car radio and amplifier with a faulty ground will not function correctly.
A multimeter is the best tool for checking different ground locations within the automotive frame. The multimeter must offer an option to examine the resistance (OHM), and this number will vary depending on the place you are measuring.
For example, the ground on the engine block may be relatively low, but the ground at the rear seat belt connector may be significantly higher.
The instructions below will teach you how to use a multimeter to check the car’s ground connection.
- Before you begin checking, ensure that the automobile battery’s negative terminal is connected to the battery.
- Turn off all vehicle devices that may take too much electricity from the battery.
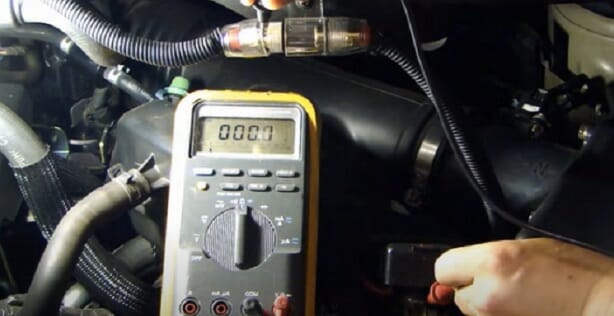
- Set the multimeter to the ohm range and insert one probe at the negative terminal of the automobile battery.
- Take the second probe and place it in a precise area on the automobile frame where you wish to measure a grounding point.
- Examine several sites in the vicinity of the placed amplifier.
- Take careful notes on each measurement. The ground connection must be as good as possible, especially for a powerful amplifier. Therefore, select the place with the lowest measured resistance afterward.
TIP: How to Repair a Bad Ground Wire in a Car
If the test verifies that the ground wire is faulty, you can see an expert or repair it yourself. Regardless, repairing a defective ground wire is a simple procedure. The following ways will assist you in resolving the issue.
#1. Examine the contacts
An open (or incomplete) connection at either end of the ground wire might be the source of the problem. To be sure, locate the wire’s ends. A screwdriver or wrench will suffice if they are loose. Replace any worn screws, bolts, or nuts.
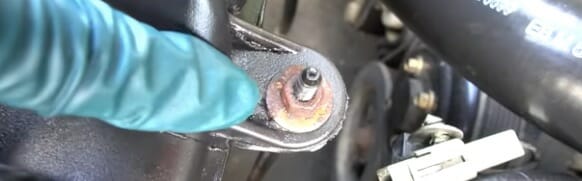
#2. Clean rusted or corroded contacts and surfaces
Use a file or sandpaper to clean any rusted or corroded contacts or surfaces. Battery connections, wire ends, bolts, nuts, screws, and washers are all places to look.
#3. Change the ground wire
After finding the ground wire, inspect it for cuts, rips, or breaks. Purchase a high-quality replacement.
#4. Complement the ground wire
The last and most straightforward solution is to add another ground wire. It is a good choice if the original is difficult to find or access for replacement. It is great to have a high-quality complimentary ground wire to shore up your car’s ground.
Wrapping Up
Now you know how to test car ground with a multimeter in an automobile. However, you must bear these points in mind, such as safety and not attaching both multimeter probes to battery terminals.
The multimeter will show a low resistance near 0 ohms if your grounding point is good. If not, you must locate another grounding point or connect the ground wire straight from the battery towards the amplifier.
Below, we’ve listed a few test learning guides using a multimeter. You may check them and bookmark them for later reference.
- How to use a Cen-Tech digital multimeter to check voltage
- How to measure amps with a multimeter
- How to trace a wire with a multimeter
References
(1) paint on the body – https://medium.com/@RodgersGigi/is-it-safe-to-paint-your-body-with-acrylic-paint-and-other-body-painting-and-makeup-art-questions-82b4172b9a
(2) bare metal – https://www.pcmag.com/encyclopedia/term/bare-metal