6 min read
How to Test a Ground Wire on a Car (Guide with Photos)
Many electrical issues on a car can trace back their root cause to a bad ground connection. A faulty ground can lead to overheating of your electrical fuel pump or generate audio system noise. It can also cause low pressure and the malfunctioning of your electronic engine controls.
When you experience any of these issues, the first thing to do is test the ground connection on your car. How do you go about doing this? In this article, we will look at steps to follow to test a ground wire on a car.
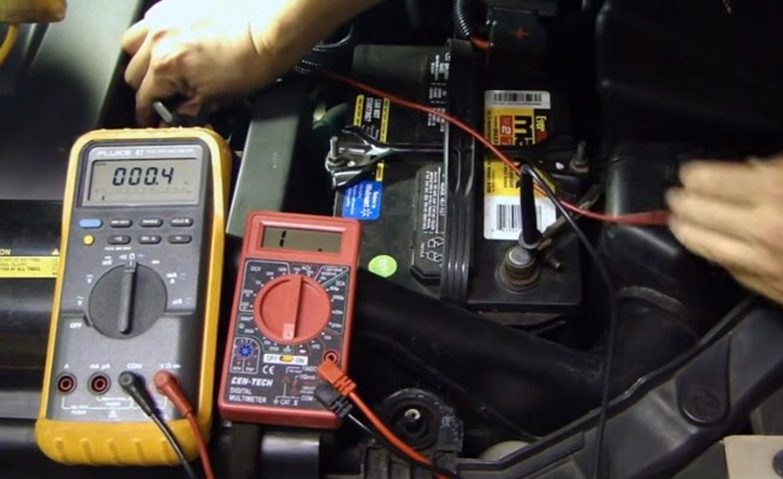
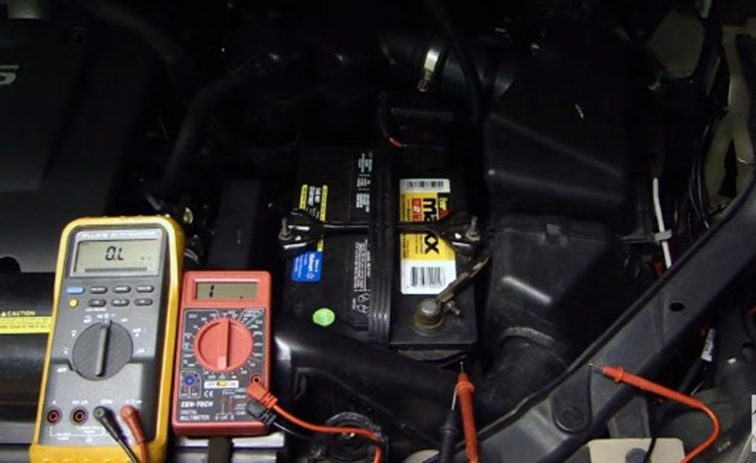
In General to test a ground wire on a car, turn on your multimeter and select OHM as the measuring unit. Attach one probe to the negative battery terminal and the other to a connecting bolt or metal point you want to test. Results that read close to zero mean good ground.
How to Test a Car Ground with Multimeter
A common erroneous belief among people is that an accessory is grounded when the ground wire touches any part of the car. This is far from the truth. A ground wire must attach to a place with no paint, plating, or corrosion. If you are unsure if you have a good ground, the best thing is to test it.
How do you do that? You need a digital multimeter for the job. Here are steps on how to test a ground wire on a car with a multimeter.
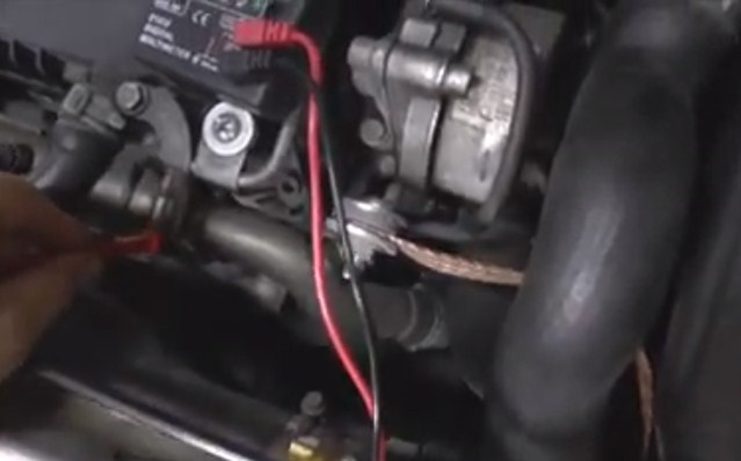
First: Test the Accessory
- Connect the ground wire to the alternator case directly.
- Make sure that there is no dirt between the mounting surface of the engine compartment and the starter.
Second: Test the Resistance
- Set the digital multimedia to read resistance and analyze the negative plug and ground circuit connection of the auxiliary battery.
- If the value of the reading is less than 5 ohms, then you have a safe ground.
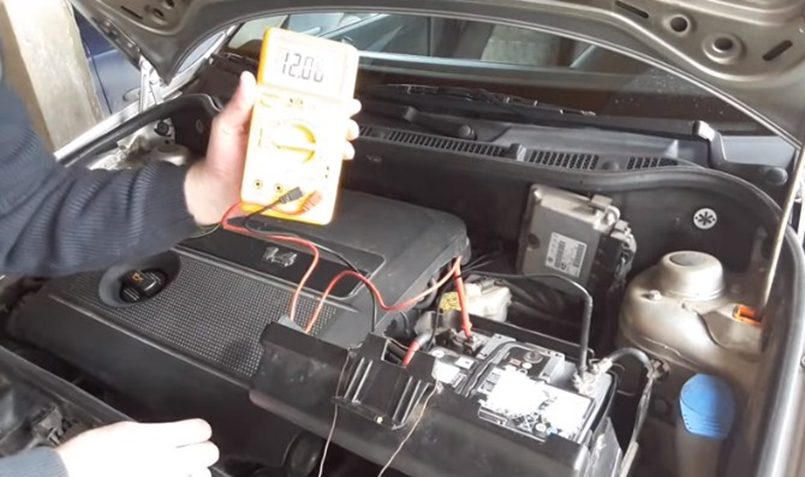
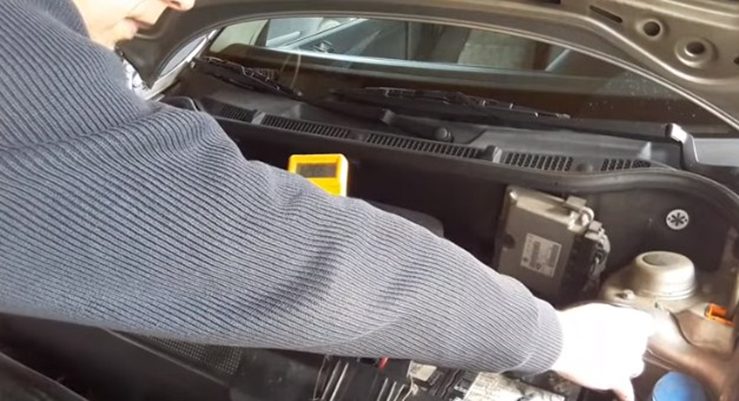
Third: Test the Voltage
Here are the steps to test the voltage:
- Remove the connection and carefully trace the wirings
- Turn on the ignition of the vehicle
- Pick up your digital multimeter and turn it to DC Volts.
- Switch on the attachment and retrace the grounding path just as mentioned above.
- Ideally, the voltage should not be higher than 0.05 volts when under load.
- Check to see if there is a voltage drop on any site. If you notice any site with a voltage drop, you should find a new grounding point or add a bonding strap. This ensures that there is no drop in any of the grounding locations and you don’t have a bad ground wire.
Examine the Ground Path Between the Battery and Accessory
- You should start with the battery terminal. To do this, Place the multimeter probe on the first grounding location, usually the fender.
- Continue moving the digital multimeter probe until the fender contacts the main body. Next, move to the accessory. If you notice any high resistance spot with more than 5 ohms, click the pieces or panels with a wire or bonding strap.
What Is the Right Reading of a Multimeter on a Ground Wire?
A car audio ground cable should read 0-resistance on a multimeter. When you have a bad ground connection between the battery terminal and any other part in the car, you will see low resistance reading. It can vary from a few ohms to about ten ohms.
If you notice this reading, you should consider cleaning or tightening the connection to bake it better. This ensures that the ground wire has a direct connection with bare metal without paints. In some rare situations, you may find up to 30 ohms or even more in your reading. (1)
How to Use Multimeter to Check Good Ground Wires
Usually, when your car audio system has bad ground, it will malfunction. To check for the problem, you need a multimeter. This lets you check the different ground circuits in the car frames.
Your multimeter should have the option to test the resistance in ohms. It should be noted that the number will vary depending on where you are measuring per time. For instance, the ground for the rear seat belt connector may be higher while that of the engine block may be low. Here’s how to check the ground connection of a car with a multimeter. (2)
- Make sure the negative battery terminal is connected to the battery before you start checking.
- Switch off all devices in the vehicle that may absorb much electricity from the car battery.
- Tune your multimeter to the ohm range and put one of the probes in the negative terminal of the battery.
- Place the second probe where you want to measure the ground point.
- Check different sites in the area where you have the amplifier.
- Note each measurement to see how good each ground connection is.
Wrapping Up
This post looked at how to test a ground wire on a car using four methods. If you suspect that you have bad engine ground, the tests highlighted in this post should also help you pinpoint the area with the issue.
Take a look at some of our related articles below.
- How to connect ground wires together
- How to test a car ground wire with a multimeter
- What to do with ground wire if no ground
References
(1) paints – https://www.britannica.com/technology/paint
(2) measuring per time – https://www.quickanddirtytips.com/education/
science/how-do-we-measure-time
Video References
Despair Repair
Fix and Drive
dial2fast