10 min read
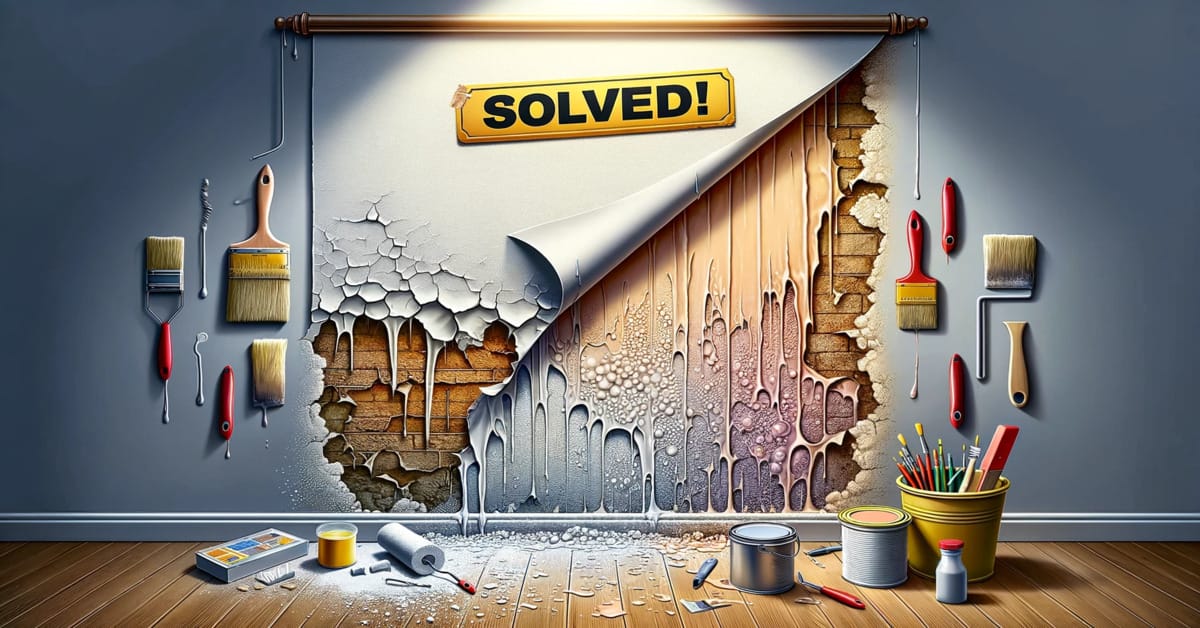
Solved! The Real Reason Behind Bubbling Paint and How to Fix It (Guide)
Have you ever noticed blisters or bubbling on your painted walls? This is known as paint blistering, a common issue many homeowners encounter.
I’ve got the quick fix to turn that wall blunder into wonderful. Just follow these three simple steps, and you’ll have a wall that looks brand new in no time.
What I’ll cover:
🔨 Step 1: Remove bubbled paint and cleanse the area.
🪣 Step 2: Smooth the surface with drywall mud if needed.
🖌️ Step 3: Prime with the right type for a perfect repaint.
In this article, we’ll delve into the reasons why paint bubbles and provide a step-by-step guide on fixing them. We’re about to get to the bottom of why it’s happening and how to prevent it in the future.
Why Does Paint Bubble or Blister?
You might ask, “Why is my freshly painted wall blistering or bubbling?” To address this, we must dive deeply into the factors that cause paint to bubble.
One main culprit is trapped moisture under the paint. It’s often a result of painting in high humidity, improper surface preparation, or jumping the gun and not letting the surface dry before wielding the paintbrush.
This sneaky moisture gets trapped and, like anything confined, tries to escape. In its quest for freedom, it pushes against your paint layer, resulting in unsightly bubbles or blisters. Those especially eager droplets might even cause the paint to peel off entirely.
Painting directly under the sun or on too-hot surfaces can also lead to blistering. It’s like trying to run a marathon in the desert; it just won’t end well. Similarly, we’ve found that applying oil-based or alkyd paint over a damp surface acts like a big ‘Welcome Blister’ sign on your wall.
Sometimes, the issue isn’t moisture or heat but rather a loss of adhesion. Remember that precious living room you painted a few months back? Notice any bubbles? The paint is likely losing its grip on the surface underneath, be it the base coat of paint or the material it’s applied on, like drywall or wood.
So, the next time you notice that brand-new sheen of color bubbling, don’t just cover it up with another layer. Take the time to investigate the root cause. That’s the key to ensuring your walls stay as pretty as the day they were painted.
Materials and Tools Needed for Repairing Bubbled Paint
Now that we’ve established what causes paint to bubble, it’s time to talk tools and materials. There’s a straightforward process to repair bubbled paint. So, let’s break it down!
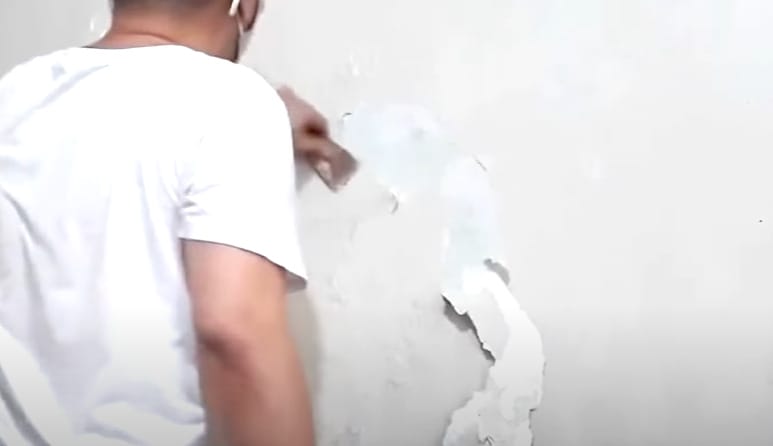
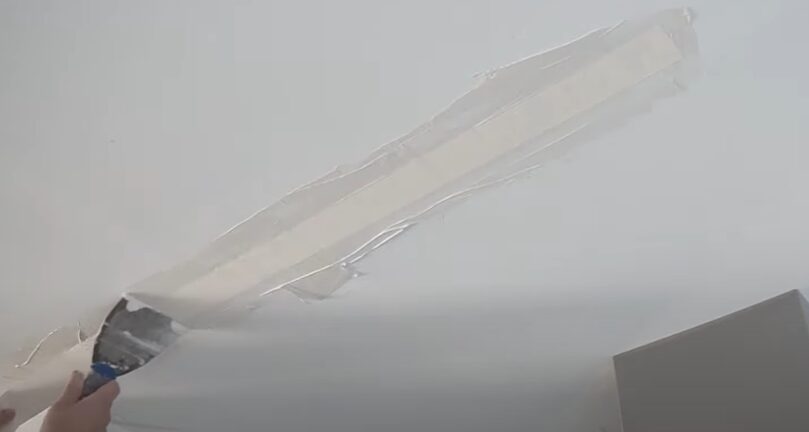
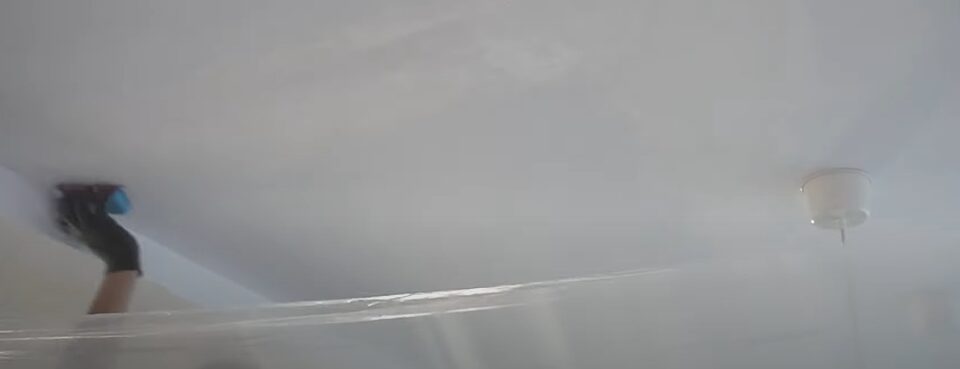
🔪 Putty Knife: The first tool you’ll need is a thin, sharp putty knife. Use this to scrape away the damaged paint gently. Work in long horizontal or vertical strokes to keep the surrounding paint intact.
🎨 Quality Primer: After scraping your paint, a high-quality primer is a must-have. Applying it enhances paint adhesion, which is especially crucial in high-visibility areas. If needed, use a small batch of spackle to fix low areas left by removed bubbles ‒ sand it, prime it again, and it’s ready for painting.
📜 Fine-Grit Sandpaper: The third tool is a universally loved favorite ‒ fine-grit sandpaper. After applying primer, we’ll let it dry. Once dry, grab this tool and lightly sand your surface until it feels smooth.
🛠️ Quick-Setting Joint Compound: If the scraping leaves holes or cracks, this will be your hero. Fill them in with a thin layer of quick-setting joint compound, let it dry overnight, sand it down, and voila ‒ surface prepped!
🖌️ Proper Paint Tools: Finally, having the right paint tools for the job cannot be overemphasized. Did you know improper paint tools like the wrong roller cover could cause bubbling, too?
We’ll move to the next step of the process in the next section: how to repaint a surface after repairing it.
Step by Step – Fixing Bubbled Paint
Fixing bubbles in your paint is a three-step process: removing the damaged paint, preparing the surface, and repainting.
- Step 1: Start by scraping off the bubbles and wipe down the surface. If the wall might have been dirty before the final paint job, use soapy water, then clear water, to give it a good clean.
- Step 2: Walls and ceilings in kitchens can get especially greasy. After the surface dries, inspect it closely. If it’s not smooth enough to repaint, you may need to apply a lightweight drywall mud skim coat.
- Step 3: Match your subsequent paint color with an oil-based or latex primer.
How to Prevent Paint from Bubbling
Let’s discuss preventing those pesky paint bubbles, which often ruin our perfect walls. You’ll agree that avoiding a problem is better than fixing it.
🛠️ Proper Surface Preparation: Ensures a successful, trouble-free paint job and prevents moisture from getting trapped beneath the paint layer.
🧽 Repairs and Cleaning: A thorough surface cleaning is essential to avoid future bubbling.
☀️ Keeping the Surface Dry: A dry surface helps the paint adhere better and prevents moisture-related issues.
🖌️ Multiple Thin Coats: Using thin coats of paint instead of one thick layer avoids trapping air and prevents bubbling.
🎨 Painting Method: The right technique is crucial for a flawless finish and to prevent paint from bubbling.
Professional Versus DIY: When to Call in the Experts
You may think fixing painting mishaps is as simple as scraping and repainting. It’s not always this easy! A heap of time and effort can be required to nail the perfect finish.
Sometimes, leaving the job to the seasoned pros from your local painting company could be the best move. So, let’s break it down. Should you go pro or DIY for your next paint project?
Costs
Pros: Professionals will charge for labor, ranging from $2 to $6 per square foot or more, depending on the job’s complexity.
DIY Work: The cost here is largely in materials. High-quality paint can cost between $30 and $70 per gallon, and you may need several gallons for multiple coats.
A professional job can cost anywhere from $500 to $5,000 or more, depending on the scale and complexity of the project. If you have some of the tools and equipment, DIY could range from $100 to $1,000 or more for materials and any specialty equipment you may need to rent or purchase.
| Aspect | Professional | DIY |
|---|---|---|
| Scope of Work | For complex projects requiring extensive time and effort, professional help ensures a perfect finish. | Suitable for smaller projects with minor prep work and where the right tools are available. |
| Understanding Causes | Professionals have a deep understanding of paint problems and their prevention. | DIYers often miss critical knowledge, leading to future issues. |
| Cost Efficiency | Investing in professionals can prevent inferior finishes and additional costs in the long term. | Cutting corners to save money can result in a substandard finish. |
| Preparation Importance | As Rick Watson from Sherwin-Williams suggests, thorough washing and cleaning are essential before painting. | Many DIYers are eager to start painting without adequate preparation. |
| Handling Tricky Areas | Professionals can provide HVAC and insulation services in areas prone to heat and moisture. | DIYers may not have the expertise to handle complex issues like insulation and gaps. |
Frequently Asked Questions
- Does the color of the paint affect its tendency to block?
- While the color doesn’t directly cause blistering, darker colors absorb more heat, which can contribute to blistering in intense sunlight. It’s important to consider the environment where the color will be applied.
- Can previously unpainted surfaces be more prone to blistering?
- New surfaces, especially wood and drywall, may contain moisture or be improperly sealed, leading to blistering. It’s essential to prime and prepare new surfaces adequately before painting.
- Will repainting over blisters solve the problem?
- Simply repainting over blisters will not solve the underlying issue. The blisters must be removed, and the surface should be properly prepared before applying a new coat of paint to prevent recurrence.
- Is it possible to paint over blisters if they’re not too bad?
- It’s not recommended to paint over any blisters, even if they seem minor. The blisters indicate a problem that will likely worsen over time, and the new paint may not adhere well, leading to further issues.
- Should I use a different paint type if blistering occurs frequently in my area?
- Suppose blistering is a common problem in your area due to climate or environmental factors. In that case, using paint specifically formulated for conditions, such as moisture-resistant or heat-reflective paints, may be beneficial.
- Are paint blisters a sign of a larger moisture issue in the home?
- Paint blisters can sometimes be symptomatic of larger moisture issues, such as leaks or poor ventilation. If blisters are recurring, inspecting for broader moisture problems might be wise.
- What should I do if I notice blisters while the paint is wet?
- If blisters appear while the paint is wet, stop painting immediately. Allow the area to dry, then assess the cause of the blistering. Once identified, rectify the issue before repainting.
References
Organizations:
- American Coatings Association or the Painting. https://www.paint.org/
- The National Association of Home Builders (NAHB). https://www.nahb.org/
Books:
- “The Complete Guide to Home Painting” by Black & Decker. https://www.abebooks.com/9780865736320/Black-Decker-Complete-Guide-Painting-0865736324/plp
- “Painting and Decorating” by Roy Hughes. https://books.google.com/books/about/Painting_and_Decorating.html?id=y2sDg6jtxOEC
Website Resources:
- This Old House. https://www.thisoldhouse.com/
- The Spruce. https://www.thespruce.com/
- Family Handyman. https://www.familyhandyman.com/
- Sherwin-Williams. https://www.sherwin-williams.com/
Video References:
DIY Home Improvement Guy
handyharvey
Fix This House
Ultrimax Coatings Ltd.