13 min read
How to Add a Neutral Wire to an Existing Light Switch

By the end of this article, you’ll know how to add a neutral wire to an existing light switch using my favorite two methods.
Not having a proper neutral wire connection in your light switch may be dangerous. You might end up with a damaged light switch or light fixture. Or you might get electrocuted while trying to turn ON the light switch. To avoid all this, I’ll teach you two proven techniques I’ve mastered in many of my wiring projects.
In general, you can add a neutral wire to the existing light switch using either of these two methods.
- Finding the closest light switch with a neutral wire and extending the wire to the light switch that doesn’t have a neutral connection.
- Or running the neutral wire from the main electrical panel to the targeted light switch.
Jump into my step-by-step guide below for a more detailed explanation.
Before We Start
Before diving into the two methods, a few things must be cleared up.
For starters, most people don’t know the importance of the neutral wire. Whether it is a light switch or other electrical equipment, having a neutral wire changes the behavior of an electrical circuit. What do I mean by that?
To understand that, you’ll have to understand the concept of the hot, neutral, and ground wires.
Hot, Neutral, and Ground Wires
In simple terms, the hot wire carries the current from the main electrical panel to the other appliances, outlets, and switches. The neutral wire acts as the return path for the current.
Typically, the neutral wire carries the imbalance current. Hence, when the load is ideal, there is no need for a neutral wire. But it is nearly impossible for an electrical circuit to maintain this type of ideal load.
So, without a neutral wire, you’ll damage your electrical appliances (in this case, light switches and fixtures). Or sometimes, the current will choose you as the return path instead of the neutral wire. And you might get electrocuted.
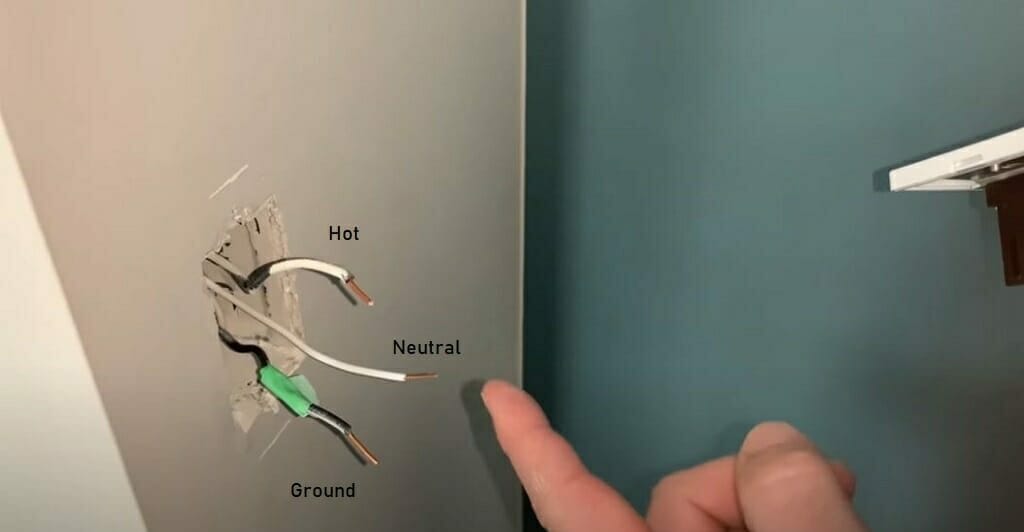
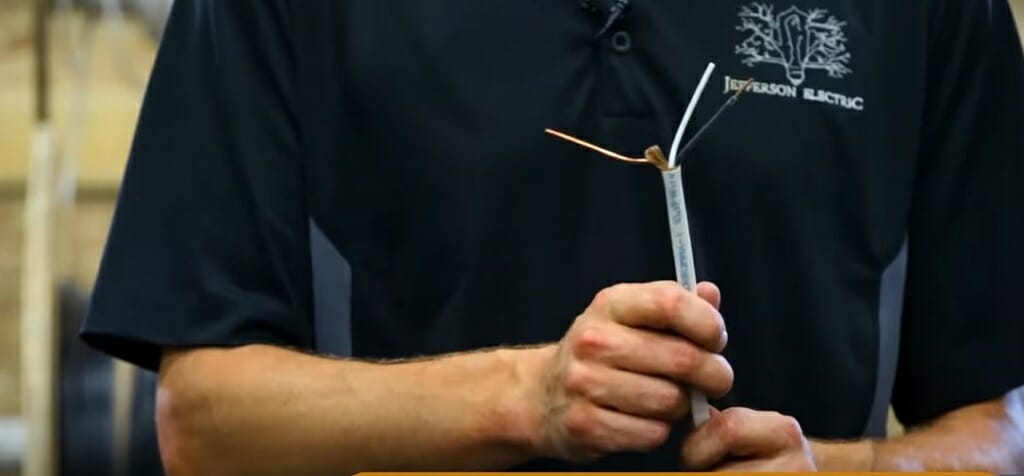
Quick Tip: The white wire is usually the neutral connection, and the black wire is the hot connection. The ground wire will be green.
Method 1 – Adding the Nearest Neutral Wire
In this method, you should locate an already existing neutral wire. To do that, follow steps 1 to 4. From steps 5 to 10, you can learn how to add a neutral wire.
Things You’ll Need
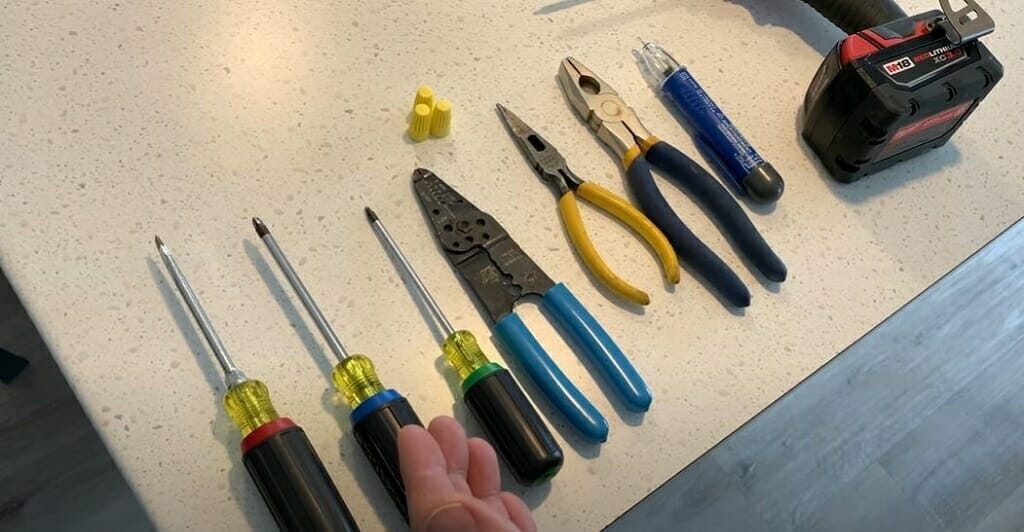
- Philips screwdriver
- Flat-headed screwdriver
- Voltage tester
- Measuring tape
- 14 or 12 gauge wires
- Safety gear
- Wire stripper
- Wire cutter
- Insulation tape
- Few conduits
- Grinder
- Fish tape
- Few wire nuts
Step 1 – Locate the Nearest Light Switches
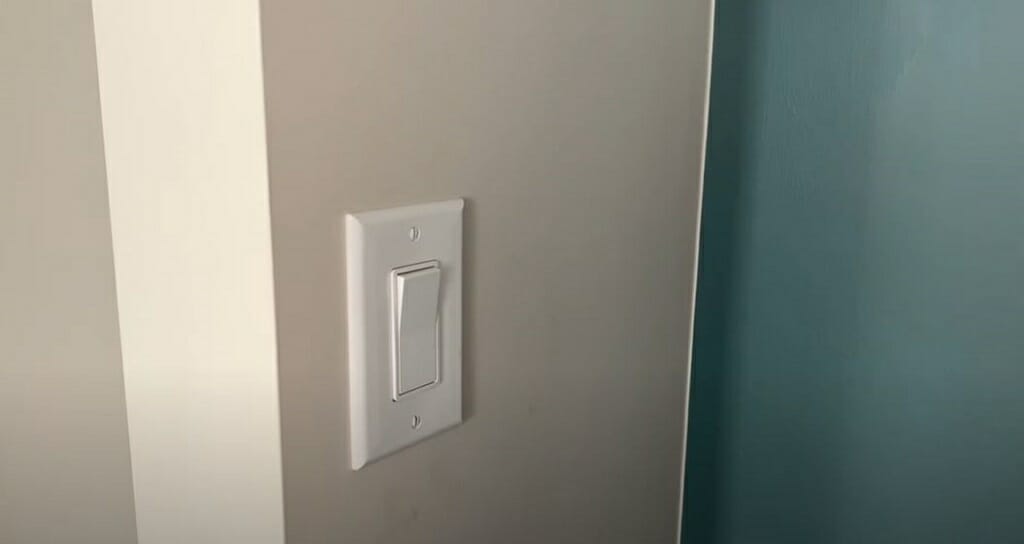
The first thing you should do is locate the nearest light switches.
Step 2 – Cut Off the Main Power
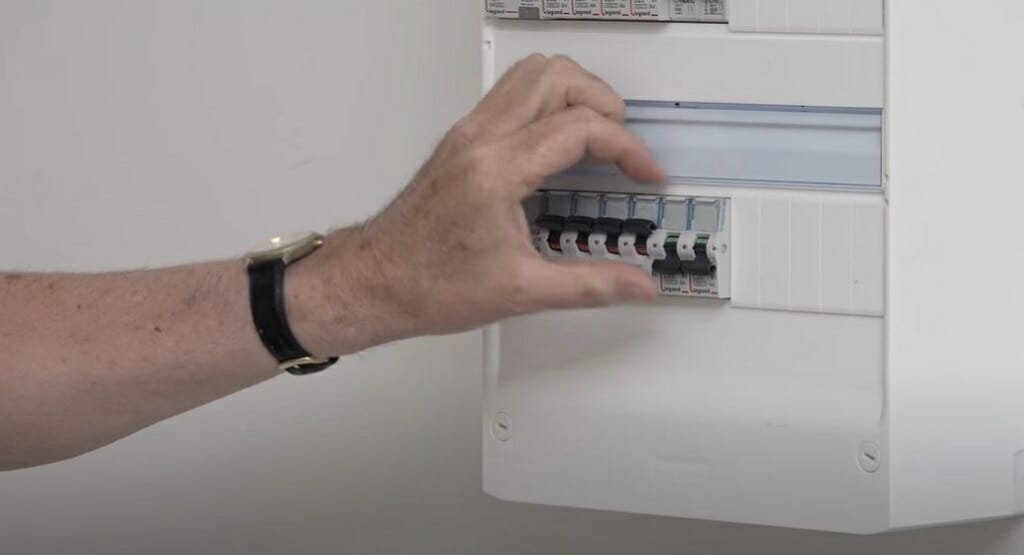
Then, go to the main electrical panel and cut off the power.
Step 3 – Look for a Neutral Wire
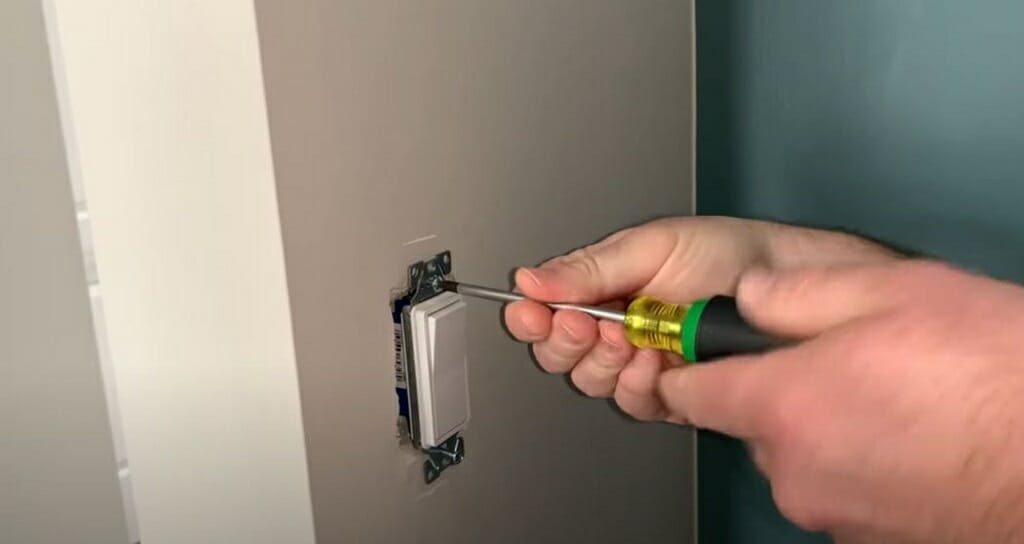
Next, go to one of the light switches and remove the switch face plate and expose the wiring. Remember to start this process from the nearest switch box.
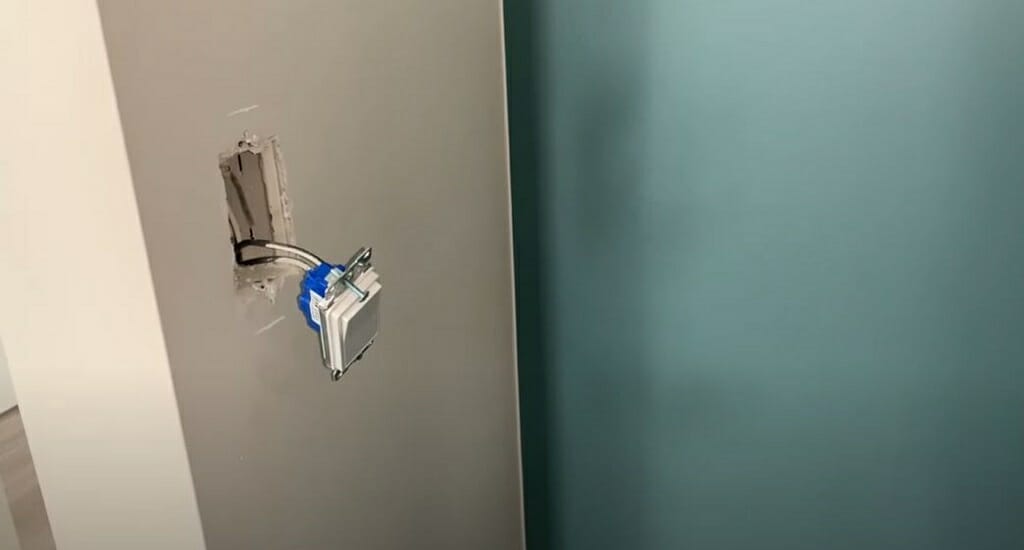
Inspect the light switch for a white neutral wire.
If you cannot find a neutral wire, move on to the next switch box. Follow this process until you find a neutral wire.
Step 4 – Check and Confirm
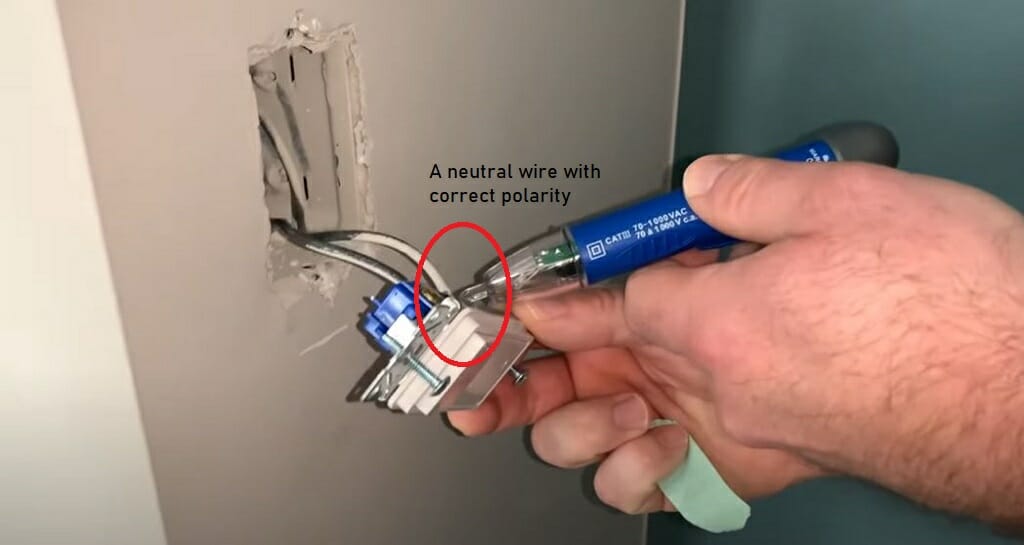
You should check the wire if you found a neutral wire at the 2nd light switch.
Electricians sometimes use a white wire as a hot wire during the wiring process, which could happen accidentally or purposely. Either way, there is no need to take any chances. So, turn the power back ON and check the white wire with the voltage tester.
The voltage tester won’t light up if the white wire is the neutral wire. After confirming this, you can move on to the next part.
Don’t Forget: Cut OFF the main power before starting step 5.
Step 5 – Measure the Required Length
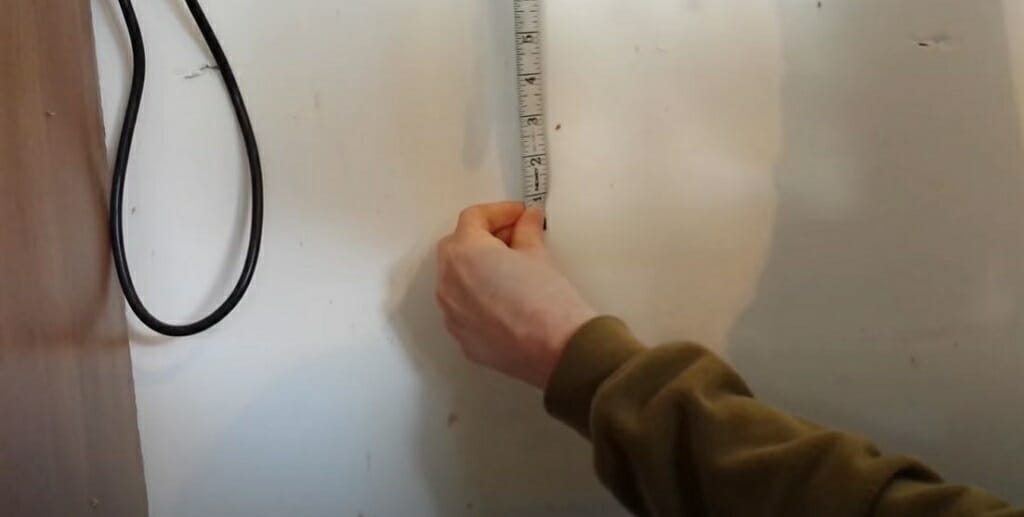
Then, take the measuring tape and measure the required neutral wire length. Remember here that you are running a neutral wire from one light switch to another light switch. So, you can run the wire through the wall or the ceiling. The decision is entirely up to you. Either way, complete the measuring part correctly.
Step 6 – Buy the Wires
Go to your local hardware store and buy the required wire length for this wiring process. Or order the wires online.
The Gauge of the Wire
Wire gauge is one of the most important things you should consider while buying.
For most residential work, 12 gauge or 14 gauge wires are more than enough. However, only make your decision after checking your home’s electrical wire sizes. For instance, if the light switches use 12 gauge wires, it is better to buy the same size.
The 12 gauge wire is thicker than the 14 gauge wire; hence it is more expensive.
Quick Tip: Light switch wiring is often done by 14 gauge wires.
If you have old wires in your home that are suitable for this wiring process, don’t hesitate to use them. It will save you lots of time and money. But make sure the wires aren’t damaged.
Step 7 – Run the Neutral Wire
Depending on your home setup, you can run the new neutral wire in a few different ways.
Run the Wire Through the Wall
- Run the wire to the light switch in existing conduits.
- Cut the wall and run the wire in new conduits.
If you plan to run the wire through the wall, try to use the old conduits. Most of the time, you’ll be able to guide the neutral wire through the existing conduits, given that they are not blocked.
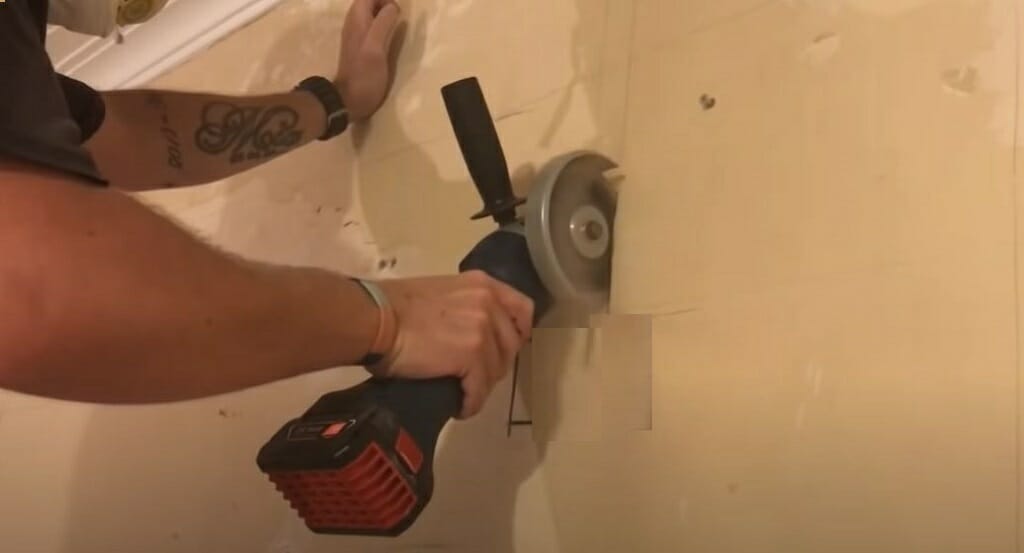
However, if the old conduits are not in good condition, you’ll have to cut the wall for new conduits. This is a complicated process and should be performed with caution. Use the grinder to cut through concrete or wooden walls in your house.
Quick Tip: A few different types of grinder wheels are available in the market. For instance, you can use one kind for woodwork and another for concrete work. So, choose the correct wheel depending on what you cut. (1)
Run the Wire Through Ceiling
Running the neutral wire through the ceiling is much easier than running it through the wall. Then again, it all depends on your home’s wiring setup. For instance, you should consider the distance between the two light switches.
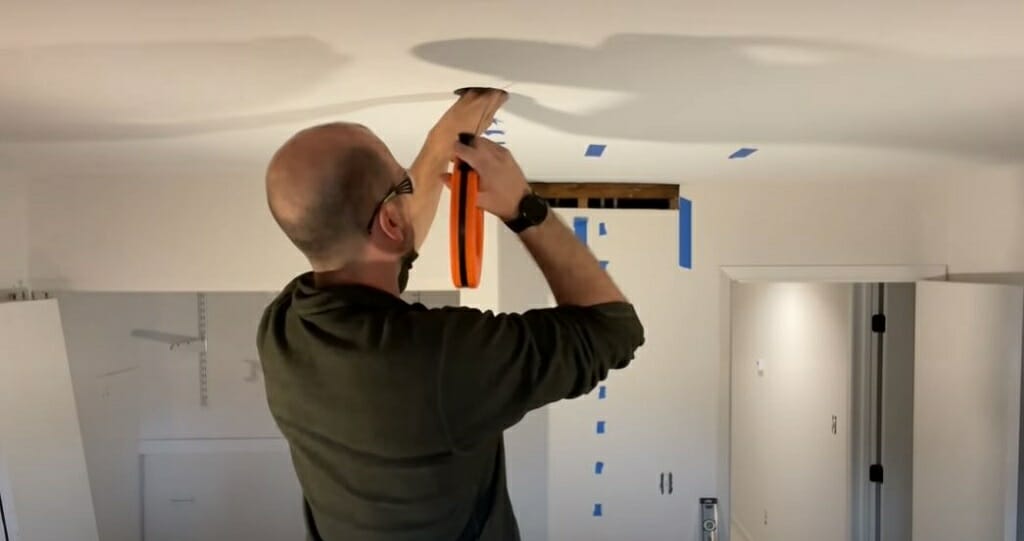
While running the wire through the ceiling, you won’t have to cut many holes in your walls as in the 1st technique. By using fish tape, you’ll be able to run the wires without much effort.
Step 8 – Connect the Neutral Wire
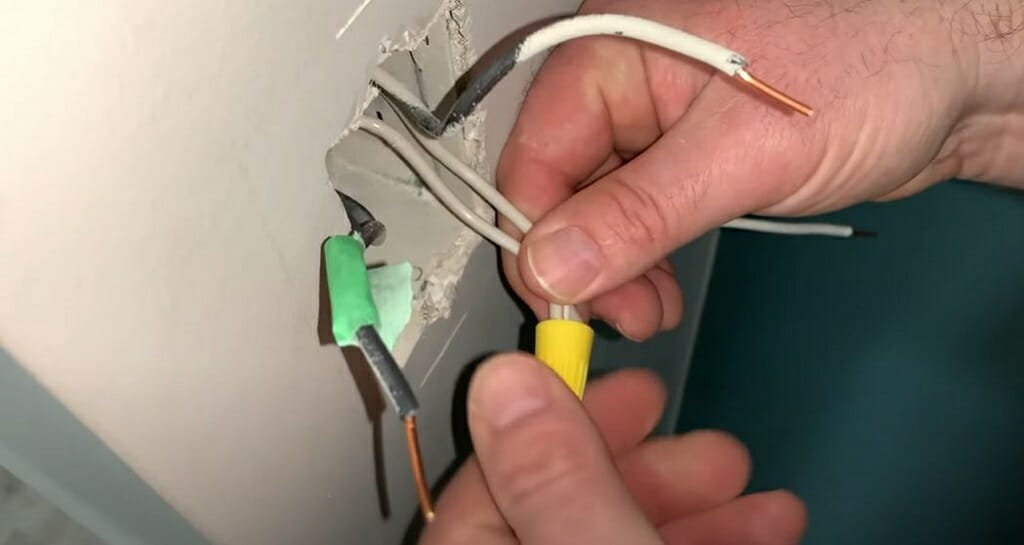
After successfully running the neutral wire to the light switch, connect one end of the wire to the old neutral wire. Connect the other end to the light switch. Use wire nuts for secure connections.
Don’t Forget: After running the neutral wire to the light switch, remember to extend it to the light fixture.
Step 9 – Tighten the Switch Face Plate
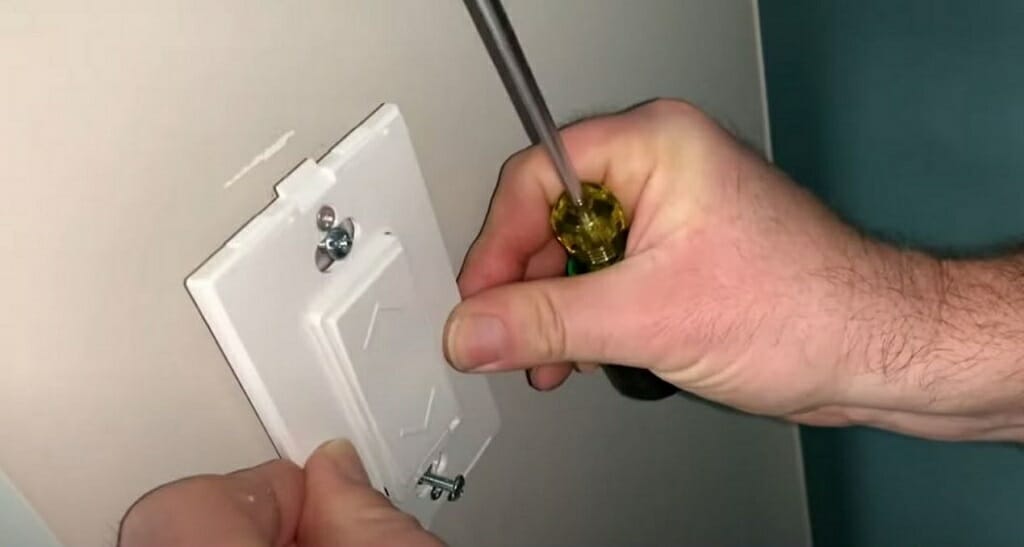
Now, tighten the switch face plates in both light switches. Use the screwdriver for this.
Step 10 – Repair
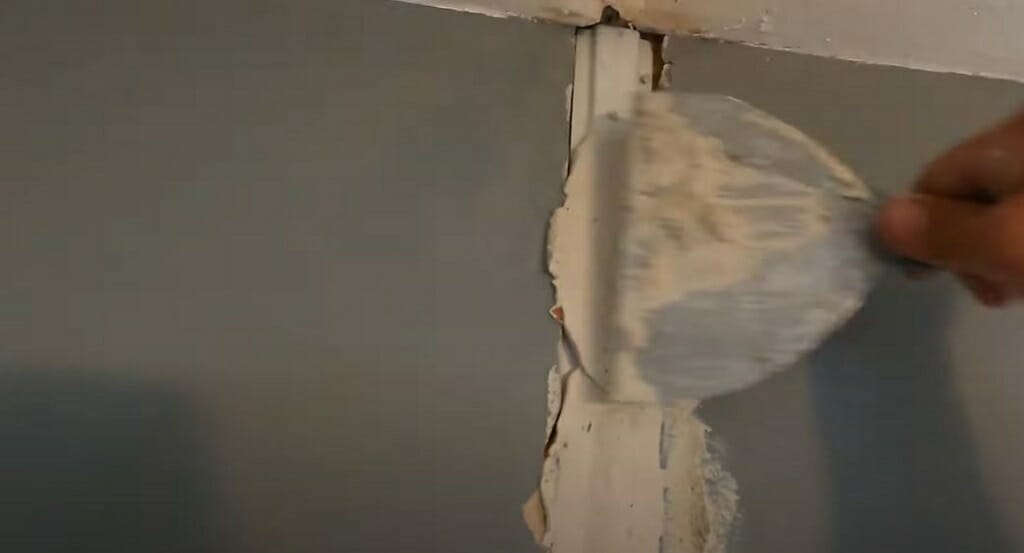
Finally, repair the wall and ceiling that you’ve damaged during the wiring process.
Method 2 – Running the Neutral Wire from the Main Electrical Panel
Compared to method 1, this method is complicated. To execute this method successfully, you’ll need good electrical knowledge. If you lack that knowledge, I highly recommend hiring a qualified electrician for this task.
To successfully run a neutral wire from the main electrical panel to the light switch, you’ll need good practical knowledge about the following. (2)
You should be able to:
- Identify the circuit breaker that distributes the power to the light switches.
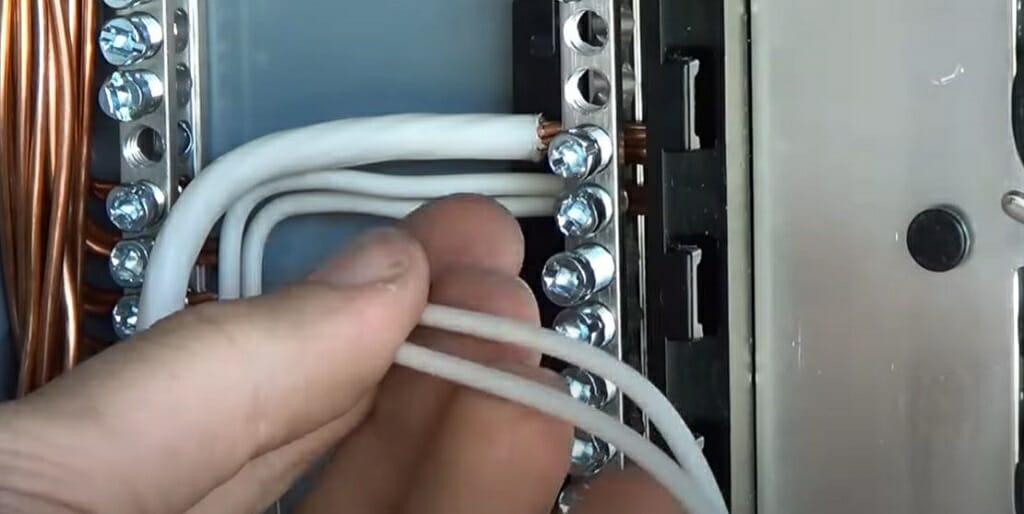
- locate the neutral bar at the main electrical panel.
- identify the neutral wires at the main electrical panel.
- figure out the correct wire gauge depending on the amperage and the distance of the light switch.
- identify all the light switches that are connected to the particular circuit breaker.
As you can understand, there are lots of things that can go wrong. Hence, getting help from a qualified electrician is the best for this.
However, if you are still comfortable with the process, you are more than welcome to proceed. First, go through the above five bullet points. Then, follow Steps 5 to 10 as in Method 1.
Safety Precautions that You Should Follow While Adding a Neutral Wire
Whenever you are handling such a DIY project, it is essential to take the necessary safety precautions. Not following them will lead to devastating outcomes. Here are some must-follow safety precautions.
Don’t Get Electrocuted
Always wear safety gloves and shoes. You’ll have to deal with many wires and connections during this process. So, there is a higher chance of getting shocked or electrocuted. Wearing rubber gloves and shoes will protect you from such possibilities.
Always Use a Voltage Tester
Using a voltage tester is a must-follow safety precaution. For instance, checking the active/inactive status of your home’s white wires is always better. Sometimes, electricians accidentally use the white wire as the hot wire. So, make sure to check.
Wear Safety Glasses
When cutting the wall or the ceiling, remember to wear safety glasses to keep your eyes safe.
Take a look at some of our related articles below.
- How to test a light switch with a multimeter
- How to wire rock lights to a switch
- How to wire multiple off road lights to one switch
References
(1) woodwork – https://www.familyhandyman.com/list/56-brilliant-woodworking-tips-for-beginners/
(2) practical knowledge – https://www.jstor.org/stable/10.1086/528781
Video References
J of All Trades
Sikana English
Spend Time, Save Money, DIY
Everyday Home Repairs
CREATIVE CRAMBO
Battle of the Tools