8 min read
How to Wire a Tweeter to Speakers? (6 Steps)
By the end of this article, you’ll know how to wire tweeters to speakers quickly and efficiently.
Even though wiring a tweeter to a speaker seems straightforward, you must follow some nuances. You’ll have to figure out many things during the tweeter-wiring process. For instance, what should you install with the tweeter, a crossover, or a bass blocker, and where should you install them? I will answer these questions specifically.
In general, to wire a tweeter to a speaker:
- Disconnect your vehicle’s battery.
- Pull out the speaker.
- Connect the corresponding wires from the speaker or amplifier to the tweeter (positive to positive and negative to negative).
- Mount the tweeter.
- Connect the battery and check the tweeter.
I’ll go into more detail on each step below.
A Crossover or a Bass Blocker?
If the tweeter comes with a built-in crossover, you don’t need to install a crossover or a bass blocker with the tweeter.
However, you might still want to get a standalone tweeter. If so, remember to install either a crossover or bass blocker. Otherwise, the tweeter may get damaged.
Quick Tip: A bass blocker can stop the distortion created by the speakers, as it blocks low frequencies. But, a crossover can filter out both high and low frequencies.
6-Step Guide on How to Wire Tweeters to Speakers
Step 1: Gather the Necessary Tools and Speaker Parts
First and foremost, gather the following items for this project:
- Tweeter
- Tweeter mount
- Bass blocker/Crossover (optional)
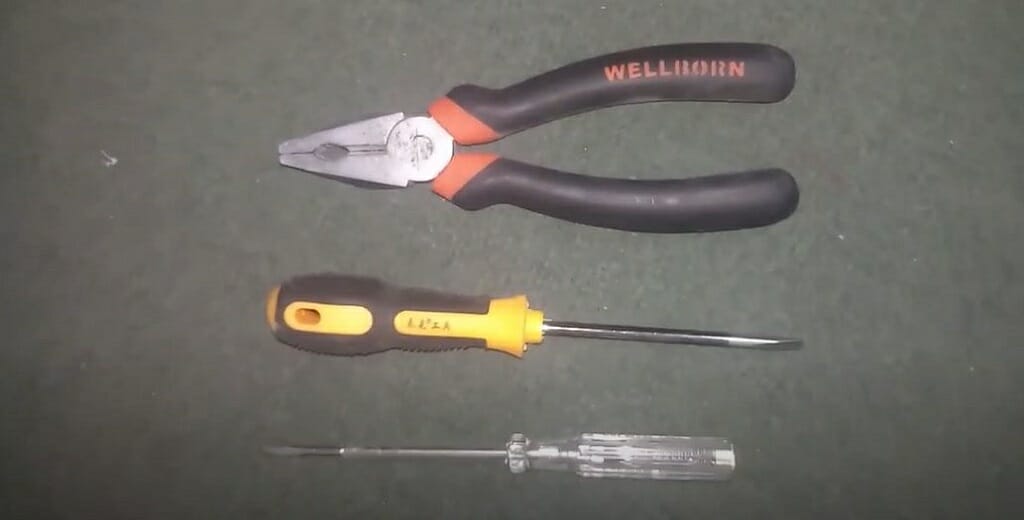
- Philips screwdriver
- Flat-headed screwdriver
- Speaker wires
- Wire cutter
- Wire stripper
- Crimp connectors/Insulation tape
Step 2: Disconnect the Battery
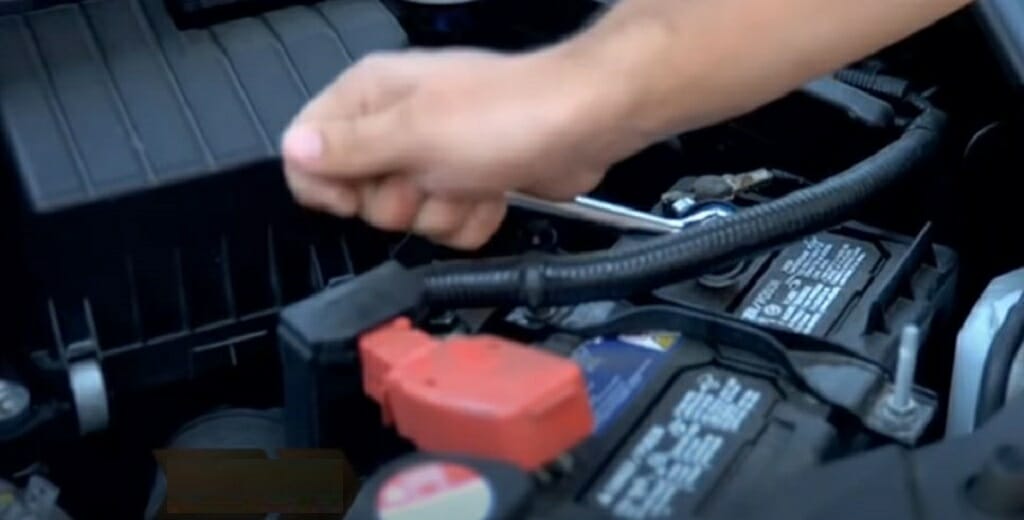
Open your vehicle’s front hood and disconnect the battery. This is necessary before starting the wiring process.
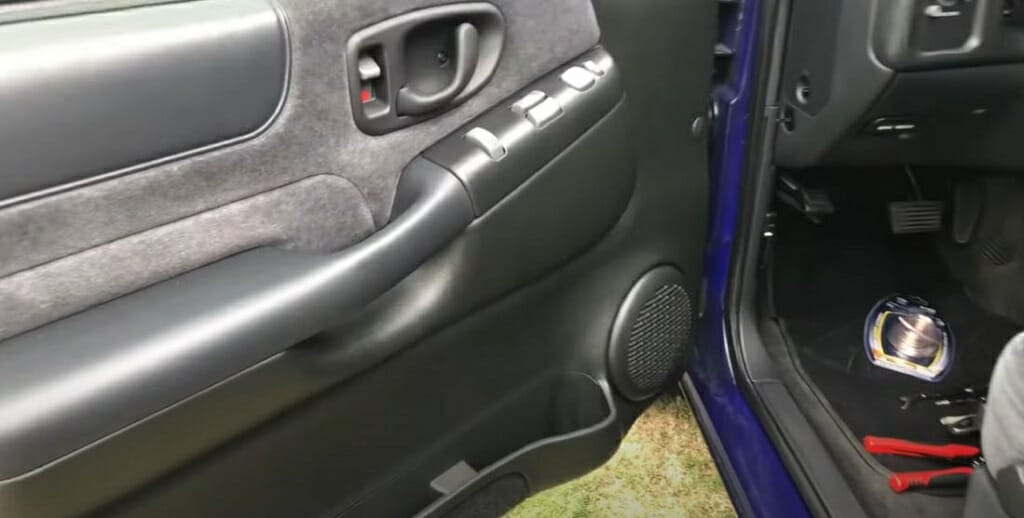
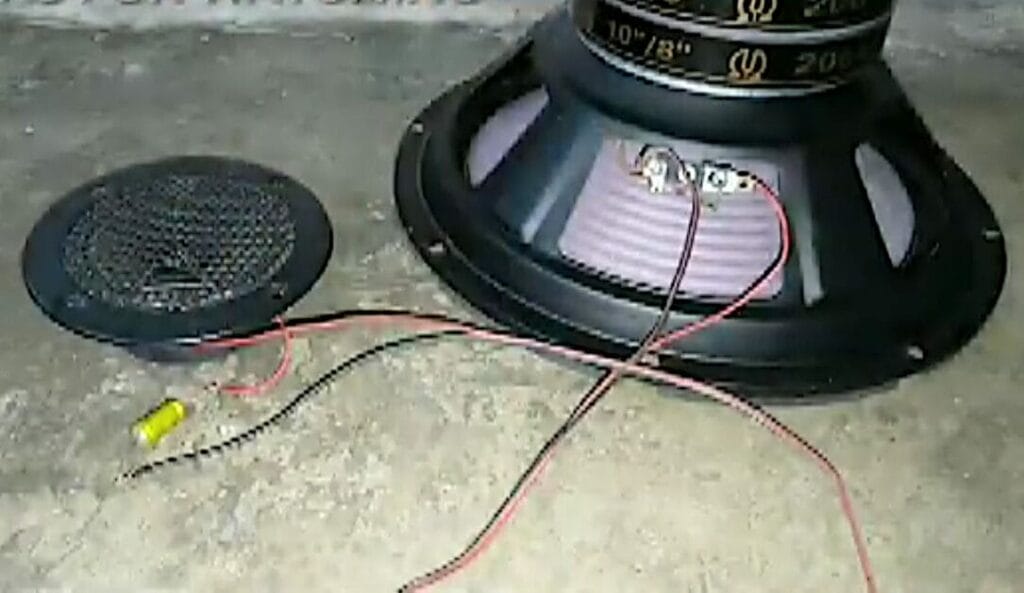
Step 3: Pull Out the Speaker
I am getting the speaker wires outside to connect the tweeter to the speaker first.
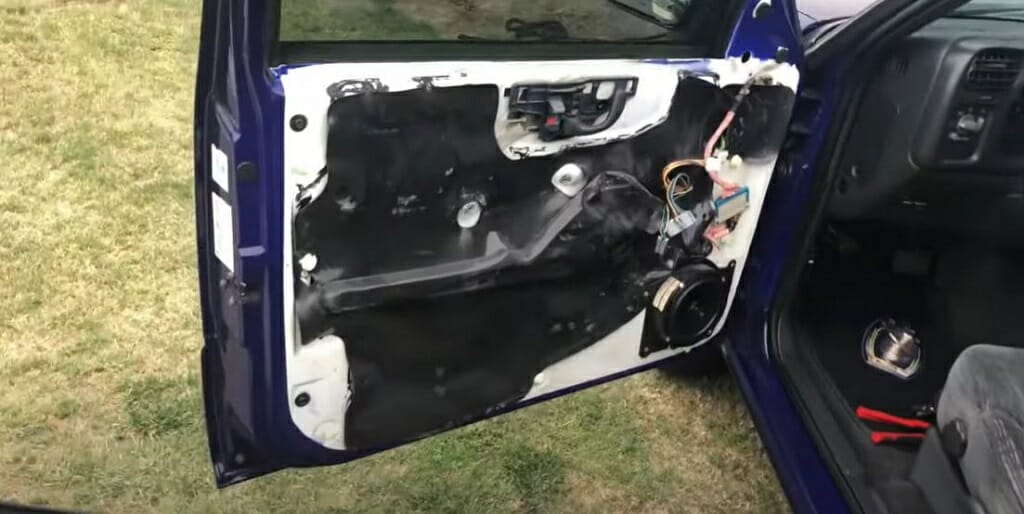
The speaker is usually on the left side door. You’ll have to remove the door panel.
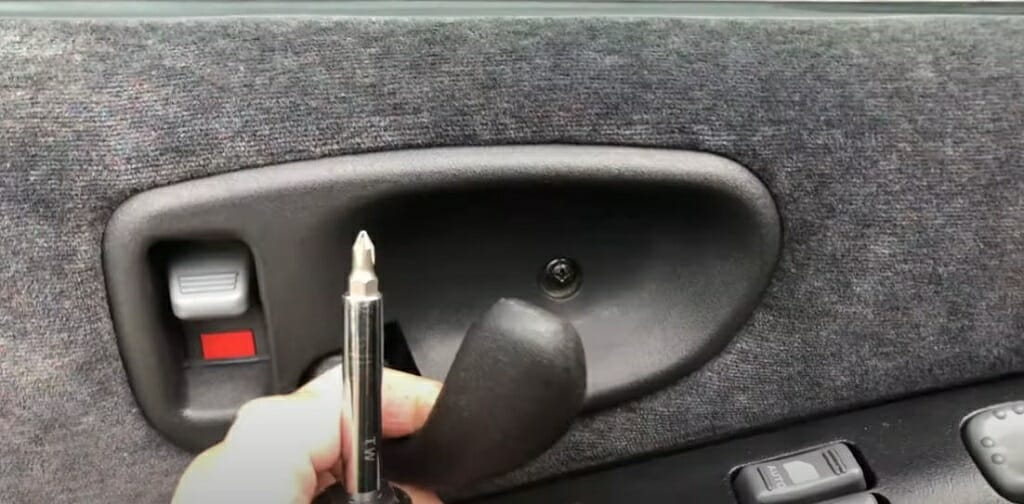
Use a Philips screwdriver and a flat-headed screwdriver for this.
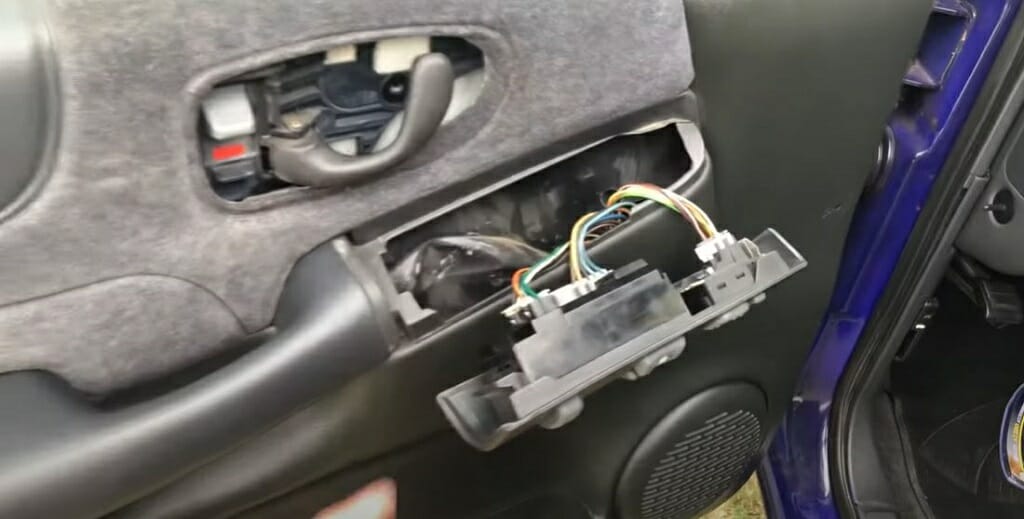
Remember to disconnect the door switch wiring before separating the panel from the door. Otherwise, the wires may get damaged.

Now, take the Philips screwdriver and loosen the screw holding the speaker to the door. Then, disconnect the positive and negative wires from the speaker.
Quick Tip: Sometimes, the speaker might be at the dashboard or elsewhere. You’ll have to change your approach depending on the location.
Step 4: Connect the Wires
Now, you can start the wiring procedure.
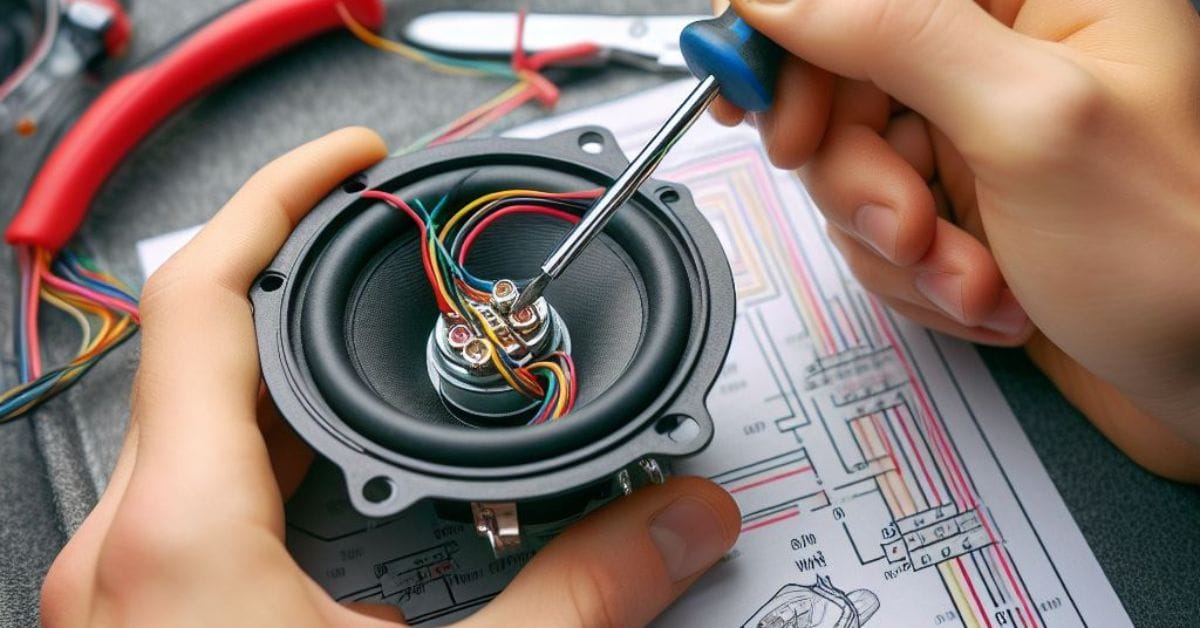
Take the speaker wire roll and cut the required length. Strip the two wires (all four ends) using a wire stripper. Use 14-gauge or 16-gauge speaker wires for this wiring.
Connect one wire to the speaker’s negative end. Then, connect the wire’s other end to the tweeter’s negative end. Take the other wire and connect it to the speaker’s positive end.
I recommend you wire the tweeter in parallel, as it will give a better response than wiring in series. It means connecting the same terminals, i.e., the two positive ones on the speaker and tweeter and then their negative ones.
If using an amplifier, connect the amplifier’s positive (red) wire to the tweeter’s positive wire and the amplifier’s negative (black) wire to the tweeter’s negative wire. Repeat the same for any additional tweeters.
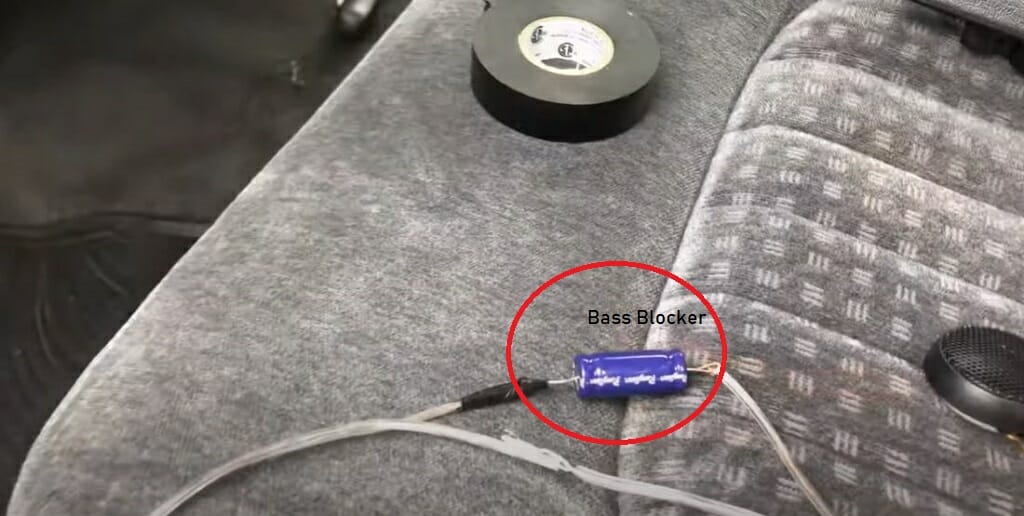
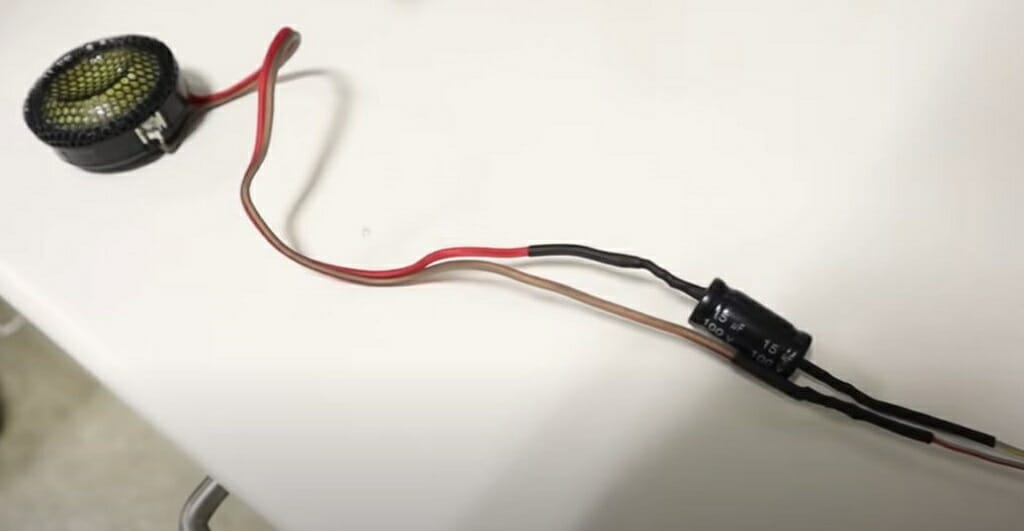
As I mentioned, this connection requires a crossover or bass blocker. I will connect a bass blocker between the speaker and the tweeter.
Quick Tip: The bass blocker should connect to the positive wire.
Use insulation tape or crimp connectors for every wire connection. It will seal the wire connections to some degree.
Step 5: Mount the Tweeter
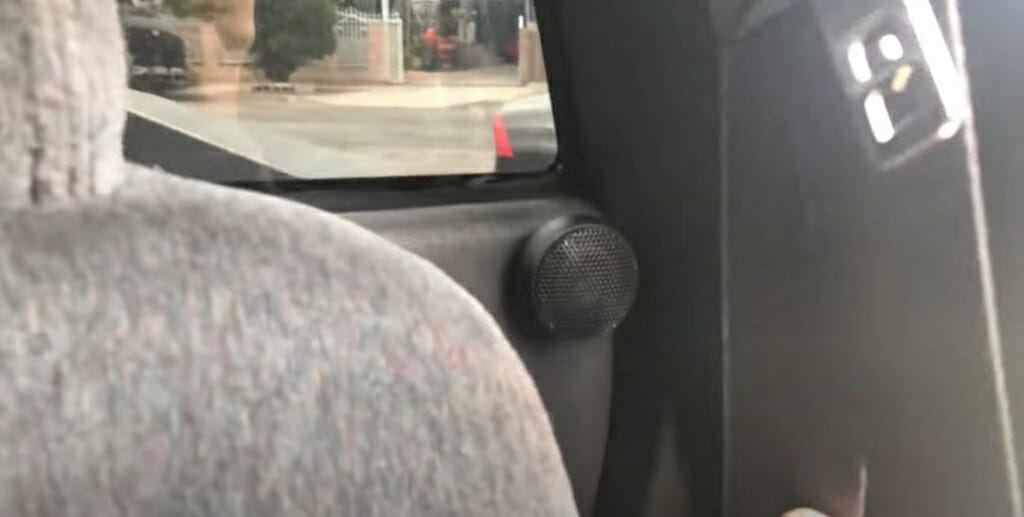
After successfully connecting the tweeter to the speaker, you can now mount the tweeter.
Choose a suitable location for this, such as the dashboard, door panel, or behind the back seat. For this demonstration, I mounted the tweeter behind the back seat.
Set up the tweeter mount on the desired location and attach the tweeter.
Quick Tip: Using a tweeter mount is the easiest and fastest way to mount a tweeter.
Step 6: Check the Tweeter
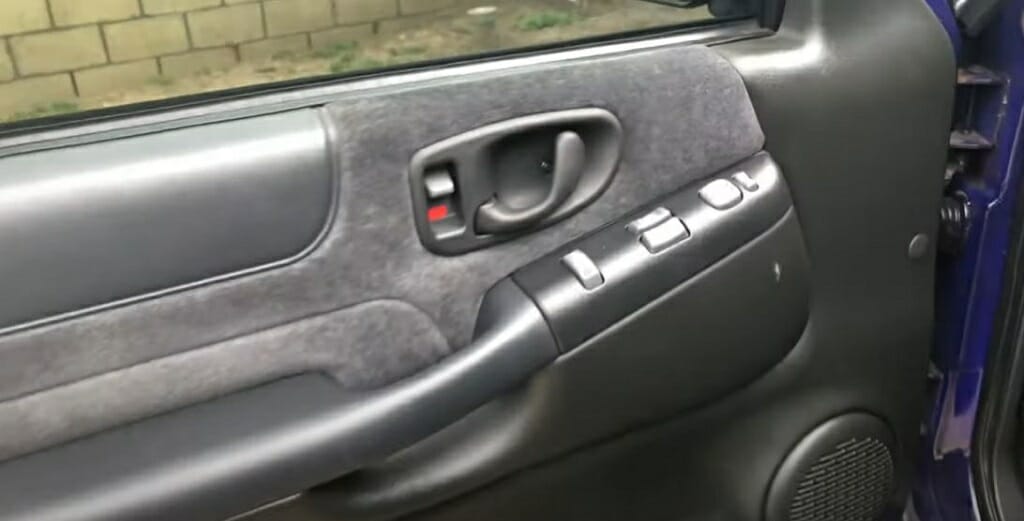
Now, attach the speaker and the door panel to the door. Then, connect the battery to your vehicle.
Finally, check the tweeter’s performance with your car audio.
Precautions and Tips
There are a few things to be careful about during the wiring process.
Even though the above 6-step guide seems like a walk in the park, some things can go wrong during the procedure. Here are some of them so you can take the necessary precautions:
- Always check whether the tweeter has a built-in crossover or bass blocker. Remember to install a crossover or bass blocker only if it is a standalone tweeter.
- Pay attention to the polarity of the wires when connecting them. Improper polarity will cause a humming sound.
- Secure the wire connection properly with the help of insulation tape or crimp connectors. Otherwise, those connections might get damaged.
Extra Tips
Two-way speakers, i.e., those with separate tweeters (for high-pitched sounds) and woofers (for low-pitched sounds), should normally be mounted so the tweeter is under the woofer. [Rosenberg, 2005]
FAQs
What is the Purpose of a Tweeter Speaker?
You’ll need a tweeter speaker to produce and catch high-pitched sounds. Examples are female voices, electric guitar notes, chimes, synthetic keyboard sounds, and certain drum effects, which all produce high-pitched frequencies.
What Size Wire is the Most Suitable for Tweeter Speaker?
If the distance is under 20 feet, you can use 14- or 16-gauge speaker wires. However, if the distance is more than 20 feet, the voltage drop will be higher, so you might have to use 12-gauge or thicker wires.
References
Website Resources:
- female voices. https://www.ranker.com/list/famous-female-voice-actors/reference
- electric guitar. https://www.yamaha.com/en/musical_instrument_guide/electric_guitar/mechanism/
Video References:
Car Music Hub
Genexis Sound Master
Johnny’s Whips