6 min read
How to Wire Off Road Lights without Relay (9-Step Guide)
When using relays to wire off road lights, sparks can occur when voltage and current levels are higher than required. Once the relay is switched on, it is possible to see sparks. In addition to that, relays have a slower response time, which can be a problem, thus, it is best to wire off road lights without a relay. However, most people struggles with how to wire-off road lights without the Relay.
In general, To wire off road lights without Relay, mark the location to place the LED light. Drill the marks to the correct hole size. Position the LED lights to screw holes to the spots and drill them. You can connect the switching power to your desired charging supply. You must also select a resistor that can withstand the high current value that goes through it. If you don’t, there’s a good possibility it’ll harm your LED light bars.
If you wanted to know how to connect off road lights without a relay in detail, read this article, and you’ll be able to attach your lights quickly.
Wiring Off Road Lights without a Relay
You cannot directly connect off-road lights without a relay. A converter box that adjusts voltage level down and backs up is required to maximize LED brightness. LEDs should never be used at high currents, as this can generate heat and melt wires. It is preferable to run them at low voltage so they do not overheat. Follow this 9-step guide to help you wire off-road lights without Relay:
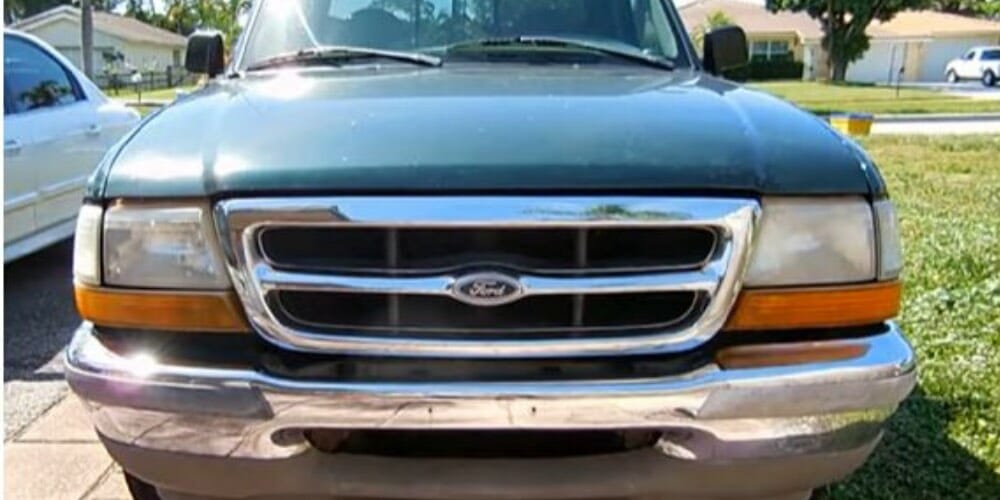
1. Best Location
Choose an ideal area to attach your off-road light bar. The optimal location allows for wiring and lights. If you don’t have this area, you’ll have to make do with zip ties or screws. Be imaginative in this section since an excellent mounting location will significantly impact.
2. Drill the Hole
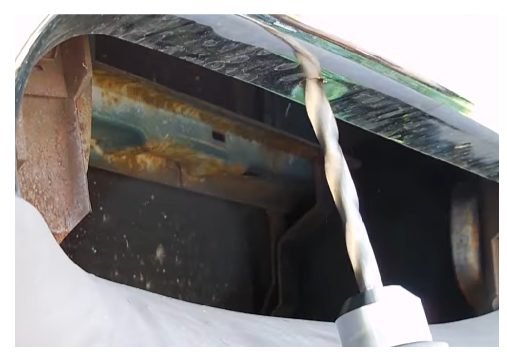
Once you’ve chosen the best place for your off-road lights, drill several holes in the correct sizes in the desired spot. Mark the location before drilling. So you know you’re drilling at the proper spot. Take care not to hit anything that might harm.
3. Install Off-road Light Brackets
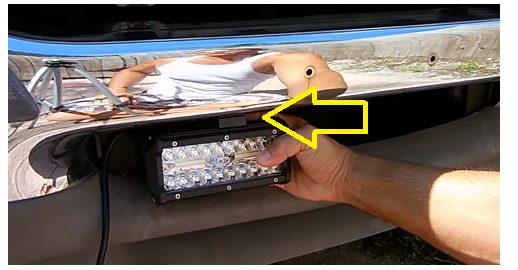
After you have finished drilling, you can install the light brackets. Check that you have all of the necessary screws. Secure it with the included screws. You can make changes and alter them as you see fit. However, do not overtighten it since you will need to modify it later in the procedure.
4. Disconnect Cables from the Battery

You must now locate the battery’s power side. You must disconnect the cable from your automobile battery before installing the switch. This is impossible to perform when the battery is functioning because it might cause electric shock. You have to ensure that no injury occurs throughout the procedure. (1)
5. Determine the Best Power Supply

After you’ve secured the car battery, it’s time to decide where you will attach the switch. You should install the switch in a readily accessible location. After you’ve determined where the button should go, it’s time to connect it to a power source. You must ensure that the power source can withstand the same voltage and wattage as your off-road light bars.
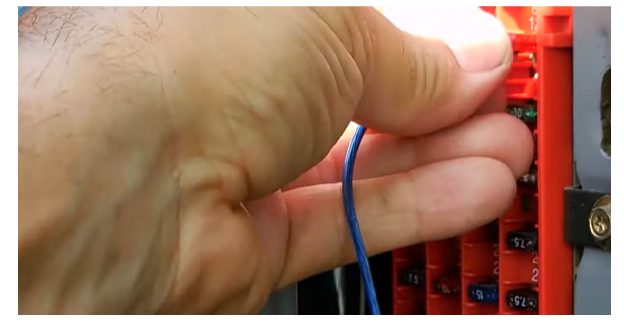
6. Connect Switch to Power Supply
It is preferable to have a quick and efficient installation procedure; thus, you may opt to utilize a remote-controlled switch. Connect the switch to the power source once you’ve determined the best electricity supply for your lights. Select a resistor that can withstand the high current value that goes through it. If you don’t, there’s a good possibility it’ll harm your light bars. Before selecting the appropriate resistor, perform several voltages and amperage calculations in your circuit control.

7. Install the Switch
When you’ve found the right resistor, you can install the switch. Ensure the switch and circuit control are turned off to avoid errors. Use copper wire to link the switch and the resistor. When joining the wire, put both ends in their proper positions and solder them together. Then, attach the opposite side of the switch to the power source. (2)
8. Connect a Power Source to your Off-road Light
Connecting the power supply to your off-road light bars would be best. Then link the remaining pieces with the harnesses once you have linked all the parts. Connect a negative battery terminal to a cable from your automobile. Then, from your car, attach another wire to a positive battery terminal.
9. Double-check
After you’ve completed the previous steps, you’ll need to point your car’s installed off-road light in the proper direction. After that, tighten the hardware you’ve installed. Double-check everything once you’ve linked all the cables and plugged them in correctly. So you can see how to wire off-road lights without relay in these steps. Follow these instructions exactly and make sure there are no errors. Once you’ve done this, your car’s lights are all set.
Take a look at some of our related articles below.
- How to wire multiple off-road lights to one switch
- How to test a low voltage transformer
- How to tell negative and positive wire
References
(1) electric shock – https://www.britannica.com/science/electrical-shock
(2) copper – https://www.rsc.org/periodic-table/element/29/copper
Video Reference