7 min read
How to Wire Motorized Shades (Steps and Guide)
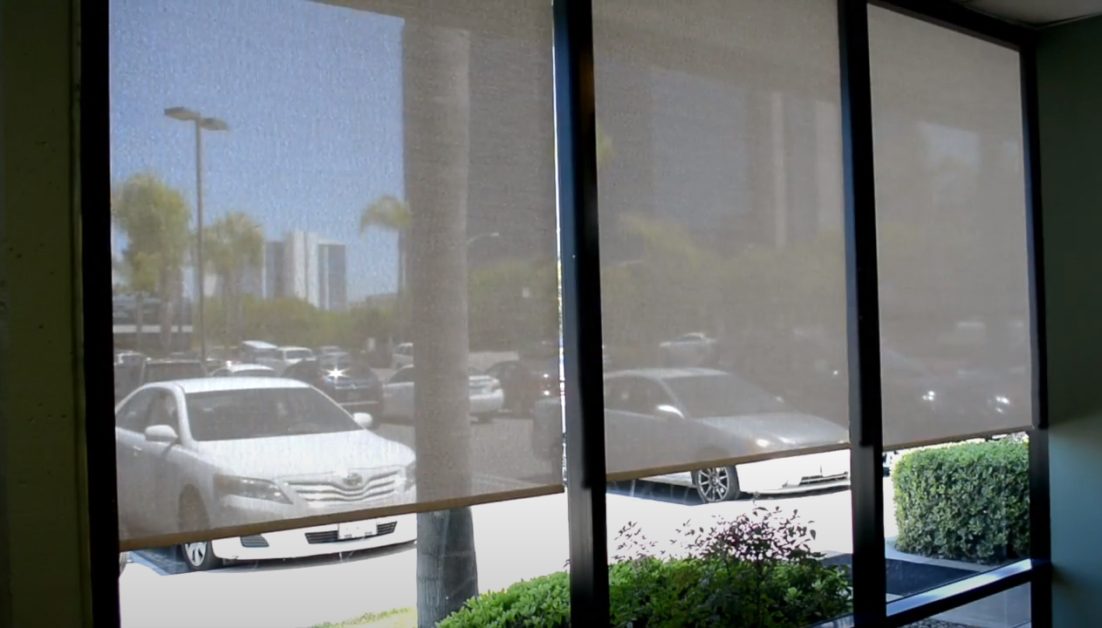
If you’re looking to add a touch of luxury to your home, motorized shades are a great way to do it.
Wiring motorized shades are not that difficult, but you may need to arrange a power outlet closer to the window.
Use 14/3 wire and arrange for the control box near the top of the window. Connect the power lead to this box, which will typically supply 24V. Another wire will extend to a switch (see the wiring diagram below). The box is to be connected to the main electricity supply panel.
Installing Motorized Shades
When installing a motorized shade, there are four main phases:
- The Planning Phase – You have to take measurements of the window (dimensions, sill depth, etc.), position it (brackets, desired gaps, etc.), and make decisions to choose the right shade (type of material, color, etc.).
- The Installation Phase – In the actual installation phase, you put all the physical structures and objects in place and secure them.
- The Wiring Phase – This is the phase I will tell you about in detail below.
- The Final Phase – Even after careful planning, installation, wiring, and connecting the shade to a power source, you may need to deal with an issue before your project is complete. It might be an operator error, requiring you to learn how to use the motorized shade, troubleshoot, or fix something else.
Before You Start Wiring
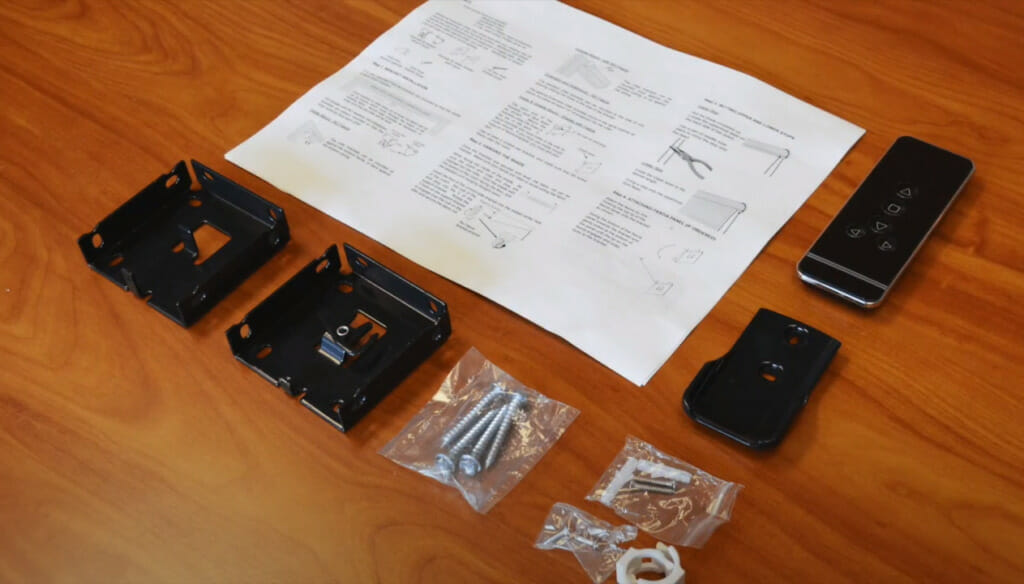
Check the Package Contents
Check the package contents to know what you have to install, and read the installation manual.
Clear the Access
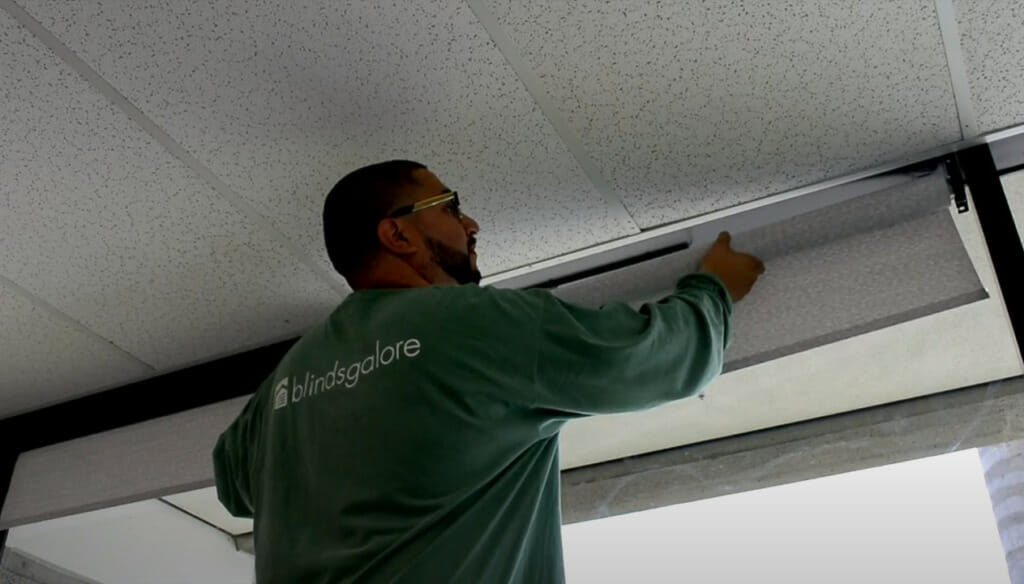
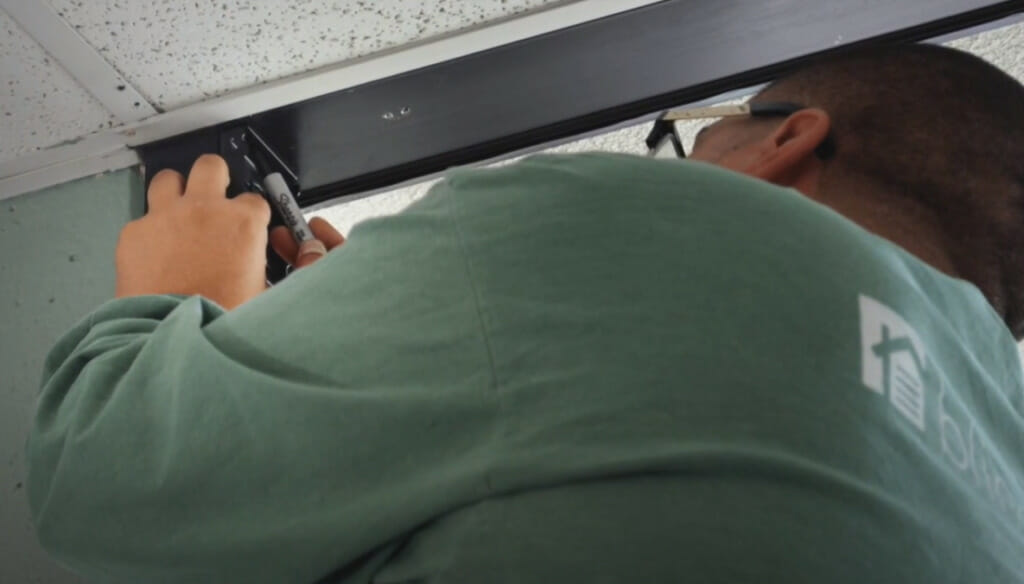
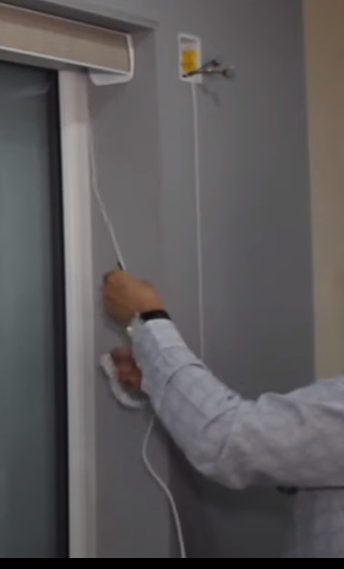
Before working on the wiring, the motorized shade has to be physically placed/installed.
This includes fixing the brackets and hubs, but there might be more things to do. Depending on the particular situation in your home, you may have to remove existing drapery panels, valances, or fascia. There must be clear access to the window opening.
The Power Outlet and Wires
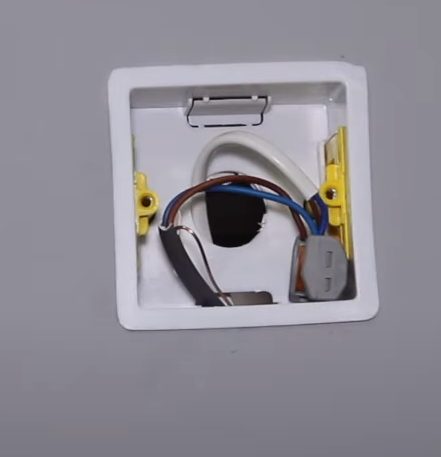
You also need to take the power source into account.
In particular, where is the nearest outlet, how far is it from the window, what path will the wiring take, and are there any obstacles in the way?
To secure this source, you might have to do some drilling, fix a run of conduit, and install a new power outlet closer to the window. You will also need to make it easy to disconnect the shade. You don’t want to make the mistake of putting all your effort into fixing and concealing the wiring and not having any means to disconnect it in case it fails.
That’s why planning for the wiring is just as important as deciding which motorized shade to buy. Also, you should test the motorized shade after installing and wiring before patching the wall!
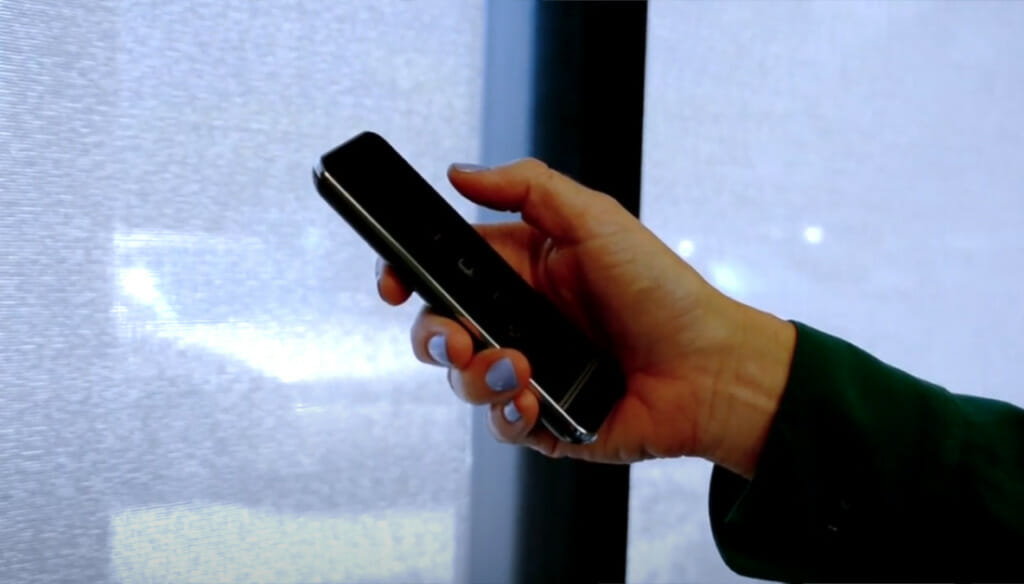
All these preparations will depend on the particular situation in your home. But it will also depend on the type of motorized shade you install. For example, it might require a wall switch if it’s a manual type or come with a remote control if it’s automated. Remotely operated shades typically use a radio frequency, but they can also be linked to your wifi network.
Wiring for Your Motorized Shades
Depending on how the wiring system is arranged in your home, your wiring setup may look like the illustration below.
No matter how many windows you attach motorized shades too, you need to connect each to the control box, which will be wired to the main panel.
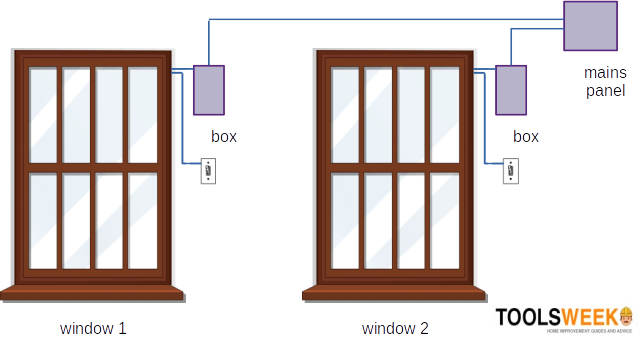
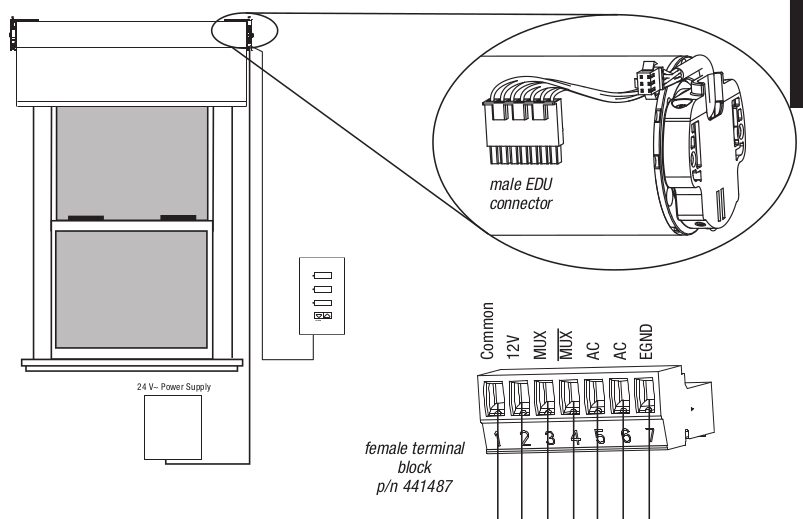
The box contains a small transformer to convert AC power into DC power for the shade to operate. The power supply is typically a 24-volt supply.
A remotely-controllable motorized shade will require two types of wires: one cable for the power supply and one for the communication link. Unless it is fully remote, there will also be a wire for the switch.
- For the power supply (and switch), I recommend using 14/3 wire (14 gauge with three conductors besides the ground wire). However, a 16- or 18-gauge wire could also be fine. Consult the technical manual that came with your motorized shade for the manufacturer’s recommendation. A fuse between 3 and 5 amps is sufficient for this circuit.
- 18-gauge wire is usually sufficient for the communication link.
| The power supply wire should NOT be inside the same shielding or conduit as the communication wire. |
Type of Motor
The motors inside motorized shades usually come in one of the following three types:
Battery Powered – With this type, you don’t need to do any wiring at all. You only need to attach a battery pack to the wall and start using the shades after programming them. This type is easier to install but has the disadvantage of requiring you to replace the batteries now and then.
Plug-in Motor – This is the type we have been wiring for above. The motor is plugged into the home’s main AC power supply via a transformer inside a box.
Q-tube Motor eliminates the need for an external battery pack by incorporating a battery tube inside the roller shade’s tube.
The Final Step
After installing and wiring the motorized shade and checking to ensure it is working fine, read the instruction manual to learn how to program it.
Video References
Blindsgalore
Reynolds Blinds