6 min read
How to Wire Lights on a Golf Cart (10 Steps)
If you’re going to wire lights on your golf cart, there are a few things you need to know.
I will walk you through the process in detail and share any necessary steps.
The Things You Will Need
You will need the following things:
- Screwdrivers (both standard and Phillips)
- A power drill (with the required sized bits)
- Plastic container (or bag for collecting screws and other bits)
- Voltmeter (or multimeter) to check the battery’s charge and lights
- A mounting kit containing mounting brackets
The Steps for Wiring the Lights
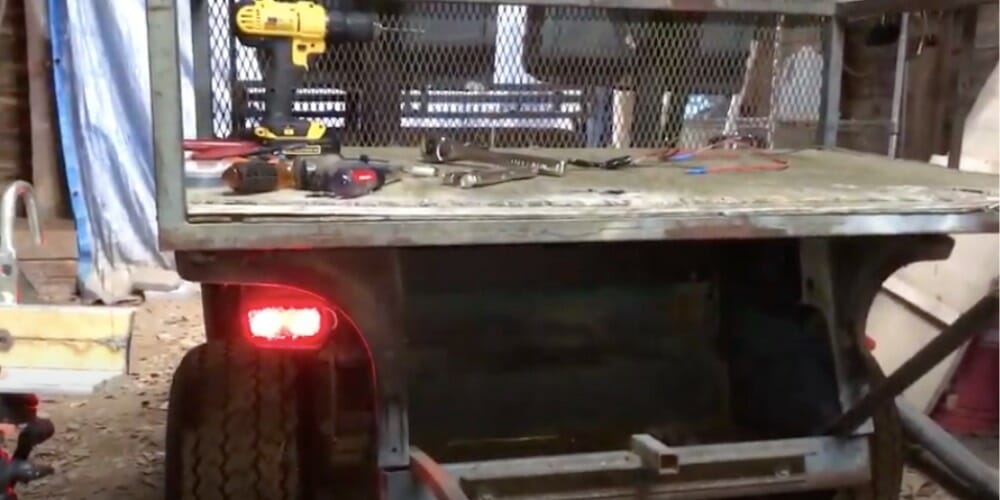
Step 1: Park the Cart
Park the cart into neutral (or parking) gear, and put bricks against the front and back wheels to prevent it from moving.
Step 2: Disconnect the Batteries
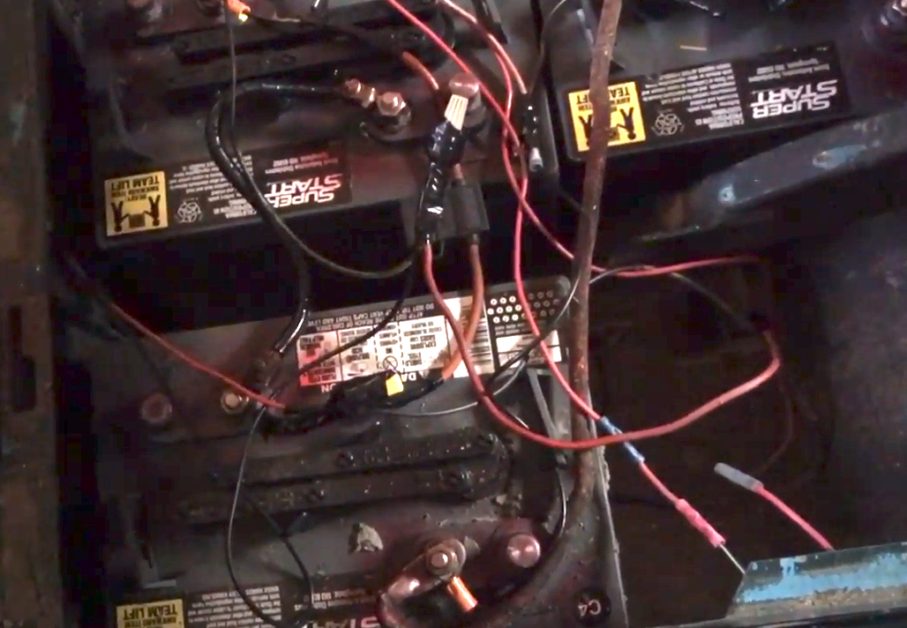
Disconnect the cart’s batteries, so they don’t inadvertently cause an electrical problem while working on the wiring. There may be up to six batteries, usually located under the seat, but they might be somewhere else. Either disconnect them completely or at least disconnect from the negative terminals.
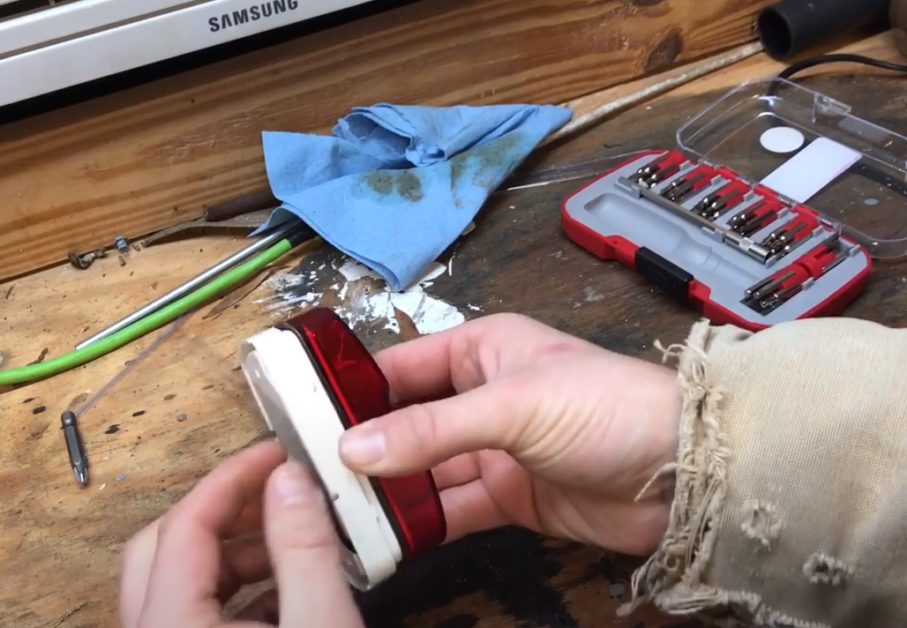
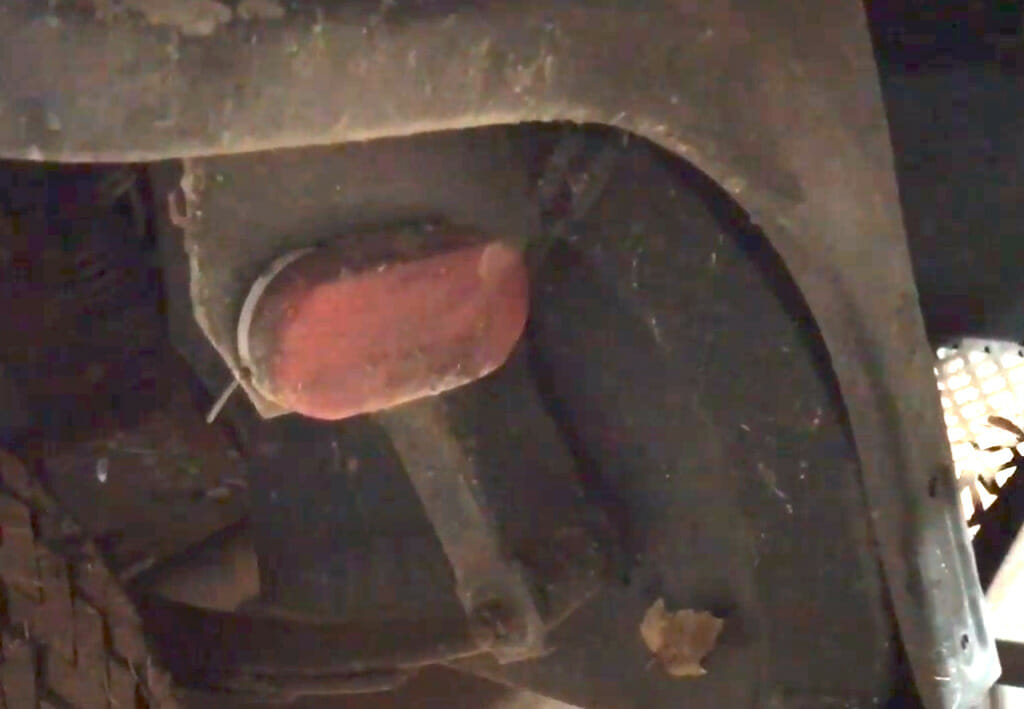
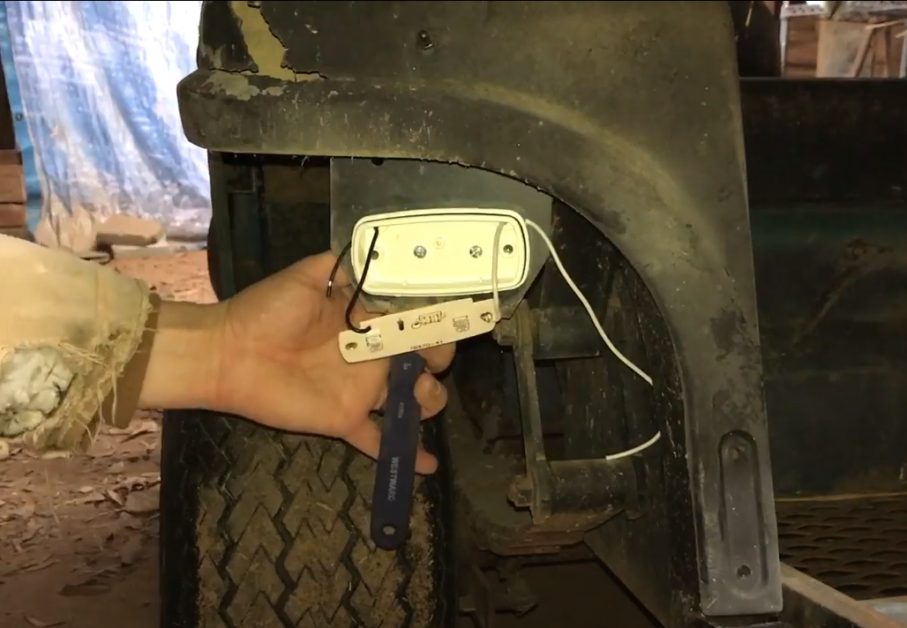
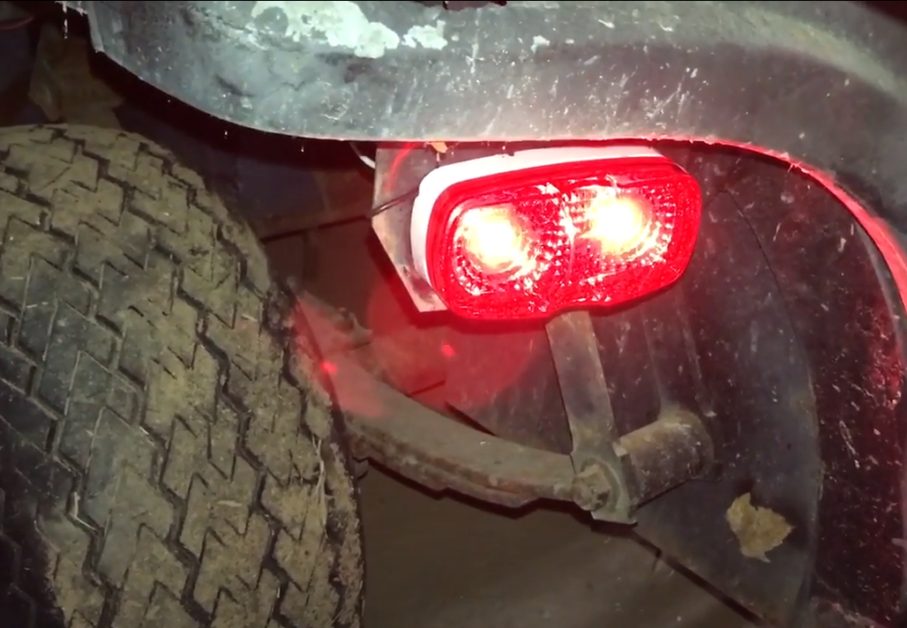
Step 3: Mount the Lights
Once the batteries are disconnected, you can mount the lights.
Try to mount them in a high position to maximize visibility. When satisfied with the optimal position, clamp the lights using the mounting brackets in the mounting kit. Then, secure the brackets to either the cart’s bumper or roll bar.
Some mounting kits limit your choice of where to place the lights. If this is the case, you might have to follow the design specified or permitted by the kit. It is preferable to follow the guidelines, especially if, for example, you’re installing 12-volt lights on a cart with 36-volt batteries because there won’t be much flexibility.
Step 4: Find a Spot for the Toggle Switch
You will also need to find a suitable position for attaching the toggle switch.
The toggle switch, which will be used to control the lights, is usually mounted on the left of the steering wheel. This is convenient for right-handed people. But it is up to you where exactly you would like to have it, whether on the right or in a higher or lower position than normal and how close or far from the wheel.
Ideally, it should be somewhere you can reach easily with your second hand, without it causing you to distract yourself from driving.
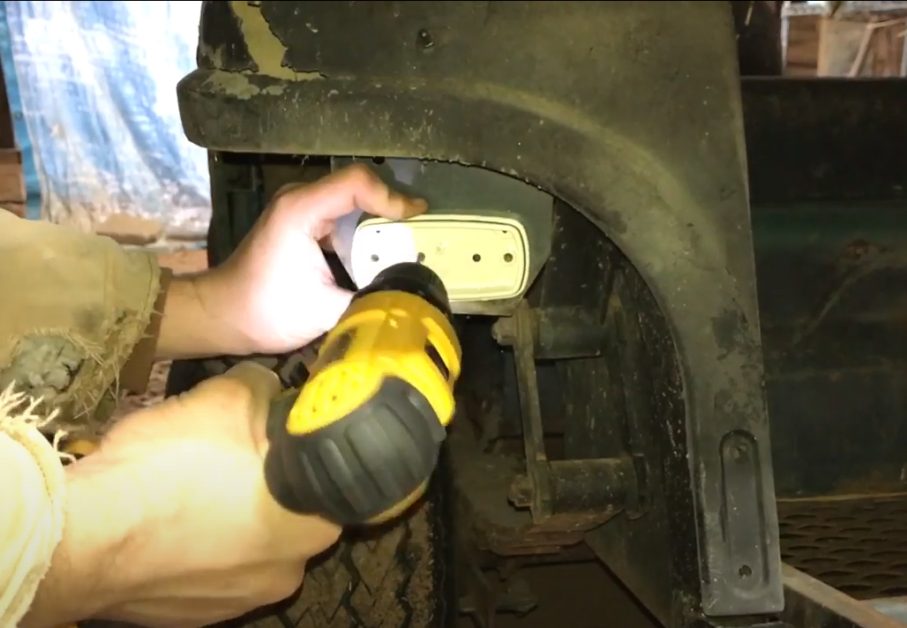
Step 5: Drill the Holes
Choose the right drill bit according to the size of the mounting hole you are going to make.
The hole for the toggle switch is normally around half an inch (½”), but check to make sure if this size is suitable for your switch or if it should be a little smaller or larger. If it is, it might be appropriate to use a 5/16” or 3/8” drill bit, as it should be slightly smaller than the hole size you require.
If the mounting kit comes with a template for the hole, you can use that. Once you have the right-sized drill bit for the job, please attach it to the power drill and get ready to drill.
While drilling in your chosen spots, apply a little pressure to help break through the material you are drilling into.
Step 6: Attach the Harness
When the lights and toggle switch are securely attached in place, you can attach the harness.
The harness includes all the wiring necessary to connect the two attachments with the batteries and make the cart’s lights work.
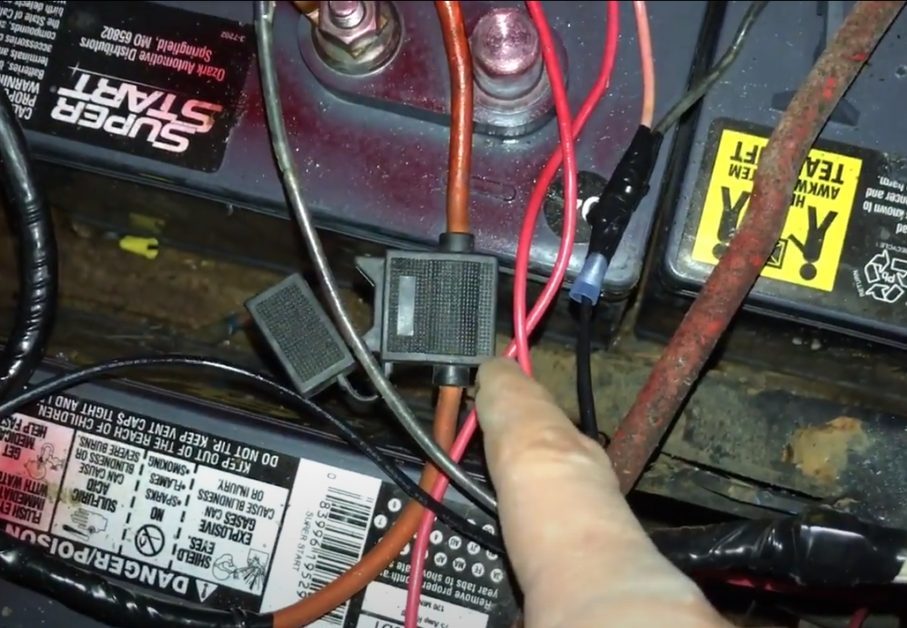
Step 7: Connect the Wiring
Once the harness is in place, you can connect the wiring.
Connect one end of the (fuse holder) lead to the battery’s positive terminal. You can use a solderless ring terminal to make this connection.
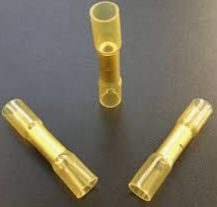
Attach a butt connector on the other end of this inline fuse holder. Extend it further to the toggle switch’s center terminal.
Next, run a 16-gauge wire from the toggle switch’s second terminal to the headlights. Again, you can use a solderless butt connector to make this connection. Also, you can use wire ties to secure the wires in place after connecting their ends. This is important to keep them in place. Also important is to use electrical tape to cover the connections to protect them.
Step 8: Secure the Toggle Switch
At the toggle switch end, secure the toggle switch in the hole you made for it using the screws in the mounting kit.
Step 9: Reconnect the Batteries
Now that the lights and toggle switch are attached, connected by wires, and secured, you can safely reconnect the batteries.
Reconnect the leads to the terminals of the batteries. We did not change this wiring scheme at the battery end, so the leads should be back in their original positions.
Step 10: Test the Lights
Although you have done everything you needed to wire the lights on your golf cart, it is necessary to test the circuit.
Turn the toggle switch to the on position. The lights should come on. If they don’t, you will need to re-check the circuit by narrowing it down to the weak connection or faulty part.
Take a look at some of our related articles below.
- How to test golf cart batteries with multimeter
- How to wire headlights to a toggle switch
- How to wire lights on a 48 volt golf cart
Video Reference
Mike’s Garage