13 min read
How to Wire Dual Coil Subs (3 Steps and Tips)
I’ve always loved increasing the volume until my empathy for the neighbor kicks in. And when it comes to getting that deep, rich bass from your sound system, nothing does it better than dual voice coil subs.
Dual Voice Coil (DVC) subwoofers are a type of subwoofer with two voice coils, each with its own set of terminals. This design offers several advantages and flexibility compared to traditional single-voice coil (SVC).
Quick Summary: For wiring your DVC:
- Step 1: Measure the DC Resistance of each coil.
- Step 2: Identify the target impedance for your setup.
- Step 3: Select the appropriate wiring method.
- Use Series Wiring to achieve higher total resistance.
- Opt for Parallel Wiring to lower the overall resistance.
In this article, I’ll cover everything you need to know about properly wiring dual voice coil subs. I’ll detail all the steps so you won’t miss a beat. Whether you’re an audio enthusiast looking to upgrade your system or just someone curious about DIY electronics, there’s plenty here for you.
Let’s dive deeper into the details below.
Subwoofer Showdown: DVC vs. SVC Explained
Did you know the kind of subwoofer you choose plays a massive role in your experience?
In this handy comparison table, let’s break down the differences between Dual Voice Coil (DVC) and Single Voice Coil (SVC) subs.
| Feature/Aspect | Dual Voice Coil (DVC) Subs | Single Voice Coil (SVC) Subs |
|---|---|---|
| Number of Voice Coils | 2 (Dual) | 1 (Single) |
| Terminals | Two separate sets (for each coil) | One set |
| Wiring Flexibility | Can be wired in several ways for varied impedance | Limited to one wiring option |
| Matching with Amp (Impedance) | Crucial for performance; offers flexibility | Crucial but less flexible |
| Power Handling | It can be wired in several ways for varied impedance | Typically less than DVC |
| Heat Distribution | Better (due to dual coils) | Standard |
| Lifespan | Potentially longer due to heat distribution | Standard |
| Sound Quality (When Powered Right) | Comparable to SVC | Comparable to DVC |
Preparation and Safety Precautions
Before we dive into the world of dual voice coil subs, let’s take a moment to prepare ourselves.
Tools Needed
- Wire stripper
- Speaker wire
- Your chosen subwoofer
- Amplifier
- Electrical tape or wire nuts (optional for securing connections)
Safety Precautions
I can’t stress this enough: safety is paramount when dealing with any electrical equipment. So here are a few necessary precautions:
- Always power off your amplifier before connecting or disconnecting your subwoofers.
- Keep all liquids away from the work area. Spilling water on electrical components is dangerous and could potentially damage your gear.
Understanding the Basics
- When dealing with dual voice coil subs, matching the total impedance load with the amplifier’s output impedance is essential for optimum performance.
- Don’t forget about polarity! Always connect positive terminals to positive and negative to negative.
- Keep track of where each wire goes; getting wires crisscrossed can lead to shorts and damage to subwoofers and amplifiers.

Types of Wiring Configuration for DVC Subs
Wiring dual voice coil (DVC) subs can be a bit of an adventure, but is the outcome worth it? Let’s dive headfirst into some key configurations.
| Wiring Configuration | Description | Impedance Output | Power Output | Pros | Cons |
|---|---|---|---|---|---|
| Series Wiring | Coils connected one after the other. Likened to a marathon relay race. | High | Lower due to high impedance | – Simplifies wiring – Increases overall impedance | – Less power from the amplifier – Might limit bass output |
| Parallel Wiring | Both coils are hooked up directly to the amp. Imagined as friends sharing earbuds. | Low | Higher due to low impedance | – Increases power output – Can achieve deep bass response | – Amp might get hotter – Reduced lifespan of the sub |
Step-by-Step Guide to Wiring DVC Subs
Let’s get down to business and guide you through the process.
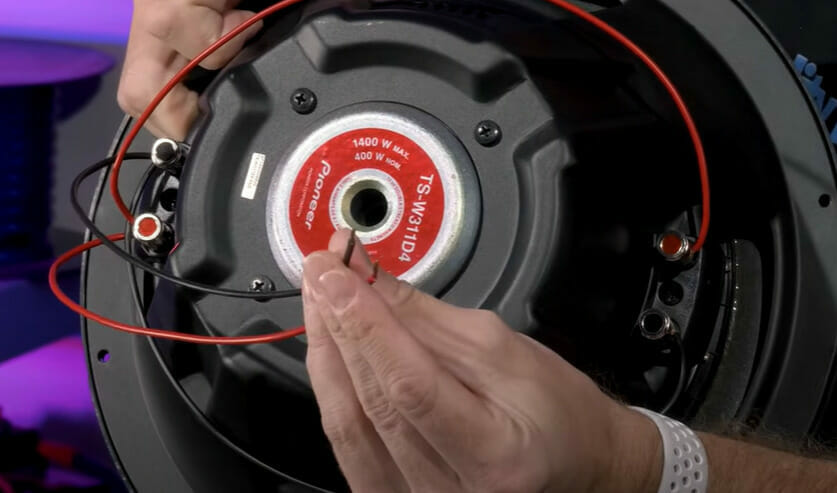
Step 1: Use a voltmeter to test the DC resistance
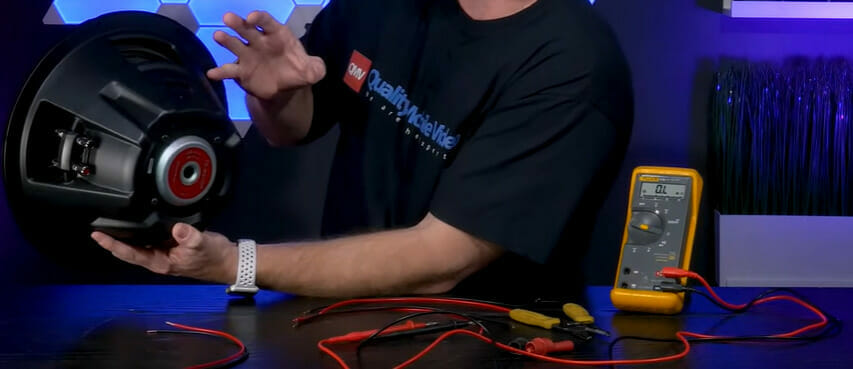
Using a voltmeter to test the DC resistance of a Dual Voice Coil (DVC) subwoofer is a step to ensure the subwoofer functions correctly and to verify its impedance specifications.
Step 2: Determine Desired Impedance
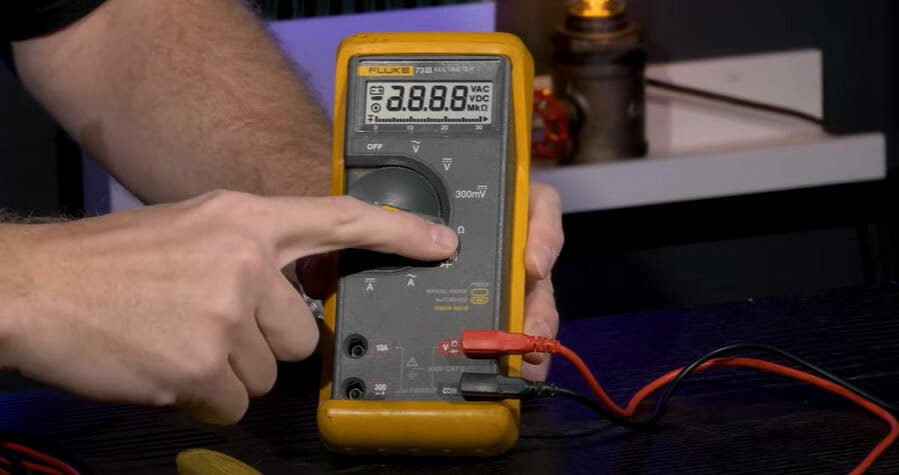
- Set the voltmeter (or multimeter) to the resistance setting, usually indicated by the symbol “Ω” (for ohms).
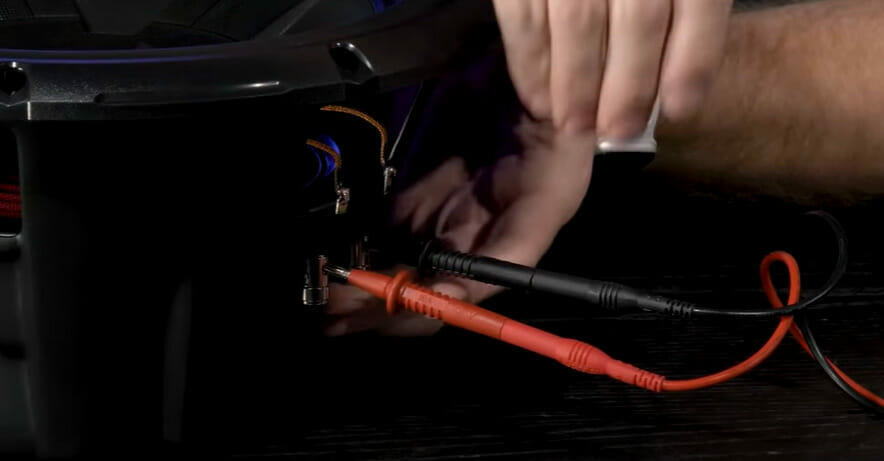
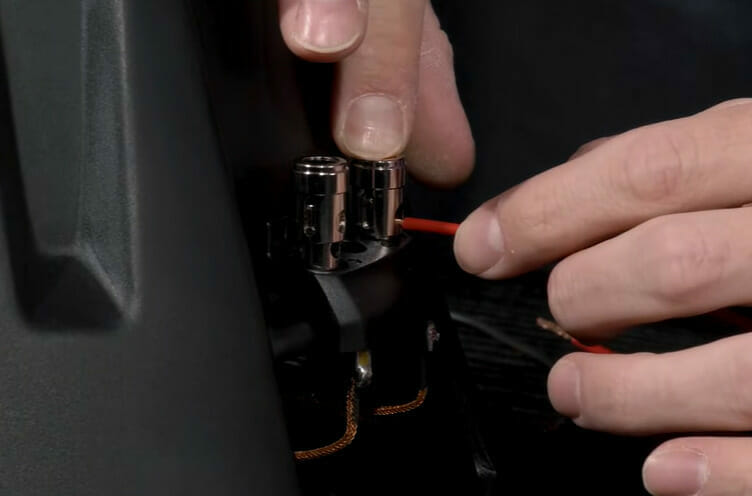
- Place one probe of the voltmeter on the positive terminal of one voice coil and the other on the negative terminal of the same voice coil.
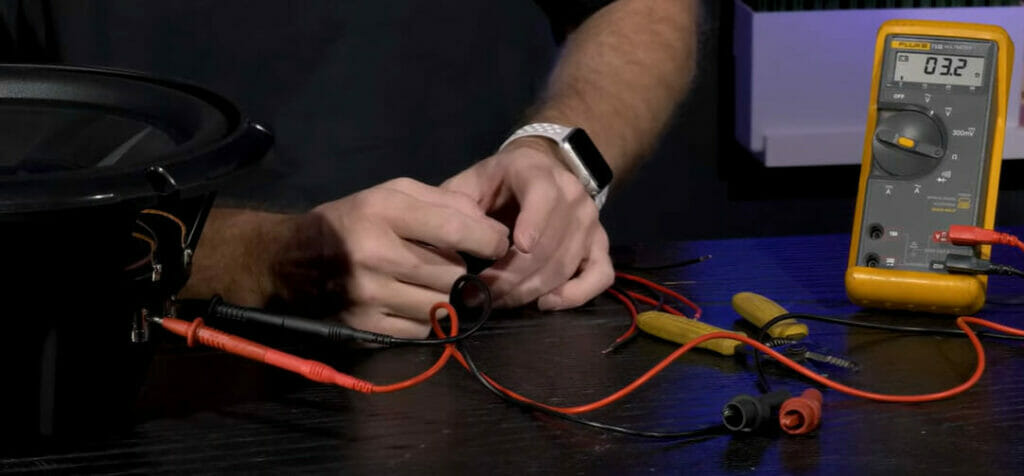
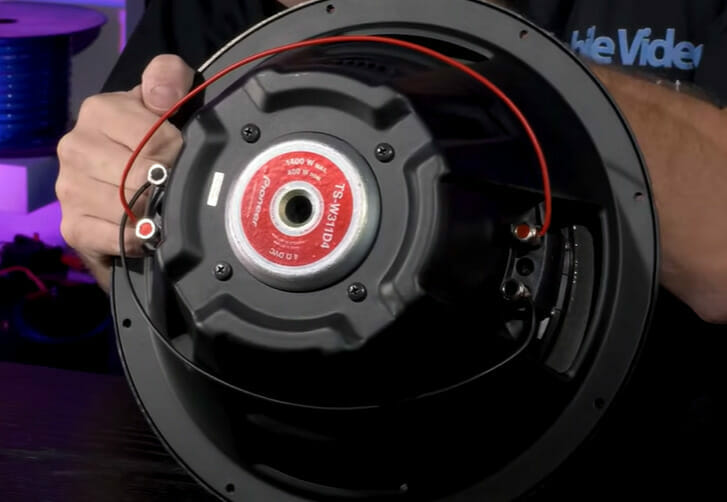
- Read the resistance on the voltmeter. The number should be close to the impedance rating provided by the manufacturer (e.g., 2 ohms, 4 ohms).
- Repeat the process for the second voice coil.
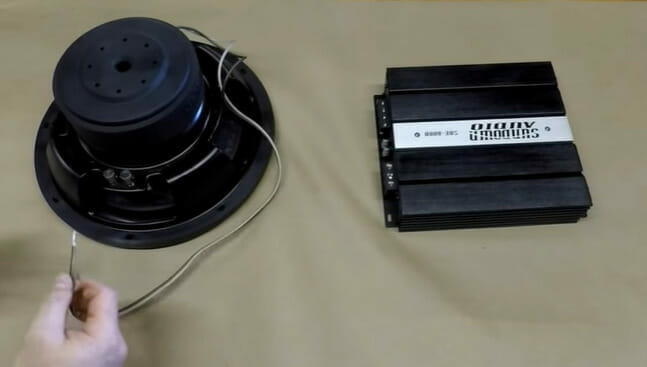
Step 3: Wiring your DVC
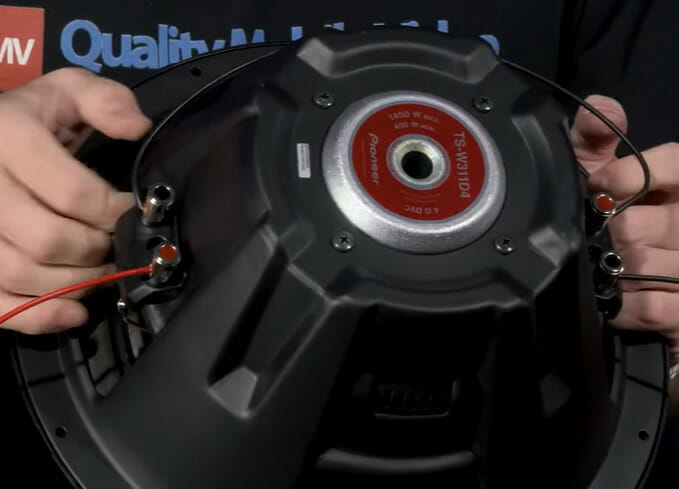
Series Wiring:
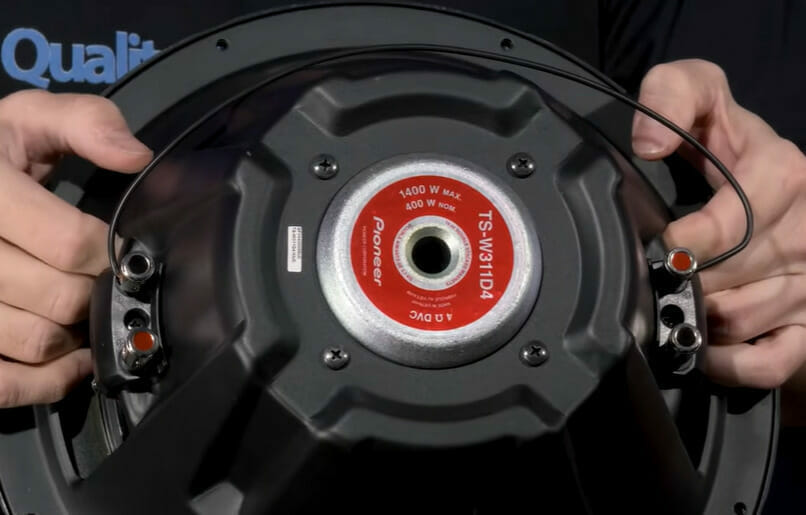
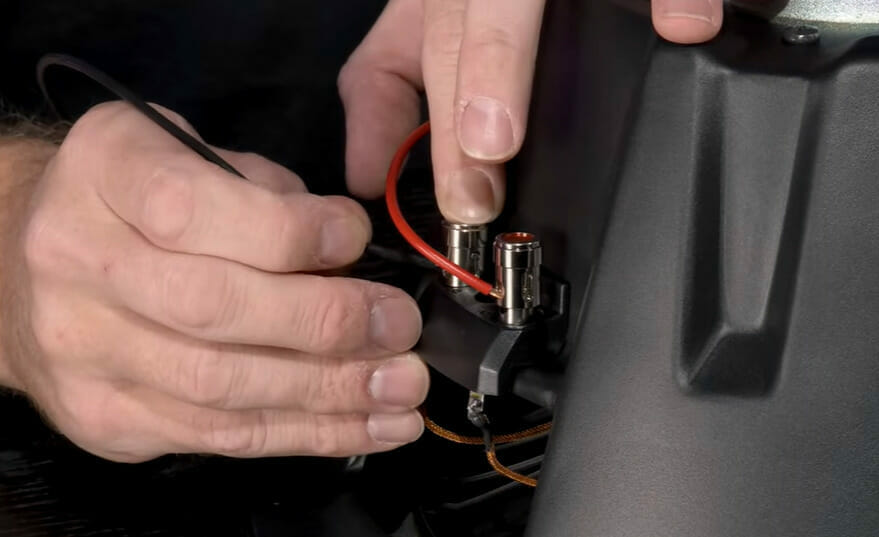
- Connect the positive terminal of Coil 1 to the negative terminal of Coil 2.
- Now connect both coils’ free positive and negative terminals with the amplifier.
Parallel Wiring (For Maximum Bass):
- Hook up all positive terminals together.
- Do the same for all negative ones.
- Connect them with an amplifier.
Common Mistakes to Avoid
There are some common mistakes we need to steer clear of. Let’s dive in and explore these pitfalls.
- Mismatched Subs & Amp: You could damage both components if they’re not correctly matched. For instance, if your amp is too powerful for the subs, you’ll likely blow them out.
- Incorrect Wiring: When wiring your subs in series or parallel, ensure you’ve got it down pat before proceeding. One wrong connection can result in poor performance or even damage.
- Overloading happens when you push your subwoofers beyond their limits due to high volume over extended periods—doing so will harm your equipment.
- Neglecting Box Specs: The box’s size and design are crucial in how well your subs perform—they’re not just containers for your gear!
- Neglecting Polarity: Failing to connect positive terminals to positive and negative to negative can cause the subs to be out of phase, leading to reduced bass response.
- Overpowering the Subs: Even if an amplifier and sub are matched, turning the gain or volume too high can push the sub beyond its limits, potentially damaging it.
- Ignoring Impedance: Not understanding or miscalculating the final impedance that the amp sees after the DVC sub is wired can lead to either poor performance or damage to the components.
- Skipping Fuse Protection: Not using a fuse between the battery and the amplifier can lead to potential fire hazards if there’s a short.
- Forgetting Break-in Period: New subwoofers usually have a break-in period that should be played at moderate volumes to allow them to loosen up. Ignoring this can lead to premature wear or failure.
- Improper Grounding: Not grounding the amplifier properly can introduce noise into the system and be a potential safety hazard.
- Using Low-Quality Connectors: Skimping on quality for connectors or terminals can lead to poor connections and degraded sound quality over time.
- Using Inadequate Wire Gauge: Using a wire gauge that’s too thin can lead to power loss, heat buildup, and even potential fire risks.
Testing and Troubleshooting
Let’s dive into the final part of our journey: testing and troubleshooting. If you’ve followed my steps correctly, your dual voice coil subs should perform smoothly.
Let’s cover a few common issues you might face.
| Troubleshooting Steps | Description | Possible Solutions |
|---|---|---|
| The sound produced is unclear, or there’s a rattling noise from the subwoofer. | The subwoofer is silent despite being powered on. | – Ensure all connections are secure. – Check if the amplifier is working and properly powered. – The coil might be damaged and needs replacement. |
| 2. Distorted Sound or Rattling | Sound produced is unclear, or there’s a rattling noise from the subwoofer. | – Ensure connections are properly made. – Inspect the cone for visible damages. – Ensure the impedance of the sub matches that of the amplifier. |
| 3. Subwoofer Gets Excessively Hot | The subwoofer becomes unusually warm or hot to the touch during operation. | – Ensure the amplifier isn’t supplying excessive power. – Ensure proper ventilation for the subwoofer box. – One of the coils might be damaged. |
| 4. Intermittent Sound or Fading | The sound from the subwoofer cuts in and out or fades away intermittently. | – Check for loose connectors. – The amplifier might be intermittently cutting off power. – Possible damage to one of the voice coils. |
| 5. Reduced Bass Response | The bass response from the subwoofer is noticeably weaker or muddier than usual. | – Ensure correct polarity of terminals. – The subwoofer’s box might not be optimal for its design. – Check for damage to the subwoofer’s surround. |
Frequently Asked Questions
- Can I connect my DVC subwoofer to a mono amplifier?
- Yes, DVC subwoofers can be connected to mono amplifiers, given that the amp can handle the final impedance of the subwoofer wiring configuration.
- Why is impedance matching so crucial for DVC subs and amps?
- Impedance matching ensures that the amplifier works efficiently and within safe operating conditions. Mismatched impedance can lead to underpowering, overpowering, or even equipment damage.
- Can I mix DVC and SVC subwoofers in the same system?
- While technically possible, it’s generally not recommended because it can complicate impedance matching and lead to uneven power distribution.
- Do DVC subs need a special type of box compared to SVC subs?
- No, the type of voice coil doesn’t dictate the box requirements. However, each subwoofer model will have its own specific box requirements for optimal performance.
- Why do some DVC subs have uneven impedance coils (e.g., 2 ohms and 4 ohms)?
- Some manufacturers produce DVC subs with uneven impedance to offer additional wiring flexibility for specific system needs.
- Are DVC subs more durable than SVC subs?
- The durability depends more on the build quality, power handling, and usage than the number of voice coils. However, DVC subs often have better heat dissipation due to dual coils, potentially increasing lifespan.
- Can I use a home audio amplifier with my DVC subwoofer?
- It’s possible but not always ideal. Car audio subs and amplifiers are designed for 12V systems, whereas home audio is designed for 120V/240V systems (depending on the country). Impedance and power ratings must be considered.
References
Website Resources:
- Crutchfield. https://www.crutchfield.com/S-jqquP2aCWSv/
- Sonic Electronix. https://www.sonicelectronix.com/
- The12volt.com. https://www.the12volt.com/
Video Resources:
Unofficial Audio
ALPHA SOUND
Quality Mobile Video
Sonic Electronix