8 min read
How to Tell if Your Subwoofer is Blown (3 Methods)
In this article, I will cover how you can tell whether your subwoofer is blown and give some tips and tricks to prevent and diagnose it.
As someone who has had this happen a few times before, I have hands-on experience finding the signs and symptoms of a blown subwoofer and have made this guide to give you some of my tips. Once you discover your subwoofer is blown, you can stop the effect from spreading to other components — for instance, amplifiers, crossovers, and tweeters. And if you identify the problem soon enough, you might even be able to salvage the subwoofer.
Generally, subwoofers get blown when they receive too much power or a distorted signal. Listening to the sound, reviewing the woofer’s movement, and using a multimeter to determine if the coil is blown are all ways to determine if your subwoofer is blown.
I will go into more detail below.
How to Diagnose a Blown-Out Subwoofer
There are several techniques for diagnosing a damaged subwoofer; I will cover a handful of them.
If your subwoofer has blown, listen to it at a low volume. You have a partially blown subwoofer if the sound is distorted and a completely blown subwoofer if there is no sound.
Before jumping to conclusions, inspect the cable from which the subwoofer receives its signal.
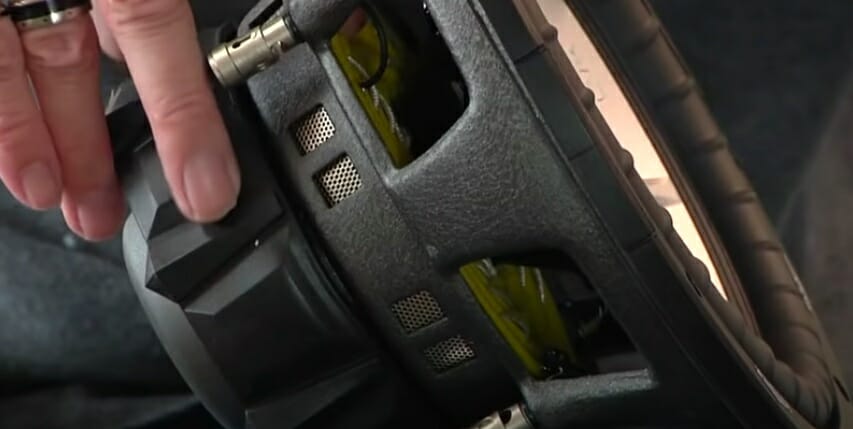
To test your woofer, remove the cover to access the cone. Move the cone carefully with two hands to assess the damage.
- It is damaged if it does not move at all.
- If you hear scratching sounds, you have a blown subwoofer.
- A multimeter can also be used to check for a blown coil.
- The multimeter measures voltage, resistance, and current and can tell you if there is an electrical resistance problem.
If you notice any of these symptoms, your subwoofer has likely blown. But first, you must understand the damage before deciding what steps to take next.
What Happens If a Subwoofer Fails?
You enjoy your home theater system when something strange happens to your low-end sound. Perhaps it becomes very soft or begins to sound distorted. Perhaps there is no sound coming from the low end, or it starts to sound strange and extremely loud.
When a subwoofer is damaged or blown, one of two things is the culprit: either receiving too much power or too much signal. Clipped signals are the cause of many defective subwoofers, as well as putting excess energy on your subwoofer.
Clipped Signals
You can easily damage your subwoofer by turning up a slanted signal to catch it better. Signs that are clipped or distorted are disastrous for your subwoofer. Sometimes, you may not realize your signal is distorted until the levels are so high that it distorts and causes damage.
Excessive Power
An excess of power frequently causes a blown subwoofer. A subwoofer can only handle so much volume. It can be forced to operate beyond its limits, resulting in excessive pressure and damage.
Even though subwoofers are intelligently designed to withstand even more power than their prescribed RMS (root mean square) ratings (also known as Continuous Power Handling), ensuring that the sound is clear and distortion-free at extremely high volumes is critical.
If you don’t already know it, you should know your subwoofer RMS wattage to ensure that you consistently provide the appropriate amount of power to your subwoofer(s).
Various Methods for Determining Whether a Subwoofer is Blown
When you suspect a subwoofer in your home theater has blown, inspecting the woofer to diagnose the damage thoroughly is critical.
It could have been damaged in more than one area, and it’s critical to understand the various types of damage that can occur when a subwoofer blows in your home theater. The three main methods for determining whether a subwoofer is blown are listed below:
- Check the sound. Is it clipping, distorted, or something else?
- Examine the cone’s movement.
- To test electrical resistance, use a multimeter.
Continue reading to determine how to perform these tests without damaging the potentially defective subwoofer.
Method 1: Sound Evaluation
The sound that your subwoofer produces is a good indicator of the amount of damage that has been done. The following are the main sounds you’ll hear (or no sound) during a fully or partially blown subwoofer and their implications:
No Sound – This indicates that your subwoofer has most likely blown. Check the cable and the audio source. Before jumping to conclusions, double-check that these are operational.
Partially Distorted Sound – If you hear a weak, distorted sound from your subwoofer at any volume, you most likely have a partially blown subwoofer.
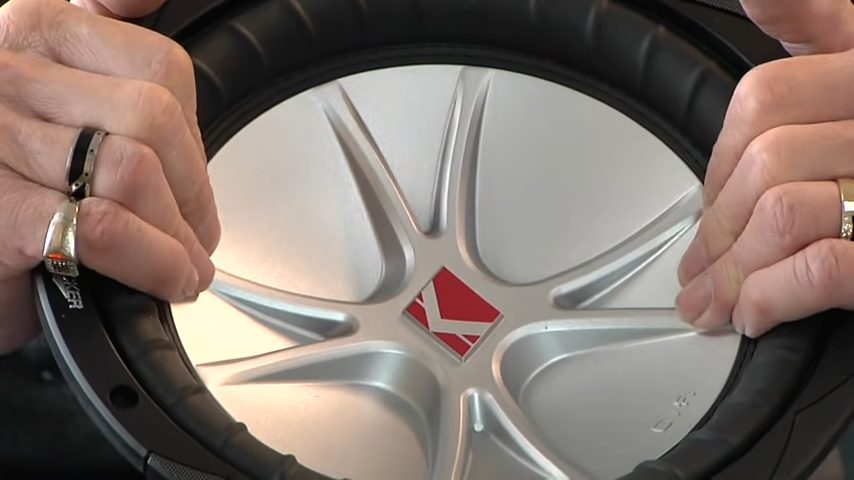
Method 2: Cone Evaluation
Accessing the subwoofer cone is a simple way to detect damage. Subwoofer cones are built with a suspension system that allows them to move fluidly, and you can quickly identify when the cone is off by using your hands.
Step 1: Press the Cone
Use both hands to press on the subwoofer cone gently.
Step 2: Observations and Deductions
You may notice the following:
- There is No Movement – When a cone becomes stuck, it indicates that there has been damage.
- A Wobbly Cone – The suspension system is severely weakened when the cone moves around unsteadily.
- Scratching Sounds – If the cone makes scratchy noises once you move it with your hands, it’s compromised. It must be removed from your home theater system before it can spread the problem to the other stereo components.
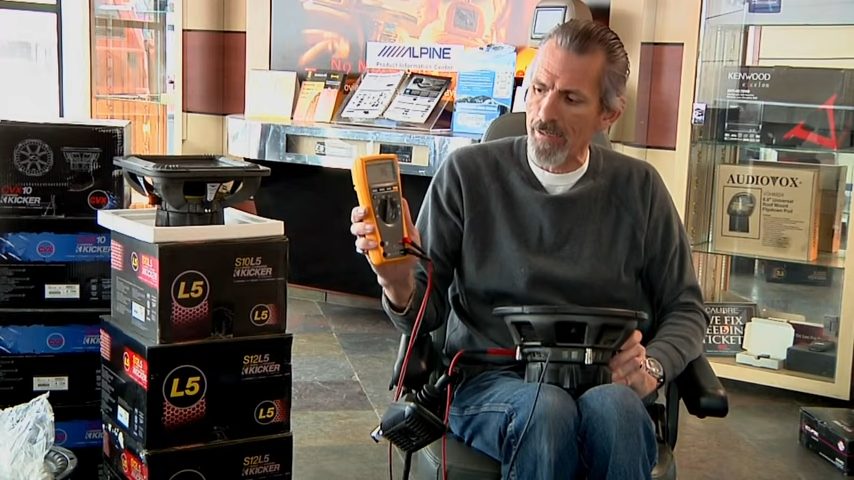
Method 3: Consider Using a Multimeter
Use a Multimeter to Determine If a Subwoofer Is Blown
A multimeter is a valuable tool to have on hand because it can tell you if a subwoofer’s coil is damaged. You should look for electrical resistance (also known as ohms) when using this device.
If the electrical resistance is zero, you have damaged your coil; if the reading does not stay in place, you may have a damaged coil.
The following are the steps for measuring a subwoofer’s electrical resistance (ohms):
Step 1: Disconnect the Subwoofer from A Power Source – if Any
If the subwoofer has a power source, disconnect it.
Step 2: Detach the Audio Inputs
Disconnect the subwoofer’s audio input.
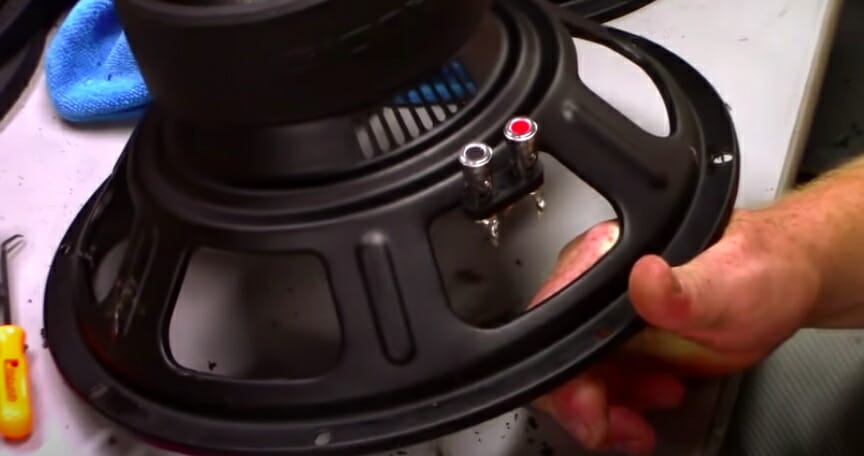
Step 3: Remove the Subwoofer from Its Enclosure
You must remove the subwoofer from its enclosure unless an external amplifier or receiver powers it.
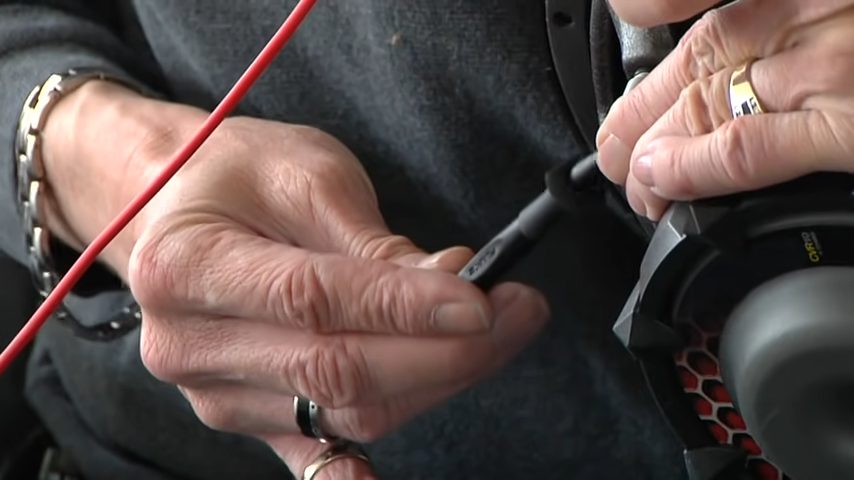
Step 4: Tune the Multimeter
Connect the multimeter to the two probes. And then, turn on the multimeter to measure ohms.
Step 5: Connect the Probe Leads
Plug in the positive lead with the red probe. Then, insert the negative lead with the black probe.
- Connect the positive lead.
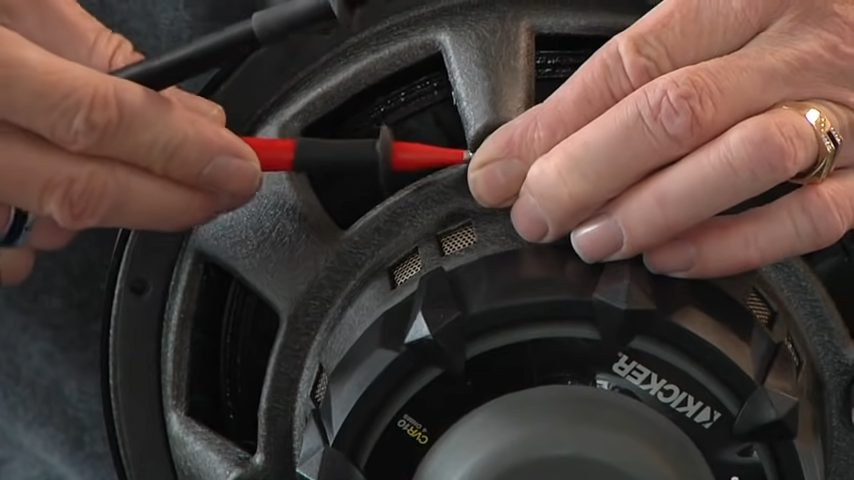
- Connect the negative lead.
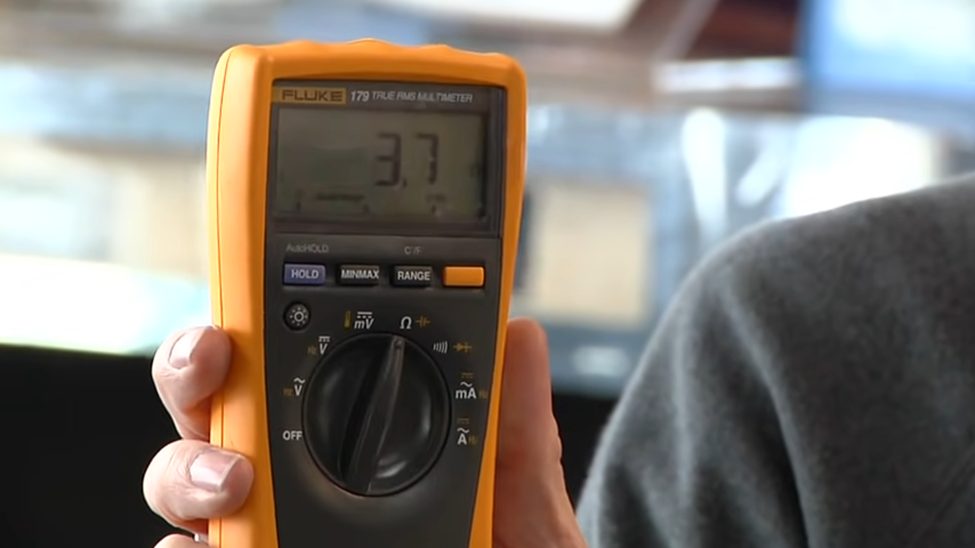
Step 6: Note the Readings on The Display Unit
The resistance should then be measured using the multimeter. For the correct resistance, round up the obtained resistance figure to the nearest whole number.
What Should You Do If You Discover Your Subwoofer Is Blown?
While damaging a subwoofer can be stressful, acting on the situation as soon as you realize you have done so is best.
First, disconnect your subwoofer from your working home theater system. If you leave it in place, it may cause damage to other equipment, causing an even bigger problem.
Second, you may want to seek professional advice on the condition of your subwoofer. If the subwoofer is relatively new, it may be covered under warranty.
It is good to test it yourself, but having multiple people assess the damage is even better.
Finally, consider how you want to proceed without your subwoofer. Are you in a position to purchase a new one? Could you do without it right now? Have you tried to fix it?
Wrapping Up
You don’t need a seasoned professional to diagnose a blown-out speaker. Carefully follow the outlined methods, and you will know if your subwoofer is damaged. However, when you need to fix it, you need an expert. Otherwise, you may advance the problem instead of remedying it.
References
Website Resources:
- People assess. https://www.futurelearn.com/courses/introduction-to-assessment-of-people-at-work
- Seasoned professional. https://www.linkedin.com/pulse/10-reasons-hire-seasoned-professional-ron-feher
Video References:
ehow