11 min read
How to Wire Subwoofer (A Detailed Guide)
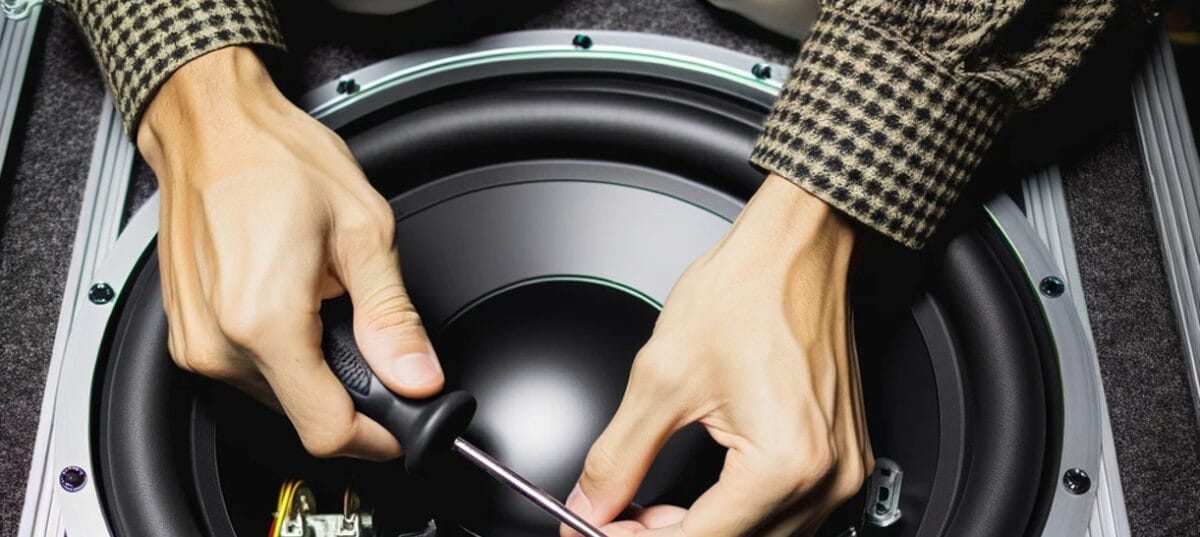
So, are you looking to get more BANG out of your audio system? Well, I’ve got good news. Today, we’re diving headfirst into the world of subwoofers. Specifically, how to wire a subwoofer.
In this article, I’ll walk you through the steps to wire a subwoofer so that you can get the most out of your music.
Parallel Wiring vs. Series Wiring
I’m a big fan of good sound, and I know that when it comes to subwoofers, how you wire them can make all the difference! Let’s dive into two popular wiring configurations – parallel and series.
Now, parallel wiring is where you connect the positive terminals and the negative terminals.
Think of it like running alongside each other on parallel tracks. Here’s what happens in this setup:
- Your overall resistance (or impedance) decreases
- You’re pulling more power from your amp
- You get louder output
But remember, more power means your amp works harder. So make sure it’s up for the task!
Then there’s series wiring. It’s a tad different—imagine holding hands in a line; each speaker connects to the next one.
Here’s what goes down with the series:
- Your total resistance increases
- Less power is drawn from your amp
- The output isn’t as loud
This might sound like a bummer, but hold on – less strain on your amp means longer life for your gear!
| Parallel | Series | |
|---|---|---|
| Resistance | Decreases | Increases |
| Power Drawn | More | Less |
| Output Volume | Louder | Quieter |
So, which to choose? Well, that depends on what you’re after! Want earth-shaking bass? Go parallel. Looking for longevity over volume? Series could be your best bet.
Remember, though – no matter which way you swing it, always keep an eye (or should I say ear?) on quality! Even if you’ve got Godzilla-stomping bass doesn’t mean much if it sounds like garbage cans rolling down a hill.
Now that we’ve tackled these two common wiring configurations let’s move forward in our subwoofer journey because, hey – who said learning about audio has to be boring? Not me!
Selecting the Right Gauge of Speaker Wire
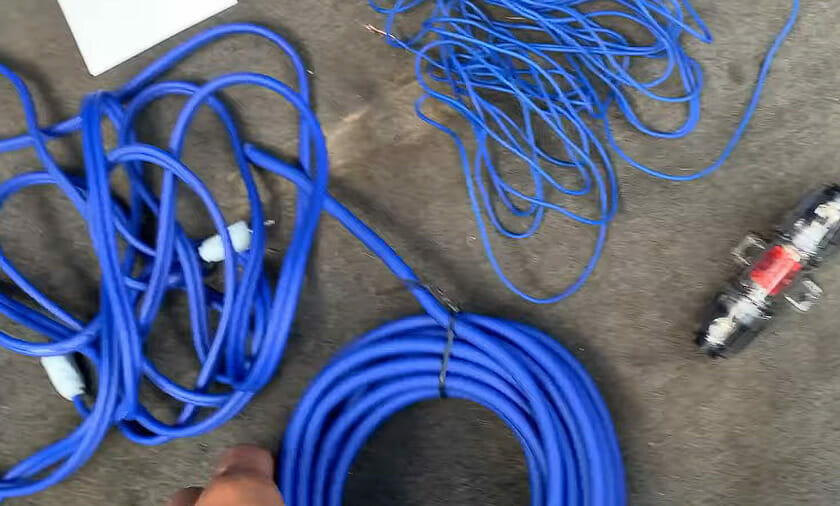
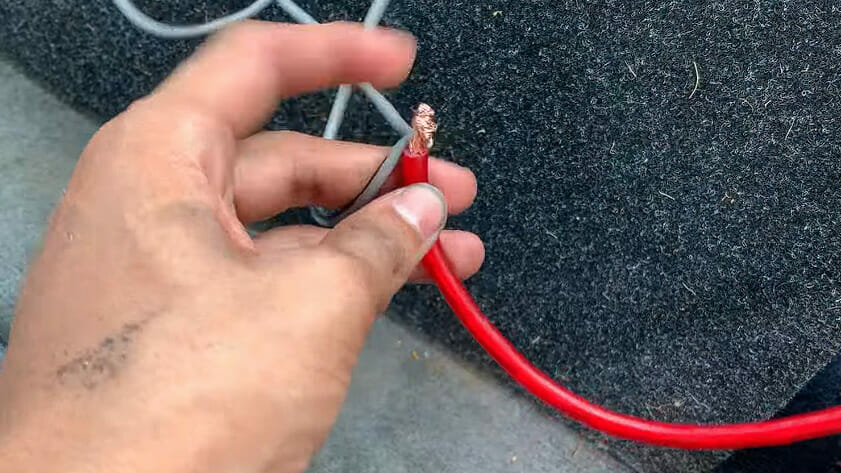
Let’s dive right into one of the key aspects of wiring your subwoofer – picking the perfect speaker wire gauge. And believe me; it matters more than you might think.
So why is thickness so important? Well, the thicker the wire, the less resistance it presents to electrical current.
A thicker speaker wire allows more power to reach your subwoofer, resulting in better performance.
Now comes the tricky part – how do we decide what gauge is right for our setup? It’s a combination of two factors: distance and power.
The first factor is pretty straightforward – if your subwoofer is far from your amplifier, you’ll need a thicker wire.
That’s because thinner wires can cause significant power loss over long distances, and nobody wants that!
On to factor number two: power. If you’ve got a powerful system (say above 200 watts), you’ll need those thick wires for all that energy to flow without any hitches.
Feeling confused? Don’t worry! Here’s a little cheat sheet:
| Distance from Amplifier | Power Rating | Recommended Wire Gauge |
|---|---|---|
| Less than 50 feet | Under 200 W | 16 |
| Less than 50 feet | Over 200 W | 14 |
| More than 50 feet | Under 200 W | 12 |
| More than 50 feet | Over 200 W | 10 or lower |
Remember, though, that these are just general guidelines – every audio setup has quirks and may require some tweaks. So don’t be afraid to experiment!
To summarize this section: When choosing your speaker wire gauge for wiring up that awesome new subwoofer, remember that distance and power are key players in this game.
Keep them in check, and you’ll hit just the right note!
Tools and Materials Needed
Let’s dive into the tools you need to wire your subwoofer!
| Tool/Material | Importance |
|---|---|
| Wire Strippers | Essential for removing insulation |
| Speaker Wire | Carries sound signal from amp/receiver |
| Subwoofer Cable | Specialized cable for low-frequency signals |
| Wire Connectors/Crimps | For joining wires securely |
| Soldering Iron | Ensures solid connections |
| Screwdriver & Electrical Tape | Handy basics |
Step-by-Step Guide for Subwoofer Wiring
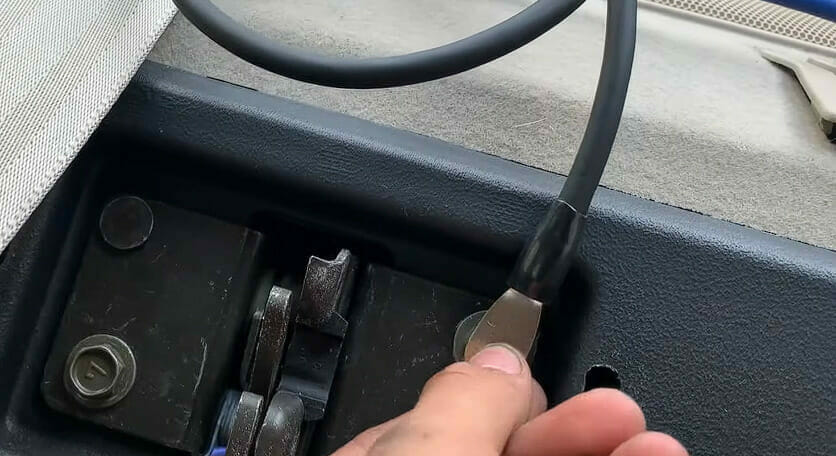
Step 1: Disconnect the Battery

This is crucial for your safety and the safety of your gear. Make sure you disconnect the negative battery terminal before starting the installation process.
Step 2: Mount the Subwoofer
Choose an appropriate enclosure and mount your subwoofer to it by connecting the leads to the terminal cup and using mounting screws. Make sure the subwoofer is securely mounted.
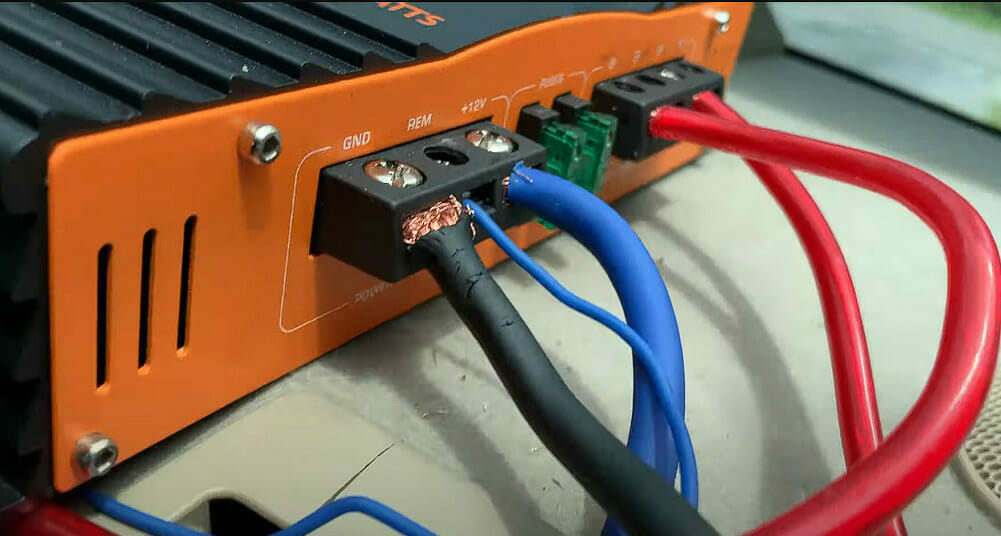
Step 4: Connect Ground Wire
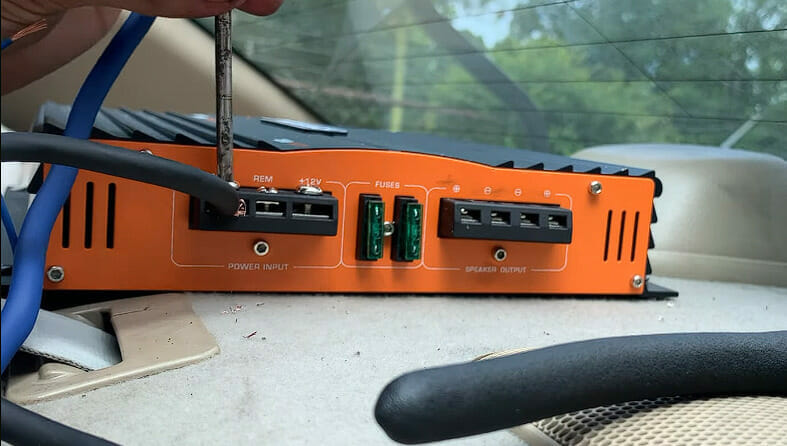
Then you must connect the ground wire from your amplifier to a metal point on your car’s chassis. This will prevent any electrical interference.
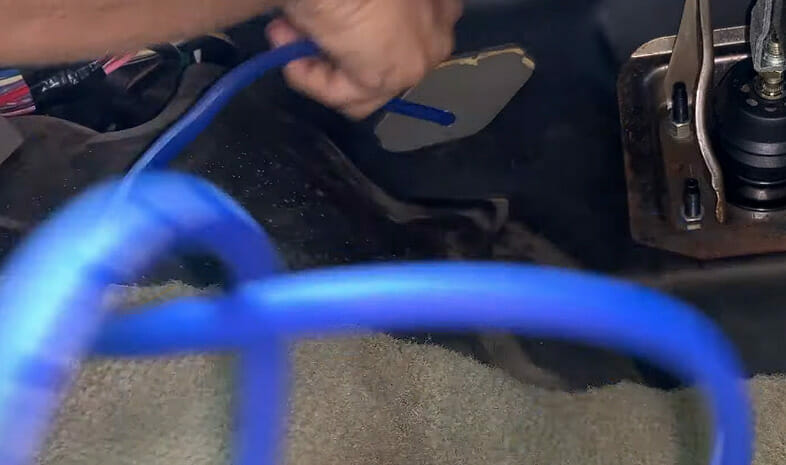
Step 5: Connect Power Wire
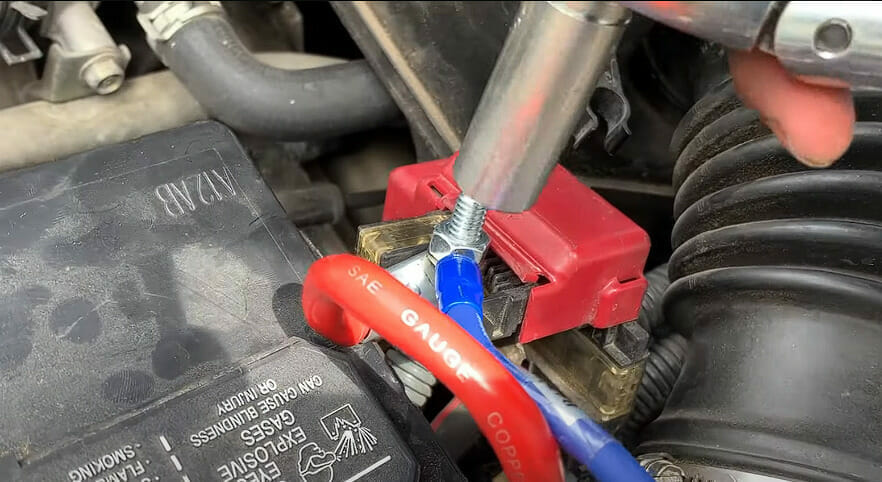
The next step is to connect the power wire from your amplifier to your car’s battery.
To do this, you’ll need to run the power wire through your car’s firewall and connect it to the positive terminal of your battery. Use a fuse holder to protect your system from electrical shorts.
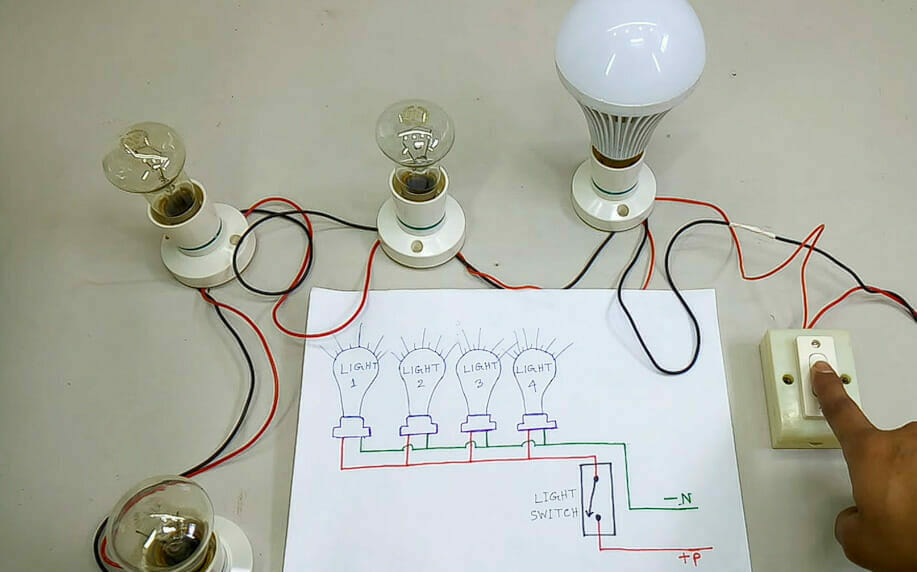
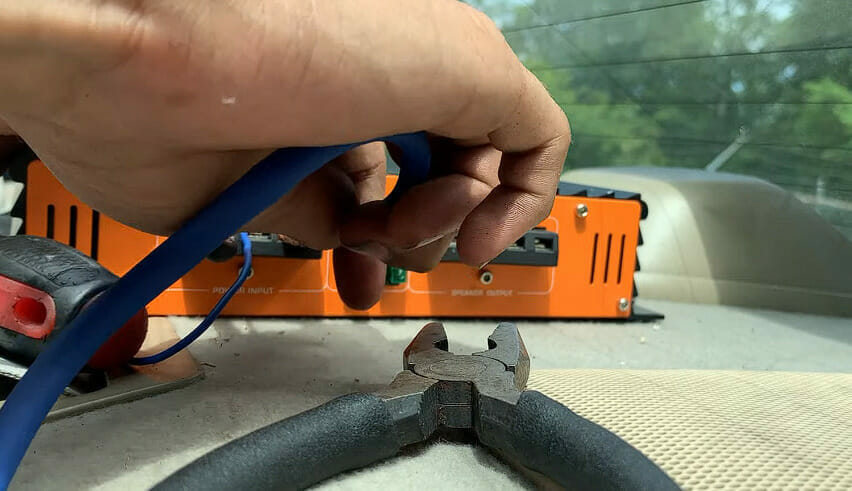
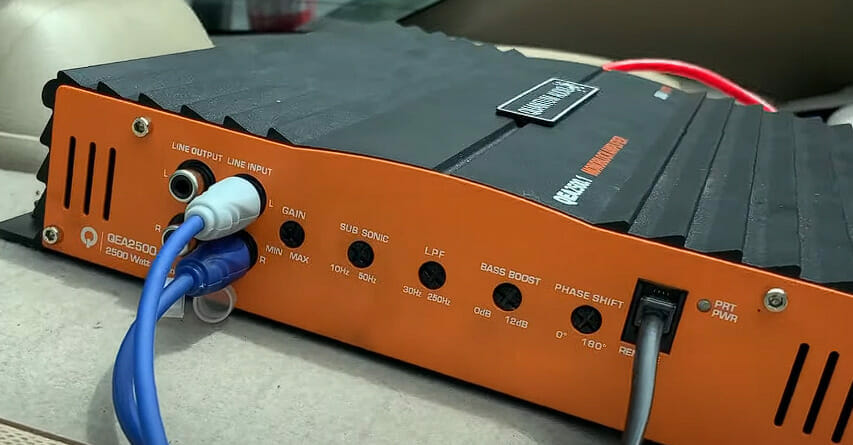
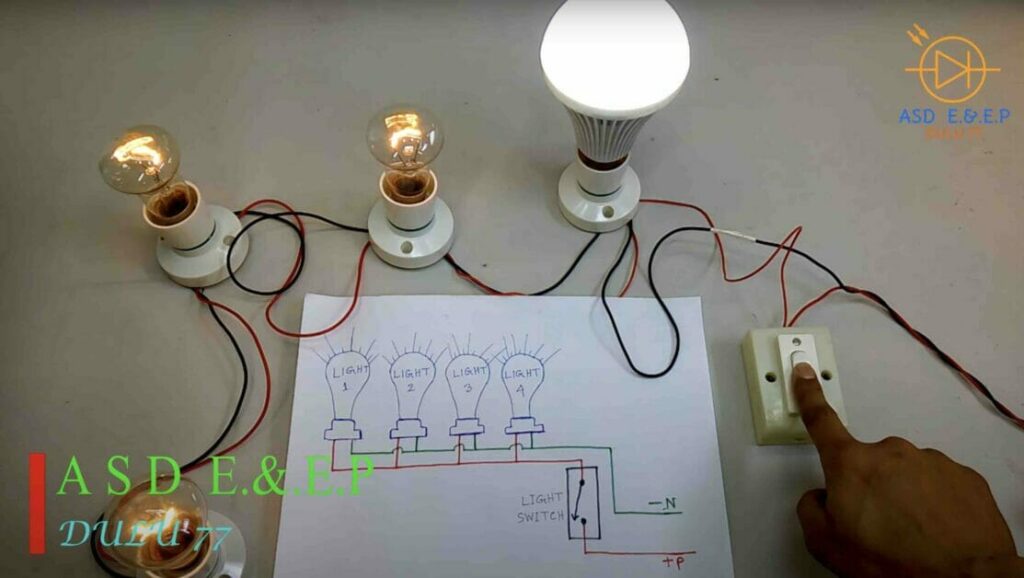
Step 6: Connect Speaker Wire
Now it’s time to connect the speaker wire from your amplifier to your subwoofer. The image above shows parallel wiring.
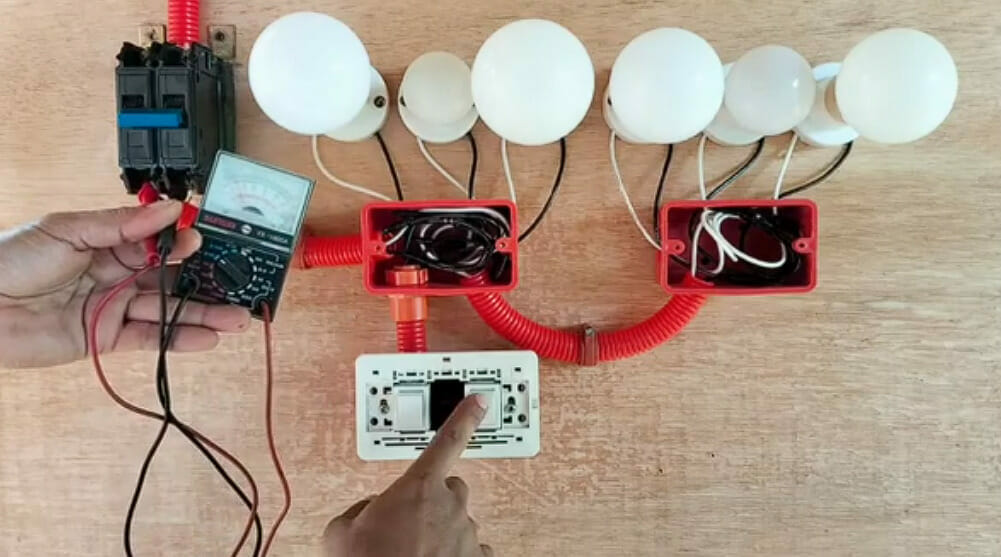
Step 7: Test Your System
Once you’ve connected all of the wires, it’s time to test your system. Connect the battery back, turn on your amplifier, and play music to ensure your subwoofer works properly.
If you hear any distortion or clipping, you may need to adjust your amplifier settings or check your wiring connections.
And that’s it! Following these simple steps, you can wire your subwoofer like a pro and enjoy high-quality bass in your car or home theater system.
Other Considerations
Matching Impedance for Optimal Sound Performance
You know, when I’m working on my DIY audio projects, there’s one thing that always needs to be taken into account: impedance.
Matching the impedance between the amplifier and subwoofer can make a difference.
In case you’re wondering why this is so important – mismatched impedance can lead to poor sound quality or even damage your equipment!
It’s like trying to fit a square peg into a round hole; it doesn’t work well.
To match impedances effectively:
- Identify the impedance of both your amplifier and your subwoofer.
- If they are different, consider using an impedance-matching transformer.
- Or choose components with the same impedance rating from the start.
Now how about some numbers? Let’s say you have an amplifier rated at 4 ohms and a subwoofer rated at 2 ohms. Check out this table showing how power relates to different combinations:
| Amplifier Ohm Rating | Subwoofer Ohm Rating | Power Output |
|---|---|---|
| 4 | 2 | Reduced |
| 4 | 4 | Optimal |
| 4 | 8 | Reduced |
As you can see from this table – if everything matches (amp and sub are rated at 4 ohms), then we’re sitting pretty with optimal power output.
So guys, get out there and give those wires some love! Remember: perfect sound performance isn’t just about volume; it’s also about harmony between all components.
Troubleshooting Common Wiring Issues
Well, we’ve made it to the finish line. This is our last stop. It’s time to talk about troubleshooting those pesky wiring issues that might pop up when wiring your subwoofer.
- First, if your subwoofer has no sound, don’t panic! You’ll want to double-check all your connections. Make sure they’re secure and plugged into the right places. Sometimes it’s as simple as a cable not being fully inserted.
- Got distortion or a fuzzy noise? This could be a signal of crossed wires or a grounding issue. So look at your setup and make sure nothing’s touching where it shouldn’t be.
- If you’re experiencing a low hum even when there’s no music playing, it might be due to what we call a Ground Loop, which happens when two more devices create a loop through their ground connection.
Here are some common fixes for Ground Loop:
- Try plugging all equipment into the same power strip
- Use ground loop isolators or cheater plugs
- Install filters on your cables
I can’t emphasize enough how important safety is here – If you don’t feel comfortable doing these yourself, please seek help from professionals!
- Lastly – if everything seems fine but still things aren’t sounding quite right, remember that room acoustics play a big role in sound quality. Try moving around your subwoofer till you find its sweet spot.
And there you have it! A quick guide on how to troubleshoot common wiring issues with your subwoofer. I hope you found this helpful – happy listening!
References
Websites:
- The12volt. https://www.the12volt.com/
- AVS Forum. https://www.avsforum.com/
- Audioholics. https://www.audioholics.com/
Video References:
ASD Electrical & Electronics Project’s
SAYDE TV
EngineerING