4 min read
How to Wire Air Horns Without Relay (Guide)
When it comes to wiring air horns, the relay method is best. But other ways can be used. Some situations, temporary or permanent, can necessitate that we wire air horns without using a relay. I have successfully done this multiple times on my truck and those of clients, and I am going to teach you how to do the same in this guide. You may be wondering if wiring an air horn without a relay can cause any damage. Well, it is the simplest way to wire air horns, and it can be safe. Relays simply transfer the correct amperage to the horns.
To wire an air horn without a relay, first, install it toward the front section of your car (near the engine). And then ground the horn. Go ahead and run a wire from the horn to the horn button, and another wire from the horn to the positive terminal of the 12-volt battery using the connections wires. Press the horn button to test the horn.
What You Need
- Horn wiring kit
- Your car
- Connection wires (12 – 16 gauge wires)
- Pliers
- Adhesive tape
- Metallic pins
How to Install the Air Horn
Air horn installation is the first thing you should do before you wire the air horn. These steps will guide you through the installation process:
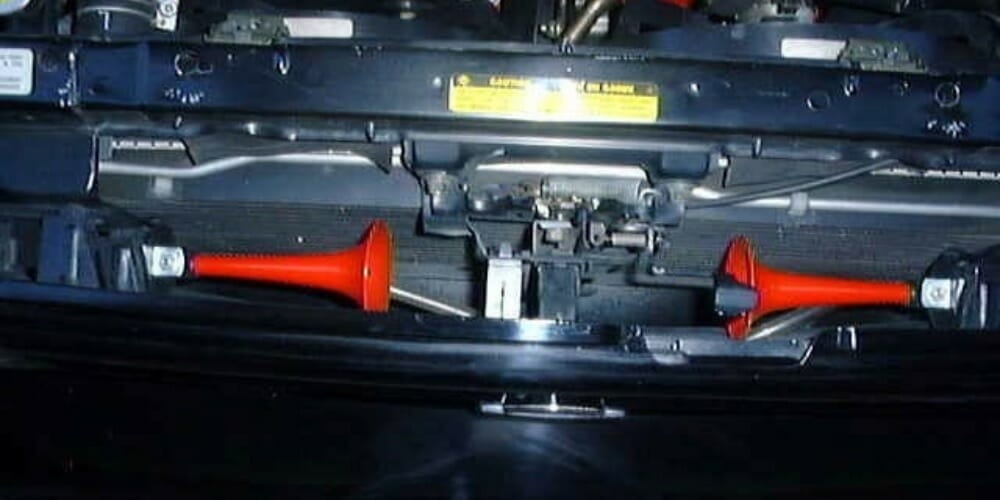
- Mount the air horn towards the front part of your vehicle using the supplied gear.
- You may hook a compressor up on your horn with the supplied tubing. Avoid kinks and secure them properly.
- Test the factory horn with a multimeter which should display 12 volts when the air horn is passed and zero when it is off.
Get Your Horn Grounded
To wire an air horn without a relay, you will need to ground the horn using the connection wires first.
Follow the steps below to ground your air horn:
- You may use a wire (16 gauge) or a metallic pin to ground your air horn.
- Now, connect the negative terminal of the air horn to any grounding surface in your car. You can connect it to the metallic frame at the front part of your car.
- Fasten the connection to prevent the grounding connection from falling apart while the car is in motion. (1)
Running Wires
After you have grounded the air horn, go ahead and connect the wires to the car’s battery and the air horn. It is worth noting that using the correct wire gauge is crucial. The wrong wire can get fried up or even damage your air horn. I recommend using 12 – 16 gauge wires in this experiment. (2)
However, you need to prepare the connection wires before using them. Follow outlined steps below to prepare and run the wires:
Step 1: Preparing the Connection Wires
Using pliers, cut a considerable length of the connection wire.
Step 2: Strip the Insulation Coating of the Wires
Strip about ½ inch of the connection wires (at the terminals) using the pliers. You should be careful not to cut the entire wire. Go ahead and twist the exposed wire threads to make them firm.
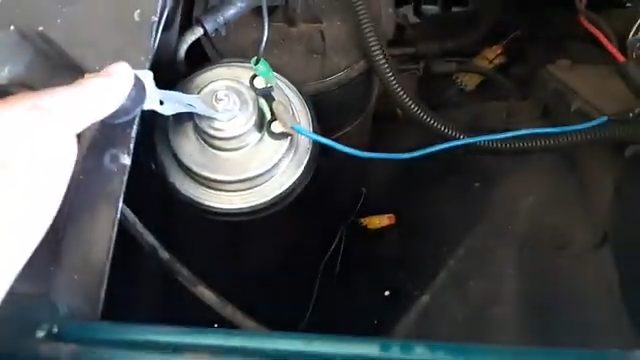
Step 3: Run the Wires
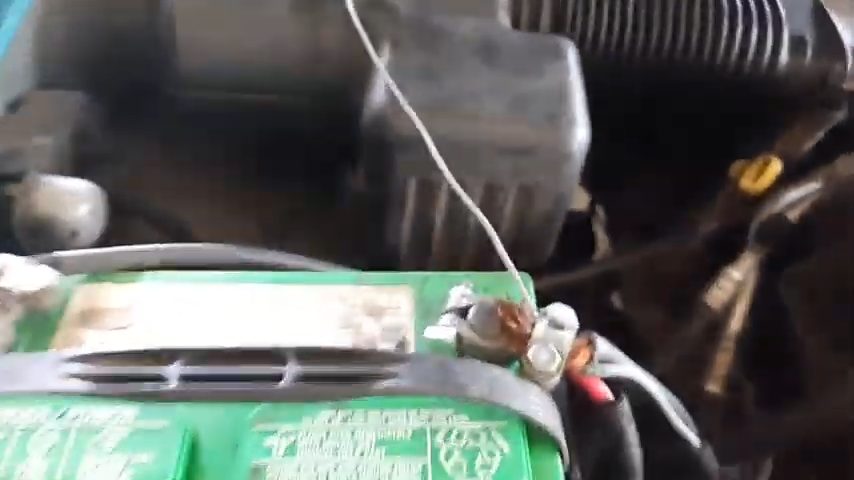
Once you have your wires ready, run one wire from the horn to the positive terminal on the battery. And then run another wire from the air horn to the button – close to the dashboard. You may use adhesive tape to cover the exposed wires.
Step 4: Check the Stability of the Air Horn
After running the wires, make sure that the horn is properly secured in the car.
Step 5: Testing the Horn
Finally, press the horn button near your dashboard. The horn should make a sound. If not, then there is a problem with the connection wires. Check them, and make the necessary corrections, or perform a continuity test on your wires to ensure they are functional. Use a multimeter to check continuity.
Take a look at some of our related articles below.
- How to test a car ground wire with a multimeter
- How to connect ground wires together
- How to tell negative and positive wire
References
(1) motion – https://wonders.physics.wisc.edu/what-is-motion/
(2) experiment – https://study.com/academy/lesson/scientific-experiment-definition-examples-quiz.html
Video Reference