8 min read
How to Wire a Three Light Switch (5 Step Guide)
I will dive head-first into the world of light switches – not just one, but three! By the time we’re done here, you’ll have all the know-how to wire a three-light switch in your home without breaking a sweat or calling an electrician.
Key Takeaways – Ensure safety by turning off power and using the right tools like wire strippers, voltage testers, and screwdrivers. Familiarize with switch components: dark-colored screw (common) and two brass screws (travelers). Wires include black (hot), white (neutral), and red/yellow (between switches). Follow the step-by-step guide, from removing the old switch to connecting wires by color codes, and secure with electrical tape.
So buckle up, and let’s dig into some DIY goodness. It’s time we shed some light on this subject (pun intended).
Safety First: Precautions and Equipment
We’re dealing with electricity here. It’s not something to be taken lightly. So before you even think about touching those wires, there are a few precautions and pieces of equipment we need to talk about.
First things first, always make sure the power is off. This might seem like common sense, but trust me, it’s easy to forget when you’re eager to start.
Next on our safety list: tools. No DIY job is complete without them; this one’s no different. Here’s what you’ll need:
| Tool | Description |
|---|---|
| Wire strippers | These tools safely remove the plastic insulation from wires. |
| Voltage tester | This tool checks for the presence of electrical current in wires. |
| Screwdrivers | Both Philips head and flathead varieties are likely needed. |
| Wire connectors | Also called wire nuts, they are used to secure multiple wires together. |
And don’t forget personal protective gear! I’m talking about:
| Item | Description |
|---|---|
| Safety glasses | Eye protection |
| Insulating gloves | Electrical protection |
This protects you from accidental sparks or debris flying into your eyes or hands.
All right then! Now that we’ve got all our ducks in a row safety-wise let’s move on to learning the components of a three-light switch!
The Components and Their Functions
First off, let’s get acquainted with the parts. A three-way switch has three terminal screws. These terminals include one dark-colored screw (the common) and two brass ones (travelers).
- The common screw is where power comes in or goes out to the light fixture.
- As for the brass screws, they’re like traffic cops – they direct electricity between switches.
Let me give you a heads-up: If you’re looking at older versions of these switches, you might see four terminals instead of three.
Don’t sweat it! The fourth one is just for grounding and typically isn’t needed in newer models.
Now, moving on to wires! There are typically three types involved:
- Black wires (hot): Bringing power to the switch.
- White wires (neutral): Completing the circuit.
- Red or yellow wires: Carrying current between three-way switches.
Lastly, there’s this nifty thing called a ‘ground wire.’ It’s usually green or bare copper and is an emergency exit route for stray electricity!
All right then! That covers our crash course on three-way light switch system components and their functions. It doesn’t seem so scary now.
Now that you’ve got your head around all this stuff, you’re ready to take on that wiring project like a champ!
Step-by-Step Installation Guide
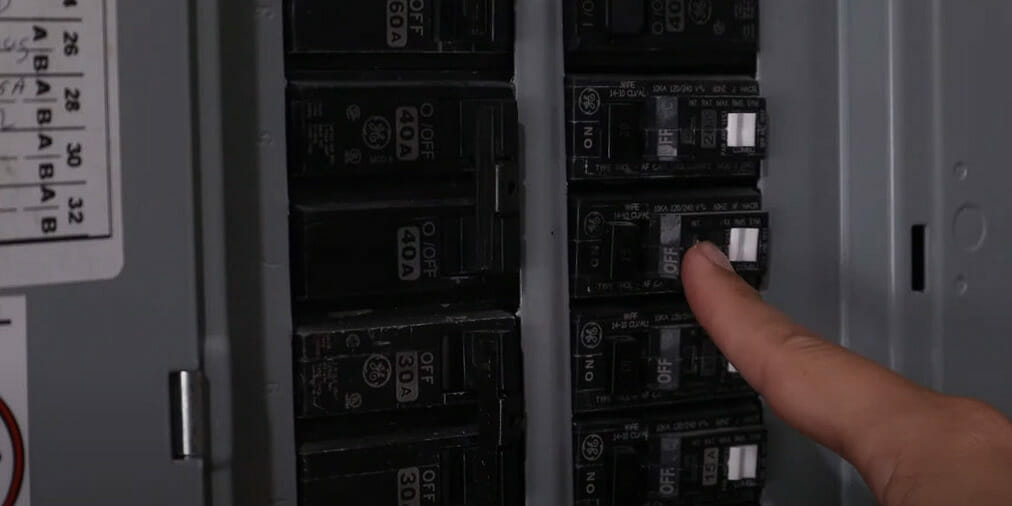
Before you start anything, I must remind you to ensure the power is turned off at the circuit breaker. Trust me on this; it’ll save you from potential shocks.
Step 1. Begin by removing the old switch if there is one. Use your screwdriver for this task.
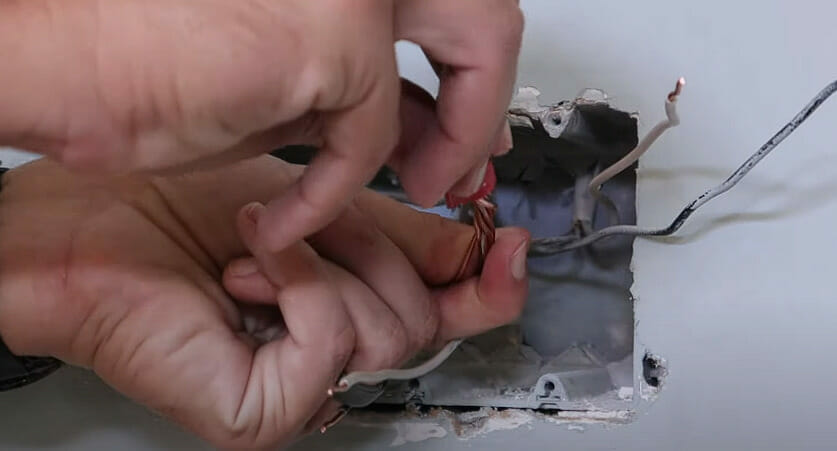
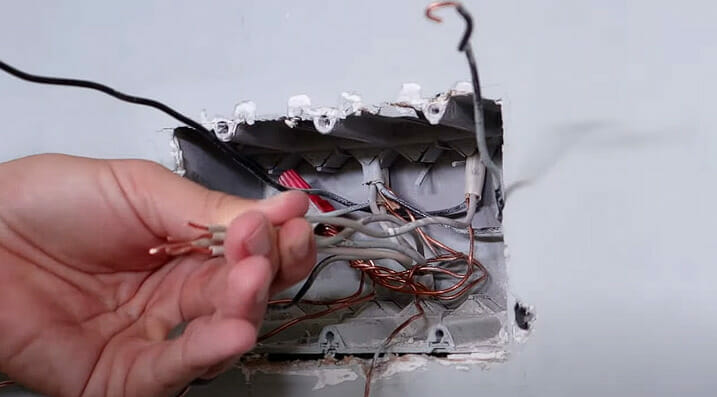
Step 2. Next, strip about half an inch off each wire using your stripper.
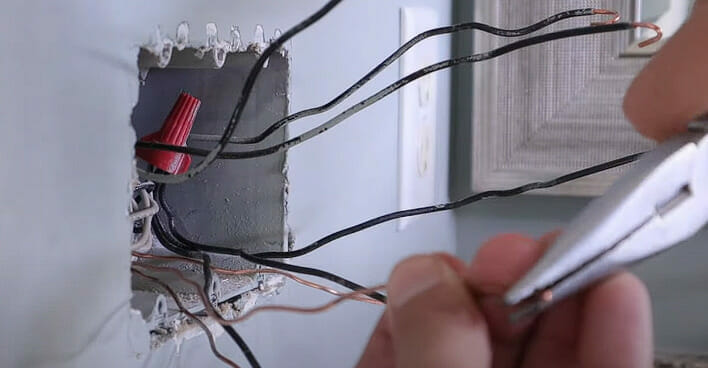
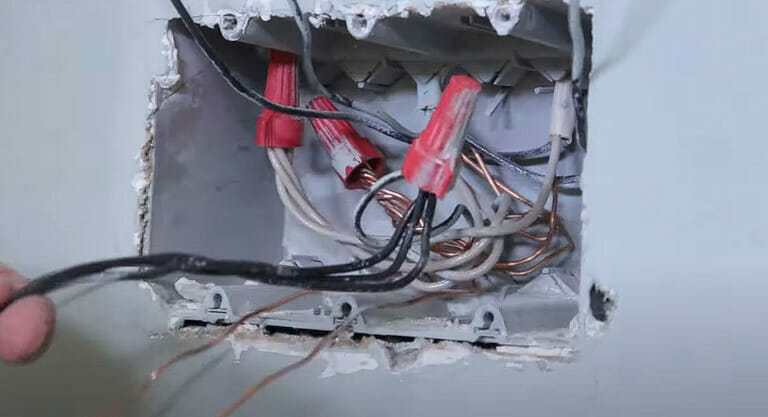
Step 3. Now comes the fun part – connecting wires! Remember those color codes:
- Green (or bare copper) is ground
- White is neutral
- Black (or red) is hot
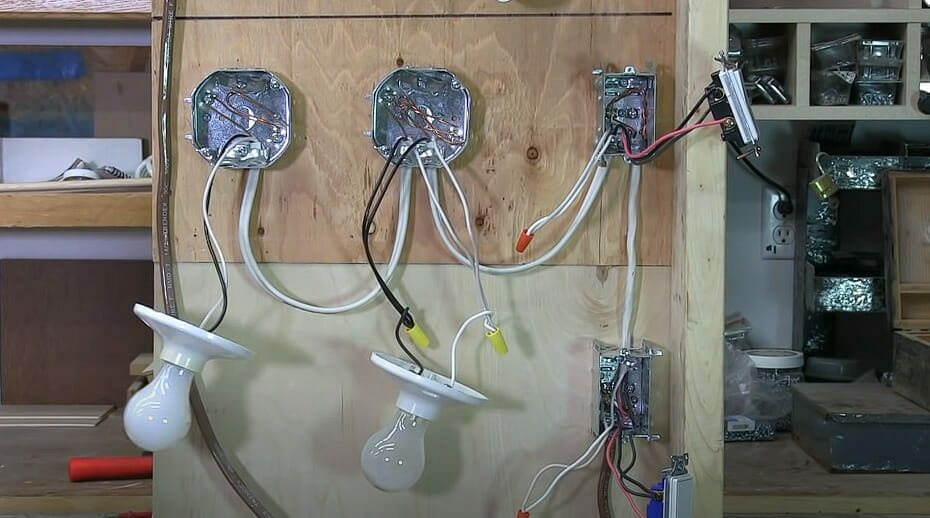
For a three-way switch setup, here’s how they go:
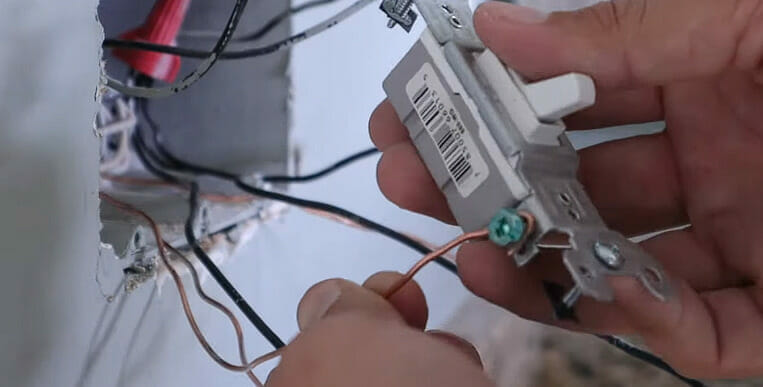
- Green ground wires connect and also to the green screw on each switch.
- The black “hot” wire goes to the black screw on one switch and connects to either of two traveler screws on other switches.
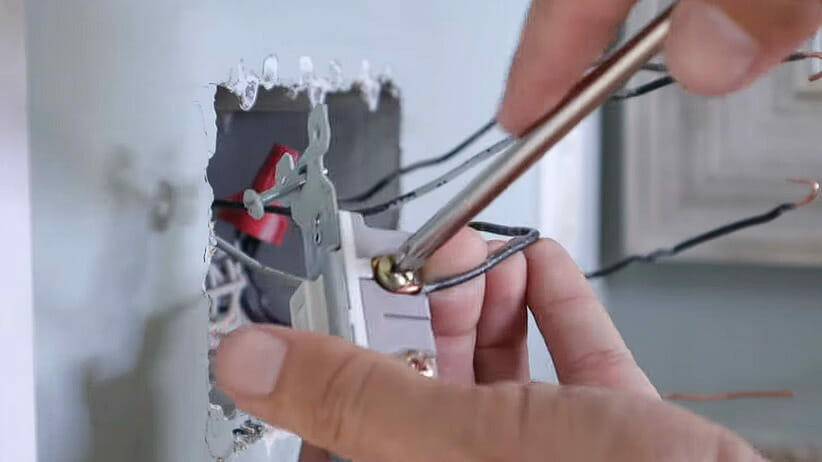

- The white “neutral” wires connect directly together.
Step 4. After connections are made properly, secure them with electrical tape for good measure!
Step 5. Finally, attach your new switches to their respective boxes and turn the power back on at the circuit breaker.
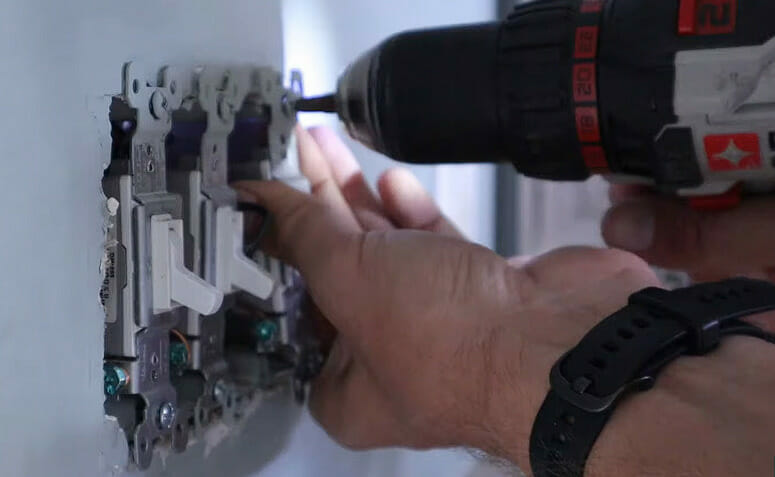
And voila! You’ve successfully wired a three-light switch!
Troubleshooting Common Issues
I’ve been there, folks—knee-deep in wires with a light switch that won’t cooperate. It’s frustrating, but don’t worry! I’m here to help you navigate some common issues and their solutions.
One biggie that gets most people is the switch not working at all. Here’s what you should check:
- Make sure your power is on. It’s easy to overlook.
- Check if the bulb is properly screwed in or not burnt out.
- Inspect your wiring connections. Ensure the live wire (usually black) is connected to the brass screw and the neutral wire (white) to the silver screw.
Occasionally, you might find your lights flickering or dimming. This could be due to:
- Loose connections: Wiggle those wires gently into place.
- Overloaded circuit: Too many appliances on one circuit can cause this issue.
- Quality of bulb: Cheap bulbs often have inconsistent brightness levels.
Another head-scratcher can be when one switch controls two lights unintendedly – a situation known as ‘cross-wiring.’ You’ll need to revisit your wiring layout for this one:
- Disconnect all wires from both switches
- Wire each switch independently
- Test each light separately
Finally, remember everyone’s friend: patience! Don’t get discouraged if you make a mistake; even we pros had our fair share when we started!
So take a deep breath and give it another go – because nothing beats that sense of accomplishment when you finally flip that switch…and let there be light!
References
Organizations:
- National Electrical Contractors Association (NECA). https://www.necanet.org/
- National Fire Protection Association (NFPA). http://www.nfpa.org/
Websites:
- The Family Handyman. https://www.familyhandyman.com/
- Electrical 101. https://www.electrical101.com/
Video References:
How To Home
HouseImprovements