7 min read
How to Wire a Capacitor (6 Steps)
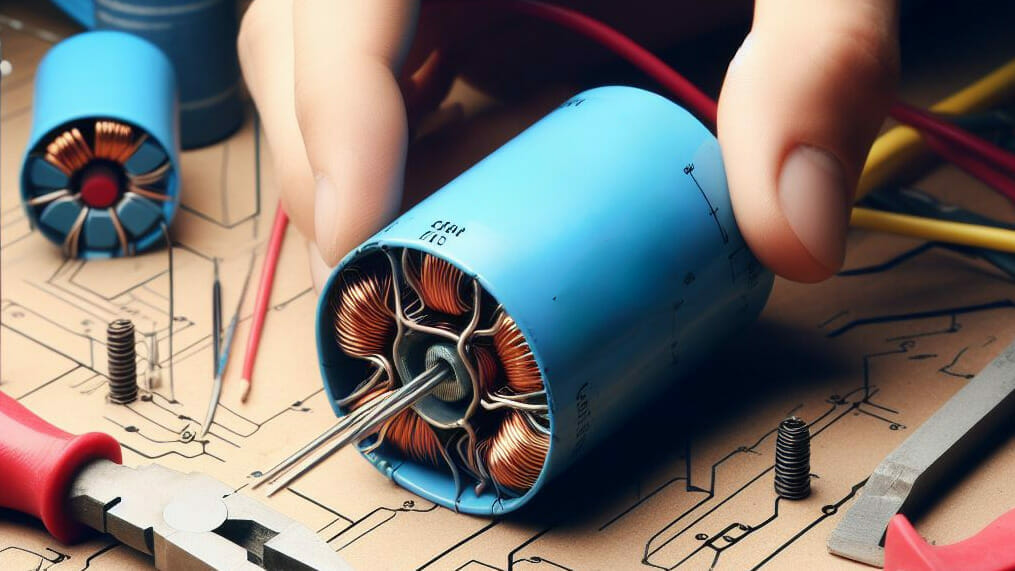
Today, I will teach you to wire a capacitor; you might have to wire a capacitor if one weakens or bursts.
To wire a capacitor, disconnect the power and discharge the capacitor first. Then, remove the capacitor and replace it with another of the same type and rating, observing the same polarity.
The exact procedure depends on its use, but I’ve outlined a general procedure and briefly explained more wiring arrangements.
About Capacitors
Function of Capacitors
A capacitor accumulates an electrical charge that persists after disconnecting the power source. It can then discharge it like a rechargeable battery.
Why We Use Capacitors
We use capacitors in circuits for the following reasons:
- To give a voltage boost, maintain a constant flow, or reduce voltage disruptions;
- For timing control;
- To block direct current flow when fully charged.
Capacitors Used in Appliances
Capacitors are often used with AC single-phase induction motors, such as in the following appliances:
- Air conditioners
- Ceiling fans
- Compressors
- Dishwashers
- Dryers
- Hot tub pumps
- Powered gates
- Vacuum cleaners
- Washing machines
General Procedure for Wiring a Capacitor
Wiring a capacitor depends on which circuit it is used in, but certain steps may apply generally.
Step 1: Disconnect the Power
Disconnect the power from the circuit you will be working on.
Take the necessary safety precautions because capacitors can explode. I suggest wearing gloves and safety glasses.

Step 2: Discharge the Capacitor
Discharge the capacitor, as described below.
Warning: A used capacitor may be charged. Capacitors can hold a charge indefinitely, even while not connected to a power source. A charged capacitor can be very dangerous. Discharge it before working on it. Don’t automatically use a screwdriver to discharge it unless it’s a simple, non-fused one, as it might create a short circuit and damage the capacitor.
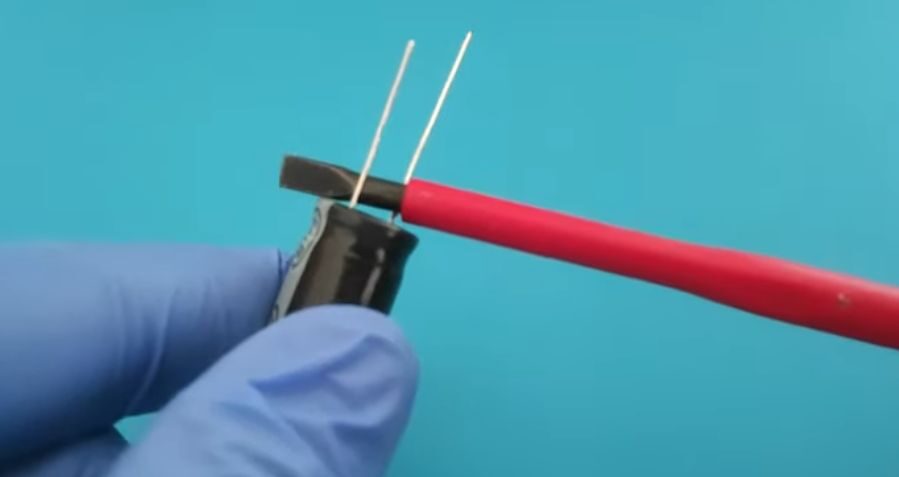
If the capacitor is internally fused, discharge it using a 2-watt 20kΩ resistor as follows [Kleinert, 2013]:
- Remove the wires from the capacitor using pliers.
- Place the resistor across the capacitor’s terminals.
- Set an ohmeter or multimeter to the highest resistance scale.
- Put one probe on each of the two capacitor’s terminals.
- The reading should slowly move towards infinity. The capacitor may be damaged if it doesn’t.
Otherwise, you can place the metallic part of a screwdriver across the two terminals to discharge the capacitor.
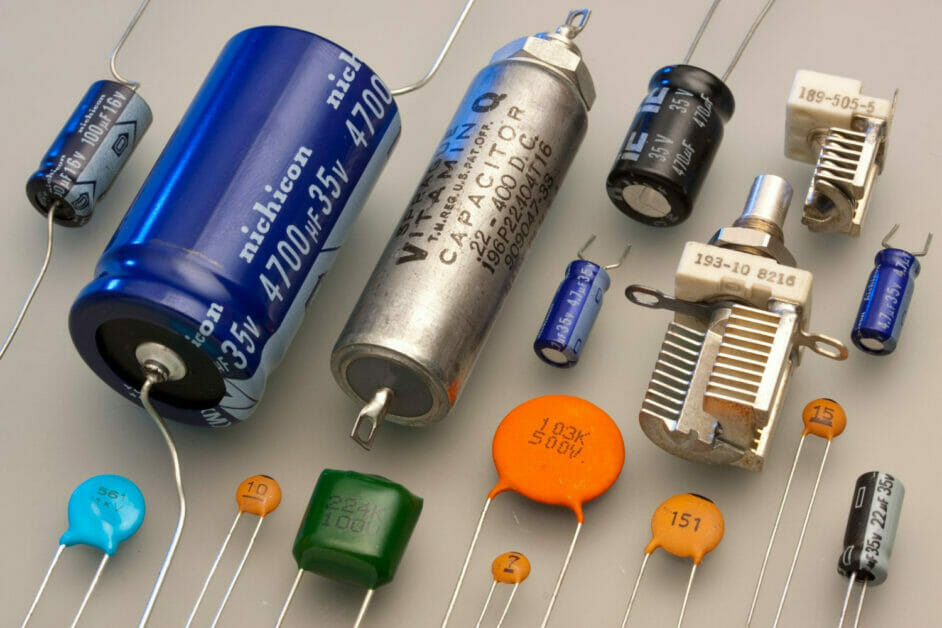
Step 3: Note the Capacitor Type
Note what type of capacitor it is, and check its rating. The rating is typically in microfarads (µF). Also, note the polarity of the 2 terminals in the circuit.
Capacitor terminals are usually marked as “more positive” (+) and “more negative” (-), but if not, this is how you recognize them:
- The more positive end is the one with the longer lead.
- The more negative end is the one with a band or mark.
If you see an arrow marked on the capacitor instead, the arrow points to the more negative terminal.
Step 4: Get an Exact Replacement
The replacement capacitor must match the one being replaced. It might be possible to exceed the capacitor’s rating a little depending on which device or appliance it is in, but usually not more than 10%. Otherwise, try to get an exact replacement.
Step 5: Remove the Old Capacitor
Remove the old capacitor. You may need a soldering iron to dislodge its terminals from the circuit.
Step 6: Install the New Capacitor
Install the new capacitor, observing the polarity you noted in Step 3.
Most capacitors are non-polarized, but if it’s a polarized capacitor, wiring it wrongly will result in virtually no resistance when connected to a power source. A very high current will damage it and also other connected components. Wiring an electrolytic or tantalum capacitor wrongly can cause an explosion at high amperage.
Step 7: Restore the Power
Restore power to the circuit containing the capacitor and test the device or appliance.
More Wiring Arrangements
Wiring in Parallel and Series
When wiring a capacitor, 2 types are distinguished:
- A start capacitor for intermittent on-and-off operation is usually connected between the start relay and the motor’s start winding in the auxiliary winding circuit.
- A run capacitor for improving efficiency during operation is usually connected to the start winding (main coil) circuit and remains operational while the motor runs.
High-torque motors, for example, are connected in series with the start winding circuit to generate the required rotation.
Multiple Capacitors
Multiple capacitors are connected together in a series or parallel arrangement.
- When connected in parallel, the total capacitance is the sum of the separate capacitances.
- When connected in series, the reciprocal of the total capacitance is the sum of the reciprocals of the separate capacitances.
Adding a Resistor
A resistor is usually connected to a capacitor to make it useful as a timing component. A resistor in series with a capacitor becomes an RC (resistor-capacitor) network.
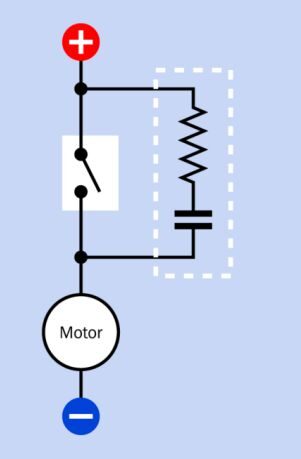
Follow these steps:
- Connect the positive terminal of the appliance to the resistor’s first terminal, as shown in the above diagram.
- Connect the resistor’s second terminal to the capacitor’s positive terminal.
- Connect the capacitor’s negative terminal to the terminal of the SPST switch.
- Connect the switch’s other terminal to the appliance’s negative terminal.
If unsure which resistor to use, try one in the range of 10k-100kΩ. It should be large enough to control the capacitor for the required charge. Observe the effect on the appliance. Use another resistor with a different rating to increase or decrease the resistance.
FAQ Section
What Is the Main Purpose of a Capacitor in Simple Terms? Alright, think of a capacitor as a mini energy storage unit. It accumulates electrical charge when connected to a power source and can release it when needed, like a short-term rechargeable battery.
Why Is Polarity So Important When Wiring a Capacitor? Great question! Polarity is crucial because if you wire, especially a polarized capacitor, the wrong way, it might not work properly. Worse yet, it can get damaged, damage other components, or even explode in high-amperage situations. Always double-check the polarity!
How Do I Know When a Capacitor Needs Replacing? You’ll often see signs like a motor not starting up or running inefficiently. Sometimes, the capacitor might look swollen or leaky. If you’re in doubt, it is best to consult with a professional.
Can I Use a Higher Rated Capacitor as a Replacement? Generally, it’s best to stick with the original rating. But sometimes, you can exceed the capacitor’s rating a bit, usually not more than 10%. However, always ensure it suits the device or appliance you’re working on.
Why Would Someone Connect Multiple Capacitors Together? Connecting capacitors in different arrangements, like in series or parallel, can adjust the total capacitance to fit specific needs. It’s all about customizing the circuit to get the desired performance.
What Precautions Should I Take When Working with Capacitors? Safety first! Always disconnect the power and discharge the capacitor before working on it. Capacitors can hold a charge for a long, so never assume they’re safe. Wearing gloves and safety glasses is also a good idea.
How Does a Resistor Work with a Capacitor in a Circuit? By adding a resistor to a capacitor, you create what’s called an RC network. This setup can be super useful for timing purposes in circuits. The resistor controls how fast the capacitor charges or discharges.
References
Books:
- Charles Platt. Encyclopedia of electronic components: power sources and conversion. O’Reilly. 2013
- Eric Kleinert. Troubleshooting and repairing major appliances. 3rd edition. McGraw Hill. 2013
Video References:
Electro University