16 min read
How to Remove Wire from Connector: (4 Essential Steps)
If you’ve ever found yourself amid a DIY electronics project, you’ve likely faced the task of removing wire from a connector. It’s not always as simple as it sounds. But don’t fret! I’m here to guide you through this process step by step.
In this post, we’ll delve into how to remove the wire from the connector without causing any damage to your equipment. We’ll explore different techniques suitable for various types of connectors. By the end of this read, you’ll have gained the confidence and know-how to tackle this task like a pro!
Key takeaways: To safely remove a wire from a connector, follow these steps:
- Step 1: Ensure power is turned off to prevent electrical hazards.
- Step 2: Carefully expose the connector casing.
- Step 3: Release the wire by pressing the release tab gently.
- Step 4: Inspect for any wire or connector damage to ensure safe removal.
Let’s start on our journey.
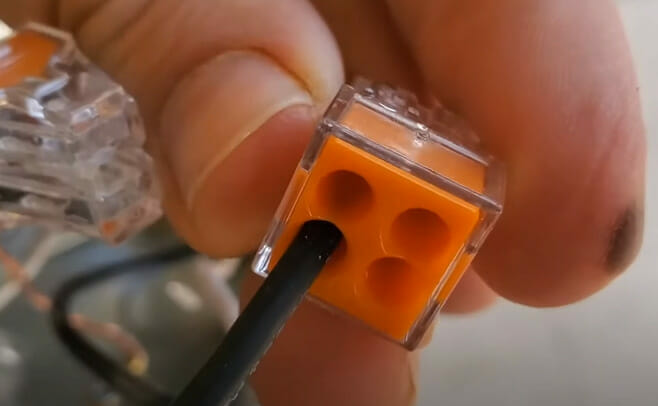
Understanding Push-in Connectors
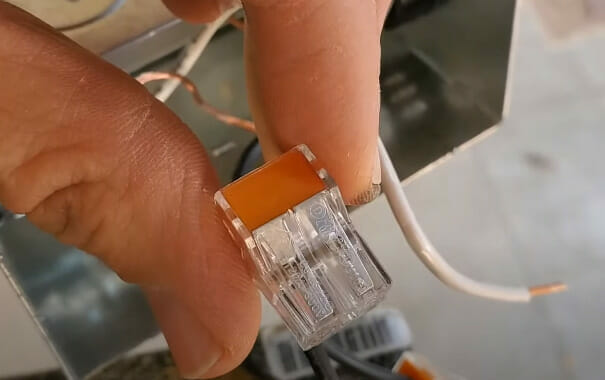
Push-in connectors are a godsend in the electrical world. They’re quick, they’re efficient, and they’re easy to use. First up, let’s get a grip on what these little marvels are all about.
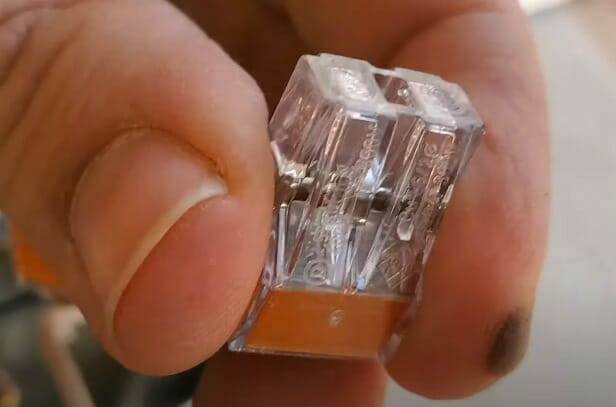
In essence, push-in or push-fit connectors, as some folks call them, are little devices designed to connect wires without soldering or screws. That’s right! No more fiddling around with tiny screwdrivers or heating irons. You strip the end of your wire, push it into the connector, and voila! You’ve got yourself a secure connection.
How do these wonders work? Within each connector lies a spring-loaded mechanism that grips onto the inserted wire. This ensures an electrically safe and mechanically tight connection between wires. And guess what? These beauties can accommodate multiple wires, too!
You’ll find them extremely handy across various applications, including lighting fixtures, switch boxes—and even appliances around your home, like fridges and ovens. Here’s something interesting: did you know that push-in connectors have been widely adopted due to their compliance with safety standards and regulations?
But don’t think removing a wire from one of these is rocket science—it’s not! It just needs a bit of patience and finesse (and maybe a flathead screwdriver). We’ll venture into that part next in our article.
Tools and Safety Precautions
Before we dive into removing wires from connectors, let’s discuss the essential tools needed to complete the job.
Wire Cutters and Precision Screwdrivers
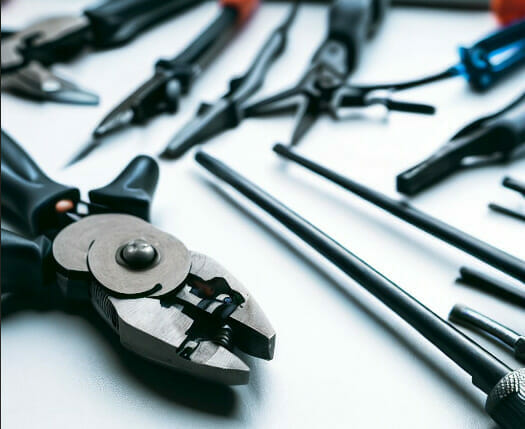
Firstly, there’s no denying that a good pair of wire cutters is handy. These are particularly useful for cutting through tough wires without damaging the connector. Secondly, I’d recommend getting a set of precision screwdrivers. They’re perfect for those tiny screws often found on electronic connectors.
Let’s take a closer look at the essential tools required for wire removal, along with the specific purpose of each tool:
| Tools | Purpose |
|---|---|
| Wire cutters | Cutting wires cleanly |
| Precision screwdrivers | Opening connector casings |
| Needle-nose pliers | Assisting in wire removal |
| Voltage tester | Confirming power is off |
| Crimping tool | Properly securing wires |
Power Off Devices before Work
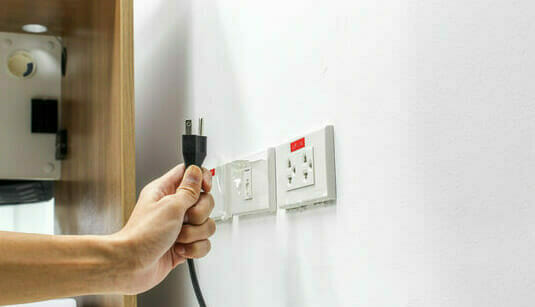
Now, moving on to safety precautions – because trust me, you don’t want to compromise on safety. Always remember to power off and unplug any device before attempting to remove wires from its connectors.
Wear Protective Gear (Gloves & Glasses)

Wearing protective gloves is another smart move when handling wires and connectors. They shield your hands and provide a better grip, which can be a lifesaver when working with small parts.
Let’s not forget about eye protection, too! Yes, it might seem overkill, but wearing safety glasses can prevent stray bits of wire or debris from injuring your eyes.
Maintain a Clean Workspace
Lastly, ensure a tidy workspace free of clutter and unnecessary objects before starting your project. This simple step can greatly reduce risks associated with tripping hazards or misplaced tools.
By ensuring you have all the right tools at hand and taking proper safety measures before beginning work on removing wires from connectors, you’re setting yourself up for success.
By following these guidelines carefully, I’m confident that even beginners can remove wires from connectors like pros in no time!
Step 1: Turn Off Power
Safety first! That’s the golden rule when working with any electrical equipment.
Removing a wire from a connector is no exception. Before you even think about getting your hands on that connector, you must ensure there’s NO POWER flowing through it.
Electricity can be lethal! Take note of these essential precautions:
- Always turn off the device or equipment.
- Unplug from power sources.
- Use a voltage tester to confirm there is no current.
You might be thinking I’m exaggerating here. But according to Electrical Safety Foundation International (ESFI), in the U.S. alone, electrical accidents cause around 300 deaths and 4,000 injuries yearly. These numbers aren’t meant to scare you; they’re just emphasizing how important safety is!
So here’s how it goes: Locate your device’s or equipment’s switch and flick it off. If possible, unplug it from any power outlets as well. This double assurance cuts down on any risk of electric shock.
Next up – get yourself a voltage tester if you don’t already have one (they’re quite affordable). This handy tool will help confirm whether electricity’s still running through your wires after turning things off and unplugging them.
Now that we’ve got safety out of the way let’s move on to the next step, shall we?
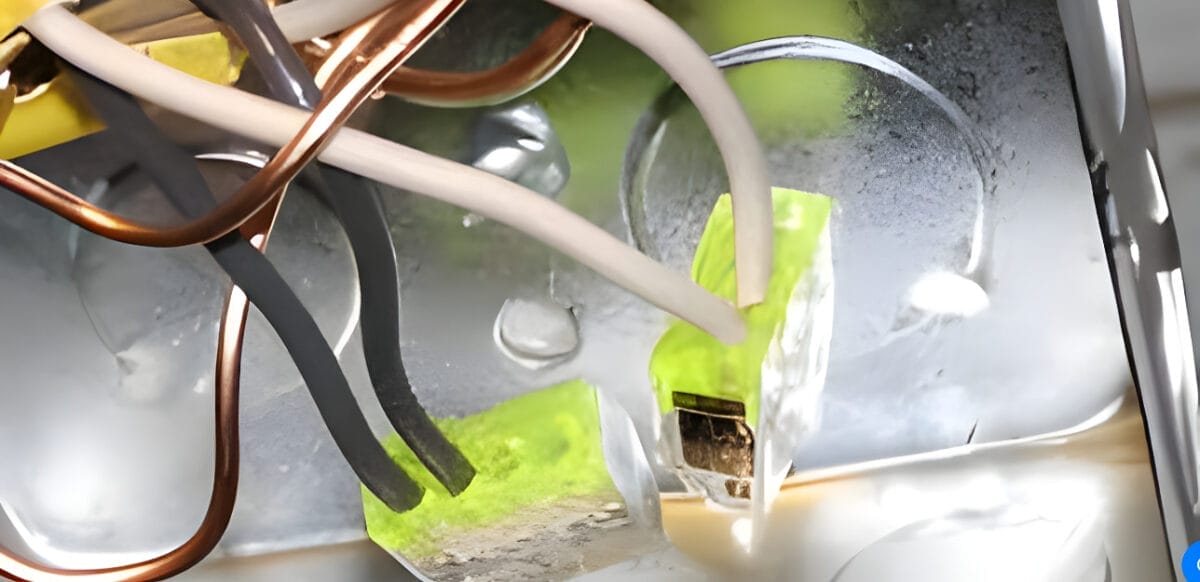
Step 2: Expose the Connector
Now that our tools are ready let’s dive into the actual process.
We’re going to expose the connector first. This is an integral step in our mission to remove a wire from a connector. And trust me, it’s not as complicated as it sounds.
Start by locating the connector on your device or appliance. It’s usually a small plastic piece with wires running into it. Once you’ve found it, carefully disconnect any connected devices or power sources for safety reasons.
Once everything is safely disconnected, you’ll need to look at this fascinating little component known as ‘the connector.’ In most cases, there will be some form of casing around it. It could be plastic or metal, depending on what device you’re working with. You must carefully remove this casing without damaging the underlying wires and connections.
This may require finesse and patience (and possibly those needle-nose pliers). Remember, gently do it. No brute force is needed! You should have an exposed connector in all its glory if done correctly!
In case you’re wondering why we’re doing this – exposing the connector allows us direct access to the individual wires and makes removing them much easier!
So stick around for our next step, where I’ll show you exactly how to do that.
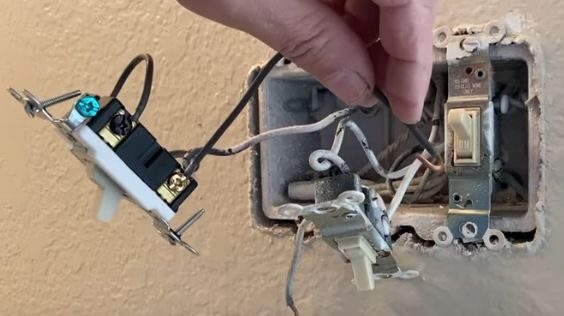
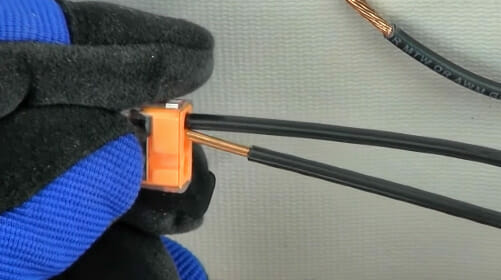
Step 3: Release the Wire
Releasing the wire from its connector can feel like a tightrope walk, but don’t sweat it. I’ve got you covered.
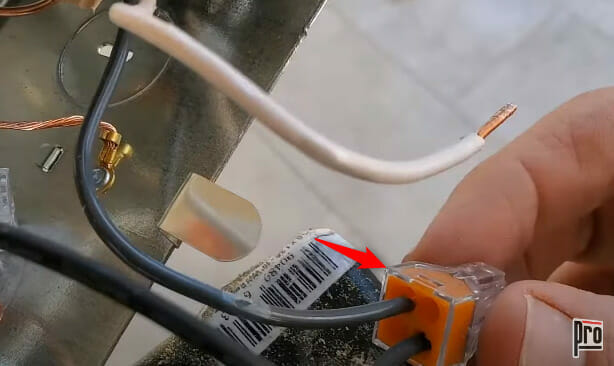
First off, locate the small release tab on your connector. It’s usually at the back or underneath and might be hidden, so keep those eyes peeled. Once you find it, gently press down on that tab with a tiny flathead screwdriver (or similar tool).
Here’s where precision comes into play – while holding down that release tab, pull the wire softly yet firmly. Be careful not to yank it out too hard; we don’t want any damaged wires or connectors here!
If everything goes according to plan – and trust me, with a little patience, it will – your wire should slide right out of its connector without fuss.
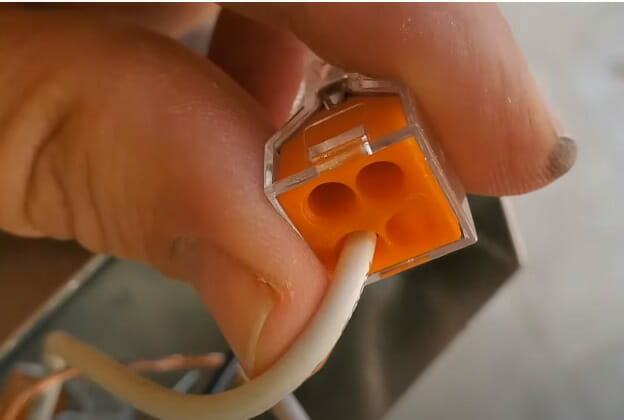
But what if your connector doesn’t have a release tab? No worries! Some connectors are designed as ‘push-in,’ meaning the wire can be removed by simply pressing down on a designated part of the connector itself while pulling out the wire.
Remember: practice makes perfect when releasing wires from their connectors. Please don’t rush through these steps; take your time and do it right.
Step 4: Inspect for Damage
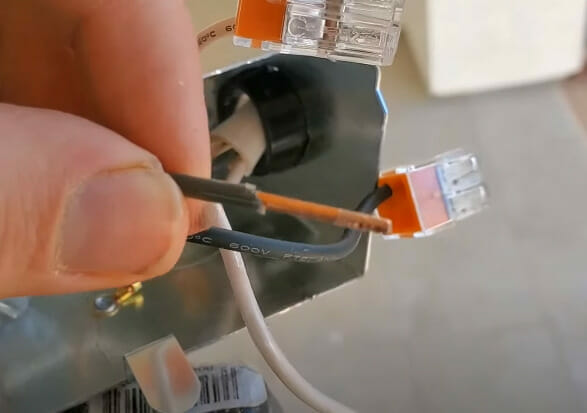
Now that we’ve removed the wire from the connector, it’s time to look closer.
You may not realize it, but damage can occur in the most unexpected places. I’m talking about minor nicks and scratches on your wire or connector that could throw off your project.
Look closely at both ends of your wire and inside the connector. Are there any signs of wear? Maybe some frayed strands of wire peeping out? Or perhaps you spot a bent pin inside the connector? These are all signs that something’s amiss.
It’s better to find these issues now rather than later. Troublesome as they might seem, they’re usually pretty easy to fix once identified. So don’t rush this step – take your time and inspect thoroughly.
Remember, even a minor nick in your wire could lead to poor connectivity or short circuits! Bent pins within connectors can also cause problems with data transmission or power supply.
Here are a few things to watch for during the inspection:
- Bent pins
- Frayed wires
- Nicks or cuts on insulation
- Discoloration (signs of heat damage)
If you spot any of these issues, don’t worry! It doesn’t necessarily mean you need new equipment altogether. Often, simple fixes like re-stripping wires or replacing individual pins within connectors can do the trick.
The goal here isn’t just about connecting things again – it’s about ensuring long-term reliability, too! So, when inspecting for damage, keep an eye out for anything that could cause problems.
Common Issues and Troubleshooting
Let’s start by tackling a few of the most common issues when removing wires from connectors. It’s not always as simple as it seems, but I’m here to help you navigate these hurdles.
Issue #1: The Wire Won’t Budge
This is probably the most frustrating problem. You’ve got your tools ready, and you’re following all the steps, but the wire just won’t come out. This usually happens because some adhesive or sealant is used in manufacturing. Don’t fret! A little heat can often loosen things up. Use a hairdryer on a low setting for about 30 seconds – just enough to warm it slightly without damaging anything.
Issue #2: The Connector is Damaged
Removing wires can be tricky if your connector has seen better days and is damaged or corroded. Before pulling them out, clean off any visible corrosion with a small brush and rubbing alcohol (isopropyl). Be gentle so as not to cause further damage.
Issue #3: Fear of Breaking Something
I get it – you don’t want to break anything while removing wires from connectors. Here’s my advice: take your time and don’t force anything that doesn’t want to move easily. Proper tools like small pliers or tweezers can make this task less daunting.
Now, onto troubleshooting tips:
- Always double-check which type of connector you’re dealing with before starting.
- When in doubt, go slowly! Trying to rush this process might result in broken wires or damaged connectors.
- If heating doesn’t work for stuck wires, use a fine-tip tool like needle-nose pliers or dental picks.
Remember, patience is key when dealing with these common issues surrounding wire removal from connectors. Keep these tips in mind, and I’m confident you’ll be able to tackle this task like a pro.
Reusing or Replacing the Connector
I bet you’re wondering, “What do I do with this connector now that I’ve removed the wire?”
Depending on its condition, you may be able to reuse the connector. On the other hand, if it’s seen better days, replacing it might be your best bet.
Let’s talk about reusing first. If your connector is still in good shape – no cracks or damage and the metal contacts are clean – reuse it! There’s no need to waste a perfectly good piece of equipment. Just remember, before reusing, give it a thorough inspection to make sure it meets these criteria:
- No visible cracks or damage
- Clean metal contacts
- The locking mechanism is functioning properly
Now, upon inspection, your connector isn’t up to snuff. Maybe there are visible signs of wear and tear or damage from overheating. In that case, a replacement is necessary for safe operation going forward. When hunting for replacements, remember:
- Match the type and size of your original connector
- Check for compatibility with your wiring
- Choose quality over cost whenever possible
In this world where sustainability matters more each day, knowing when we can extend the life of our connectors versus when they need replacing is vital knowledge! It saves us money and helps keep unnecessary waste out of landfills.
Inspect thoroughly before reusing connectors; don’t skimp on quality when replacing them!
Proper Wire Insertion Techniques
Now, let’s dive right into the meat of the matter – wire insertion techniques. It might not seem like a big deal, but trust me, doing it wrong can lead to all sorts of headaches down the line.
First off, you want to make sure your wire is correctly stripped. That means you’ve got about a quarter inch of bare wire showing at the end. Too much and it won’t fit; too little and you’ll get a weak connection.
You’ve got to gently insert that stripped end into the connector until it fits snugly in place. There is no forcing here – if there’s resistance, something’s not quite right.
Let’s move on to crimping now – an essential step for secure connections! A good crimping tool goes a long way here. Ensure you’re crimping firmly enough to hold the wire in place without damaging it.
Lastly, always double-check your work before moving on. Is the wire securely lodged in place? If so, great job! If not, no sweat – remove it and start again from “the wiggle” stage.
And that’s how we do proper wire insertion around here! Remember these tips next time you face those pesky connectors and wires.
Final Checks and Safety Measures
Don’t rush to celebrate when you’ve successfully removed the wire from the connector. There are a few final checks and safety measures that I urge you to follow.
1. Check for exposed wires
Ensure no wires are left exposed. Exposed wires pose a risk of electric shock, which can be deadly or cause serious injuries. So, take your time to check each wire thoroughly.
2. Inspect for any damaged cables
Always verify that all wires are intact and not damaged during removal. Damaged wires can lead to short circuits, risking your devices and personal safety.
3. Ensure there is no debris in connectors
Debris can compromise connections, leading to device malfunction or, worse, a fire hazard!
Always prioritize your safety when dealing with electronics. Wear protective gear if necessary – gloves and eye protection won’t hurt.
So there we have it – my top tips on removing wire from connectors safely and efficiently while ensuring your personal well-being!
References
Studies:
- IEEE Xplore Digital Library. https://ieeexplore.ieee.org/Xplore/home.jsp
Organizations:
- Institute of Electrical and Electronics Engineers (IEEE). https://www.ieee.org/
- Electronic Frontier Foundation (EFF). https://www.eff.org/
Books:
- “Electronics All-in-One For Dummies” by Doug Lowe
- “Make: Electronics: Learning Through Discovery” by Charles Platt
- “The Art of Electronics” by Paul Horowitz and Winfield Hill
Video References:
Clickapro
LEARNINGCHORDS
Ron Kipper From IDEAL