8 min read
How to Remove a Wire from a Push-in Connector (Expert Guide)
Dealing with electrical connectors can be like solving a puzzle, especially for those push-in connectors.
Quick Summary:
🔌 Step 1: Cut Off the Power
🔧 Step 2: Remove the Cover Plate
🛠️ Step 3: Pull Out the Electrical Outlet
🪛 Step 4: Release the Wire
🔁 Step 5: Repeat for Other Connections
I’ll detail these steps, sharing some tricks I’ve picked up. Let’s get those wires out safely and efficiently!
Essential Tools for Removing Wires from Push-In Connectors
Alright, let’s talk tools!
Flat Screwdrivers: The MVP here is a reliable flat screwdriver. But not just any flat screwdriver – you want one that’s slender enough to fit into the release slot of the connector without damaging it. I’ve had good experiences with precision flathead screwdrivers.
Needle-nose Pliers: These are great for gently pulling the wire out once it’s released. It would be best to have a good grip that won’t chew up your wires.
Non-Contact Voltage Tester: Safety first, always. Before even touching those wires, you know no current is running.
Wire Stripper: If you need to strip your wire for a fresh connection, a good wire stripper is key. It’s versatile and can handle different wire gauges without fraying the ends.
5 Steps to Safely Remove a Wire from a Push-In Connector
Step 1: Ensure Power is Off
First things first, let’s play it safe. Find the breaker for the specific push-in receptacle you’re working on and switch it off.
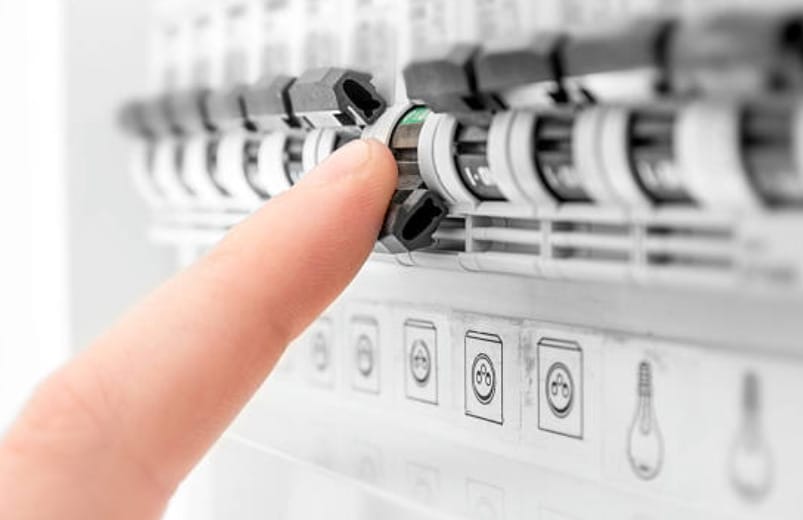
And here’s a tip: don’t just trust that switch; double-check with a voltage tester or voltmeter.
Step 2: Remove the Cover Plate
Alright, now it’s time to dive in. Grab your screwdriver and loosen the screws holding the cover plate. Gently pull it off the wall.
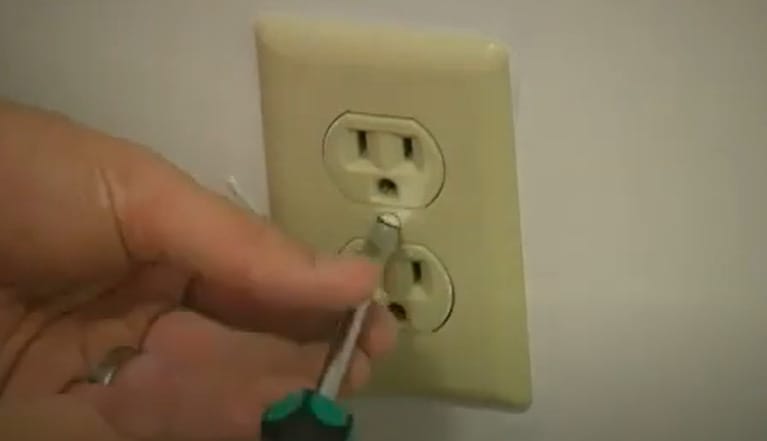
Remember, some plates might have one screw, others two – so keep an eye out.
Step 3: Take Out the Electrical Outlet
With the cover off, you’ll see the outlet attached to an electrical box on the wall. Unscrew and gently pull out the outlet.
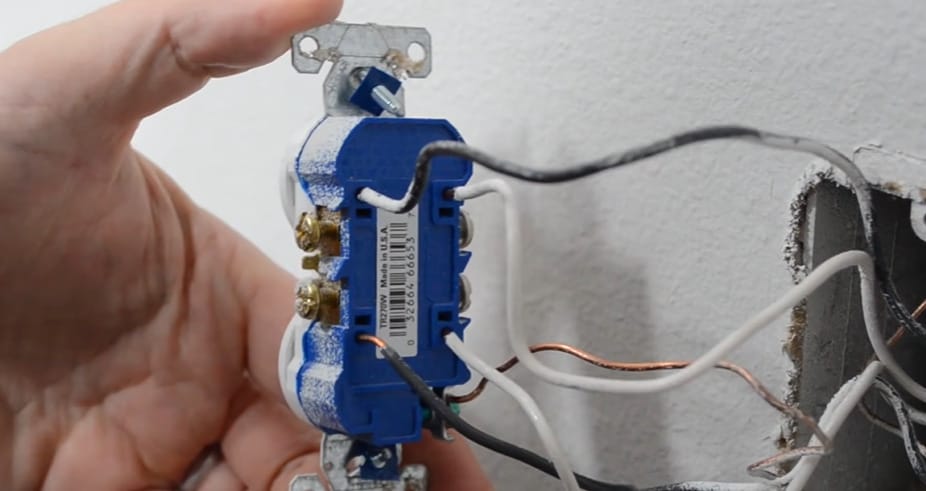
Here’s a handy hint: if you’re not 100% sure the power’s off, give it another check with your tester. Better to be double-sure, right?
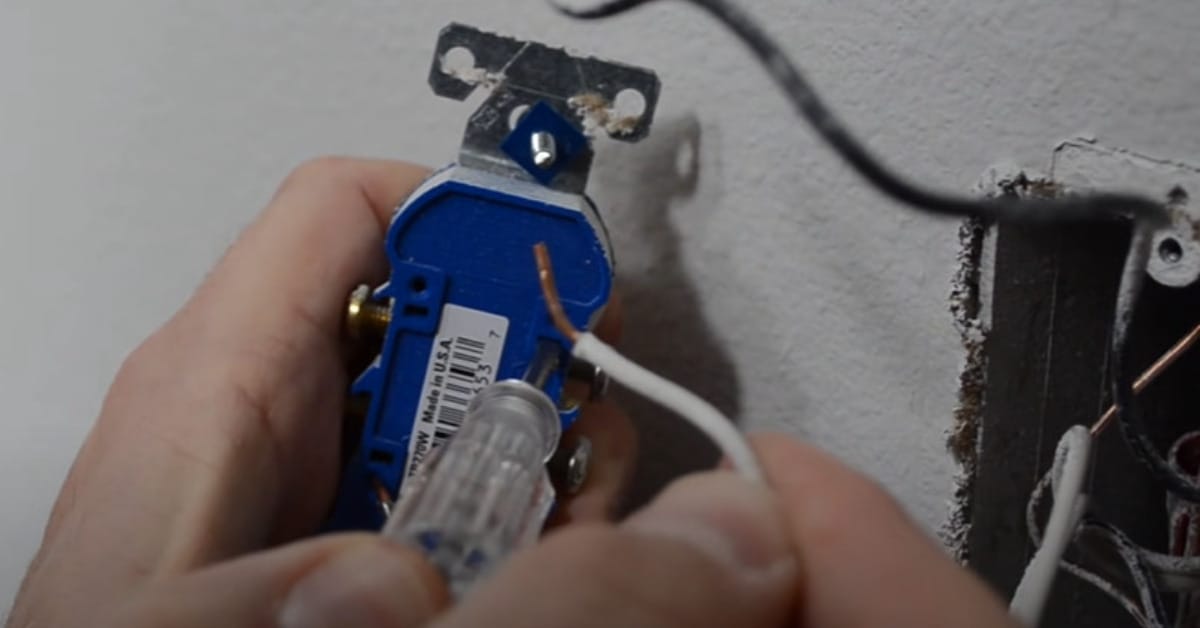
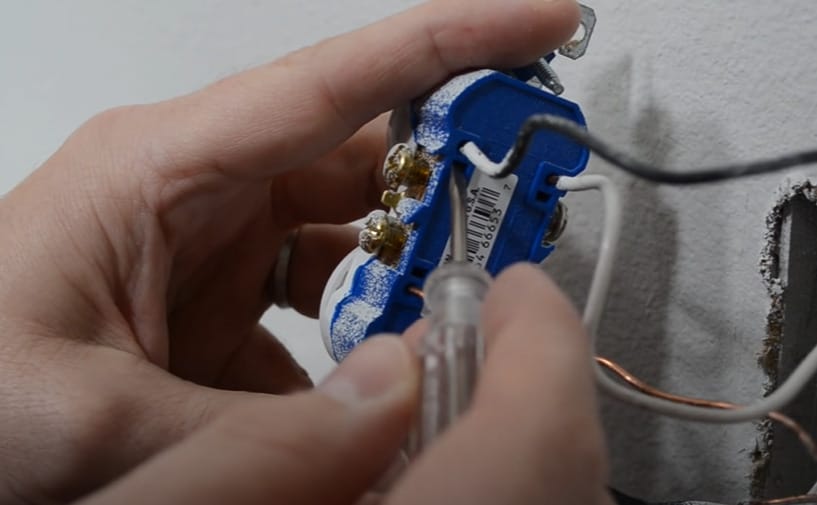
Step 4: Freeing the Wires
Now, the trickier part. Push-in connectors have a nifty locking mechanism but don’t worry, it’s easy once you get the hang of it.
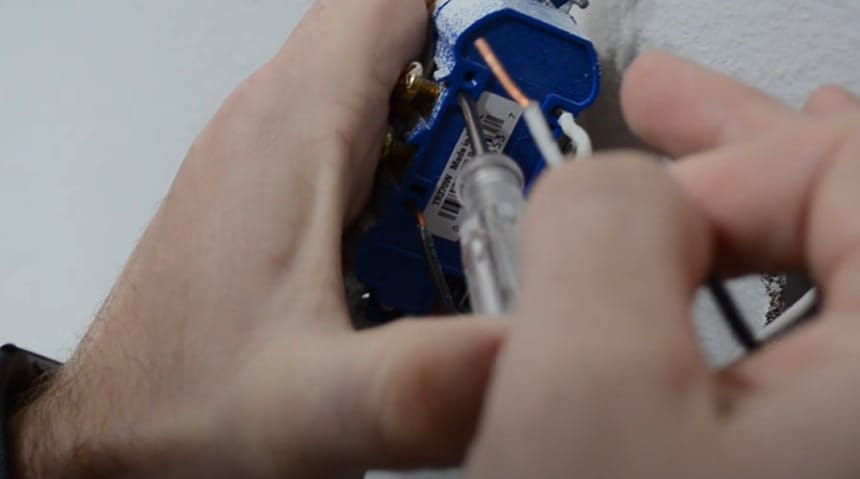
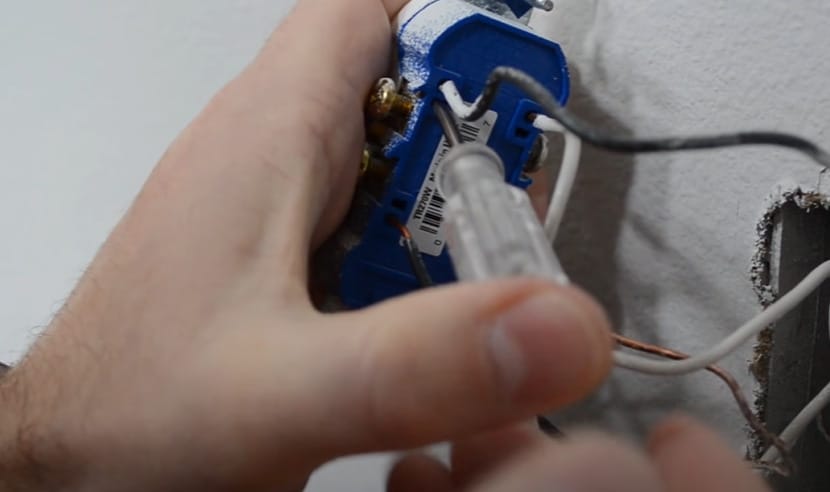
Find the release slot – it’s usually pretty visible. Press a flat screwdriver into this slot.
Step 5: Repeat and Check
Have you got one wire out? Great! Just repeat these steps for any other wires. If you run into a wire that’s being stubborn, don’t force it.
Sometimes, it’s better to snip the wire and re-strip it than to risk damaging the connector.
Navigating Hurdles: Solving Common Issues When Removing Wires from Push-In Connectors
Over the years, I’ve encountered a few snags and learned a thing or two about troubleshooting these issues.
Let’s summarize some of the most common problems and their solutions in a handy table format.
| Issue | Possible Cause | My Solution |
|---|---|---|
| Stubborn Connector | The connector is too tight or old | Gently wiggle the wire while pulling it out. If it’s stuck, a bit of lubricant can help. |
| Broken Wire | The wire snapped during the removal | If a wire breaks off, remove any remaining bits from the connector. You may need needle-nose pliers for precision. |
| Damaged Insulation | Insulation got damaged while pulling | Strip the damaged section and re-strip the wire to ensure a clean, safe connection for future use. |
| Loose Wire | The wire is not gripping properly | Ensure the wire is stripped to the correct length and reinsert it firmly into the connector. |
| No Release Slot | Older model without a release mechanism | For these tricky guys, gently twist the wire as you pull it out. Patience is key here. |
Remember, if you’re ever unsure or the problem seems bigger than a DIY fix, it’s always wise to consult a professional. Safety first, always!
Steering Clear of Slip-Ups: Avoiding Common Mistakes with Push-In Connectors
Alright, fellow home improvement enthusiasts, let’s talk about dodging those all-too-common errors when dealing with push-in connectors.
Understanding these pitfalls can save you time and ensure a safe electrical setup. Here’s my take on what to watch out for:
- Skipping the Power-Off Check: I can’t stress this enough – always ensure the power is completely off. Once, I got a little too confident and skipped double-checking the power. Let’s say it was a shocking reminder never to repeat that mistake.
- Using the Wrong Screwdriver: Using a screwdriver that’s too big or too small for the release slot is a no-go. I’ve damaged a few connectors this way. The key is to find that ‘Goldilocks’ screwdriver – just the right size.
- Forcing the Wire Out: Patience is a virtue, especially with stubborn wires. Forcefully yanking them can lead to breakage or damage. I learned to apply steady pressure and wiggle the wire out gently.
- Ignoring Wire Condition: If you notice any fraying or damage to the wire insulation, don’t just shove it back in. It’s crucial to cut and re-strip the wire for a safe connection. I had to redo an entire project once because I overlooked this step.
- Overlooking Wire Gauge Compatibility: Not all wires are created equal, and neither are all connectors. I’ve seen folks try to jam a thicker wire into a connector not meant for it. Always check the wire gauge compatibility to avoid a loose connection or worse.
- Neglecting a Final Check: After you’ve reassembled everything, give it a final once-over. A loose cover plate or a missed connection can lead to problems.
By keeping these points in mind, you’re setting yourself up for a smoother and safer experience with push-in connectors. Remember, in the DIY world, taking a moment to do things right can save you a lot of time (and potential headaches) later on. Stay safe and have fun!
Frequently Asked Questions
- Can Any Wire Gauge Fit in a Push-In Connector?
- This one comes up a lot. The simple answer is no. Each push-in connector is designed for specific wire gauges. Forcing a wire that’s too thick or too thin can lead to a poor connection.
- Is It Safe to Reuse Push-In Connectors?
- In my experience, it’s usually fine to reuse them, but you’ve got to inspect them first. Look for any signs of damage or wear. If it looks worn out or damaged, better safe than sorry – replace it.
- Can Push-In Connectors Be Used in All Electrical Projects?
- They’re handy but not suitable for every project. Push-in connectors are great for light to moderate electrical loads. For heavy-duty applications, I recommend screw terminals or other types of connections.
- How Many Wires Can I Insert in a Single Connector?
- This depends on the connector. Some can handle multiple wires, but always check the manufacturer’s specifications.
- Can I Combine Different Wire Gauges in One Push-In Connector?
- I’d advise against it. Stick to using the same gauge wires in a connector for a consistent and safe connection. Mixing gauges can lead to loose connections and potential hazards.
- Are Push-In Connectors Reliable for Long-Term Use?
- Yep, they can be. Ensure they’re properly installed, and the wire gauge matches the connector. Regular checks are a good idea, too.
References
Organizations:
- National Electrical Manufacturers Association (NEMA). https://www.nema.org/
- Institute of Electrical and Electronics Engineers (IEEE). https://www.ieee.org/
Books:
- “Wiring Simplified: Based on the 2020 National Electrical Code” by Frederic P. Hartwell, Herbert P. Richter, and W.C. Schwan. https://www.barnesandnoble.com/w/wiring-simplified-frederic-p-hartwell/1142524149
- “Black & Decker The Complete Guide to Wiring, Updated 7th Edition” https://www.buildersbook.com/black-decker-the-complete-guide-to-wiring-updated-7th-edition.html
Website Resources:
- The Spruce. https://www.thespruce.com/
- Family Handyman. https://www.familyhandyman.com/
Video Resources:
ExpertVillage Leaf Group
Domesticengineerdad