17 min read
How to Terminate Unused Electrical Wires (7-Step Process)

Unused electrical wires can be a real headache if left unattended. They’re not only unsightly, but they can also pose serious safety risks.
First, you should know that it’s possible to do this yourself. However, some caution is essential because we’re dealing with electricity here!
In this article, I’ll guide you on safely terminating your unused electrical wires without getting an unwanted jolt or creating potential fire hazards.
Key Takeaways: For terminating unused electrical wires safely:
- Step 1: Turn off the circuit.
- Step 2: Test for current.
- Step 3: Cut and cap wires.
- Step 4: Match wire connector size.
- Step 5: Attach connectors carefully.
- Step 6: Secure ground wires wisely.
- Step 7: Apply electrical tape for added support.
We’ll cover everything from the tools necessary for the job, the correct procedure to follow, and even tips on what NOT to do.
By the end, you’ll be ready to tackle those redundant wires like a pro!
Understanding the Importance of Proper Termination
Let’s dive right into why terminating unused electrical wires is so important.
First, properly terminating these wires can be a huge factor in preventing potential electrical fires. It’s not just about keeping your wiring neat and organized – it’s also about ensuring your home stays safe.
Now imagine this scenario: You’ve got an old light fixture you’re replacing with a new one. The old fixture connected three wires, but the new one only needs two. That leaves an extra wire hanging out like a loose end. If that wire isn’t terminated correctly, it could lead to all sorts of trouble – from short circuits to sparks and fire hazards.
And then there’s energy waste to consider as well. While an unused wire might not seem like much of an energy drain, those pennies can add up over time when you multiply that by all the unused wires potentially lurking in your walls.
Here are a few more reasons:
- Preventing Electrical Shocks: An improperly terminated wire can shock someone if they come into contact with it.
- Avoiding Short Circuits: A loose wire can cause short circuits, which may damage other appliances plugged into the same circuit.
- Maintaining Resale Value: If you plan on selling your house at some point, properly terminating unused wires will show potential buyers that you took good care of your property.
So remember, don’t overlook those unused wires. Terminate them properly and keep your home safe and energy-efficient!
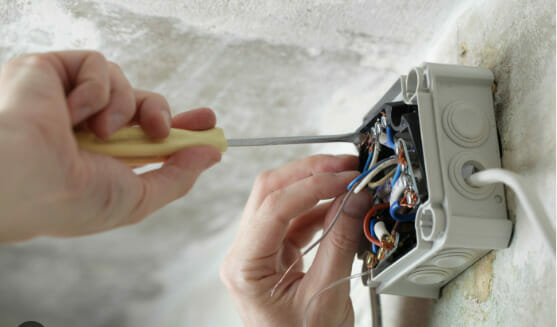
Step 1: Ensuring Safety – Shutting Off the Circuit
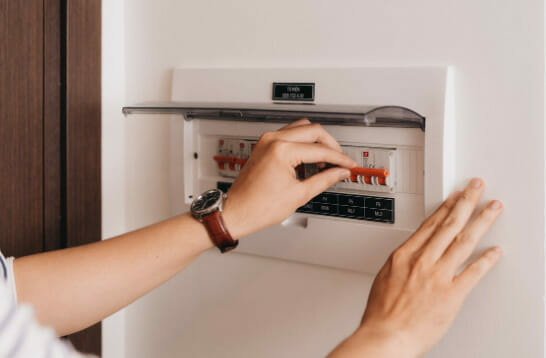
Safety should be your top priority before tackling unused electrical wires in your house.
It’s not a secret that messing around with electricity if you’re unsure what you’re doing can lead to serious consequences. Let’s dive into some of the steps I recommend when shutting off the circuit.
To play this game safely, shutting off the main breaker is usually your best bet. This big switch is typically located at the top or bottom of your service panel. Now, don’t let yourself get fooled by how simple it may seem – turning off this one switch will effectively cut power to all circuits in your home.
You might think, “I only need to work on one specific circuit; why shut down my whole system?” That’s where individual circuit breakers come into play. Each breaker corresponds to a different part of your home; flipping them off individually can isolate areas where work needs to be done.
Remember, though, identifying which breaker connects to what part of your home isn’t always straightforward. A well-labeled panel is a lifesaver, but not everybody has that luxury. In these cases, it could take trial-and-error or even an advanced tool like a circuit tracer.
Here are some key points:
- Main Breaker: The large switch is often found at the top or bottom of your service panel.
- Individual Circuit Breakers: Smaller switches represent different parts of your home.
- Panel Labeling: Helpful for identification but not always accurate or present.
Whether dealing with a main breaker or an individual one, double-checking everything before starting is crucial! Just because a switch looks like it’s been flipped doesn’t mean power has been entirely cut off – use a non-contact voltage tester or multimeter for this purpose.
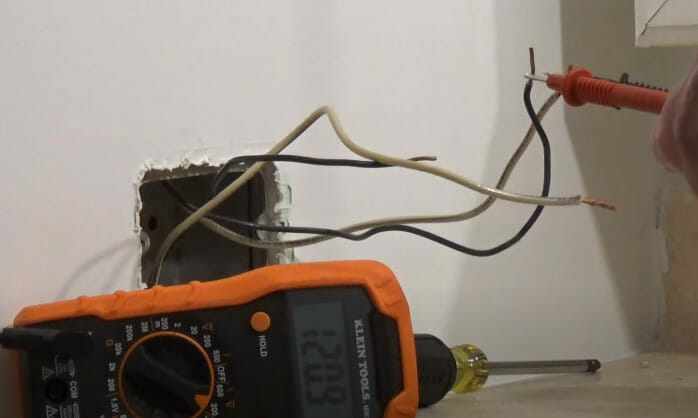
Step 2: Testing the Wires – A Crucial Step
Ensuring they aren’t live is paramount before you even think about terminating those unused electrical wires. You don’t want a shocking surprise, do you? So, let’s dive right into how we can test these wires.
1. Voltage Tester
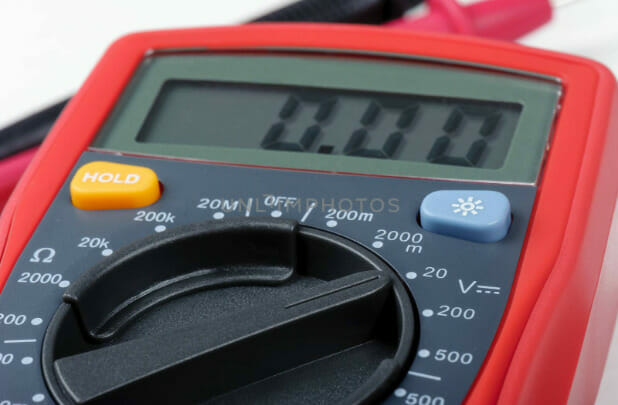
First off, get yourself a voltage tester. It’s an inexpensive tool that’ll save you from potential harm and make this process smoother.
To use it, place one probe on the wire’s bare metal end while grounding the other. If there’s power running through the wire, your voltage tester will light up or beep – a clear sign to step back and turn off your home’s main power before proceeding.
2. Alternative Testing Method
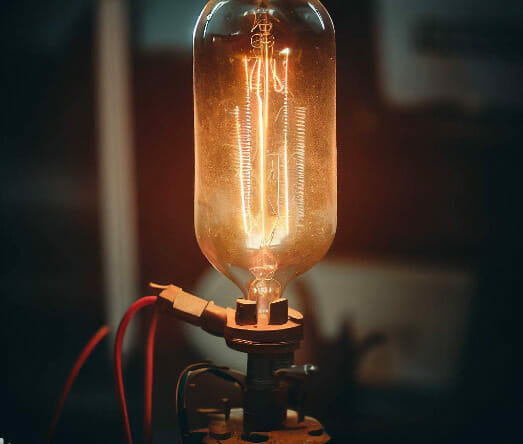
Now I know what you’re thinking: “What if I don’t have a voltage tester?” Well, here’s an alternative – using a lamp or any appliance with a plug can serve as your makeshift tester!
Plug one blade of your wire into the bottom slot of your lamp plug (that’s usually where the hot wire goes). Attach another wire to the top slot (neutral) and touch its other end to the ground. If your lamp lights up when plugged in, then buddy – those are hot wires!
3. Safety Precautions

Remember, folks – safety first! Always wear rubber-soled shoes and stand on dry wood or rubber matting while testing for live current.
Take note:
- Use Voltage Tester: Reliable tool for detecting current.
- Alternative Method: Using appliances like lamps for testing.
- Safety Measures: Wear protective gear; Stand on dry wood/rubber matting.
By following these steps diligently, you’ll identify whether those seemingly harmless unused wires carry any voltage.
And once confirmed they’re safe – only then should we move on terminating them properly.
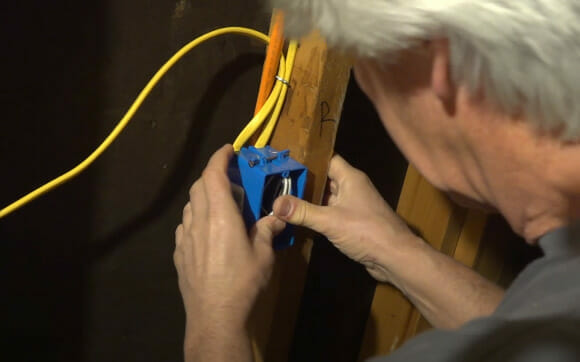
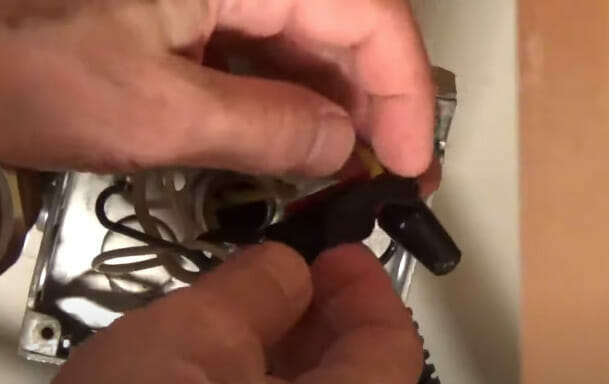
Step 3: Preparing the Wires for Termination
Before we dive in, it’s crucial to understand the importance of safety when dealing with electrical wires. My first piece of advice? Always turn off the power before starting any work on your wiring! Trust me, you don’t want a nasty shock.
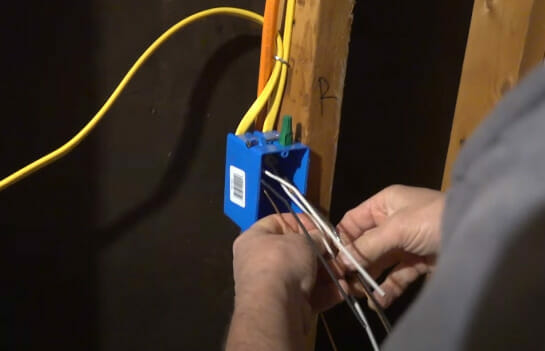
1. Identify Unused Wires

Now, let’s get those wires ready for termination. Start by identifying your unused wires. They’re often coiled up inside junction boxes or tucked away behind wall plates and could be live if they’re not correctly disconnected.
2. Inspection is Key
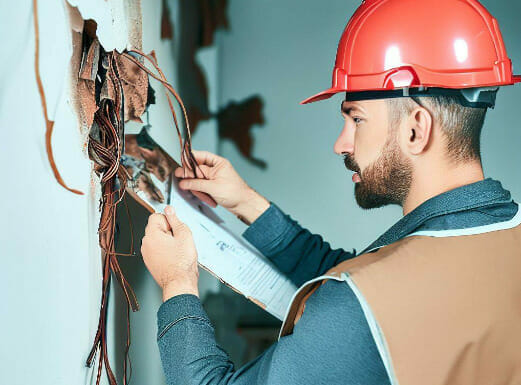
Next up is inspecting these rogue wires. Look out for any signs of damage, like frayed insulation or exposed copper wire. If you spot anything suspicious, it’d be wise to call in a professional electrician instead of tackling it yourself.
3. Precise Wire Cutting
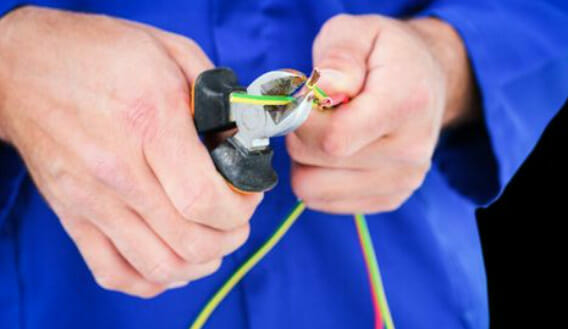
Once inspected, cut the wire down to about six inches from where it enters its box using wire strippers. If needed, this leaves enough room for future use but keeps things tidy and manageable.
So there you have it: prepping your unnecessary electrical wires doesn’t have to be an intimidating process! Just stay safe and follow these easy steps.
Step 4: Choosing the Right Wire Connector Size
Regarding electrical work, picking the perfect wire connector size isn’t as complex as you might think. Getting this right is crucial for ensuring your circuits function properly and safely.
Let’s dive in and determine how to choose the right one!
Understanding Wire Gauge
First up, we need to talk about wire gauge. It measures your wire’s size, with higher numbers representing smaller wires. Here’s a fun fact: the wire connector size should match the wire size! So, if you’re dealing with a 12-gauge wire, you’ll want to use a 12-gauge connector.
But wait – there’s more! Considering how many wires connect in that little hub would be best. If you’re linking three or four wires together instead of just two, pick up larger connectors that can handle all that extra mass without overheating or coming loose.
The Significance of Proper Sizing
Choosing the right-sized connectors isn’t just about avoiding disaster; it also helps ensure your connections are tight and secure. Loose connections can cause voltage drop – which means less power for your devices – and nobody wants that!
General Guidelines for Connector Sizes
Here are some general guidelines when selecting connector sizes (measured in AWG – American Wire Gauge):
| Wire Gauge (AWG) | Connector Color | Recommended Wire Nut Size |
|---|---|---|
| 16-14 | Blue | Small (16-14) |
| 12-10 | Yellow | Medium (12-10) |
| 18-22 | Red | Mini (18-22) |
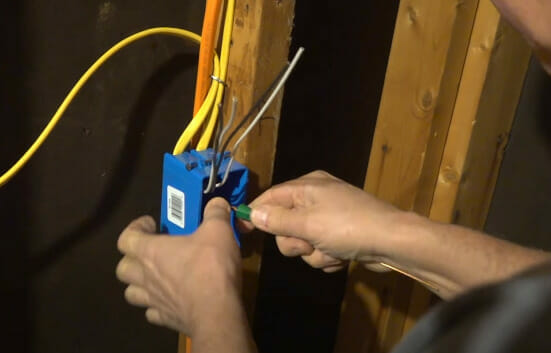
Step 5: Proper Technique – Attaching the Wire Connector
When it comes to attaching a wire connector, it’s not about muscling it on there; it’s all about precision and safety. Let’s dive in.
1. Start with Clean and Straight Wires
First things first, you have to make sure your wires are clean and straight. A rough or bent wire can throw a wrench into the works when trying to cap them off. Then, pick out the right size wire connector for your wires. You can’t just use any old one lying around; it must fit snugly but not too tight.
3. Properly Twist the Wires
Now, here comes the fun part—twisting those wires together! Hold ’em parallel and start spinning clockwise until they’re tightly wound into each other. But hang on, we’re not done yet!
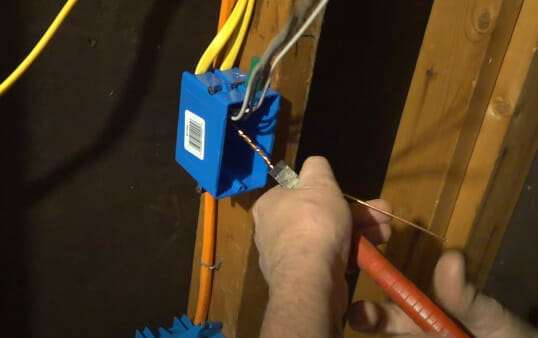
4. Attaching the Wire Connector
Next up is getting that wire connector on there. Push it down over the twisted wires till you feel resistance, then give it another half-twist clockwise. This locks everything into place nicely and securely.
5. Perform a Tug Test
Finally, tug lightly on the connector to ensure everything is secure before tucking those capped-off wires back into their box or conduit. It’s an important step not everyone thinks of–but believe me when I say you don’t want any loose ends causing trouble later!
6. Securely Tuck Wires Away
After confirming the secure connection, tuck the capped-off wires back into their junction box or conduit. This step is often overlooked but is crucial for ensuring that no loose ends are left exposed, which could lead to complications or safety hazards in the future.
So there you have it, folks—a quick guide to properly attaching a wire connector like a pro! Just remember to work carefully and double-check your connections at every step.
Step 6: Securing Ground Wires and When to Skip Capping
When dealing with electrical projects, safety always comes first. Often, this involves securing your ground wires effectively. Now, you might be thinking: what exactly is a ground wire?
Understanding Ground Wires:
In simple terms, ground wires are used for protection against electrical faults. They create a direct pathway back to the earth, which in turn helps prevent any unwanted voltage on metal enclosures.
Securing Ground Wires: Step by Step:
Now, let’s get into the nitty-gritty of how we secure these vital components.
- First, ensure the power is turned off at the circuit breaker before starting.
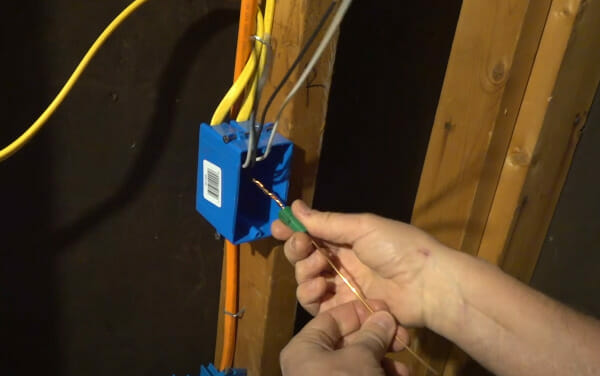
- Then locate your ground wire — it’s typically bare or has green insulation.
- Connect it securely to grounding screws within an electrical box or device.
To Cap or Not to Cap: The Ground Wire Dilemma:
Easy as pie, right? But here’s where things get interesting: sometimes capping isn’t necessary. That’s right! Not all unused electrical wires need to be capped—especially ground wires.
Some professionals argue that leaving ground wires uncapped can enhance safety during future electrical work by making them more visible and accessible. Remember, this should only apply if they’re tucked safely in an electric box.
The bottom line? Know when to cap your wires and know when not to. And above all else – stay safe out there! After all, no renovation project is worth risking your life over.
Step 7: Using Electrical Tape for Added Support
When dealing with unused electrical wires, it’s important not to overlook the role of electrical tape. It’s more than just an insulation tool – it can also offer additional support and safety when terminating these wires.
Understanding Electrical Tape:
Electrical tape, usually made from vinyl or plastic, provides an insulating layer that prevents accidental shocks or short circuits. It’s a reliable method of protecting exposed wire ends after termination. And here’s how you should use it.
Proper Use of Electrical Tape:
- Cut the Tape: Switch off any power source before starting work – safety is paramount! Then, cut a piece of this handy black tape about four to six inches long.
- Wrap the End: Wrap this around the end of the terminated wire several times until no bare wire is visible. You’ll want to be extra thorough here; better safe than sorry!
- Additional Protection: To give your termination job an added layer of protection, consider adding another piece of electrical tape around the entire area where the wire was terminated. This creates what I like to call a “double shield,” which makes it even harder for accidents to happen.
Regular Inspection and Maintenance:
Remember that electrical tape can provide added support and safety, but it isn’t a permanent solution. Over time, heat and humidity can degrade the adhesive on the tape, causing it to unravel or become less effective at insulating. That’s why regular inspections are necessary so you can replace old, worn-out tape as needed.
Don’t underestimate the humble roll of electrical tape in your toolbox when caring for unused wires! Its simple application process makes it accessible even to those not electrically inclined while providing essential protection against potential hazards.
Addressing Specific Scenarios: Shared Neutral Considerations
When it comes to terminating unused electrical wires, there’s one scenario that often raises a lot of questions. That’s when you’re dealing with shared neutral wires.
Before you get your tools out, let’s dive into the specifics and start snipping away.
Understanding Shared Neutral Wires:
Shared neutral wires are commonly found in residential electrical systems. They’re used to decrease the number of wires needed to complete circuits, saving costs and space in your electrical box. But if you’ve got an unused wire with a shared neutral, it can be tricky to know what to do.
The Potential Danger:
Firstly, you need to know that cutting a shared neutral wire is potentially dangerous. If another circuit is still using it, cutting could cause overloading and overheating on the remaining circuits – something we don’t want! So, before making any drastic moves, it’s crucial to figure out whether or not other circuits are still using the neutral.
When in Doubt, Seek Professional Help:
Even though you’ve tested everything thoroughly and feel confident about your findings – always err on caution. When in doubt, consult an electrician!
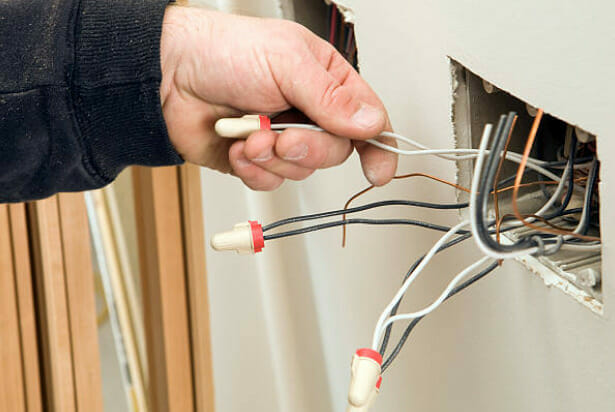
Alternative Approach for Unused Shared Neutral Wires:
In scenarios where you confirm that your unwanted wire has a shared neutral that is still active for other circuits – don’t cut! Instead, cap off both ends of the wire with wire nuts and label them “unused”. This way, they’ll remain safely inactive and available should they need reactivating in future updates or renovations.
Remember: safety first! Electrical work isn’t something to take lightly – but with careful planning and understanding specific scenarios like these shared neutrals considerations – we can help ensure our homes stay safe and functional.
References
Studies:
- National Fire Protection Association (NFPA). https://www.nfpa.org/
- IEEE Xplore. https://www.ieee.org/
Organizations:
- Electrical Safety Foundation International (ESFI). https://www.esfi.org/
- National Electrical Contractors Association (NECA). https://www.necanet.org/
Books:
- “Electrical Wiring Residential” by Ray C. Mullin and Phil Simmons
- “Wiring a House” by Rex Cauldwell
Website Resources:
- Electrical Safety Authority (ESA). https://www.esasafe.com/
Video References:
Helpful DIY
Forest To Farm
FIX IT Home Improvement Channel