5 min read
Connecting Different Gauge Wires (3-Easy Steps)
In this article, I’ll guide you on a few things you should consider when connecting different gauge wires from various sources.
When connecting different gauge wires from various sources, you must consider the amperage and length of both wires. Too much amperage can damage a wire. You may either solder or crimp the wires together to establish a link between the two. As a veteran electrician, I will go through several techniques to splice different gauge wires in the article below. The skill is quite useful, especially if you find yourself in a situation where you have to connect several different gauge wires.
You should be fine to connect different gauge wires as long as you do not pull excessive current through the smaller wires. The process is easy:
- Remove the plastic cover from the end
- Insert a wire
- Crimp one side of the wire
- Then, crimp the other side on top of the first wire
- Solder the wire to the terminal (optional)
I will cover more detail below.
Is it Possible to Connect Different Gauge Wires?
Yes, you can splice different gauge wires, but specific parameters like length and amperage impact the practice. Also,
Typically, wire size is determined by the estimated current load for each. You should be fine to connect different gauge wires as long as you do not pull excessive current through the smaller wires. You should check the signal frequencies if your connections are for signals rather than power. For high-frequency transmissions, stranded wire is typically preferred over the solid wire.
In other words, if you are only working with signals, you probably can connect different gauge wires; however, if any of the lines have high electrical currents, you generally shouldn’t do it. The resistance per foot increases as the wire diameter decreases. This has an impact on the maximum length of wire runs before substantial signal deterioration occurs.
Caution: Please ensure that a load of current passing through each of these wires in your application is correct. Depending on how much current the source/load is driving, low gauge to high gauge electricity transfer can heat the high gauge wire and sometimes melt the entire wire. So be careful.
Different Gauge Wires and Interference — Signal Reflection at the Junctions
Changing wire sizes for signal transmission is not recommended because it will cause interference due to signal reflection at the junctions.
Thinner wire also adds more resistance to the system. As a result, the smaller gauge wire will become hotter than the larger one. Confirm your account for this in your design. (1)
If you must connect different gauge wires, solder the wires to screw down terminal ends, such as spade terminals.
- Remove the plastic cover from the end (This also serves as a strain reliever)
- Insert the wire
- Crimp one side of the wire
- Then, crimp the other side on top of the first wire
- Solder the wire to the terminal.
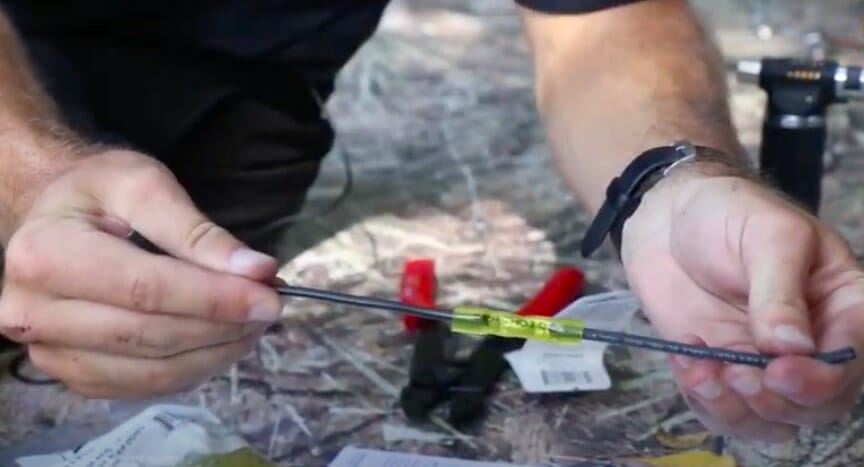
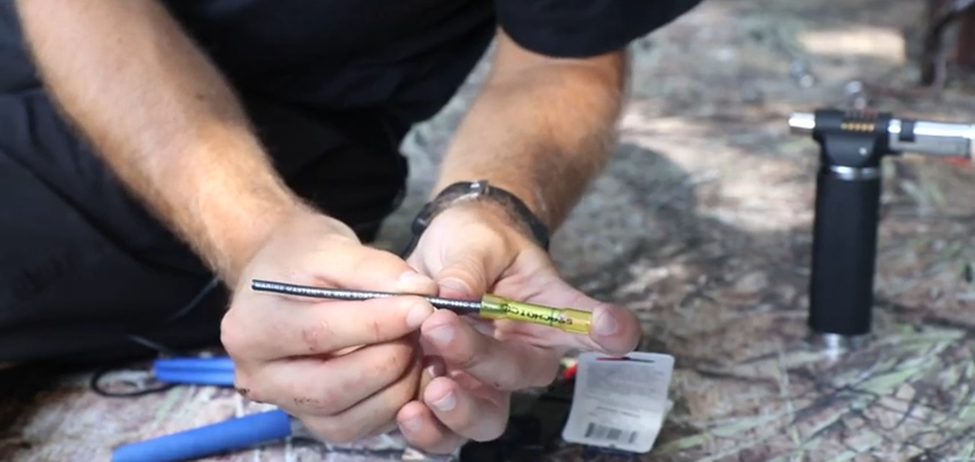
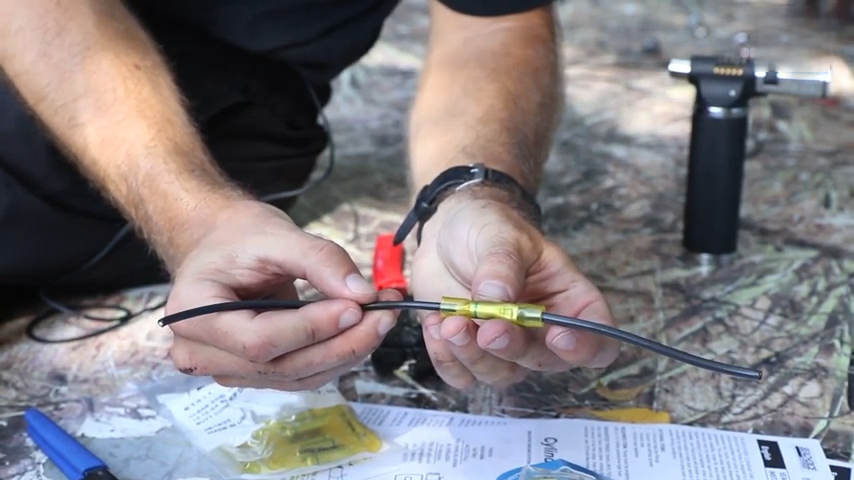
Alternative Way of Connecting Two Different Gauge wires — Procedure
The steps below will help you to conveniently splice two or more wires of different gauges together.
But if you can solder, do so, and then wrap it in heat shrink. Extending the heat shrink about 1/2 to 1″ past the solder joint on both sides. If not, check the steps below:
Step 1. Take the smaller wire and snip about twice as much as you need.
Step 2. Twist it (the wire) neatly, and fold it in half. Use a butt splice or crimp connector. Ensure the wire is fully inserted.
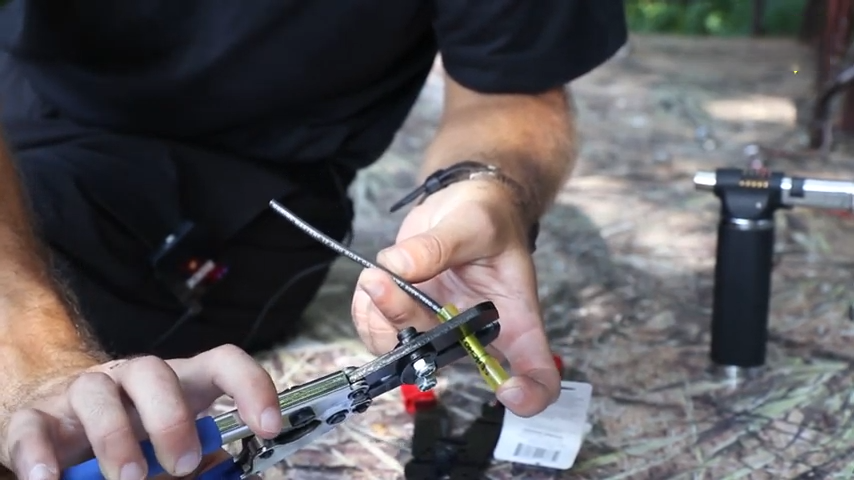
Step 3. Before crimping the larger gauge wire in the butt splice, wrap it in heat shrink. Fold both sides and heat shrink.
Tips: Another option is to take a stub of wire, strip both ends, loop it, and lay it in with the small wire to fill in the gaps.
If your wire gauge varies so much from one end to the other, you’ll almost certainly need to fold over the end and join a filler wire. Even this may not be sufficient. Before crimping, tin your wire ends just enough to keep the strands together. When tinning or soldering wire, you should be able to see the strands when finished.
If you can’t afford expensive solder sleeves or heat shrink with built-in sealant, you can squirt a bit of clear RTV into some heat shrink and then heat it. This will provide you with a good water seal. (2)
Take a look at some of our related articles below.
- Can I connect red and black wires together
- How far can you run 10/2 wire
- What gauge wire to connect two 12v batteries in parallel
References
(1) design – https://blog.depositphotos.com/different-types-of-design.html
(2) sealant – https://www.thomasnet.com/articles/adhesives-sealants/best-silicone-sealant/
Video Reference