10 min read
How to Wire a Basement (Guide)
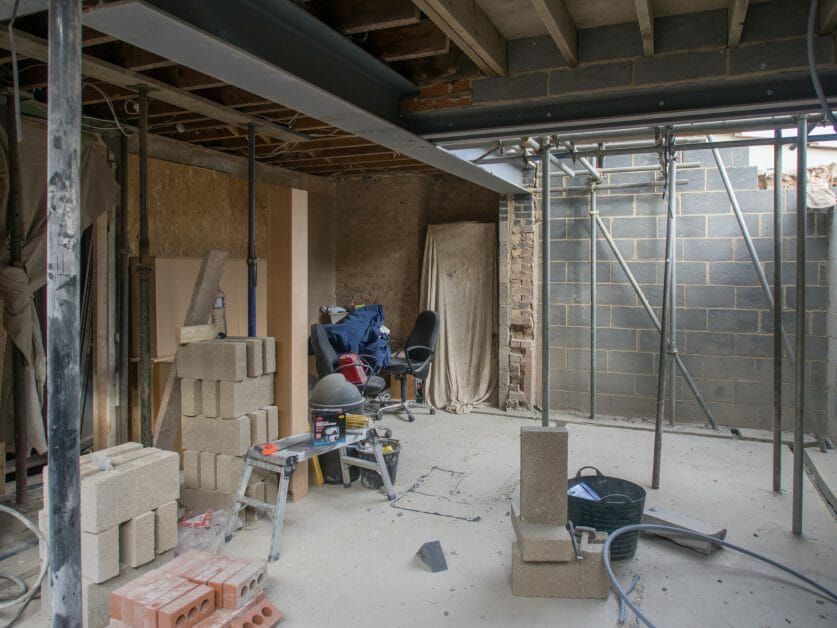
Ever wondered if it is possible to do a basement wiring project on your own? If you are searching for how to wire your basement, then chances are that you are a DIY enthusiast. Well, you have come to the right place to get the guidance you need. Let’s start with the fact – you can wire your basement by yourself. It is something that you can do all on your own with the right guidance.
You do not need any special license or training as an electrician. In this post, we will share details on how to wire your basement without issue. Let’s dig right into the details.
Wiring a basement is pretty simple. It is a 2-stage project involving the rough-in electrical phase, which involves installing the electric wire, and the finished electric phase, which involves installing the outlets, switches, and light fixtures.
Wiring Basement Switches, Outlets, and Lighting
Outlets and switches are integral aspects of your basement electrical wiring. Lighting covers the other part. The first thing to do when wiring is to think about specific things that will require constant power (outlets). The next is to consider those items that need to be controlled with switches (such as switched outlets, fans, and lights).
Having taken stock of what needs switches, plugs, and lights in your electrical wiring project, the next step is to start the process with fixing the plugs and then proceed to fix the switches and then the lights. Well, cover this in more detail below.
Basics of Basement Wiring
Before you embark on your electrical basement wiring project, you should decide on where you want to draw the power from. There is a high chance that you already have a subpanel in your house. So, what you have to do is either run the basement wiring to the existing subpanel or install a new one.
If you want to use an existing subpanel, make sure you have adequate empty slots for the entire runs you need for your basement. You should also consider how easy it will be to run wires from your existing subpanel to the basement.
If you are not sure if it will work, you may want to consider installing a new subpanel in your basement. A basement subpanel will make it easy to complete your electrical runs since you are tapping from the basement subpanel and not from outside.
Stages of the Basement Electric Project
A basement electrical project is a 2-stage project. It involves the rough-in electric stage and the finished electric stage. Let us briefly look at these two stages.
Rough-in Electric Phase
This phase entails the installation of the electric wires before installing the drywall. It is the project construction stage where the various electrical lines are done. The first part is the framing and next comes the rough-in stage. Let us look at important steps in the rough-in phase of wiring a basement:
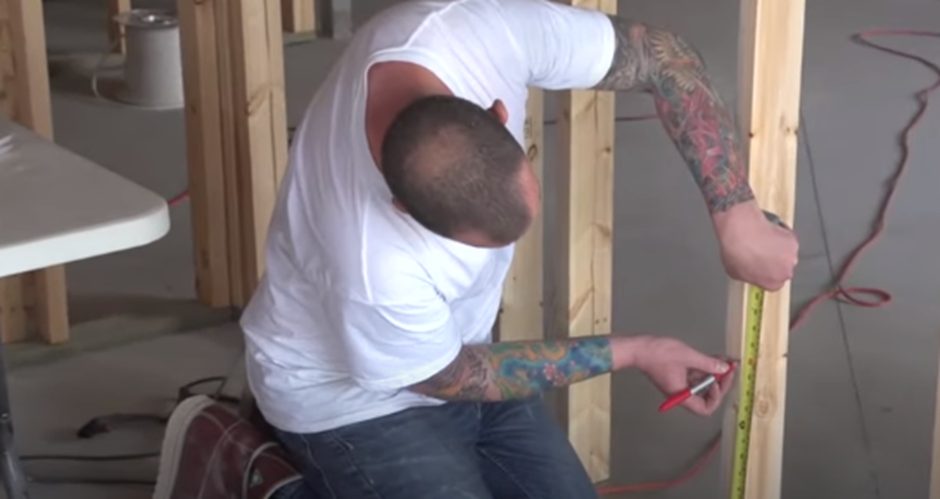
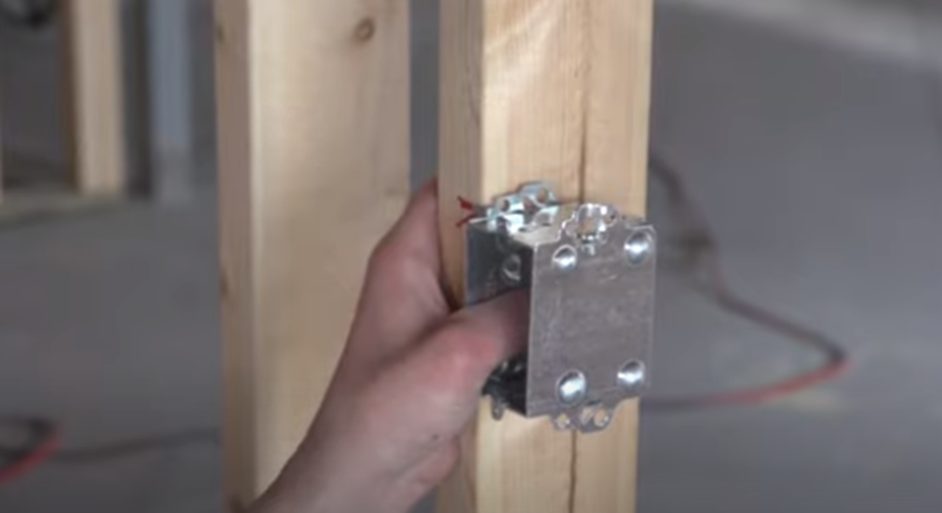
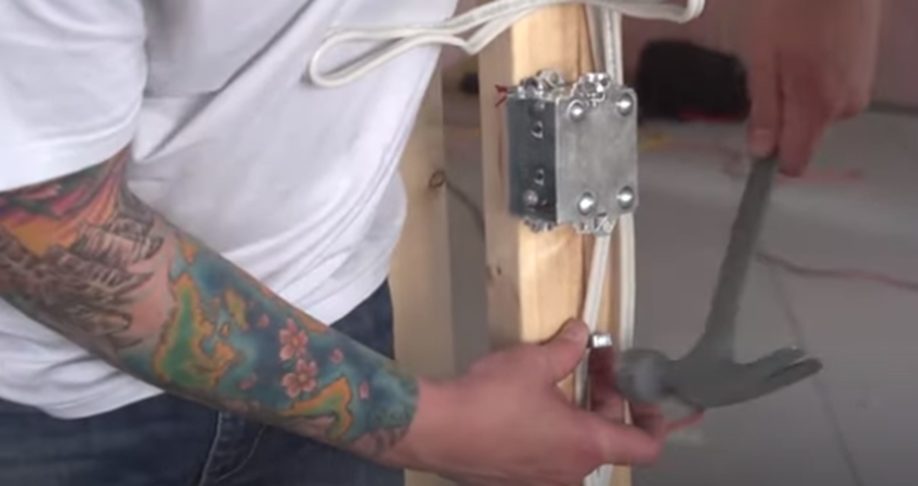
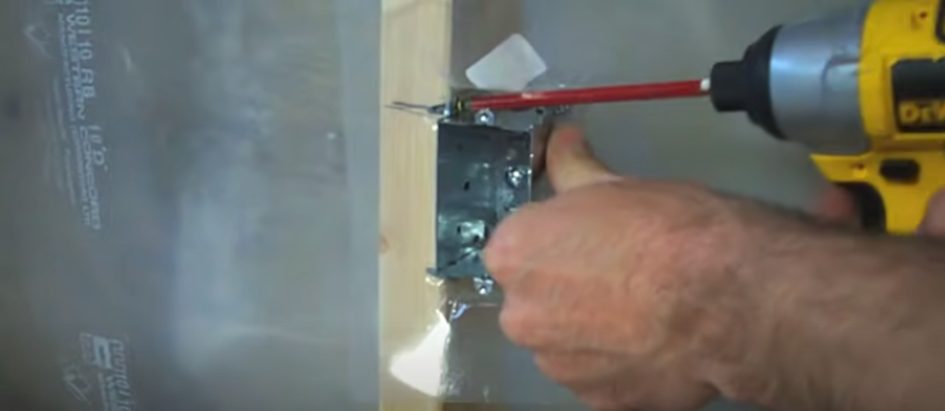
Step 1: Mark where you will install the boxes on the wall studs and nail a 2×4 block on the stud while marking the location of the center of the box on the stud.
Step 2: Position each box where you marked and nail it carefully to the stud.
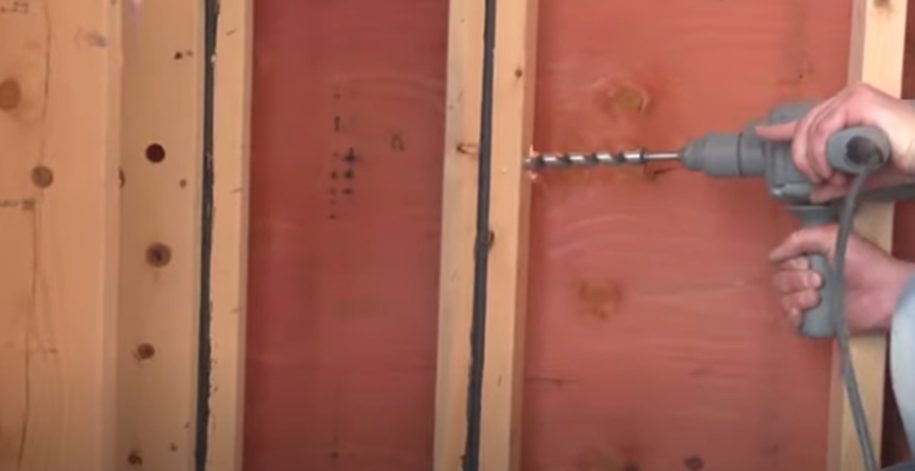
Step 3: Drill holes in the path of the wiring and make it about eight inches above the outlets’ level. Ensure that the holes are 1¼ inches behind the stud.
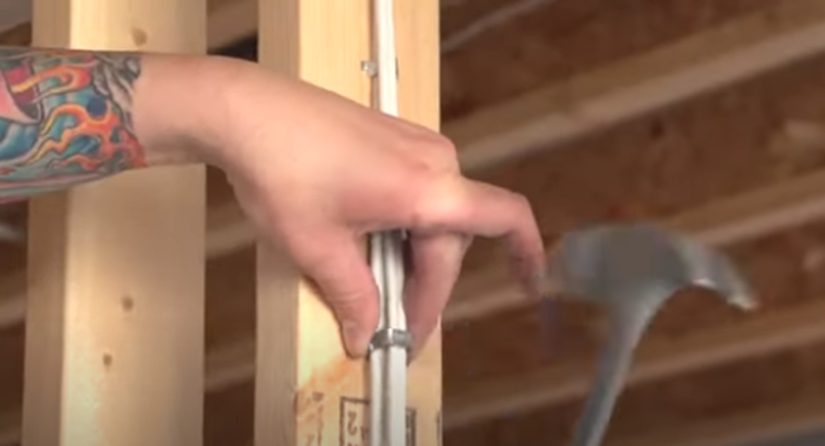
Step 4: Run the cable between the nailed boxes starting from the stud holes.
Step 5: Clip the cable to the studs with cable staples to keep it in place.
Step 6: Direct the cable to run to the breaker box leaving about four feet of extra cable to use when connecting the circuit to the breaker.
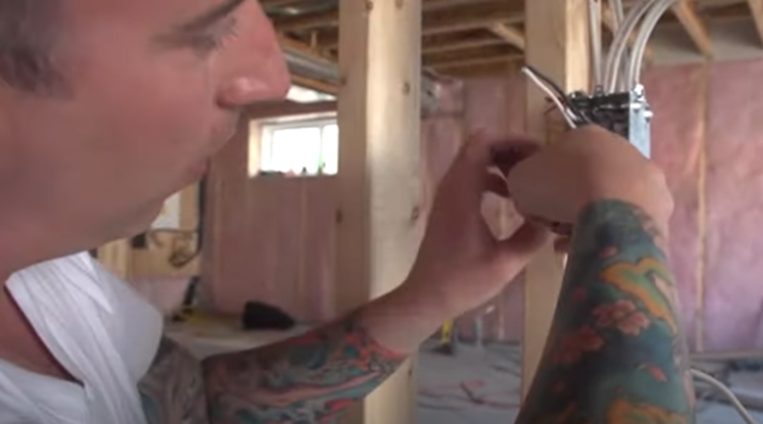
Step 7: Group the same colors of cables on each box and tie them with a zip tie or tape to complete the rough-in electrical stage.
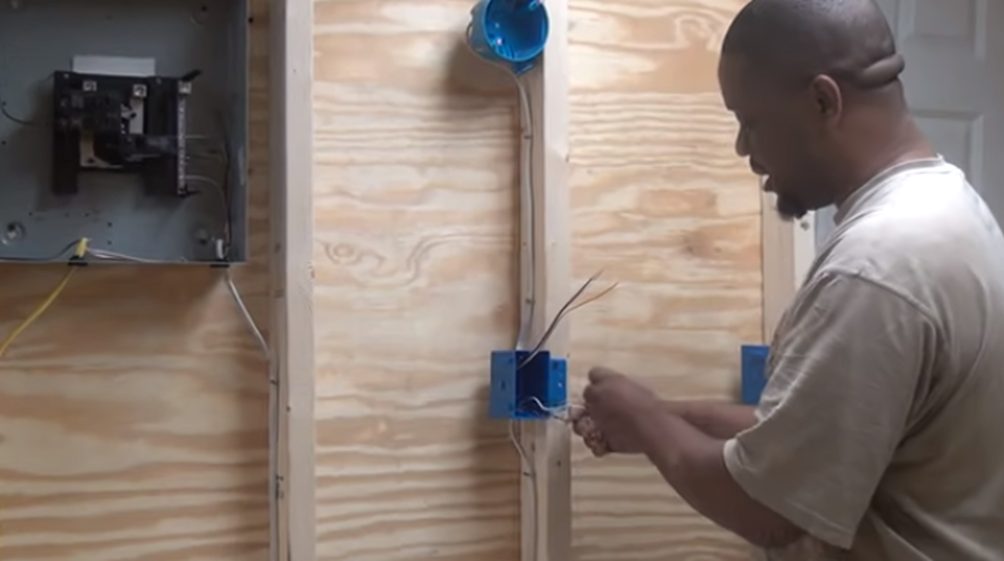
Finished Electric Phase
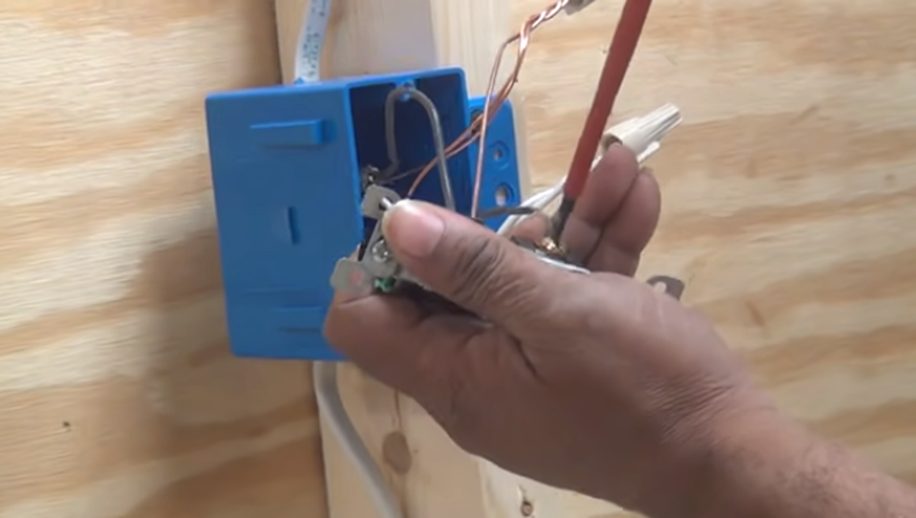
The second phase, which is also the final stage, involves attaching the ends of the wiring that runs into circuits in the circuit panel. Next, you have to put the electrical components on each device box.
These electrical components include outlet receptacles for plugging things into, fixtures, such as smoke detectors and lights, and light switches for controlling outlets and lights. It is worth mentioning that each electrical component on a circuit must be properly wired before turning on the circuit.
By code, you may be required to place your bathroom on a dedicated run because a bathroom requires a ground fault indicator or a GFCI plug. The best practice is to utilize a #12 gauge for plugs, which is 20 Amp.
If your electrical wiring is subject to inspection by the state, you are better off using #12 wiring for plugs. That is because they are less likely cause any issue or pop your breaker and they can handle larger loads.
It is crucial to complete both the rough-in and finished electrical phases before connecting electricity to any of the wires, outlets, switches, or light fixtures. This is to ensure your safety and avoid the hazard of getting shocked.
Can I do my Basement Electric Wiring by Myself?
Yes, of course. It is legal for anyone to wire the basement and other parts of their homes without an electrician license. You also do not have to be a certified electrician to perform a basement electric project in your home. The best part is that it is pretty simple to complete. As a fact, it is as simple as buying your electrical supplies.
However, there is a requirement. Depending on the electrical code office prerequisites of your city, you may have to get your completed basement electrical wiring inspected by a certified professional. This is often a part of the process of obtaining a building permit in some cities.
You should call and check with the local building code office in your city to be sure of the requirements. The best part about working on the electrical aspect of your basement project is that it gives you the confidence to do it again.
Therefore, when next you want to change or add a light fixture or change an outdated outlet or light switch in your home, you will do it easily without calling an electrician. This saves you time and money.
What is the Cost of Wiring a Basement?
This is an important part of basement wiring. It is best to know the cost upfront, whether you are doing it yourself or hiring an electrician. To hire a professional electrician for the electric project phases for your basement, you may spend an average of $1,500 and $2,500 for only labor. (1)
The electrical materials may cost about $500 for all the needed wires, breakers, electric boxes, switches, outlets, cable TV wire, recessed light fixtures, speaker wire, phone wire, and other miscellaneous electrical supplies.
You can also save an additional $500 for special lighting fixtures, such as vanity lights, bath fan units, ceiling fans, and sconce lighting, among others. Now, that means the total amount you can spend on materials is $1000 if you want some frills but $500 if you want only the basics.
The labor cost for using the service of an electrician is an average of $1,500 to $2,500. That means if you were to do it yourself, you will save this amount on labor. If you think about it, you can put this $2,500 to good use for your home. (2)
What are the Major Stages for a Basement Electrical Project?
Basement wiring is generally divided into four stages. You must understand these stages before you start the project. Let us look at each of them carefully.
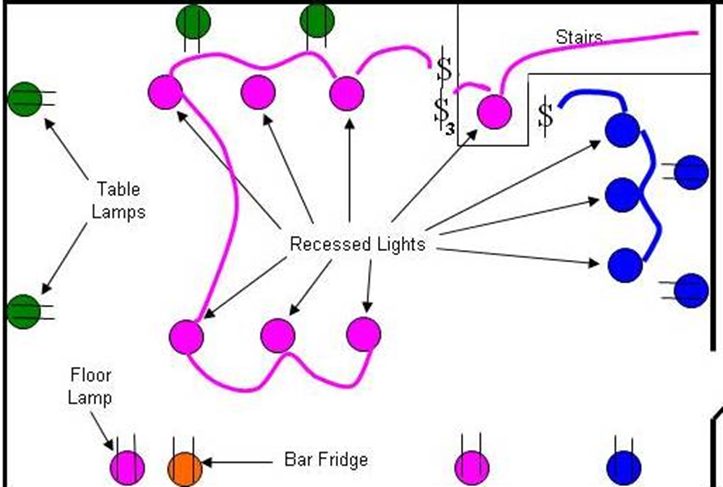
- Electric Design: This is the part where you design the switch, outlet, and light fixture placements for your finished basement. It covers identifying the specific places in your basement where what goes into.
- Electric Device Layout Phase: This part covers the installation of electric blue boxes.
- Basement Rough Wiring Phase: This is the pulling wires stage where you do the rough-in wiring process described above.
- Electric Device Installation Phase: At this stage, you install the outlets, switches, breakers, and light fixtures in the basement.
Wrapping Up
This article looked at how to wire a basement, including the stages involved in the process. Without a doubt, anyone can complete a basement wiring project easily and seamlessly. All you need is to know the stages involved and how to go about the process.
You do not need any license or certification to complete the project on your own. When it comes to cost, you save a lot when you do it yourself instead of hiring an electrician.
Take a look at some of our related articles below.
- How to cap off electrical wires
- How to run electrical wire in unfinished basement
- How to run wire through walls horizontally
References
(1) professional electrician – https://www.familyhandyman.com/list/things-electricians-never-do-in-their-own-homes/
(2) labor – https://www.thebalance.com/labor-definition-types-and-how-it-affects-the-economy-3305859
Video References
Tyrone Robertson