5 min read
How to Wire a 5 Pin Rocker Switch (Guide)
At a glance, you may think that wiring a 5-pin rocker switch is difficult. Well don’t worry, you can do it quickly and easily. Working with car wiring I have installed 5-pin switches in many cars without issues and today I’m going to help you do that as well.
Quick Summary: Wiring a 5-pin rocker switch to your LED lighting product is easy. Start by preparing the positive and the negative jumper wires. Next, identify the type of 5-pins on your rocker switch. Go ahead and bridge the ground wires between the negative terminal on your car’s 12V battery and the two negative pins. After that, connect the hot wires to the positive terminal of the battery, and then to the positive pins. Go on and link the other pin to the LED product using another wire. Finally, connect the T-tap wire to the interior control and test the connection.
The Concept of a Light Bar Switch
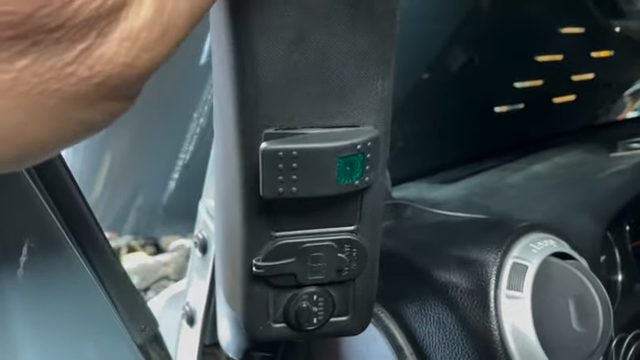
A 5-pin light bar switch has a rectangular shape and it blends with the interior of many vehicles. It is therefore one of the most popular switches in the car industry.
Their (5-pin rocker switches) functionality is simple; they operate the light bar by pushing the top part of the switch – that action turns on the light bar switch. To turn it off, simply push the lower section of the switch.
The 5-pin rocker switches have an illuminated light that works well in the car’s factory interior dash lighting. This feature also contributes to their popularity. Light will be illuminated on the rocker bar light switch if it is on. It will notify you that the rocker switch is powering the light bar that is connected to it.
Making the Light Bar Jumper Cables
To wire a 5-pin rocker switch, you need to make ground and positive jumper cables. After you have completed making the jumper cables, you can run the rest of the light bar switch wiring. That’s all.
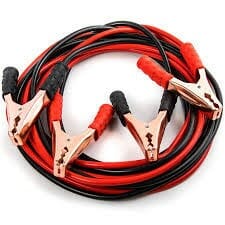
Follow the below-mentioned procedure to make light bar jumper cables:
- Using a cutting tool, cut the ground wires to the length you want. And make sure you exclude at least ½ inch of the wire to strip the insulation coating.
- Now strip about ½ inch of the insulation on both ends of your wire using a stripper. The stripped terminal is necessary for making connections.
- Twist the stripped terminals of the wire at a right angle. You may use needle-nose pliers to do that.
- Repeat the same procedure for the positive/hot wire.
How to Wire the Lights with a 5-pin Rocker Switch
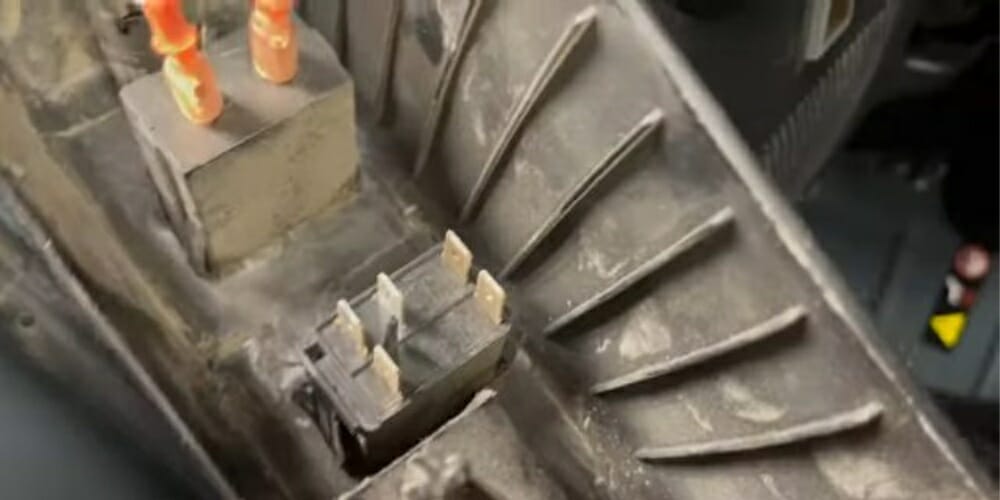
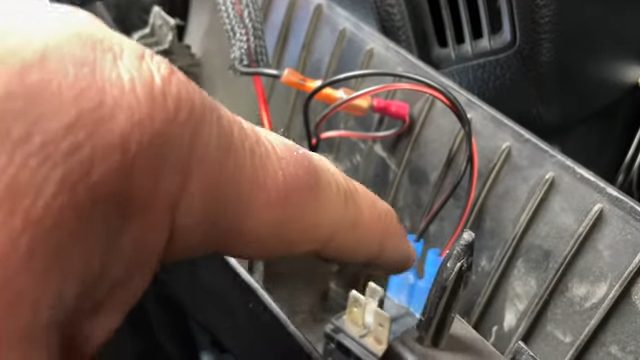
On your 5-pin rocker switch, the first 2 top pins are for the ground. Two of the remaining 3-pins will be for the power leads – one of which is for the lower LED on the switch, and the connection is linked to the dash light circuit. The last one will be terminated (it goes to the relay unit – power out). Note that one.
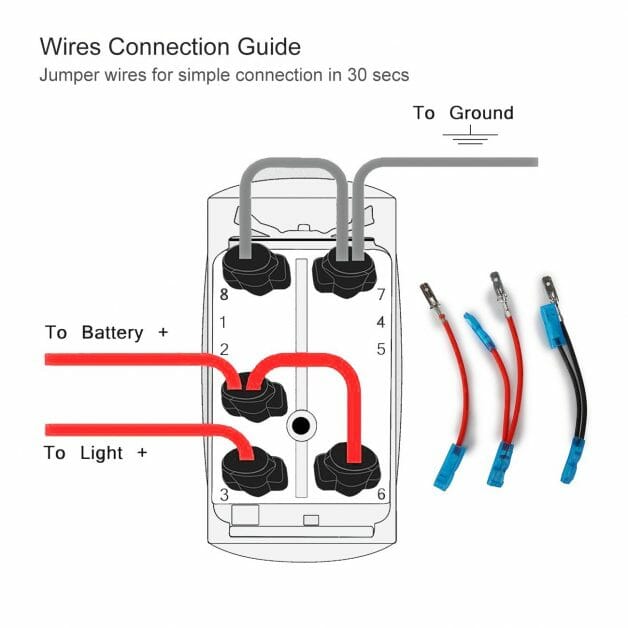
Step 1: Have your ground and positive jumper cables ready
You will need to utilize (connect) the ground connection set up wires to the two pins on the rocker switch, and then to the ground source – the negative terminal of the voltage supply (battery).
Step 2: Connect the positive/hot wire to the 5-pin rocker switch pins
Bridge the hot jumper wires to the switch pins, and link them to the hot or positive terminal of the battery.
Step 3: Connect the accessory or the LED pin to the relay
Take your jumper wire, and then connect it to the accessory pin, and then bridge it to the relay unit. The relay unit goes to the accessories in the car’s dashboard.
Step 4: Connect the T-tap to the wire that controls the interior lights
The interior lights encompass the speedometer and the heat controller. After you have found the wire that controls the interior light, connect the T-tap to it. The T-tap splices into the wire without cutting it in half. Make sure you obtain the correct size T-tap
Now take the wire that comes from the LED pin and plug it into the slot of the T-tap.
Step 5: Testing
Turn on the parking light or the headlights. The gauge lights inside your car will turn on along with the lower LED of the switch.
Turn on the accessory lights using the dashboard controls, as well as the gauge lights. That’s it, you are done.
Converting to a 5-pin From Another
Interestingly, you can also wire a 3-pin switch to a 5-pin rocker. First, find out what your 3-wires do.
Aurora wiring harnesses are as follows:
- The black wire is the ground or negative
- The red wire is positive or hot
- And then the blue wire takes power to the lighting products (accessories)
However, if you are using a different type of wire harness (not Aurora), you will be required to identify the wire that represents power, ground, and the one that takes power to the LED lighting unit. (1, 2)
Take a look at some of our related articles below.
- How to test a light switch with a multimeter
- How to connect ground wires together
- Is red wire positive or negative
References
(1) wire harness – https://www.linkedin.com/pulse/seve-types-wiring-harness-manufacturing-vera-pan
(2) LED lighting unit – https://www.energy.gov/energysaver/led-lighting
Video References
BSK Garage