9 min read
How to Test a Power Window Switch with a Multimeter?
Are you trying to troubleshoot why your power windows aren’t working and think you may be dealing with a broken power window switch? Most of us face this issue from time to time with an older vehicle. Whether you have an automatic or manual switching mechanism, you’ll have to deal with this as soon as possible.
A broken window switch can cause extensive interior damage in a situation such as a rainy or snowy day, given that you are unable to close the windows.
So, if you are experiencing the same problem and want to find out if your switch is the issue, this 6-step guide on how to test a power window switch with a multimeter will help you.
To test the power switch for the window, first, remove the cover of the door. Then separate the power switch from the wires. Set the multimeter to continuity mode. Then attach the black probe to the negative terminal of the power switch. Check all the terminals for continuity using the red probe.
Too general? Don’t worry we cover this in more detail with the images below.
Difference Between Automatic and Manual Switching Mechanisms
Modern vehicles come with two different power window switches. Having a good understanding of these two switching mechanisms will help you greatly if you are doing an automatic power window switch conversion or power window repair. So, here are some facts about these two mechanisms.
Automatic: An automatic power window switch will start working immediately after turning on the vehicle’s ignition key.
Manual: Manual switching mechanism comes with a window crank that can be operated manually.
Few Things that You Can Try out Before Testing the Power Window Switch
When experiencing a power window switch malfunction, don’t start the continuity test straight away. Here are a few things that you can check before the actual testing.
Step 1 – Check All Switches
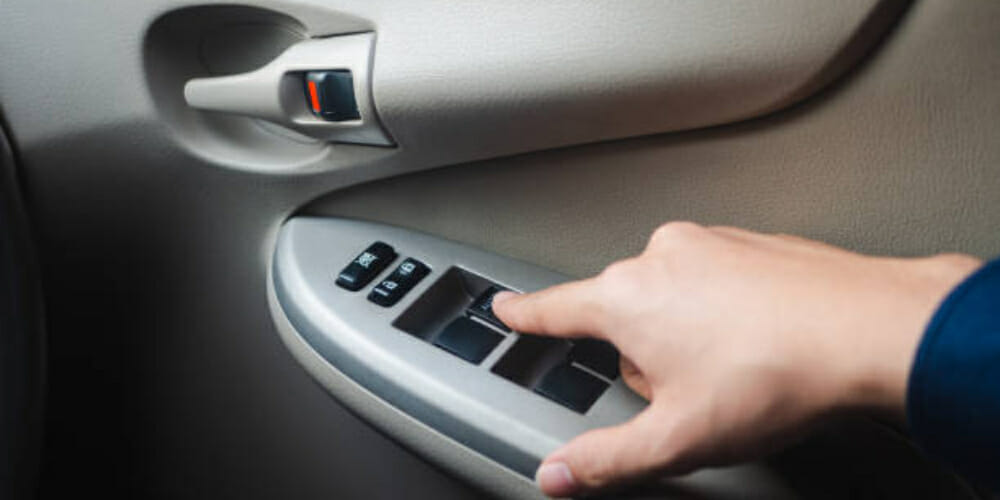
Inside your vehicle, you will find the main power window switch panel close to the driving seat. You can open/close all the windows from the main panel. Also, there are power switches on each door. You can find at least eight power window switches inside your vehicle. Check all the switches properly.
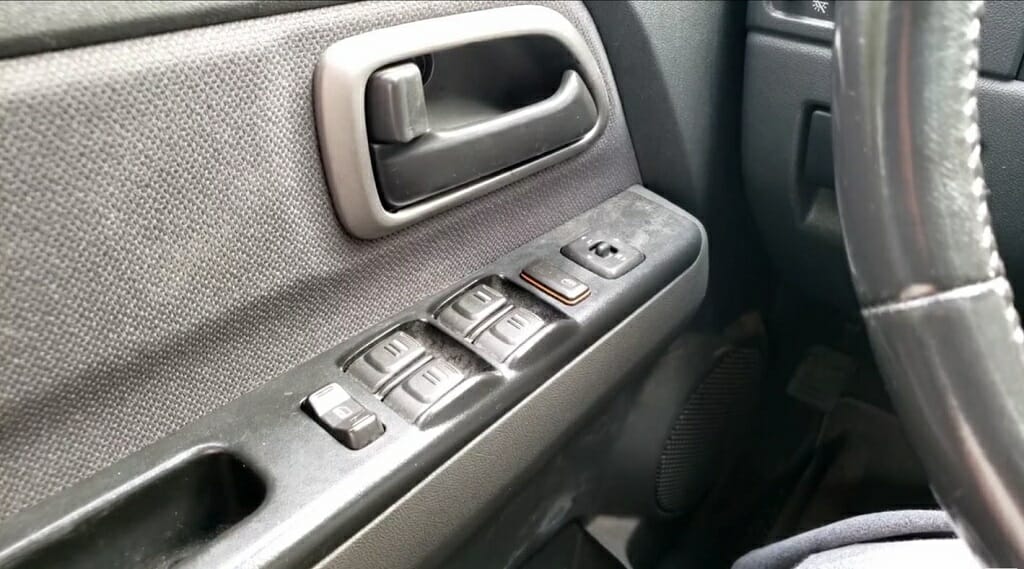
Step 2 – Check the Lock Out Switch
You can find the Lock-Out switch on the power window switch panel that is located near the driving seat. The Lock Out switch will give you the option to lock all the other power window switches, except for the switches on the main power window switch panel. This is a safety lock and sometimes can cause issues to power window switches. So, check whether the Lock Out switch is engaged or not.
6 Steps Guide to Test Power Switch Window
After correctly diagnosing the broken power window switches, now you can start the testing process. (1)
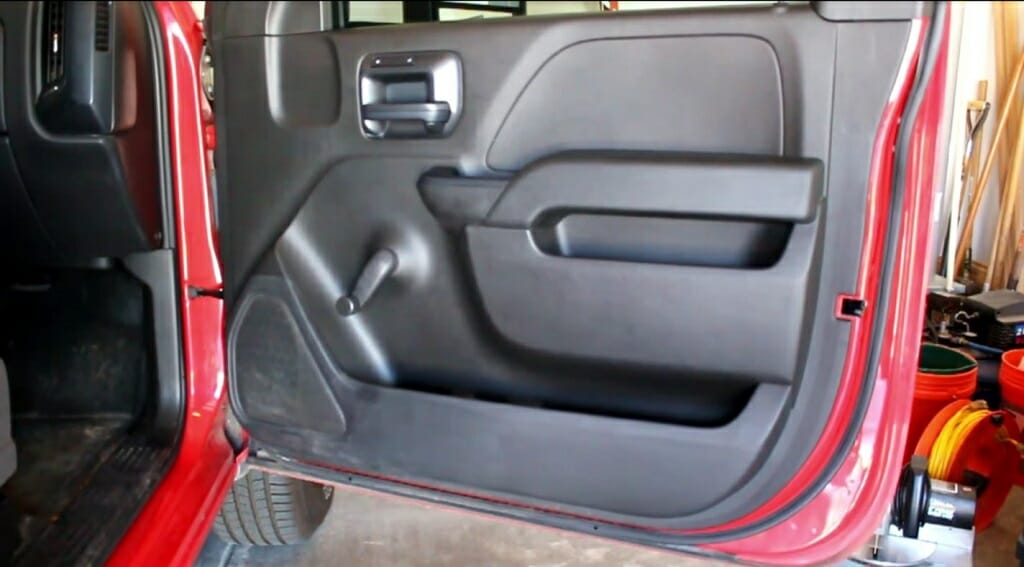
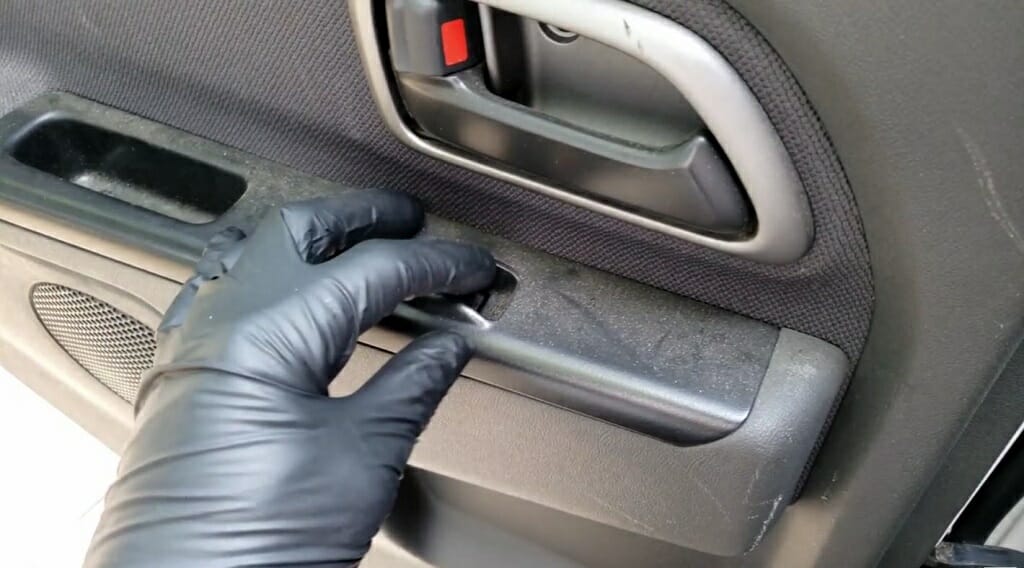
Step 1 – Remove the Cover of the Door
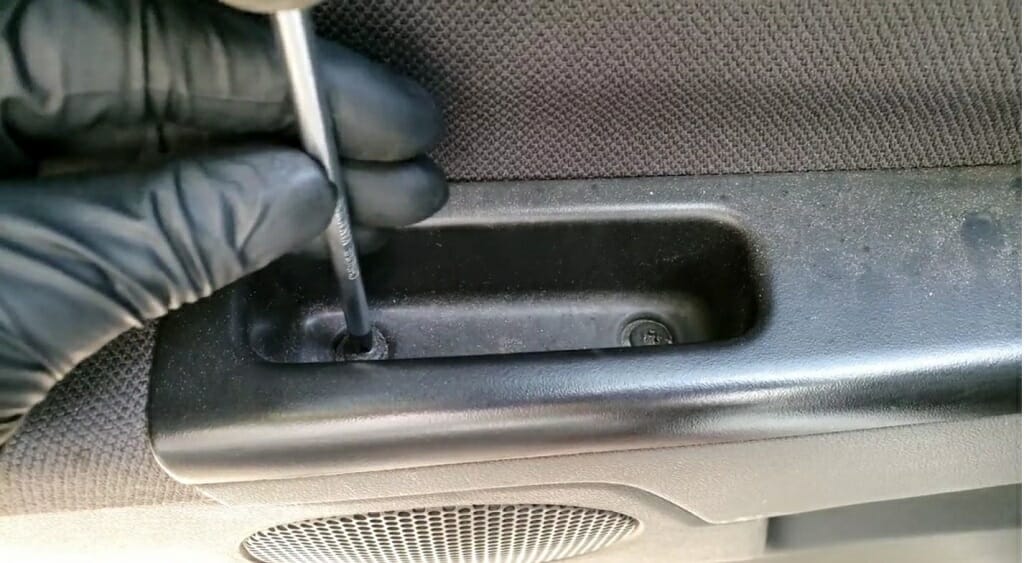
First, you should loosen the screws that are holding the cover. Use a screwdriver for this process.
Then separate the cover from the door.
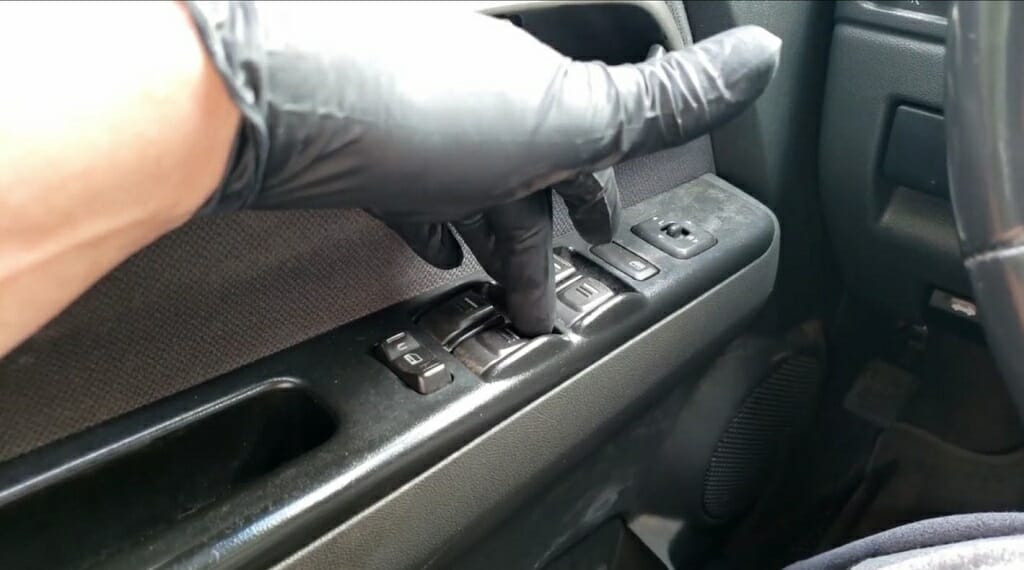
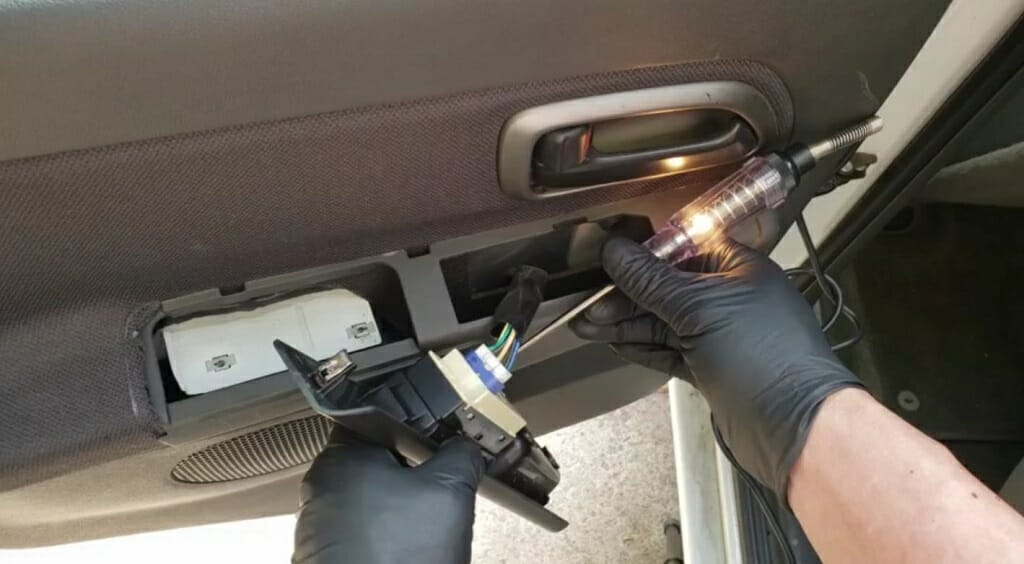
Step 2 – Pull Out the Power Switch
Even though you remove the two screws, the cover, and the power switch are still connected to the door by wires. So, you’ll need to disconnect those wires first. You can do that by pressing the lever located next to each wire.
After removing the wires, pull out the power switch. While pulling out the power switch, you should be a little careful because there are few wires that connect the cover and the power switch. So, make sure to disconnect them too.
Step 3 – Set the Digital Multimeter for a Continuity Test
After that, set the multimeter for continuity mode. If you haven’t used a multimeter for a continuity test, here is how you can do that.
Setting Up the Multimeter for Continuity Test
Setting it up is pretty simple and takes only one or two minutes. Turn the dial of the multimeter to the diode or Ω symbol. When you connect the two probes to a closed circuit, the multimeter will release a continuous beeping sound.
By the way, a closed circuit is a circuit that allows current to flow.
Tip: If you successfully activate the continuity mode, the multimeter will display Ω and OL symbols. Also, remember to touch the two probes to check the beeping sound. This is an excellent way to check the multimeter before getting started.
Step 4 – Check the Power Switch for Any Damage
Sometimes the power switch might be jammed beyond any repairs. If so, you might have to replace it with a new power switch. There is no need to test a jammed power switch. So, check the power switch thoroughly for any jams or faulty mechanisms.
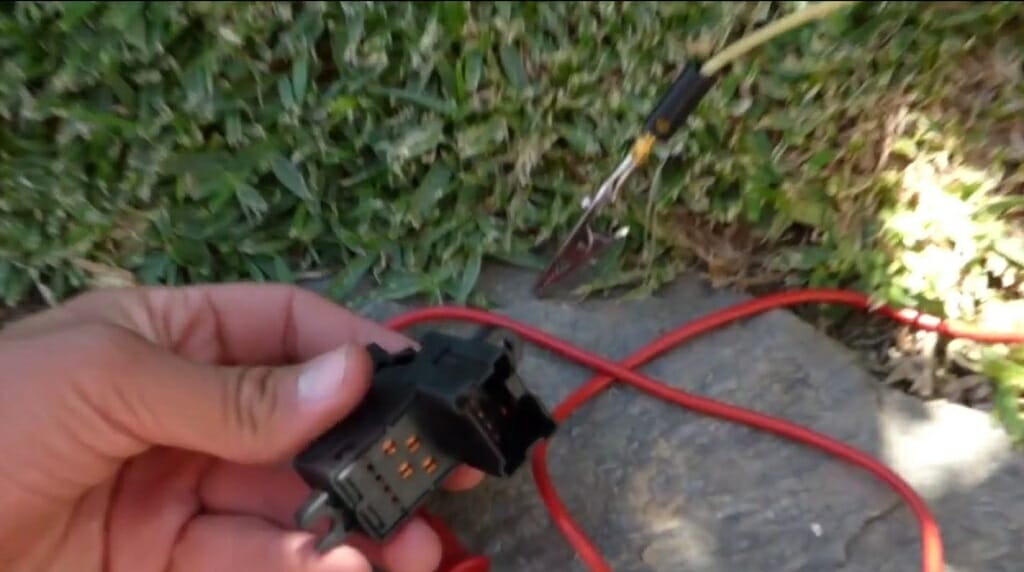
Step 5 – Test Terminals

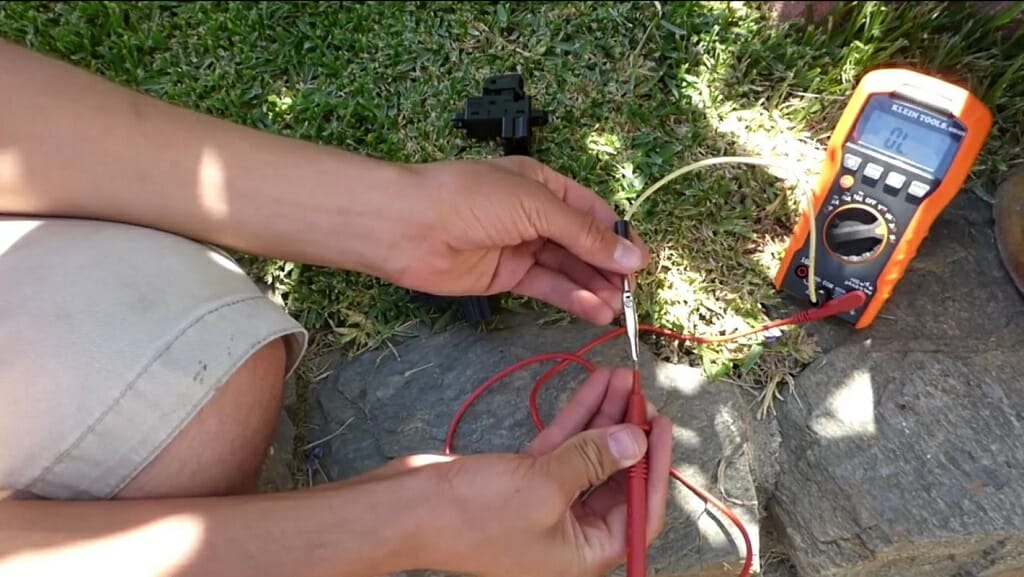
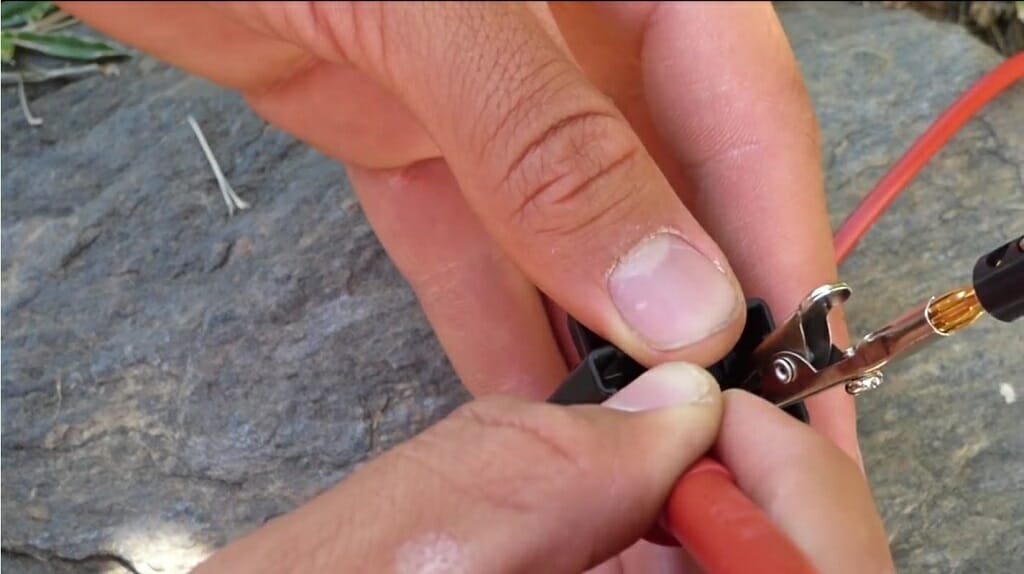
Now, connect the black probe to the negative terminal of the power switch. Maintain this connection until you test all the terminals. So, use an alligator clip to connect the black probe to the terminal.
Then, place the red probe on the desired terminal. Change the power window switch to the “lower window” position. Check whether the multimeter is beeping or not. If not, position the power switch to the “raise window” position. Check for the beeping sound here too. If you didn’t hear a beeping sound, change the switch to the neutral position. Check all the terminals according to the above process.
If you didn’t hear a beeping sound for all the settings and terminals, that means the power window switch is broken. However, if you heard a beeping sound for the “lower window” position and heard nothing for the “raise window” position, that means one half of your switch is working, and the other half is not.
Step 6 – Put the Old Power Switch Back On or Replace it with a New One
It doesn’t matter whether you are using an old switch or a new one; the installation process is the same. So, attach the two sets of wires to the switch, place the switch on the cover and then attach it to the cover. Finally, tighten the screws that connect the cover and the door.
Wrapping Up
Lastly, I really hope that you now have a proper idea about how to test the power window switch with a multimeter. The process is not that difficult at all. But, if you are new to doing these things yourself, remember to be extra careful during this process. Especially, when removing the power switch from the cover and the door. For instance, several wires are connected to the power window switch from both sides. These wires can break pretty easily. So, make sure that doesn’t happen. (2)
Take a look at some of our related articles below.
- How to test ground with multimeter
- How to use a multimeter to test voltage of live wires
- Multimeter continuity setting
References
(1) diagnosing – https://academic.oup.com/fampra/article/
18/3/243/531614
(2) power – https://www.khanacademy.org/science/physics/work-and-energy/work-and-energy-tutorial/a/what-is-power
Video References
Fondupot’s Garage
R U Fixed
Backyard Chevy