7 min read
How to Test a GFCI Outlet with a Multimeter (5-Step Guide)
Do you think your GFCI outlet has gone bad? To find out what is causing the outlet to malfunction, it is best to test using a multimeter.
Follow these steps to test your GFCI outlet with a multimeter.
First, you need to check your GFCI for any faults from it. Use the ‘TEST’ and ‘RESET’ buttons to achieve this. Next, insert the multimeter into the slots. You need to confirm if there is power left in your outlet (while it’s still off). Next, measure the voltage of the outlet. This step aims to determine if the GFCI outlet transmits proper voltage. Then, check the wiring of the outlet. Begin by turning off the power supply from your main switch. Unscrew your outlet and remove it from the wall. Look for any switched wires or misconnections. Finally, check if the outlet is grounded properly.
In this 5-Step Guide, we teach you how to check your GFCI which helps to prevent electrical faults, and shocks, using a multimeter for any ground faults.
Requirements
1. Multimeter – a multimeter is a fantastic tool for measuring electricity values such as voltage, resistance, and amperage. You may choose between an analog and digital multimeter. When on a tight budget, an analog multimeter will do. However, if you are looking for a more advanced device, a digital multimeter is your best bet. Besides higher resistance, they also offer accurate digital displays. Digital multimeters are more suited for handling electrical voltages, especially when examining your GFCI outlet. (1)

2. Personal Protective Equipment – for your hands, use insulated gloves that are sufficiently capable of wholly and securely insulating electricity. It would help if you also have insulated matting that prevents the transmission of electricity from the floor and through your body in case of a ground fault. Before and after troubleshooting the GFCI breaker, you will need to ascertain the current flow in the power source. Have a voltage detector with you instead of mistakenly working with a live GFCI breaker. It will show the current level of electricity. (2)

A 5-Step-Guide for Checking Ground Faults
Testing the GFCI outlet is an easy process if you use a multimeter. Here are the detailed steps to find out if the GFCI breaker is faulty.
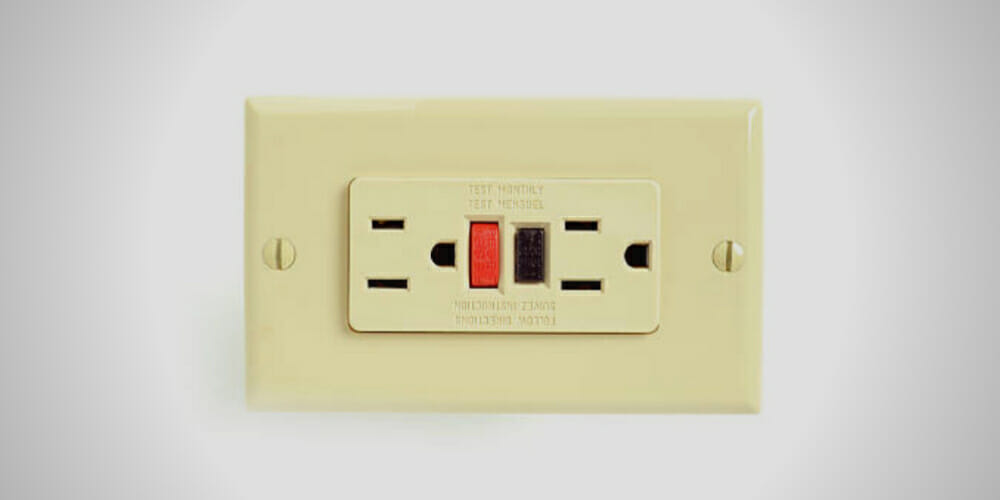
1. Checking the GFCI (Ground Fault Circuit Interrupter)
You need to check your GFCI for any faults. Use the ‘TEST’ and ‘RESET’ buttons to achieve this. Manually press the ‘TEST’ button until you hear the outlet’s clicking sound, which means that power is cut off. Next, push the ‘RESET’ button. At times, the issue could be with the switch. See if it clicks and remains in place.
2. Inserting a Multimeter into the Slots
You need to confirm if there is power left in your outlet (while it’s still off). Put the multimeter’s plugs probes in the vertical slots starting with the black lead and then the red lead. A zero reading indicates an acceptable outlet safety, and it confirms that it’s still working.
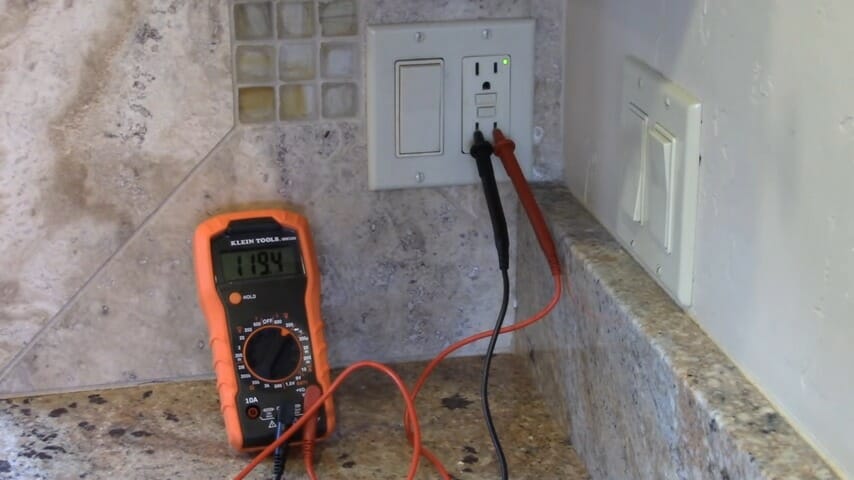
To turn the power on, push the ‘RESET’ button and continue to measure the voltage of your GFCI outlet.
3. Measuring the Voltage of the Outlet
The step aims to determine if the GFCI outlet transmits proper voltage. Set your analog or digital multimeter to the ohm setting and choose a maximum scale. Multimeters whose ohm setting exceeds one position should be set to 1x.
You are ready for the ground fault test upon setting up your multimeter. Connect one probe to a terminal with the other one touching the device housing or the mounting bracket. Next, move the first probe touching the terminal to another terminal. A ground fault is present if your multimeter displays anything besides infinity at any testing stage. An absent reading indicates trouble. You may want to consider checking the outlet’s wiring.
4. Checking the Wiring of the Outlet
Begin by turning off the power supply from your main switch. Unscrew your outlet and remove it from the wall. Look for any switched wires or misconnections. Your wiring is not a problem if the black wire is connected to the ‘line’ pair and the white one to the ‘load’ pair of wires. See if the colors match accordingly – black should go with black and white with white.
Check if the wire nuts are securely fastened to the connectors if all is well. Return to the main electrical panel, turn on the power, and test the voltage again using your multimeter. Be careful while at it because you’ve restored live energy in the circuits.
5. Is the Outlet Grounded Properly?
This step is similar to step 3 (measuring voltage). The only difference is that the multimeter’s black lead goes inside the ground fault circuit interpreter’s u-shaped (ground) slot. Expect a similar voltage reading to the one you picked earlier if the outlet is adequately grounded. On the other hand, if you obtain a different voltage reading, you are dealing with an incorrectly grounded outlet or reverse wiring.
Troubleshooting the GFCI breaker should be a monthly affair. It’s one of the things you must commit to doing for your safety’s sake. If the outlet has stopped working like before, change it. You never know when it’s going to bow out.
How to Fix a Ground Fault
The most suitable way to fix a ground fault is to replace the bad wire. If you are dealing with one or just a few bad or old wires, you may remove them and bring in new ones. At times, the ground fault might be in a specific part. Under such a circumstance, the best thing to do is to replace that entire part. Fixing it is neither safe nor worth the trouble. It is dangerous to use a part with a ground fault. To fix the ground problem, buy a new part and replace the entire thing. Doing so is safer compared to fixing the part. Also, a new part gives you peace of mind because your GFCI circuit will be in perfect condition upon replacement of the part with a ground fault.
Fixing ground faults is not tricky. Perhaps the struggle lies in finding them, especially when dealing with a big GFCI circuit or system. If that’s the case, break down the circuit into smaller and more manageable sections. Also, this is where you get a patience test. To avoid frustrations and allow successful GFCI outlet testing, don’t be in a rush to finish. Take your time.
Wrapping Up
Did you find this article informative? Now that you’ve learned how to test a GFCI outlet with a multimeter, try it out. As mentioned earlier, it’s a procedure worth performing every month as ground faults are potentially hazardous. Besides having dangerous electrical shocks, a ground fault can also result in the malfunctioning of a device.
Take a look at some of our related articles below.
- How to read an analog multimeter
- How to use a Cen-Tech digital multimeter to check voltage
- Multimeter setting for car battery
References
(1) tight budget – https://www.thebalance.com/budgeting-101-1289589
(2) current flow – http://www.csun.edu/~psk17793/S9CP/
S9%20Flow_of_electricity_1.htm