10 min read
How to Test a Coil Pack with a Multimeter (Step-by-Step Guide)

Testing a coil pack with a multimeter is not as complicated as it sounds, and with a little patience and a multimeter, you’ll be a pro in no time.
To check the coil pack with a multimeter, here’s the rundown:
🛡️ Step 1: Gear Up and wear safety goggles and gloves
🔧 Step 2: Dial in that multimeter like a pro
🔍 Step 3: Time to play detective and find that coil pack
🕒 Step 4: Connect, test, and watch those numbers
🔄 Step 5: Repeat & verify
In this article, I’ll explain how to use a multimeter, what readings to expect, and how to interpret these readings. It’s a handy skill that’ll save you both time and money!
Why Test a Coil Pack?

You might be wondering why anyone would even bother testing a coil pack. Isn’t it easier to replace it with a new one if you’re experiencing issues with your car? Well, it’s not always quite as straightforward as that.
- Getting to the heart of the matter: Testing a coil pack isn’t just busy work. It’s about getting a clear answer. Your car might give you signs, but are they pointing to the coil pack? Testing eliminates the guesswork.
- The cost-effective approach: Let’s talk dollars and sense. Testing a coil pack yourself can save you a hefty sum. It’s about being cost-savvy – diagnosing the problem without the extra labor charges.
- Knowledge is power: You learn every time you test and tinker with your car. It’s empowering to understand your vehicle inside out.
Tools and Materials Needed
Let’s break it down into what you’ll need.
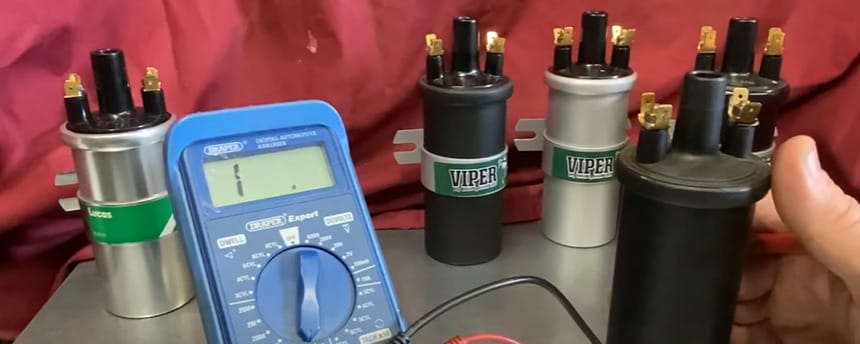
- Multimeter. This versatile tool will do the heavy lifting in testing our coil pack. Whether digital or analog doesn’t make a difference — as long as it’s functioning properly and you’re comfortable using it.
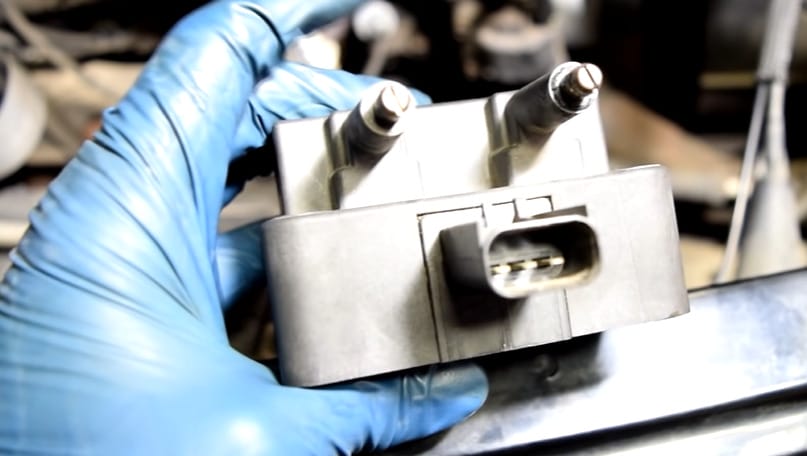
- Coil Pack. It must be removed from the vehicle to ensure accurate results. If you’re dealing with a potentially faulty one, try to have a spare for comparison.
- The Vehicle User Manual could come in handy, too. It’ll help you with vehicle-specific information such as specifications and other details.
- Protective Gear, including gloves and safety goggles. Safety comes first, always.
- A Pen and Notebook will also be useful for keeping track of each coil pack’s readings.
These tools and materials will give accurate results while saving time and effort. Now, isn’t that a game-changer?
Testing a Coil Pack with Your Multimeter
Grab your multimeter, and let’s get down to business.
Step 1: Safety First
- I always say, “Safety isn’t just a suggestion; it’s a rule.” Gloves and goggles on. I once skipped the gloves, only to regret it after a close call with an electric jolt.
Step 2: Dialing in Your Multimeter
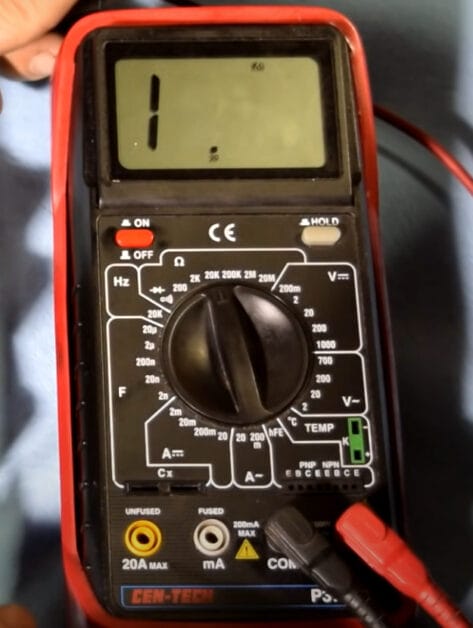
- Set that multimeter to 20 K Ohms. It’s crucial for nailing those accurate readings. Confused? The manual’s your best friend – I always keep mine handy.
Step 3: Finding the Coil Pack
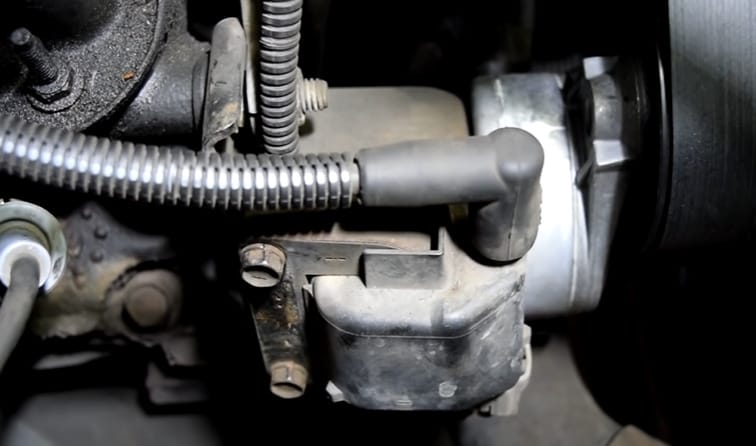
- It’s like a mini treasure hunt. Your car manual? That’s your treasure map. I remember hunting down a coil pack once, hidden under several wires.
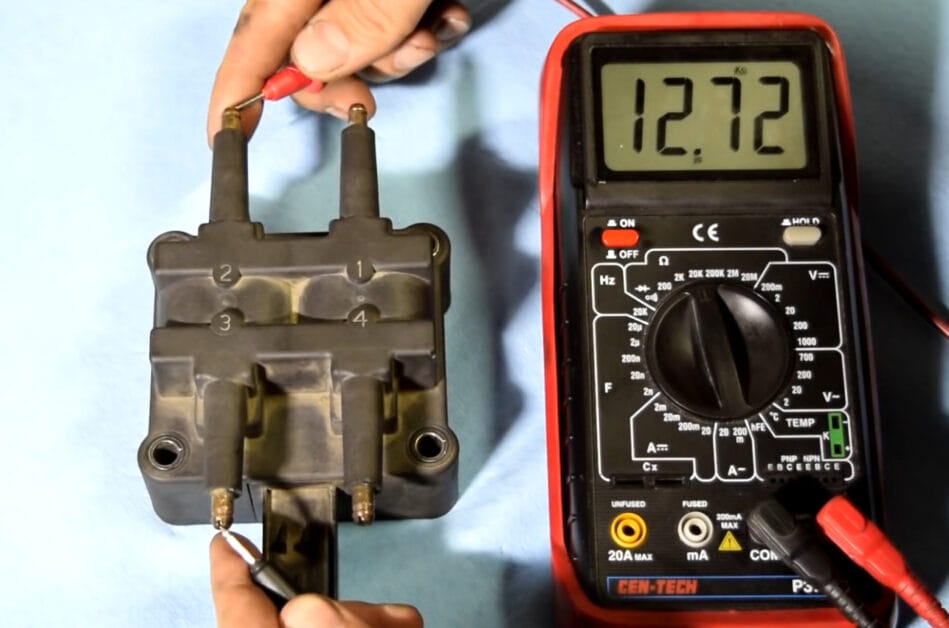
Step 4: Time to Test

- Connect those probes to the coil pack’s terminals. You’re aiming for a resistance reading between 6,000 and 15,000 Ohms. Anything out of this range could spell trouble. I have been there and tested that.
Step 5: Consistency is Key
- Don’t rely on a one-off test. Repeat and record – it’s the only way to be sure. I learned this after a misdiagnosis that led to unnecessary replacements.
Coil Pack Comparison: Understanding Different Types
Alright, let’s talk about comparing different types of coil packs. In my time, I’ve encountered a few variations of turning wrenches and testing systems.
You’ve got your traditional canister-type coils, the more modern coil-on-plug (cop) setups, and those coil packs Sitting on a shared module.
Traditional Canister Coils: The Classic Approach
With Canister Coils used in older cars, you often deal with a single coil that serves the entire engine. Testing these usually involves checking the primary and secondary windings for resistance.
Coil-On-Plug (cop) Systems: Modern and Individualized
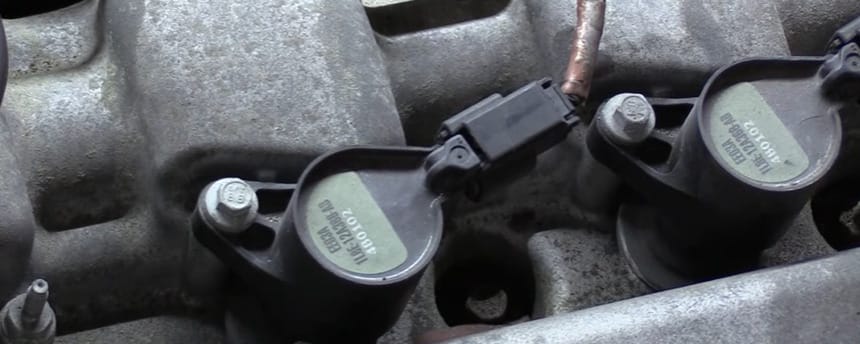
Move over to cop systems, and you’ll find a coil on top of each spark plug. Testing these can be a bit trickier because you’ve got to test them individually. I remember chasing a misfire in a cop system; it turned out just one coil was the culprit.
Shared-Module Coil Packs: Serving Multiple Sparks
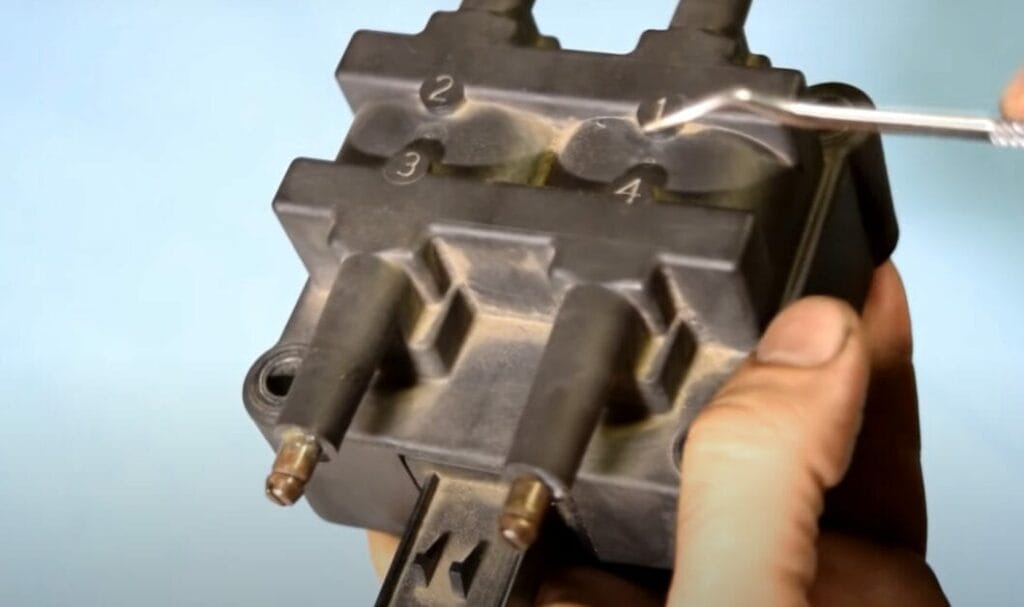
Then, there are the shared-module coil packs. These guys serve multiple spark plugs and are common in V6 and V8 engines. Testing these can be a mix of both worlds – you’re checking for overall functionality and individual cylinder issues.
So, when you’re testing, remember that the coil pack type can change the game. Each has its quirks, but with a multimeter and some know-how, you can figure out any issue they throw at you.
Advanced Troubleshooting for Coil Pack Testing
Let’s shift gears and tackle some tricky coil pack testing scenarios. Sometimes, the usual tests just don’t cut it, and you find yourself in a real diagnostic puzzle.
Let’s dive into this table where I’ve Paid up some complex issues with solutions peppered with insights from my garage adventures.
| Complex Issue | Solution & My Experience |
|---|---|
| Intermittent Coil Failures | Test during various conditions like hot engine or cold start. I’ve found intermittent issues are often temperature sensitive – like a car, I once worked on that only misfired on chilly mornings. |
| Misfires Despite Good Resistance | Look beyond resistance readings. Check voltage drops and wiring. I encountered a car that misfired despite the coils testing fine, which turned out to be a wiring fault. |
| Multiple Coil Failures | Suspect systemic problems like voltage irregularities or ECU issues. Multiple failures often point to a larger issue, like the time an overcharging alternator was the real culprit. |
| Car Misfires Despite Good Coils | Inspect related systems like spark plugs and injectors. I had a case where a clogged injector, not the coil pack, caused the misfire. |
Tackling these complex issues might feel daunting, but you’ll find your way through the maze with some detective work and patience. Remember, the key is to look at the whole picture!
Navigating the Safety Zone: Essential Precautions for Coil Pack Testing
Alright, safety fans, let’s talk about staying safe while testing coil packs. Safety isn’t just a buzzword; it’s your first line of defense in the DIY world.
Always Make Sure Your Engine Is Off Before You Start. I learned this hard during my early days when I got a startling buzz from a live wire. Not fun!
Rubber Gloves Are a Must. They’re like your personal safety shield against shocks and nasty chemicals. Once, a buddy of mine slipped the gloves, only to find his hands stinging from some old engine gunk.
Work in A Well-Ventilated Area. Car batteries can emit fumes, and you don’t want to be breathing that in. I remember working in a cramped garage once and feeling lightheaded. Since then, I always make sure there’s plenty of fresh air.
Be Mindful of Your Surroundings. Keep your workspace clean and organized. Are you tripping over tools while handling electrical components? That’s a mishap waiting to happen.
Remember, in the DIY auto repair world, safety savvy isn’t just smart—it’s essential. Stay alert, stay protected, and happy testing!
Frequently Asked Questions
- Can I Test a Coil Pack without a Multimeter?
- While a multimeter is the go-to tool, other methods are not as precise. I always recommend a multimeter for accuracy and safety.
- Is It Safe to Drive with a Faulty Coil Pack?
- Driving with a faulty coil pack is like running with a sprained ankle. You can do it, but it’s not advisable. It can lead to bigger engine problems.
- How Often Should Coil Packs Be Tested?
- It’s not about frequency; it’s more about symptoms. If your car’s acting up – like misfiring or losing power – it’s time to check the coil pack.
- Do All Cars Have Coil Packs?
- Most modern cars have them, but older models might use a distributor-based system. Knowing your car’s specs is key.
- Can a Bad Coil Pack Cause a Check Engine Light?
- Absolutely! A faulty coil pack can trigger that pesky check engine light. It’s your car’s way of saying, “Hey, something’s not right here.”
- Can Coil Packs Be Repaired or Only Replaced?
- Usually, they need to be replaced. Once they go bad, it’s hard to repair them effectively.
- Is Coil Pack Testing a Diy Task, or Should I Go to A Mechanic?
- It’s a great DIY task if you’re comfortable with basic car maintenance and using a multimeter. If not, a professional can handle it swiftly.
References
Organizations:
- The International Automotive Technicians Network (i Atn). https://www.iatn.net/
- Autel North America. https://www.autel.com/
Books:
- “Engine Performance Diagnostics” by Scanner Danner. https://www.aeswave.com/Engine-Performance-Diagnostics-by-ScannerDanner-p9277.html
Website Resources:
- Car Parts.Com on Different Types of Ignition Coils. https://www.carparts.com/ignition-coil
- Electro University’s Diagnostic Procedure. https://electrouniversity.com/how-to-test-coil-pack-with-multimeter/
Video References:
Motor Age
Ratchets and Wrenches
Ac Dodd