8 min read
Multimeter Resistance Symbol (Guide)
Ever wondered what those cryptic symbols on your multimeter mean? You’re not alone! Today, I’ll be demystifying one of the most common yet misunderstood symbols on your multimeter – the resistance symbol.
When you look at your multimeter, you’ll notice an omega symbol (Ω). This tiny symbol represents resistance. It’s one of those imperative things enabling us to understand and control the flow of electricity in our circuits.
In this article, we will dive deeper into your multimeter’s resistance symbol. We’ll also walk you through the steps to accurately measure resistance in various electronic components and circuits.
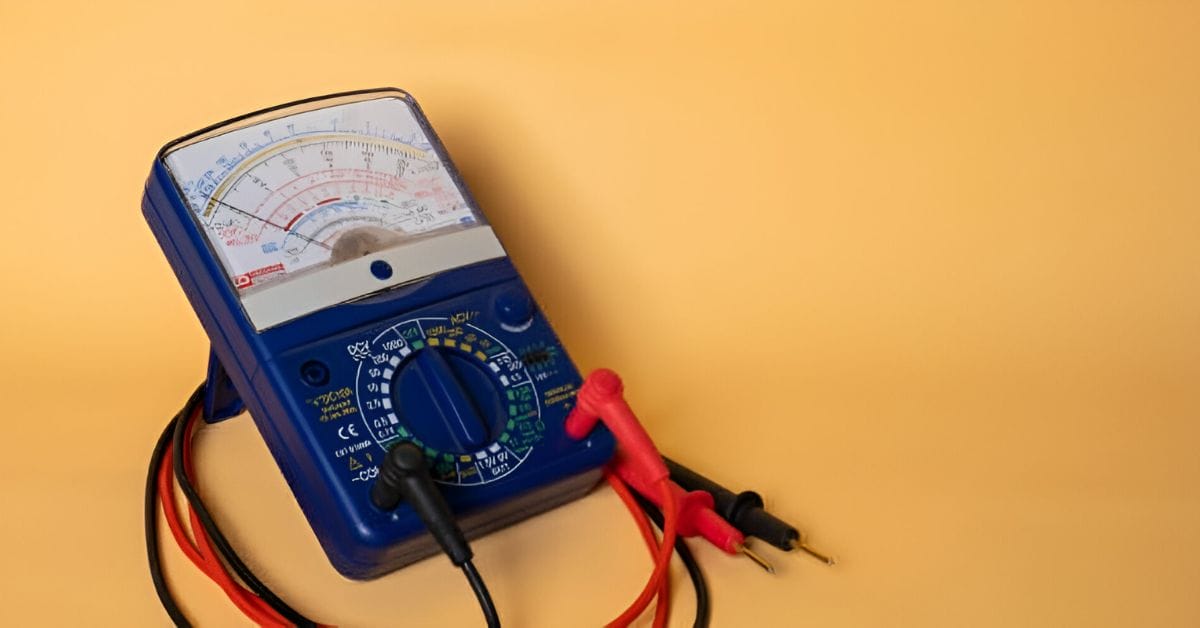
The Resistance Symbol on Multimeters

This dashboard of electrical measurements enables precise readings. It might seem like an intimidating jumble of symbols and figures, but it’s just telling you what’s happening inside your circuit.
Resistance isn’t always a villain in the electrical world. Sometimes, it’s the hero we need! Resistance can protect elements in a circuit by limiting the electrical flow to a safe level. It’s crucial for the proper functioning and safety of our electronic devices.
In the end, the resistance symbol’s role in our multimeters is an indispensable one. It ensures the safe and smooth operation of our electronic devices, and it’s a tool that I (and every electronics enthusiast) couldn’t do without.
Measuring Ohms with a Digital Multimeter
Let’s break down the steps to test resistance using a Digital Multimeter simple and straightforward:
Step 1: Turn Your Multimeter Dial to Ohms
Get started by spinning that dial on your multimeter right over to the ohm section. This is where the magic of measuring resistance happens.
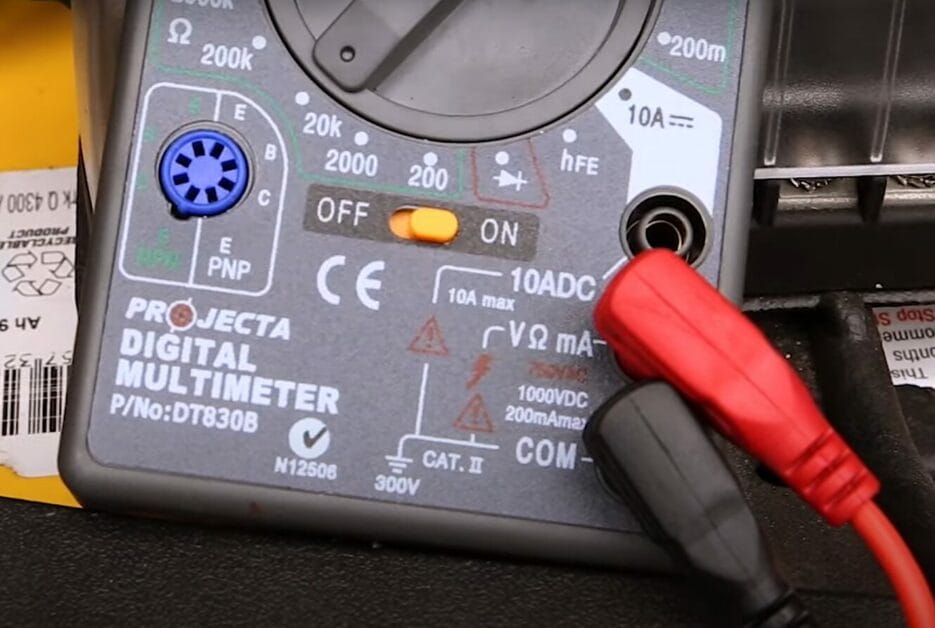
Step 2: Proper Probe Placement
Ensure the black probe is connected to the common terminal and the red probe is plugged into the terminal with the ohm symbol. It’s all about getting those connections spot on.
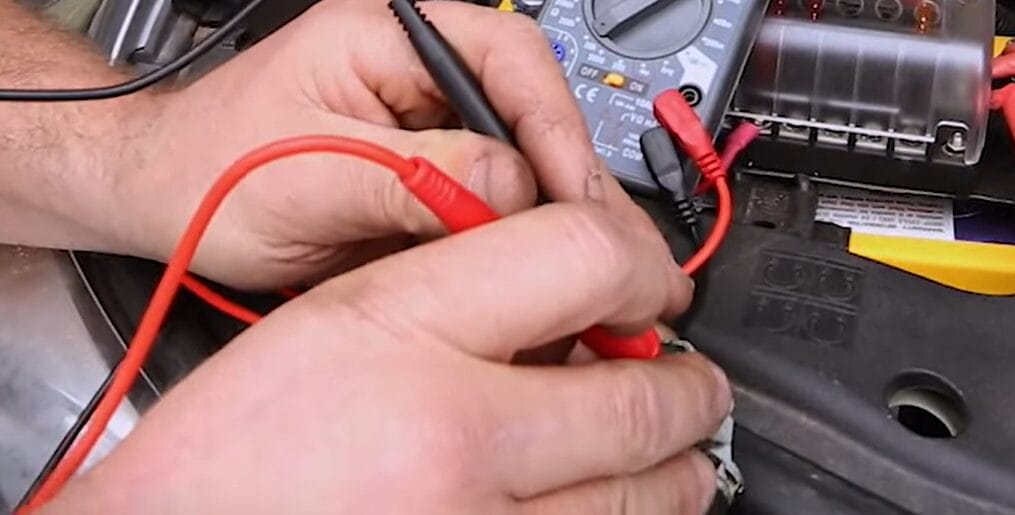
Step 3: Testing Resistance
If you’re checking out something like a sensor, touch the two probes to the sensor terminals. You’ll see the resistance value pop up on the multimeter.
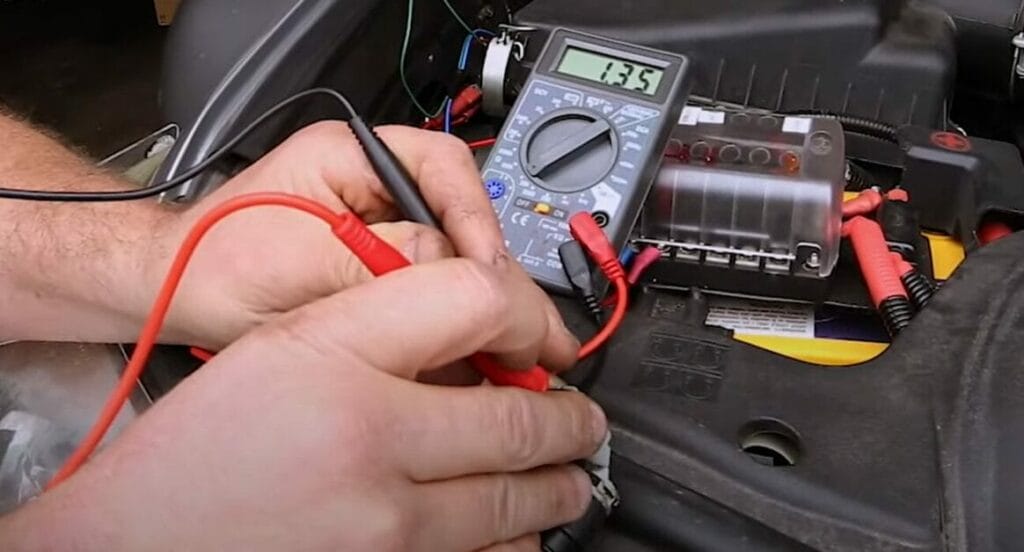
For example, a reading of 1.35 ohms means your sensor is likely in good shape.
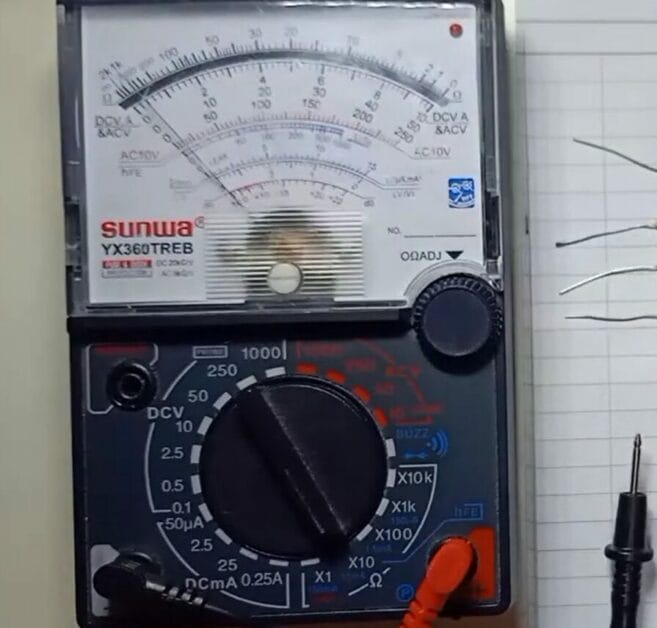
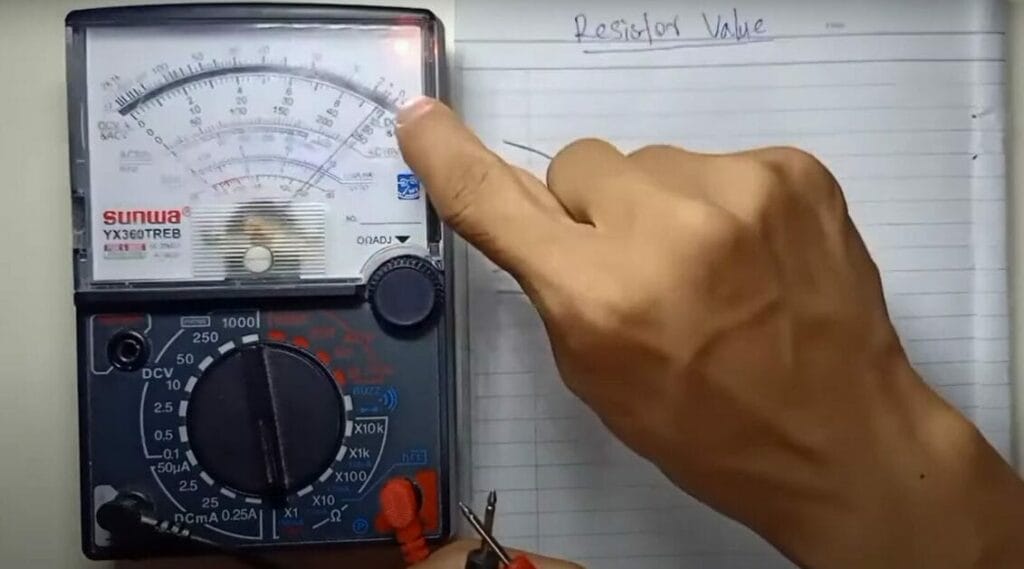
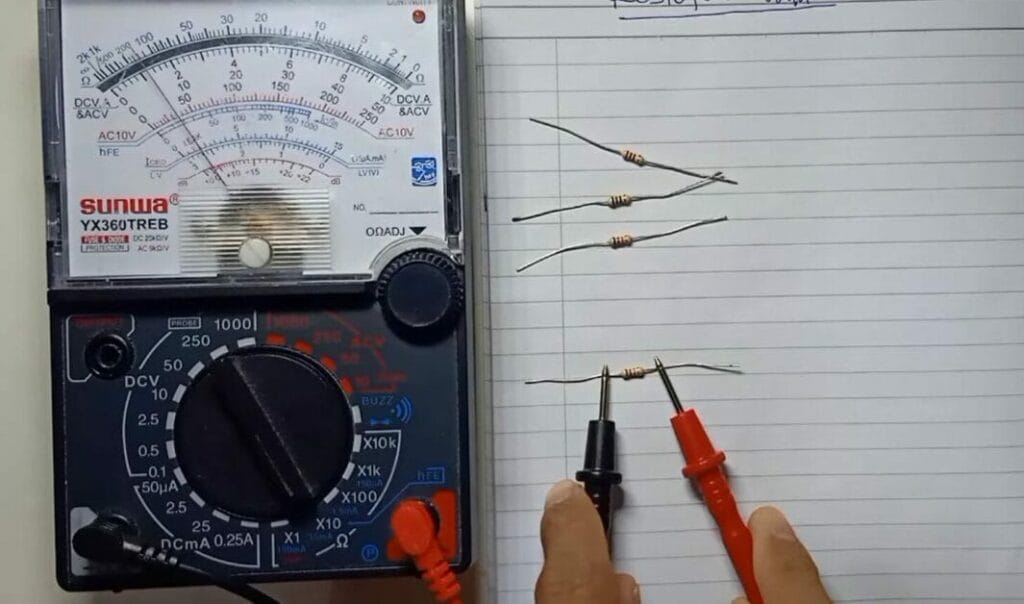
Measuring Ohms with an Analog Multimeter
Now, let’s get our hands dirty and figure out how to test resistor values using an analog multimeter. It’s easier than you think, and I’m here to guide you through it, step-by-step:
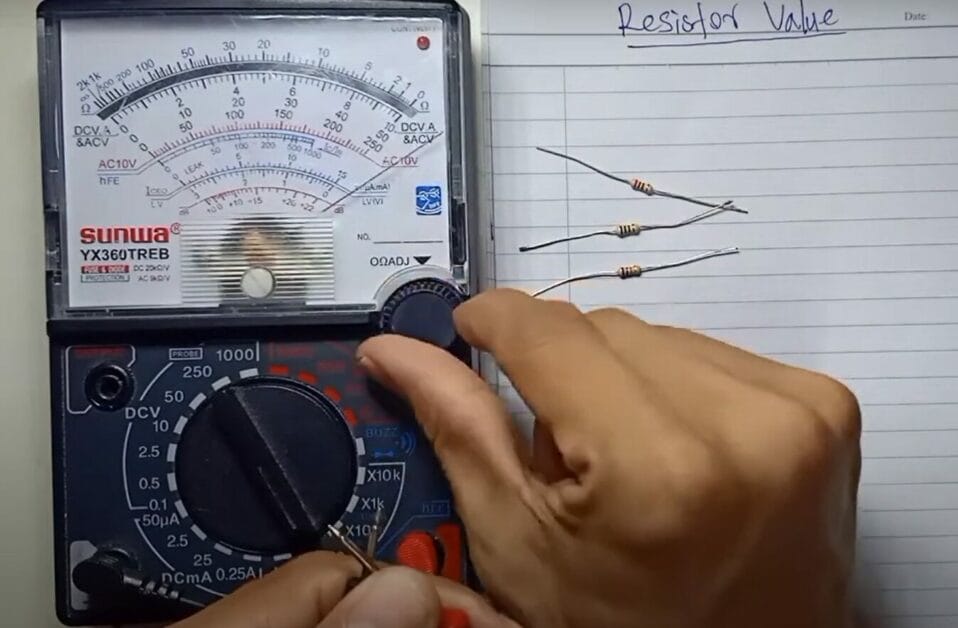
Step 1: Select the Right Multiplier on the Multimeter
Start by setting your multimeter to times 1, times 10, times 100, or times 1K, depending on the resistor range you’re working with.
Step 2: Calibrate Your Multimeter
Calibrate by shorting the probes together and adjusting the needle to zero. This step is crucial for accurate measurements.
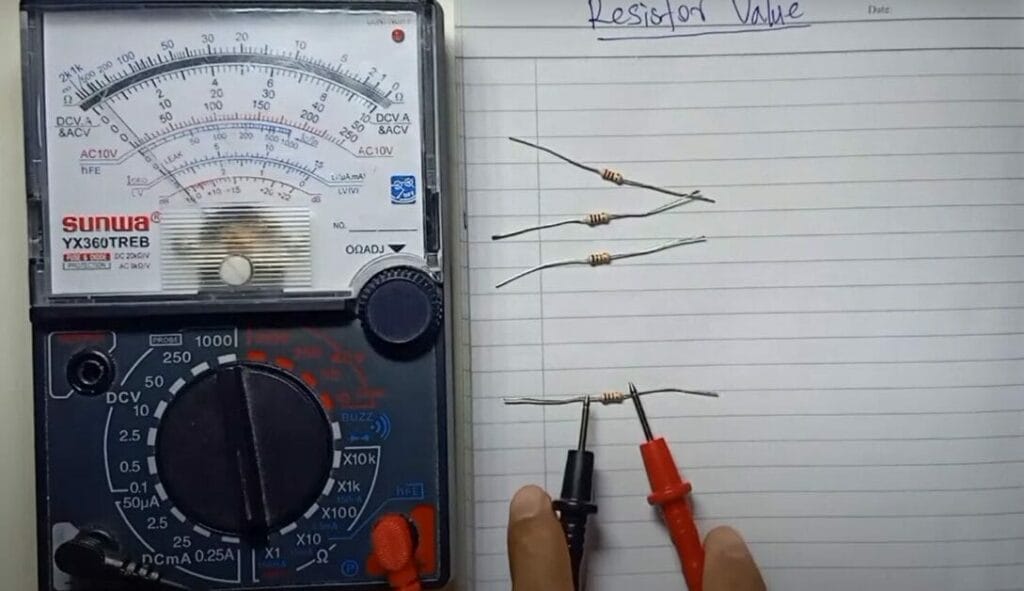
Step 3: Testing the Resistor
Connect the probes to the resistor. It doesn’t matter which side, as resistors don’t have a positive or negative. If there’s no reading, switch to a higher multiplier setting.
Step 4: Adjust for Each New Setting
Every time you change the multiplier setting, recalibrate to zero. This ensures your readings are spot on.
Step 5: Calculate the Resistance Value
Read the needle position and multiply by the setting you’re on. For example, if it reads 20 on times 100, your resistor is 2,000 ohms or 2K.
Just like that, you’re testing resistors like a pro! Remember, patience and attention to detail are key. Happy tinkering!
Common Mistakes and Troubleshooting in Resistance Measurement
Have you ever tried measuring resistance and ended up with wonky results? You’re not alone. Getting a precise reading with a multimeter can be tricky, especially if you’re new to the game.
From my toolkit of experiences, I’ve seen a few common missteps, and I’m here to help you navigate them. Let’s break down these common mistakes in measuring resistance and how to troubleshoot them effectively.
| Mistake | Impact | Solution |
|---|---|---|
| Not Setting the Correct Range | Inaccurate readings | Start with the highest range and work down for accuracy. |
| Probes Not Securely Connected | Fluctuating or no readings | Ensure firm connection of probes to terminals. |
| Testing Live Circuits | Risk of damage or injury | Always turn off the power before testing. |
| Ignoring Environmental Factors | Misleading readings | Account for temperature and humidity. |
| Forgetting to Zero the Meter (Analog) | Incorrect baseline readings | Regularly calibrate by setting the needle to zero. |
Remember, getting accurate resistance measurements involves attention to detail and some know-how. Remember these tips, and you’ll measure like a pro in no time!
Advanced Techniques for Accurate Resistance Measurement
When measuring resistance, precision is key, especially for those who like to get their hands dirty with more complex tasks. Over the years, I’ve learned a few advanced tricks that can make all the difference.
Parallel Resistance Calculation:
Remember that Ohm’s Law is your friend when dealing with a circuit with parallel resistors. Calculate the total resistance by the inverse sum of the inverses of individual resistances. This little trick saved me in a tight spot with a tricky circuit.
Temperature Compensation:
Resistance can change with temperature. Use a temperature coefficient to adjust your readings for materials like copper or aluminum. I’ve seen readings go haywire without considering this, especially in outdoor projects.
Precision Mode on Digital Multimeters:
Some advanced digital multimeters come with a precision or high-resolution mode. This feature is fantastic for getting down to the nitty-gritty of resistance values. It’s a game-changer for delicate electronics where every ohm matters.
Null Method for Low Resistances:
The standard method may not cut if you measure very low resistances. I’ve used the null method, where you balance two legs of a bridge circuit – it significantly reduces error.
Remember, these techniques might seem daunting initially, but with some practice, you’ll measure resistance like a pro. Stay curious and keep experimenting!
Frequently Asked Questions
- Can I Measure Resistance In A Live Circuit?
- No way, safety first! Always turn off the power to the circuit before measuring resistance.
- How Accurate Are Multimeter Resistance Readings?
- Pretty accurate, but remember, temperature and probe placement can affect your readings. Always double-check for consistency.
- Why Do I Need To Zero My Analog Multimeter Before Use?
- Zeroing ensures you start from a baseline for accurate readings. If it’s off zero, your measurements could be skewed.
- Can I Measure The Resistance Of Any Component Directly?
- Yes, but be wary of components sensitive to current and voltage, like some semiconductors. In such cases, use the appropriate measurement technique.
- What’s The Significance Of kΩ And MΩ Settings?
- These settings allow you to measure higher resistances. kΩ is for thousands of ohms, and MΩ is for millions of ohms.
- Does The Length Of The Probes Affect Resistance Measurements?
- In most cases, no, but for very low resistances, even the resistance of the probes can become significant.
References
Studies:
- 4 Most Accurate Resistance Measurement Methods. https://us.flukecal.com/blog/resistance-measurement-methods
Organizations:
- National Institute of Standards and Technology (NIST). https://www.nist.gov/
Books:
- “Multimeters 101: Basic Operation, Care and Maintenance and Advanced Troubleshooting for the Skilled Trades” https://books.google.com/books/about/Multimeters_101.html?id=b8_BxgEACAAJ
Video References:
narvalighting
Passion Tech KLM